


*/
private String distance;
/**
- 赞数量
*/
private int zan;
public static List infos = new ArrayList();
static
{
infos.add(new Info(34.242652, 108.971171, R.drawable.a01, “英伦贵族小旅馆”,
“距离209米”, 1456));
infos.add(new Info(34.242952, 108.972171, R.drawable.a02, “沙井国际洗浴会所”,
“距离897米”, 456));
infos.add(new Info(34.242852, 108.973171, R.drawable.a03, “五环服装城”,
“距离249米”, 1456));
infos.add(new Info(34.242152, 108.971971, R.drawable.a04, “老米家泡馍小炒”,
“距离679米”, 1456));
}
public Info()
{
}
public Info(double latitude, double longitude, int imgId, String name,
String distance, int zan)
{
super();
this.latitude = latitude;
this.longitude = longitude;
this.imgId = imgId;
this.name = name;
this.distance = distance;
this.zan = zan;
}
public double getLatitude()
{
return latitude;
}
public void setLatitude(double latitude)
{
this.latitude = latitude;
}
public double getLongitude()
{
return longitude;
}
public void setLongitude(double longitude)
{
this.longitude = longitude;
}
public String getName()
{
return name;
}
public int getImgId()
{
return imgId;
}
public void setImgId(int imgId)
{
this.imgId = imgId;
}
public void setName(String name)
{
this.name = name;
}
public String getDistance()
{
return distance;
}
public void setDistance(String distance)
{
this.distance = distance;
}
public int getZan()
{
return zan;
}
public void setZan(int zan)
{
this.zan = zan;
}
}
我直接在实体类中声明了一个静态列表集合,模拟从服务器返回的数据Info.infos。
2、地图中动态添加Overlay
为了方便,我把按钮都放在menu菜单中:
@Override
public boolean onOptionsItemSelected(MenuItem item)
{
switch (item.getItemId())
{
case R.id.id_menu_map_addMaker:
addInfosOverlay(Info.infos);
break;
…
}
}
/**
- 初始化图层
*/
public void addInfosOverlay(List infos)
{
mBaiduMap.clear();
LatLng latLng = null;
OverlayOptions overlayOptions = null;
Marker marker = null;
for (Info info : infos)
{
// 位置
latLng = new LatLng(info.getLatitude(), info.getLongitude());
// 图标
overlayOptions = new MarkerOptions().position(latLng)
.icon(mIconMaker).zIndex(5);
marker = (Marker) (mBaiduMap.addOverlay(overlayOptions));
Bundle bundle = new Bundle();
bundle.putSerializable(“info”, info);
marker.setExtraInfo(bundle);
}
// 将地图移到到最后一个经纬度位置
MapStatusUpdate u = MapStatusUpdateFactory.newLatLng(latLng);
mBaiduMap.setMapStatus(u);
}
可以看到,我们迭代添加了Overlay,然后在返回的Marker中设置了商家的信息,用户用户对Marker的点击时,拿到商家数据生成详细信息布局。
3、为地图上的Marker添加点击事件:
//对Marker的点击
mBaiduMap.setOnMarkerClickListener(new OnMarkerClickListener()
{
@Override
public boolean onMarkerClick(final Marker marker)
{
//获得marker中的数据
Info info = (Info) marker.getExtraInfo().get(“info”);
InfoWindow mInfoWindow;
//生成一个TextView用户在地图中显示InfoWindow
TextView location = new TextView(getApplicationContext());
location.setBackgroundResource(R.drawable.location_tips);
location.setPadding(30, 20, 30, 50);
location.setText(info.getName());
//将marker所在的经纬度的信息转化成屏幕上的坐标
final LatLng ll = marker.getPosition();
Point p = mBaiduMap.getProjection().toScreenLocation(ll);
Log.e(TAG, “–!” + p.x + " , " + p.y);
p.y -= 47;
LatLng llInfo = mBaiduMap.getProjection().fromScreenLocation§;
//为弹出的InfoWindow添加点击事件
mInfoWindow = new InfoWindow(location, llInfo,
new OnInfoWindowClickListener()
{
@Override
public void onInfoWindowClick()
{
//隐藏InfoWindow
mBaiduMap.hideInfoWindow();
}
});
//显示InfoWindow
mBaiduMap.showInfoWindow(mInfoWindow);
//设置详细信息布局为可见
mMarkerInfoLy.setVisibility(View.VISIBLE);
//根据商家信息为详细信息布局设置信息
popupInfo(mMarkerInfoLy, info);
return true;
}
});
根据商家的信息Info.java为详细信息布局中的控件添加数据(记得生成TextView的时候,先设置背景,再设置padding,不然可能会失效~~~)
/**
-
根据info为布局上的控件设置信息
-
@param mMarkerInfo2
-
@param info
*/
protected void popupInfo(RelativeLayout mMarkerLy, Info info)
{
ViewHolder viewHolder = null;
if (mMarkerLy.getTag() == null)
{
viewHolder = new ViewHolder();
viewHolder.infoImg = (ImageView) mMarkerLy
.findViewById(R.id.info_img);
viewHolder.infoName = (TextView) mMarkerLy
.findViewById(R.id.info_name);
viewHolder.infoDistance = (TextView) mMarkerLy
.findViewById(R.id.info_distance);
viewHolder.infoZan = (TextView) mMarkerLy
.findViewById(R.id.info_zan);
mMarkerLy.setTag(viewHolder);
}
viewHolder = (ViewHolder) mMarkerLy.getTag();
viewHolder.infoImg.setImageResource(info.getImgId());
viewHolder.infoDistance.setText(info.getDistance());
viewHolder.infoName.setText(info.getName());
viewHolder.infoZan.setText(info.getZan() + “”);
}
这里我们使用了一个ViewHoler进行控件的复用,让findViewById只会执行一次
/**
-
复用弹出面板mMarkerLy的控件
-
@author zhy
*/
private class ViewHolder
{
ImageView infoImg;
TextView infoName;
TextView infoDistance;
TextView infoZan;
}
最后添加地图的单击事件,隐藏出现的详细信息布局和InfoWindow
mBaiduMap.setOnMapClickListener(new OnMapClickListener()
{
@Override
public boolean onMapPoiClick(MapPoi arg0)
{
return false;
}
@Override
public void onMapClick(LatLng arg0)
{
mMarkerInfoLy.setVisibility(View.GONE);
mBaiduMap.hideInfoWindow();
}
});
最后看一下我们的布局文件:
<RelativeLayout xmlns:android=“http://schemas.android.com/apk/res/android”
xmlns:tools=“http://schemas.android.com/tools”
android:layout_width=“match_parent”
android:layout_height=“match_parent” >
<com.baidu.mapapi.map.MapView
android:id=“@+id/id_bmapView”
android:layout_width=“fill_parent”
android:layout_height=“fill_parent”
android:clickable=“true” />
<RelativeLayout
android:id=“@+id/id_marker_info”
android:visibility=“gone”
android:layout_width=“fill_parent”
android:layout_height=“220dp”
android:layout_alignParentBottom=“true”
android:background=“#CC4e5a6b”
android:clickable=“true” >
<ImageView
android:id=“@+id/info_img”
最后
自我介绍一下,小编13年上海交大毕业,曾经在小公司待过,也去过华为、OPPO等大厂,18年进入阿里一直到现在。
深知大多数初中级Android工程师,想要提升技能,往往是自己摸索成长或者是报班学习,着实压力不小。自己不成体系的自学效果低效又漫长,而且极易碰到天花板技术停滞不前!
因此收集整理了一份《2024年Android移动开发全套学习资料》,初衷也很简单,就是希望能够帮助到想自学提升又不知道该从何学起的朋友,同时减轻大家的负担。

既有适合小白学习的零基础资料,也有适合3年以上经验的小伙伴深入学习提升的进阶课程,基本涵盖了95%以上Android开发知识点,真正体系化!
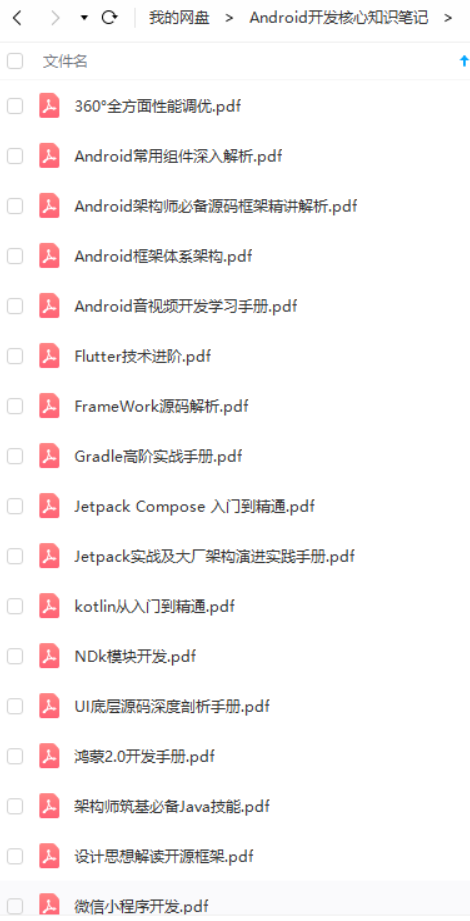
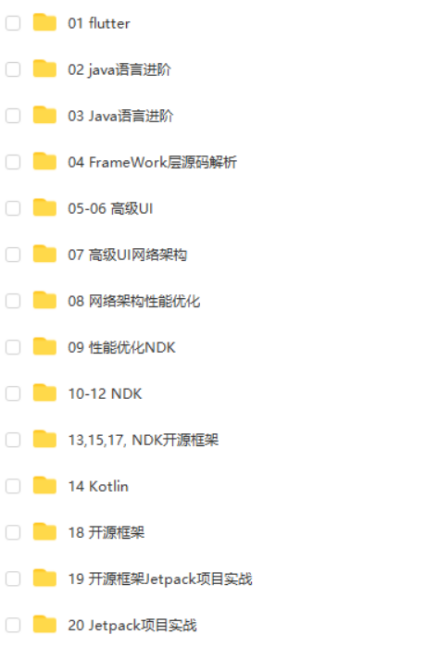
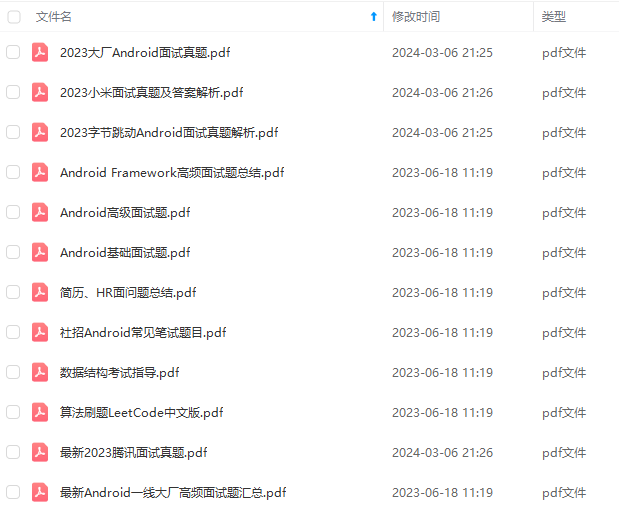
由于文件比较大,这里只是将部分目录截图出来,每个节点里面都包含大厂面经、学习笔记、源码讲义、实战项目、讲解视频,并且会持续更新!
如果你觉得这些内容对你有帮助,需要这份全套学习资料的朋友可以戳我获取!!
中级Android工程师,想要提升技能,往往是自己摸索成长或者是报班学习,着实压力不小。自己不成体系的自学效果低效又漫长,而且极易碰到天花板技术停滞不前!**
因此收集整理了一份《2024年Android移动开发全套学习资料》,初衷也很简单,就是希望能够帮助到想自学提升又不知道该从何学起的朋友,同时减轻大家的负担。
[外链图片转存中…(img-bQHu6Byk-1714954209099)]
[外链图片转存中…(img-lsHnkx3j-1714954209100)]
[外链图片转存中…(img-mV1Hhh8N-1714954209100)]
[外链图片转存中…(img-Rk3eGYNq-1714954209100)]
[外链图片转存中…(img-JqaTMNPJ-1714954209101)]
既有适合小白学习的零基础资料,也有适合3年以上经验的小伙伴深入学习提升的进阶课程,基本涵盖了95%以上Android开发知识点,真正体系化!
由于文件比较大,这里只是将部分目录截图出来,每个节点里面都包含大厂面经、学习笔记、源码讲义、实战项目、讲解视频,并且会持续更新!


 763
763


 被折叠的 条评论
为什么被折叠?
被折叠的 条评论
为什么被折叠?
 到【灌水乐园】发言


