


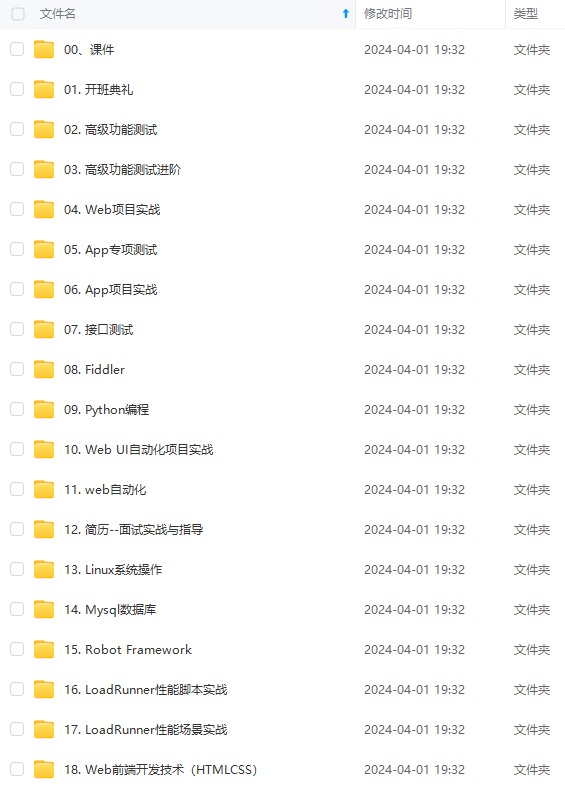
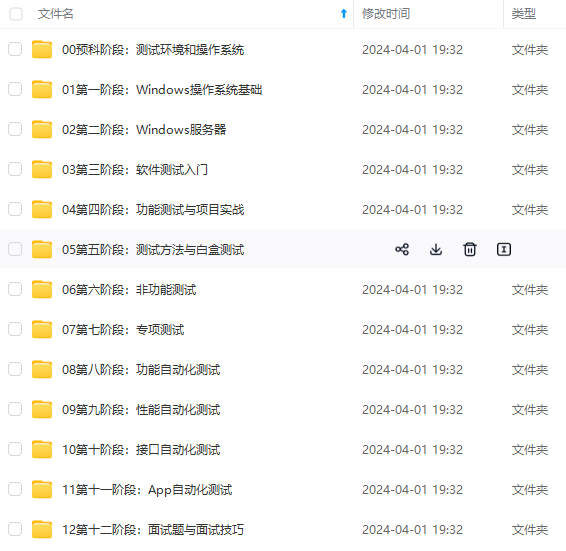

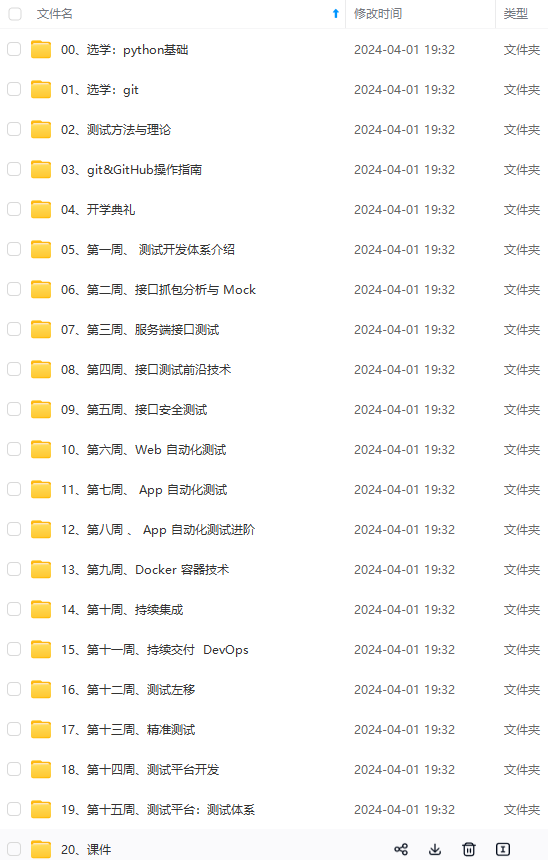
既有适合小白学习的零基础资料,也有适合3年以上经验的小伙伴深入学习提升的进阶课程,涵盖了95%以上软件测试知识点,真正体系化!
由于文件比较多,这里只是将部分目录截图出来,全套包含大厂面经、学习笔记、源码讲义、实战项目、大纲路线、讲解视频,并且后续会持续更新
- 7.2 将打好版本号标签的镜像上传至阿里云私有镜像仓库中
sudo docker push registry.cn-zhangjiakou.aliyuncs.com/命名空间/镜像仓库名称:镜像版本号
[root@localhost ~]# docker push registry.cn-zhangjiakou.aliyuncs.com/lss-docker-images/mytomcat:1.0
 //上传版本号为1.0的镜像至镜像仓库名为mytomcat的镜像仓库中
The push refers to repository [registry.cn-zhangjiakou.aliyuncs.com/lss-docker-images/mytomcat]
377b5223baf6: Layer already exists
5f5f84b30131: Layer already exists
2a0b10f7f9ba: Layer already exists
2653d992f4ef: Layer already exists
1.0: digest: sha256:083382b6cc0b5d039c91e99f791bac10dd68e794f776b93e046ae0a14d0e0a16 size: 1166
- 7.3 再上传一个镜像版本号为2.0的镜像到mytomcat镜像仓库中
[root@localhost ~]# docker images
REPOSITORY                                                        TAG                 IMAGE ID            CREATED             SIZE
mytomcat                                                          v1                  c0b9a81cd686        5 days ago          639MB
registry.cn-zhangjiakou.aliyuncs.com/lss-docker-images/mytomcat   1.0                 c0b9a81cd686        5 days ago          639MB
mycentos                                                          2.0                 040f98e77919        6 days ago          291MB

[root@localhost ~]# sudo docker tag 040f98e77919 registry.cn-zhangjiakou.aliyuncs.com/lss-docker-images/mytomcat:2.0
  //将镜像ID为040f98e77919的镜像上传至mytomcat镜像仓库中,版本号为2.0

[root@localhost ~]# sudo docker push registry.cn-zhangjiakou.aliyuncs.com/lss-docker-images/mytomcat:2.0
The push refers to repository [registry.cn-zhangjiakou.aliyuncs.com/lss-docker-images/mytomcat]
b49a94a64103: Pushed
88d59513ebbc: Pushed
2653d992f4ef: Layer already exists
2.0: digest: sha256:88025ccfcc439853ecab8f4b5ca7a2f44ca09f180bfc0e8dab983083e9f53ca1 size: 953
8.查看上传的镜像
可以看到我们在上传镜像的时候可以选择将当前要上传的镜像上传至哪一个镜像仓库中,一个镜像仓库可以存放多个不同版本的镜像。


可以看到目前mytomcat镜像仓库中已经上传了版本分别为1.0跟2.0的镜像。
9.从阿里云镜像仓库拉取镜像
9.1 因为阿里云镜像仓库中只有之前上传的镜像,所以现在先将本地的这个镜像删除,再从阿里云镜像仓库拉取到本地。
[root@localhost ~]# docker rmi registry.cn-zhangjiakou.aliyuncs.com/lss-docker-images/mytomcat:1.0
  //删除标签为版本1.0,镜像仓库为mytomcat的镜像
Untagged: registry.cn-zhangjiakou.aliyuncs.com/lss-docker-images/mytomcat:1.0
Untagged: registry.cn-zhangjiakou.aliyuncs.com/lss-docker-images/mytomcat@sha256:083382b6cc0b5d039c91e99f791bac10dd68e794f776b93e046ae0a14d0e0a16

[root@localhost ~]# docker images
REPOSITORY                                                        TAG                 IMAGE ID            CREATED             SIZE
mytomcat                                                          v1                  c0b9a81cd686        5 days ago          639MB
registry.cn-zhangjiakou.aliyuncs.com/lss-docker-images/mytomcat   2.0                 040f98e77919        6 days ago          291MB
mycentos                                                          2.0                 040f98e77919        6 days ago          291MB
- 9.2 从阿里云镜像仓库拉取镜像
sudo docker pull registry.cn-zhangjiakou.aliyuncs.com/命名空间/镜像仓库名称:镜像版本号
[root@localhost ~]# sudo docker pull registry.cn-zhangjiakou.aliyuncs.com/lss-docker-images/mytomcat:1.0
 //从阿里云镜像仓库mytomcat中拉取版本为1.0的镜像
1.0: Pulling from lss-docker-images/mytomcat
Digest: sha256:083382b6cc0b5d039c91e99f791bac10dd68e794f776b93e046ae0a14d0e0a16
Status: Downloaded newer image for registry.cn-zhangjiakou.aliyuncs.com/lss-docker-images/mytomcat:1.0
registry.cn-zhangjiakou.aliyuncs.com/lss-docker-images/mytomcat:1.0

[root@localhost ~]# docker images
REPOSITORY                                                        TAG                 IMAGE ID            CREATED             SIZE
registry.cn-zhangjiakou.aliyuncs.com/lss-docker-images/mytomcat   1.0                 c0b9a81cd686        5 days ago          639MB
mytomcat                                                          v1                  c0b9a81cd686        5 days ago          639MB
mycentos                                                          2.0                 040f98e77919        6 days ago          291MB
registry.cn-zhangjiakou.aliyuncs.com/lss-docker-images/mytomcat   2.0                 040f98e77919        6 days ago          291MB
10.镜像重命名
大家都知道我们在之前上传镜像的时候打的标签都很长,后续从阿里云镜像仓库拉取下来的时候,名字会特别长,不方便操作,所以我们将他们重命名。
[root@localhost ~]# docker images
REPOSITORY                                                        TAG                 IMAGE ID            CREATED             SIZE
mytomcat                                                          v1                  c0b9a81cd686        5 days ago          639MB
registry.cn-zhangjiakou.aliyuncs.com/lss-docker-images/mytomcat   1.0                 c0b9a81cd686        5 days ago          639MB
mycentos                                                          2.0                 040f98e77919        6 days ago          291MB
registry.cn-zhangjiakou.aliyuncs.com/lss-docker-images/mytomcat   2.0
我们将刚才拉取的命名空间为lss-docker-images,镜像仓库名为mytomcat,版本号为1.0的镜像registry.cn-zhangjiakou.aliyuncs.com/lss-docker-images/mytomcat 1.0重命名。
[root@localhost ~]# docker tag registry.cn-zhangjiakou.aliyuncs.com/lss-docker-images/mytomcat:1.0 mytomcat:1.0
 //将上面的镜像重命名为mytomcat:1.0

[root@localhost ~]# docker rmi registry.cn-zhangjiakou.aliyuncs.com/lss-docker-images/mytomcat:1.0
将某个名字很长的镜像重命名后,记得将该名字很长的镜像删除,因为我们已经重新命名了一个了,这个镜像不删除也会一直在本地。
[root@localhost ~]# docker images
REPOSITORY                                                        TAG                 IMAGE ID            CREATED             SIZE
mytomcat                                                          1.0                 c0b9a81cd686        5 days ago          639MB
mytomcat                                                          v1                  c0b9a81cd686        5 days ago          639MB
mycentos                                                          2.0                 040f98e77919        6 days ago          291MB
registry.cn-zhangjiakou.aliyuncs.com/lss-docker-images/mytomcat   2.0                 040f98e77919        6 days ago          291MB


既有适合小白学习的零基础资料,也有适合3年以上经验的小伙伴深入学习提升的进阶课程,涵盖了95%以上软件测试知识点,真正体系化!
由于文件比较多,这里只是将部分目录截图出来,全套包含大厂面经、学习笔记、源码讲义、实战项目、大纲路线、讲解视频,并且后续会持续更新
比较多,这里只是将部分目录截图出来,全套包含大厂面经、学习笔记、源码讲义、实战项目、大纲路线、讲解视频,并且后续会持续更新**


 1515
1515


 被折叠的 条评论
为什么被折叠?
被折叠的 条评论
为什么被折叠?
 到【灌水乐园】发言


