html5选择多张图片在页面内预览并上传到后台_html代码实现多张图片上传(1)

深知大多数程序员,想要提升技能,往往是自己摸索成长,但自己不成体系的自学效果低效又漫长,而且极易碰到天花板技术停滞不前!


img
img

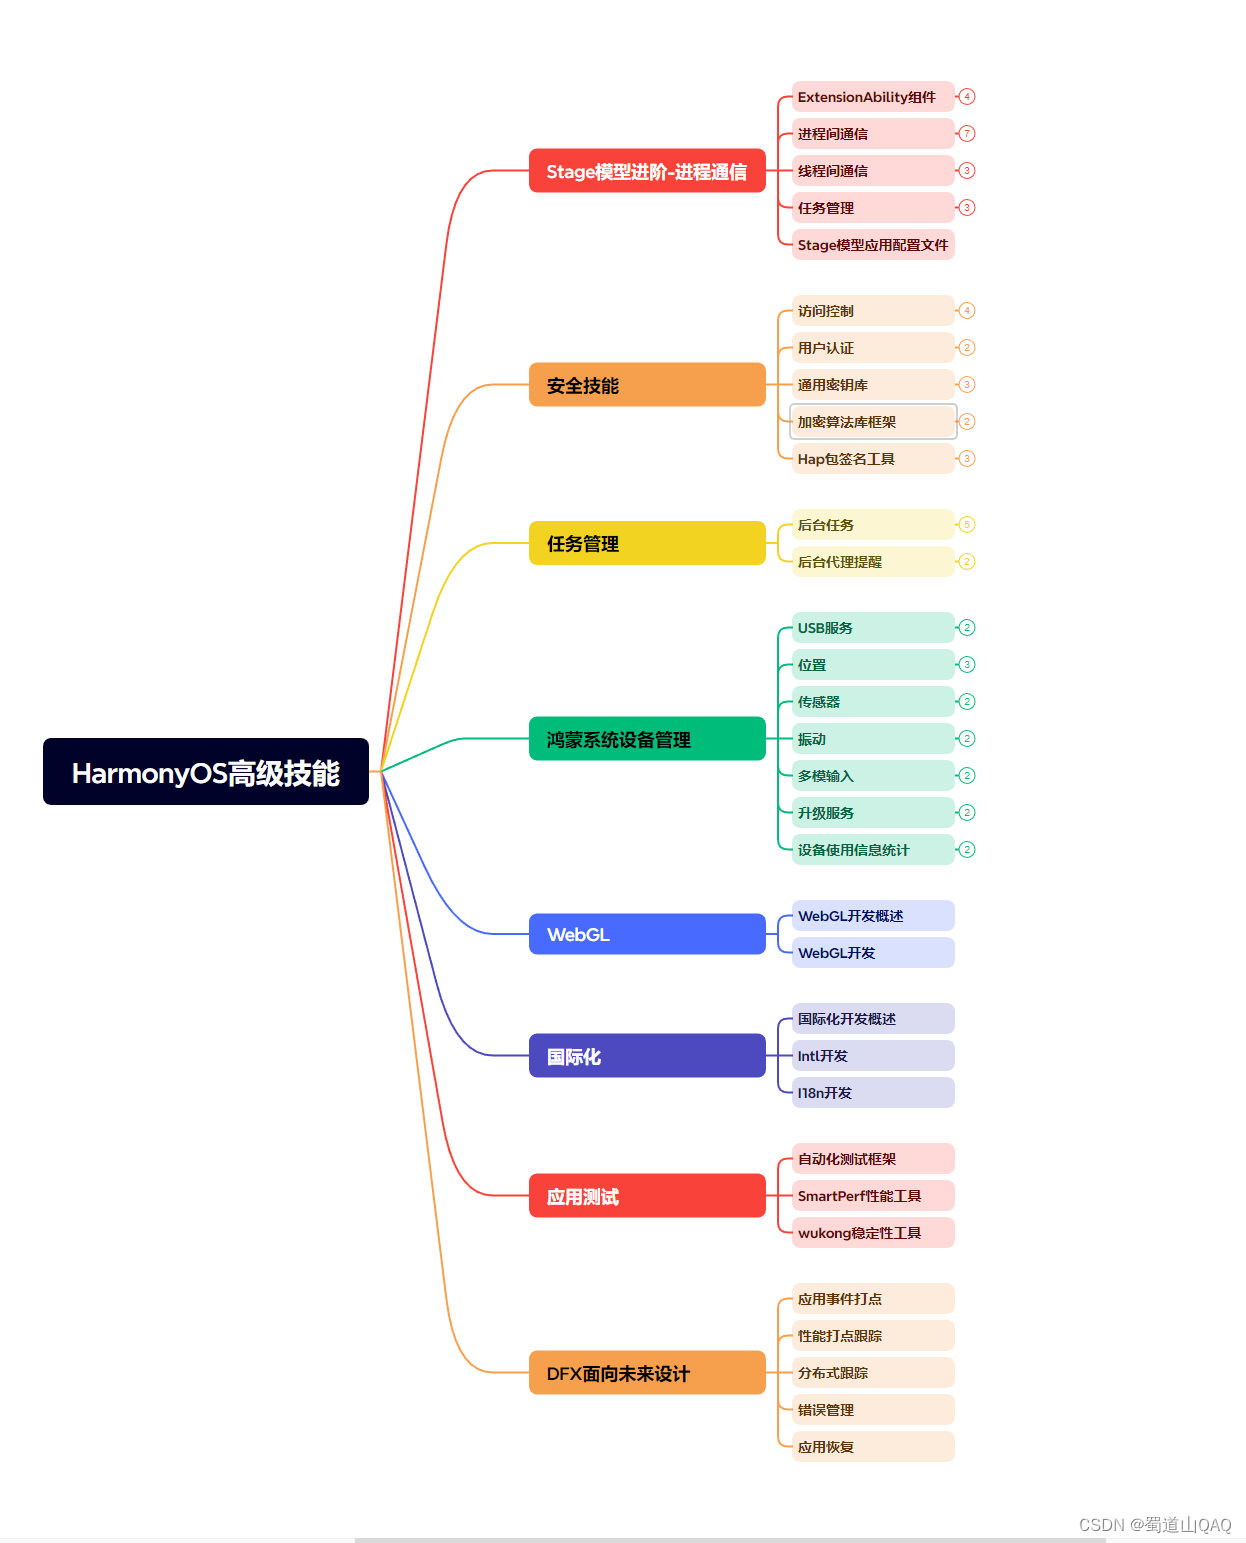
既有适合小白学习的零基础资料,也有适合3年以上经验的小伙伴深入学习提升的进阶课程,涵盖了95%以上鸿蒙开发知识点,真正体系化!

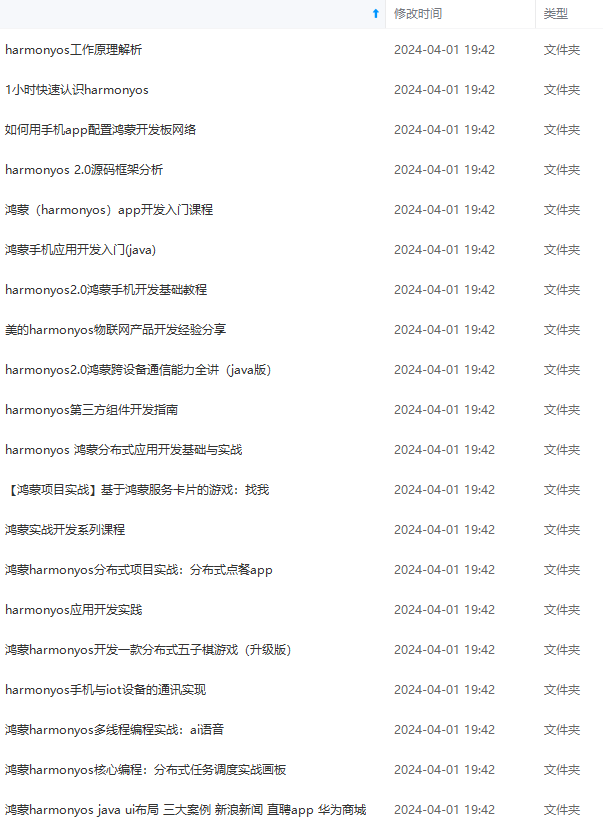
由于文件比较多,这里只是将部分目录截图出来,全套包含大厂面经、学习笔记、源码讲义、实战项目、大纲路线、讲解视频,并且后续会持续更新

需要这份系统化的资料的朋友,可以戳这里获取

需求:点击选择图片(可选多张),确定后将选择的图片显示在页面上,点击提交将图片提交给后台。

效果图:

			    <label>请选择一个图像文件:</label>
			    <input type="file" id="pic_selector" multiple/> <!--multiple,可选择多张图片-->
			    <button>提交</button>

html内容,主要是multiple属性,支持选择多个文件。是HTML5属性,注意兼容问题(IOS支持,安卓不支持)。

js内容:

    function readFile(){
    		dataArr = { data : [] };
    		fd = new FormData();
    		var iLen = this.files.length;
        	for(var i=0;i<iLen;i++){	
            	if (!input['value'].match(/.jpg|.gif|.png|.bmp/i)){  //判断所选文件格式
                	return alert("上传的图片格式不正确,请重新选择");
            	}
	            var reader = new FileReader();
	            fd.append(i,this.files[i]);
	            reader.readAsDataURL(this.files[i]);  //转成base64
	            var fileName = this.files[i].name;
	            reader.onload = function(e){
		            	var imgMsg = {
		            		name : fileName,//获取文件名
		            		base64 : this.result   //reader.readAsDataURL方法执行完后,base64数据储存在reader.result里
		            }
		            	dataArr.data.push(imgMsg);
	                result = '<div style="display:none" class="result" ><img src="'+this.result+'" alt=""/></div>';
	                div = document.createElement('div');
	                div.innerHTML = result;
	                div['className'] = 'float';
	                document.getElementsByTagName('body')[0].appendChild(div);    //插入页面
					var img = div.getElementsByTagName('img')[0];
					img.onload = function(){
						var nowHeight = ReSizePic(this); //设置图片大小
						this.parentNode.style.display = 'block';
						var oParent = this.parentNode;
						if(nowHeight){
							oParent.style.paddingTop = (oParent.offsetHeight - nowHeight)/2 + 'px';
						}
					}
	            }
	        }
    }

以上函数实现选择图片并显示在桌面上,其中img.onload的作用是将选中的图片进行缩放,放在宽高相等的div中并居中显示,可根据自己需求删除这句。

下面附上ReSizePic函数

function ReSizePic(ThisPic) {
	var RePicWidth = 200; //这里修改为您想显示的宽度值

	var TrueWidth = ThisPic.width; //图片实际宽度
	var TrueHeight = ThisPic.height; //图片实际高度
	
	if(TrueWidth>TrueHeight){
		//宽大于高
		var reWidth = RePicWidth;
		ThisPic.width = reWidth;
		//垂直居中
		var nowHeight = TrueHeight * (reWidth/TrueWidth);
		return nowHeight;  //将图片修改后的高度返回,供垂直居中用
	}else{
		//宽小于高
		var reHeight = RePicWidth;
		ThisPic.height = reHeight;
	}
}

以上就实现了图片选择展示,并将所选图片转成base64保存在dataArr中,之后用ajax上传即可。

    function send(){
   		$.ajax({
            url : 'http://...',
            type : 'post',
            data : dataArr,
            dataType: 'json',
            //processData: false,   用FormData传fd时需有这两项
            //contentType: false,
            success : function(data){
                console.log('返回的数据:'+JSON.stringify(data))
           } 
        })
   	}
    
    var oBtn = document.getElementsByTagName('button')[0];
    oBtn.onclick = function(){
    		if(!input.files.length){
    			return alert('请先选择文件');
    		}
  		send();
    }

至于用FormData上传,方法大同小异,这里不再演示了。

下面是完整代码


<!DOCTYPE html>
<html>
<head>
<meta charset="UTF-8">
<title>showImages</title>
<style type="text/css">
    .float{
        float:left;
        width : 200px;
        height: 200px;
        overflow: hidden;
        border: 1px solid #CCCCCC;
        border-radius: 10px;
        padding: 5px;
        margin: 5px;
    }
    img{
        position: relative;
    }
    .result{
        width: 200px;
        height: 200px;
        text-align: center;
        box-sizing: border-box;
    }


    #file_input{
        display: none;
    }


    .delete{
        width: 200px;
        height:200px;
        position: absolute;
        text-align: center;
        line-height: 200px;
        z-index: 10;
        font-size: 30px;
        background-color: rgba(255,255,255,0.8);
        color: #777;
        opacity: 0;
        transition-duration: 0.7s;
        -webkit-transition-duration: 0.7s;
    }


    .delete:hover{
        cursor: pointer;
        opacity: 1;
    }


![img](https://img-blog.csdnimg.cn/img_convert/8019ea25b4715b87c62eb752a7625b7a.png)
![img](https://img-blog.csdnimg.cn/img_convert/22fa43c28c694b8b28c7b1ba734f2e4d.png)

**网上学习资料一大堆,但如果学到的知识不成体系,遇到问题时只是浅尝辄止,不再深入研究,那么很难做到真正的技术提升。**

**[需要这份系统化的资料的朋友,可以戳这里获取](https://bbs.csdn.net/topics/618636735)**


**一个人可以走的很快,但一群人才能走的更远!不论你是正从事IT行业的老鸟或是对IT行业感兴趣的新人,都欢迎加入我们的的圈子(技术交流、学习资源、职场吐槽、大厂内推、面试辅导),让我们一起学习成长!**

转存中...(img-ZZk5xYgx-1715892382000)]

**网上学习资料一大堆,但如果学到的知识不成体系,遇到问题时只是浅尝辄止,不再深入研究,那么很难做到真正的技术提升。**

**[需要这份系统化的资料的朋友,可以戳这里获取](https://bbs.csdn.net/topics/618636735)**


**一个人可以走的很快,但一群人才能走的更远!不论你是正从事IT行业的老鸟或是对IT行业感兴趣的新人,都欢迎加入我们的的圈子(技术交流、学习资源、职场吐槽、大厂内推、面试辅导),让我们一起学习成长!**

  • 3
    点赞
  • 3
    收藏
    觉得还不错? 一键收藏
  • 0
    评论
首先,我们可以使用 HTML 和 CSS 来创建一个简单的 9 宫格图片预览代码如下: ```html <!DOCTYPE html> <html> <head> <title>9宫格图片上传</title> <style> .container { display: flex; flex-wrap: wrap; justify-content: center; align-items: center; } .image { width: 30%; margin: 10px; border: 1px solid #ccc; text-align: center; padding: 5px; box-sizing: border-box; } .image img { max-width: 100%; max-height: 100%; } .file-input { display: none; } .file-label { background-color: #3498db; color: #fff; padding: 10px 20px; border-radius: 5px; text-align: center; cursor: pointer; transition: all 0.3s ease; } .file-label:hover { background-color: #2980b9; } </style> </head> <body> <div class="container"> <div class="image"> <label for="file-input-1"> <img src="https://via.placeholder.com/150x150" alt="Placeholder"> </label> <input type="file" class="file-input" id="file-input-1"> </div> <div class="image"> <label for="file-input-2"> <img src="https://via.placeholder.com/150x150" alt="Placeholder"> </label> <input type="file" class="file-input" id="file-input-2"> </div> <div class="image"> <label for="file-input-3"> <img src="https://via.placeholder.com/150x150" alt="Placeholder"> </label> <input type="file" class="file-input" id="file-input-3"> </div> <div class="image"> <label for="file-input-4"> <img src="https://via.placeholder.com/150x150" alt="Placeholder"> </label> <input type="file" class="file-input" id="file-input-4"> </div> <div class="image"> <label for="file-input-5"> <img src="https://via.placeholder.com/150x150" alt="Placeholder"> </label> <input type="file" class="file-input" id="file-input-5"> </div> <div class="image"> <label for="file-input-6"> <img src="https://via.placeholder.com/150x150" alt="Placeholder"> </label> <input type="file" class="file-input" id="file-input-6"> </div> <div class="image"> <label for="file-input-7"> <img src="https://via.placeholder.com/150x150" alt="Placeholder"> </label> <input type="file" class="file-input" id="file-input-7"> </div> <div class="image"> <label for="file-input-8"> <img src="https://via.placeholder.com/150x150" alt="Placeholder"> </label> <input type="file" class="file-input" id="file-input-8"> </div> <div class="image"> <label for="file-input-9"> <img src="https://via.placeholder.com/150x150" alt="Placeholder"> </label> <input type="file" class="file-input" id="file-input-9"> </div> </div> <script> const fileInputs = document.querySelectorAll('.file-input'); fileInputs.forEach(fileInput => { fileInput.addEventListener('change', event => { const file = event.target.files[0]; const reader = new FileReader(); reader.readAsDataURL(file); reader.onload = event => { const image = event.target.result; const imageElement = fileInput.previousElementSibling; imageElement.src = image; }; }); }); </script> </body> </html> ``` 以上代码中,我们使用了 Flexbox 布局来创建 9 个等宽的图片容器。每个容器包含一个 label 元素和一个 input[type="file"] 元素。label 元素中包含一个 img 元素,用于显示预览图片。input[type="file"] 元素被隐藏,但是当用户点击对应的 label 元素时,就会触发 input[type="file"] 元素的点击事件,从而打开文件上传对话框。 接下来,我们需要使用 JavaScript 来实现将上传的图片保存到服务器上。由于这需要使用服务器端编程语言(如 PHP、Python 等),所以这里我们只提供一个简单的示例代码,演示如何将图片数据通过 AJAX 发送给服务器。这个示例代码假设服务器端的上传接口是 `/upload`,上传的图片数据被保存在名为 `image` 的 POST 参数中。 ```javascript const fileInputs = document.querySelectorAll('.file-input'); fileInputs.forEach(fileInput => { fileInput.addEventListener('change', event => { const file = event.target.files[0]; const reader = new FileReader(); reader.readAsDataURL(file); reader.onload = event => { const image = event.target.result; const xhr = new XMLHttpRequest(); xhr.open('POST', '/upload'); xhr.setRequestHeader('Content-Type', 'application/x-www-form-urlencoded'); xhr.onreadystatechange = () => { if (xhr.readyState === 4 && xhr.status === 200) { console.log('Image uploaded successfully'); } }; xhr.send(`image=${encodeURIComponent(image)}`); }; }); }); ``` 以上代码中,我们为每个 input[type="file"] 元素添加了一个 change 事件监听器。当用户选择文件后,会触发该监听器,从而创建一个 FileReader 对象来读取文件数据。读取完成后,我们使用 XMLHttpRequest 对象将图片数据发送给服务器。服务器可以根据需要将图片数据保存到磁盘上。需要注意的是,这个示例代码中的上传接口是不安全的,因为它可以接受任何数据,包括恶意代码。实际应用中,我们需要在服务器端对上传的数据进行检查和过滤,以确保安全性。

“相关推荐”对你有帮助么?

  • 非常没帮助
  • 没帮助
  • 一般
  • 有帮助
  • 非常有帮助
提交
评论
添加红包

请填写红包祝福语或标题

红包个数最小为10个

红包金额最低5元

当前余额3.43前往充值 >
需支付:10.00
成就一亿技术人!
领取后你会自动成为博主和红包主的粉丝 规则
hope_wisdom
发出的红包
实付
使用余额支付
点击重新获取
扫码支付
钱包余额 0

抵扣说明:

1.余额是钱包充值的虚拟货币,按照1:1的比例进行支付金额的抵扣。
2.余额无法直接购买下载,可以购买VIP、付费专栏及课程。

余额充值