


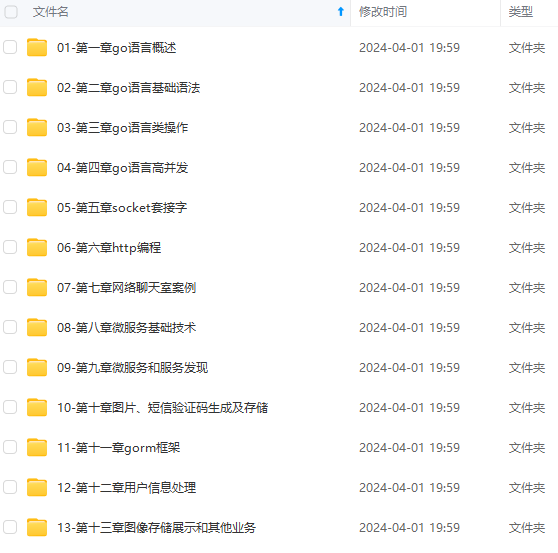

既有适合小白学习的零基础资料,也有适合3年以上经验的小伙伴深入学习提升的进阶课程,涵盖了95%以上Go语言开发知识点,真正体系化!
由于文件比较多,这里只是将部分目录截图出来,全套包含大厂面经、学习笔记、源码讲义、实战项目、大纲路线、讲解视频,并且后续会持续更新
#!/usr/bin/env python3
# -*- coding: UTF-8 -*-

def application(env, start_response):
    start_response('200 OK', [('Content-Type','text/html')])
    return [b'Hello World']
通过 uWSGI 运行该文件
uwsgi --http :8000 --wsgi-file test.py
在浏览器中输入 127.0.0.1:8000,出现 “Hello World”表示安装成功。
四、Django 与 uWSGI 之间的通信
安装 Django
sudo pip3 install Django==2.0.3
创建 Django 项目
django-admin startproject myweb
我的 Django 项目位置为:/home/setup/myweb
uwsgi --http :8000 --chdir /home/setup/myweb --wsgi-file myweb/wsgi.py --master --processes 4 --threads 2 --stats 127.0.0.1:8001
常用选项
- http: 协议类型和端口号
- processes: 开启的进程数量
- workers: 开启的进程数量,等同于 processes
- chdir: 指定运行目录
- wsgi-file: 载入 wsgi-file
- stats: 在指定的地址上,开启状态服务
- threads: 运行线程。由于 GIL 的存在,我觉得这个真心没啥用。
- master: 允许主进程存在
- daemonize: 使进程在后台运行,并将日志打到指定的日志文件或者 udp 服务器(daemonize uWSGI)。实际上最常用的,还是把运行记录输出到一个本地文件上。
- pidfile: 指定pid文件的位置,记录主进程的pid号。
- vacuum: 当服务器退出的时候自动清理环境,删除 unix socket 文件和 pid 文件
五、Nginx、uWSGI、Django 之间的通信
接下来,我们要将三者结合起来
1. 配置 Django 和 uWSGI
先在 Django 项目根目录下新建一个 uWSGI 的配置文件 uwsgi.ini
cd myweb
touch uwsgi.ini
此时 Django 项目的目录文件结构如下:
myweb/
├── manage.py
├── myweb
│   ├── __init__.py
│   ├── __pycache__
│   │   ├── __init__.cpython-35.pyc
│   │   └── settings.cpython-35.pyc
│   ├── settings.py
│   ├── urls.py
│   └── wsgi.py
└── uwsgi.ini
在我们通过 Django 创建 myweb 项目时,在子目录 myweb 下已经帮我们生成的 wsgi.py文件。所以,我们只需要再创建 uwsgi.ini 配置文件即可。
uwsgi 支持多种类型的配置文件,如 xml、ini 等。此处,使用 ini 类型的配置。
接下来打开刚刚创建好的配置文件 uwsgi.ini 添加如下配置:
[uwsgi]

socket = :8888
chdir           = /home/setup/myweb
module          = myweb.wsgi
master          = true
processes       = 4
vacuum          = true
这个配置,其实就相当于在上一小节中通过 wsgi 命令,后面跟一堆参数的方式,给文件化了。
- socket: 指定项目执行的端口号。
- chdir: 指定项目的目录。
- module:
module = hello.wsgi可以这么来理解。对于 uwsgi.ini 文件而言,与它同级目录有一个 myweb 目录,这个目录下有一个 wsgi.py 文件。
其它几个参数,可以参考上一小节中参数的介绍。
接下来,通过 uwsgi 命令读取 uwsgi.ini 文件启动项目
uwsgi --ini uwsgi.ini
运行结果:
setup@labideas-data:~/myweb$ uwsgi --ini uwsgi.ini
[uWSGI] getting INI configuration from uwsgi.ini
*** Starting uWSGI 2.0.17 (64bit) on [Tue Mar 20 11:11:30 2018] ***
compiled with version: 5.4.0 20160609 on 19 March 2018 09:13:12
os: Linux-4.4.0-105-generic #128-Ubuntu SMP Thu Dec 14 12:42:11 UTC 2017
nodename: labideas-data
machine: x86_64
clock source: unix
detected number of CPU cores: 4
current working directory: /home/setup/hello
detected binary path: /usr/local/bin/uwsgi
!!! no internal routing support, rebuild with pcre support !!!
chdir() to /home/setup/hello
your processes number limit is 64049
your memory page size is 4096 bytes
detected max file descriptor number: 65535
lock engine: pthread robust mutexes
thunder lock: disabled (you can enable it with --thunder-lock)
uwsgi socket 0 bound to TCP address :8888 fd 3
Python version: 3.5.2 (default, Nov 23 2017, 16:37:01)  [GCC 5.4.0 20160609]
*** Python threads support is disabled. You can enable it with --enable-threads ***
Python main interpreter initialized at 0x1f73aa0
your server socket listen backlog is limited to 100 connections
your mercy for graceful operations on workers is 60 seconds
mapped 364520 bytes (355 KB) for 4 cores
*** Operational MODE: preforking ***
WSGI app 0 (mountpoint='') ready in 0 seconds on interpreter 0x1f73aa0 pid: 7097 (default app)
*** uWSGI is running in multiple interpreter mode ***
spawned uWSGI master process (pid: 7097)
spawned uWSGI worker 1 (pid: 7099, cores: 1)
spawned uWSGI worker 2 (pid: 7100, cores: 1)
spawned uWSGI worker 3 (pid: 7101, cores: 1)
spawned uWSGI worker 4 (pid: 7102, cores: 1)
注意查看uwsgi的启动信息,如果有错,就要检查配置文件的参数是否设置有误。
2. 配置 Nginx
Nginx 默认的配置文件都在 /etc/nginx 目录下
setup@labideas-data:/etc/nginx$ ll
total 64
drwxr-xr-x  6 root root 4096 Mar 20 09:37 ./
drwxr-xr-x 95 root root 4096 Mar 19 19:56 ../
drwxr-xr-x  2 root root 4096 Mar 19 20:13 conf.d/
-rw-r--r--  1 root root 1077 Feb 12  2017 fastcgi.conf
-rw-r--r--  1 root root 1007 Feb 12  2017 fastcgi_params
-rw-r--r--  1 root root 2837 Feb 12  2017 koi-utf
-rw-r--r--  1 root root 2223 Feb 12  2017 koi-win
-rw-r--r--  1 root root 3957 Feb 12  2017 mime.types
-rw-r--r--  1 root root 1919 Mar 20 09:33 nginx.conf
-rw-r--r--  1 root root  180 Feb 12  2017 proxy_params
-rw-r--r--  1 root root  636 Feb 12  2017 scgi_params
drwxr-xr-x  2 root root 4096 Mar 20 10:00 sites-available/
drwxr-xr-x  2 root root 4096 Mar 19 14:59 sites-enabled/
drwxr-xr-x  2 root root 4096 Mar 19 14:59 snippets/
-rw-r--r--  1 root root  664 Feb 12  2017 uwsgi_params
-rw-r--r--  1 root root 3071 Feb 12  2017 win-utf
我们需要进入 /etc/nginx/sites-available 目录下进行配置 default 文件(有些 Linux 发行版的配置文件是在 /etc/nginx/nginx.conf 下,还有一些在其他地方,这里我们以 Ubuntu 16.04 为准)。
将原有配置文件进行备份,并打开 nginx 配置文件
sudo cp /etc/nginx/sites-available/default /etc/nginx/sites-available/default.bak
sudo vi /etc/nginx/sites-available/default
将默认的 80 端口号改成其它端口号,如 8080。因为默认的 80 端口号很容易被其它应用程序占用,而且我们配置我们自己的 Django 项目也需要用到默认端口。
# Django 2.0 项目部署
server {

    listen          80;
    server_name     data.labideas.cn
    charset         UTF-8;
    access_log      /var/log/nginx/myweb_access.log;
    error_log       /var/log/nginx/myweb_error.log;

    client_max_body_size 75M;

    location / {

        include uwsgi_params;
        uwsgi_pass 127.0.0.1:8888;
        uwsgi_read_timeout 2;
    }

    location /static {

        expires 30d;
        autoindex on;
        add_header Cache-Control private;
        alias /home/setup/myweb/static/;
    }
}
- listen: 指定的是 nginx 代理 uwsgi 对外的端口号。
- server_name: 网上大多资料都是设置的一个网址(例,www.baidu.com,如果指定的是 localhost 或 127.0.0.1 则只能在本机访问。
那么 nginx 到底是如何 uwsgi 产生关联的呢?现在看来大概最主要的就是这两行配置。
include uwsgi_params;
uwsgi_pass 127.0.0.1:8888;
include 必须指定为 uwsgi_params。而 uwsgi_pass 指的是本机 IP 和端口号,并且要与 myweb_uwsgi.ini 配置文件中的 IP 和端口号必须保持一致。
现在重新启动 nginx
sudo /etc/init.d/nginx restart
然后浏览器访问 127.0.0.1
Invalid HTTP_HOST header: 'data.labideas.cn'. You may need to add 'data.labideas.cn' to ALLOWED_HOSTS.
[pid: 7924|app: 0|req: 1/1] 114.249.204.30 () {40 vars in 658 bytes} [Tue Mar 20 06:16:28 2018] GET / => generated 54903 bytes in 41 msecs (HTTP/1.1 400) 1 headers in 53 bytes (1 switches on core 0)
在 uWSGI 后台就可以看到有信息输出。通过 IP 和端口号的指向,请求应该是先到 nginx 的,如果你在页面上执行一些请求,就会看到,这些请求最终会转到 uwsgi 来处理。
最后我们将 uWSGI 配置为开机自启
打开 sudo vi /etc/rc.local 将
uwsgi --ini /home/setup/myweb/uwsgi.ini &
添加到文件中
注意要添加到 exit 0 之前,& 表示该服务是在后台执行。
六、遇到的问题
在配置过程中,总会遇到各种各样的问题,这里我将最常用的几项问题罗列出来,希望能帮到你。
1. Django 启动报错
setup@labideas-data:~/myweb$ python3 manage.py runserver
Performing system checks...

System check identified no issues (0 silenced).

You have 14 unapplied migration(s). Your project may not work properly until you apply the migrations for app(s): admin, auth, contenttypes, sessions.
Run 'python manage.py migrate' to apply them.

March 20, 2018 - 06:28:52
Django version 2.0.3, using settings 'myweb.settings'
Starting development server at http://127.0.0.1:8000/
Quit the server with CONTROL-C.
创建一个新项目,利用 Django 本身的测试服务器启动,会出现上述的错误。这是因为你的项目中有些默认数据并没有迁移到数据库中。
解决办法:
将数据迁移到数据库中
python3 manage.py migrate
2. uwsgi 启动报错
在启动 uwsgi 的时候,在启动信息中如果有下面的错误提示:
!!! no internal routing support, rebuild with pcre support !!!
是依赖有问题
解决办法:
卸载 uwsgi,注意此时卸载,pip 会有缓存留在系统里
pip uninstall uwsgi
安装 pcre 依赖库
centos 安装
sudo yum install pcre pcre-devel pcre-static
ubuntu 安装
sudo apt-get install libpcre3 libpcre3-dev
重新安装 uwsgi,不走 pip 缓存
pip install uwsgi -I --no-cache-dir
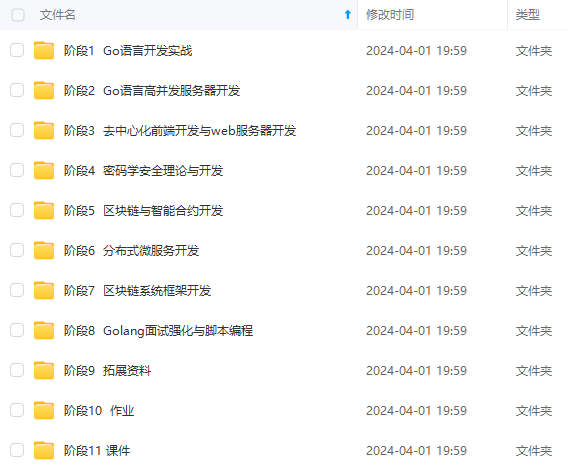

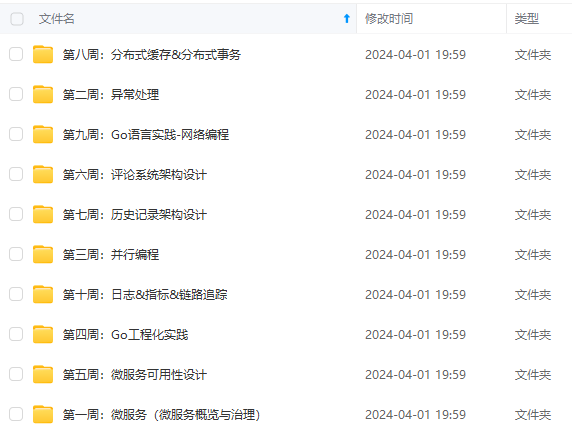
**既有适合小白学习的零基础资料,也有适合3年以上经验的小伙伴深入学习提升的进阶课程,涵盖了95%以上Go语言开发知识点,真正体系化!**
**由于文件比较多,这里只是将部分目录截图出来,全套包含大厂面经、学习笔记、源码讲义、实战项目、大纲路线、讲解视频,并且后续会持续更新**
**[如果你需要这些资料,可以戳这里获取](https://bbs.csdn.net/topics/618658159)**
libpcre3 libpcre3-dev
重新安装 uwsgi,不走 pip 缓存
pip install uwsgi -I --no-cache-dir


[外链图片转存中...(img-fVYIIMGI-1715706154272)]
[外链图片转存中...(img-iX7WJkR8-1715706154272)]
[外链图片转存中...(img-kI1b6E1T-1715706154272)]

**既有适合小白学习的零基础资料,也有适合3年以上经验的小伙伴深入学习提升的进阶课程,涵盖了95%以上Go语言开发知识点,真正体系化!**

**由于文件比较多,这里只是将部分目录截图出来,全套包含大厂面经、学习笔记、源码讲义、实战项目、大纲路线、讲解视频,并且后续会持续更新**

**[如果你需要这些资料,可以戳这里获取](https://bbs.csdn.net/topics/618658159)**


 4926
4926


 被折叠的 条评论
为什么被折叠?
被折叠的 条评论
为什么被折叠?
 到【灌水乐园】发言


