


android:name=“com.google.firebase.ml.vision.DEPENDENCIES”
android:value=“barcode” />
6.打开activity_main.xml并添加TextureView,我们将使用它来传输摄像机输入:
<?xml version="1.0" encoding="utf-8"?><androidx.constraintlayout.widget.ConstraintLayout
xmlns:android=“http://schemas.android.com/apk/res/android”
xmlns:tools=“http://schemas.android.com/tools”
xmlns:app=“http://schemas.android.com/apk/res-auto”
android:layout_width=“match_parent”
android:layout_height=“match_parent”
tools:context=“.MainActivity”>
<TextureView
android:id=“@+id/texture_view”
android:layout_width=“match_parent”
android:layout_height=“match_parent”
app:layout_constraintTop_toTopOf=“parent”
app:layout_constraintBottom_toBottomOf=“parent”
app:layout_constraintStart_toStartOf=“parent”
app:layout_constraintEnd_toEndOf=“parent” />
</androidx.constraintlayout.widget.ConstraintLayout>
7.作为项目设置的最后一步,我们需要检查用户是否已授予摄像头许可。所以,你可以转到MainActivity.kt文件并添加以下代码:
class MainActivity : AppCompatActivity() {
companion object {
private const val REQUEST_CAMERA_PERMISSION = 10
}
private lateinit var textureView: TextureView
override fun onCreate(savedInstanceState: Bundle?) {
super.onCreate(savedInstanceState)
setContentView(R.layout.activity_main)
textureView = findViewById(R.id.texture_view)
// Request camera permissions
if (isCameraPermissionGranted()) {
textureView.post { startCamera() }
} else {
ActivityCompat.requestPermissions(this, arrayOf(Manifest.permission.CAMERA), REQUEST_CAMERA_PERMISSION)
}
}
private fun startCamera() {
// We will implement this in next steps.
}
private fun isCameraPermissionGranted(): Boolean {
val selfPermission = ContextCompat.checkSelfPermission(baseContext, Manifest.permission.CAMERA)
return selfPermission == PackageManager.PERMISSION_GRANTED
}
override fun onRequestPermissionsResult(requestCode: Int, permissions: Array, grantResults: IntArray) {
if (requestCode == REQUEST_CAMERA_PERMISSION) {
if (isCameraPermissionGranted()) {
textureView.post { startCamera() }
} else {
Toast.makeText(this, “Camera permission is required.”, Toast.LENGTH_SHORT).show()
finish()
}
}
}
}
CameraX有一个称为用例的抽象,使您可以与设备的摄像头进行交互。当前有以下用例:
-
预览:允许您访问摄像机输入流,可用于在TextureView中显示摄像机流。
-
图像分析:允许您分析摄像机输入的每一帧。我们将使用此用例执行图像分析,以使用Firebase ML Kit检测帧中的二维码。
-
图像捕获:捕获和保存照片。
1.如上所述,要在屏幕上显示摄像机流,我们需要使用“ 预览”用例。当创建Preview用例的实例时,我们需要传递PreviewConfig作为构造函数参数。因此,我们需要在startCamera()函数中添加以下代码:
val previewConfig = PreviewConfig.Builder()
// We want to show input from back camera of the device
.setLensFacing(CameraX.LensFacing.BACK)
.build()
val preview = Preview(previewConfig)
2.预览用例提供了一个SurfaceTexture供显示。为了在我们的中显示摄像机流textureView,我们需要使用setOnPreviewOutputUpdateListener()方法将侦听器添加到预览实例:
// …
preview.setOnPreviewOutputUpdateListener { previewOutput ->
textureView.surfaceTexture = previewOutput.surfaceTexture
}
3.当CameraX观察到生命周期来管理摄像机资源时,我们需要使用绑定我们的用例CameraX.bindToLifecycle,所以要将startCamera()函数写入MainActivity中:
private fun startCamera() {
val previewConfig = PreviewConfig.Builder()
// We want to show input from back camera of the device
.setLensFacing(CameraX.LensFacing.BACK)
.build()
val preview = Preview(previewConfig)
preview.setOnPreviewOutputUpdateListener { previewOutput ->
textureView.surfaceTexture = previewOutput.surfaceTexture
}
CameraX.bindToLifecycle(this as LifecycleOwner, preview)
}
现在,我们需要使用ImageAnalysis用例从摄像机输入中检测二维码。为此,我们需要创建一个名为Image的类,该类QrCodeAnalyzer实现ImageAnalysis.Analyzer接口。ImageAnalysis.Analyzer具有名为analyze(ImageProxy image, int rotationDegrees)的功能,在这里我们将添加与QR码检测相关的代码。
1.创建QrCodeAnalyzer并添加回调以在检测到二维码时获取通知:
class QrCodeAnalyzer(
private val onQrCodesDetected: (qrCodes: List) -> Unit
) : ImageAnalysis.Analyzer {
override fun analyze(image: ImageProxy, rotationDegrees: Int) {
// …
}
}
2.获取FirebaseVisionBarcodeDetector的实例:
val options = FirebaseVisionBarcodeDetectorOptions.Builder()
// We want to only detect QR codes.
.setBarcodeFormats(FirebaseVisionBarcode.FORMAT_QR_CODE)
.build()
val detector = FirebaseVision.getInstance().getVisionBarcodeDetector(options)
3.从框架创建FirebaseVisionImage:
val rotation = rotationDegreesToFirebaseRotation(rotationDegrees)
val visionImage = FirebaseVisionImage.fromMediaImage(image.image!!, rotation)
在这一步中,我们还需要通过添加以下函数将ImageAnalysis.Analyzer的旋转度转换为firebase的旋转度:
private fun rotationDegreesToFirebaseRotation(rotationDegrees: Int): Int {
return when (rotationDegrees) {
0 -> FirebaseVisionImageMetadata.ROTATION_0
90 -> FirebaseVisionImageMetadata.ROTATION_90
180 -> FirebaseVisionImageMetadata.ROTATION_180
270 -> FirebaseVisionImageMetadata.ROTATION_270
else -> throw IllegalArgumentException(“Not supported”)
}
}
(4)传递visionImage到detector并通知onQrCodesDetected与检测到的二维码列表:
detector.detectInImage(visionImage)
.addOnSuccessListener { barcodes ->
onQrCodesDetected(barcodes)
}
.addOnFailureListener {
Log.e(“QrCodeAnalyzer”, “something went wrong”, it)
(5)使用MainActivity中startCamera()函数的QrCodeAnalyzer功能:
private fun startCamera() {
// …
val imageAnalysisConfig = ImageAnalysisConfig.Builder()
.build()
val imageAnalysis = ImageAnalysis(imageAnalysisConfig)
val qrCodeAnalyzer = QrCodeAnalyzer { qrCodes ->
qrCodes.forEach {
Log.d(“MainActivity”, “QR Code detected: ${it.rawValue}.”)
}
}
imageAnalysis.analyzer = qrCodeAnalyzer
// We need to bind preview and imageAnalysis use cases
CameraX.bindToLifecycle(this as LifecycleOwner, preview, imageAnalysis)
}
最后
自我介绍一下,小编13年上海交大毕业,曾经在小公司待过,也去过华为、OPPO等大厂,18年进入阿里一直到现在。
深知大多数初中级Android工程师,想要提升技能,往往是自己摸索成长,自己不成体系的自学效果低效漫长且无助。
因此我收集整理了一份《2024年Android移动开发全套学习资料》,初衷也很简单,就是希望能够帮助到想自学提升又不知道该从何学起的朋友,同时减轻大家的负担。
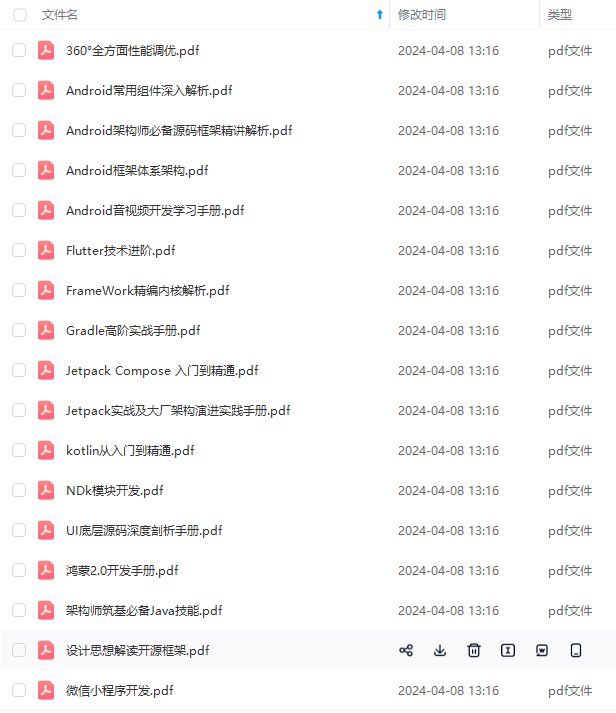

既有适合小白学习的零基础资料,也有适合3年以上经验的小伙伴深入学习提升的进阶课程,基本涵盖了95%以上Android开发知识点!不论你是刚入门Android开发的新手,还是希望在技术上不断提升的资深开发者,这些资料都将为你打开新的学习之门
如果你觉得这些内容对你有帮助,需要这份全套学习资料的朋友可以戳我获取!!
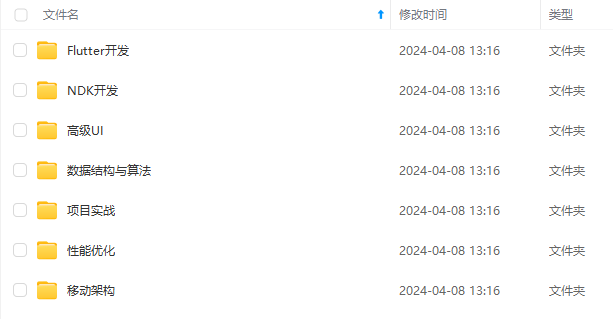
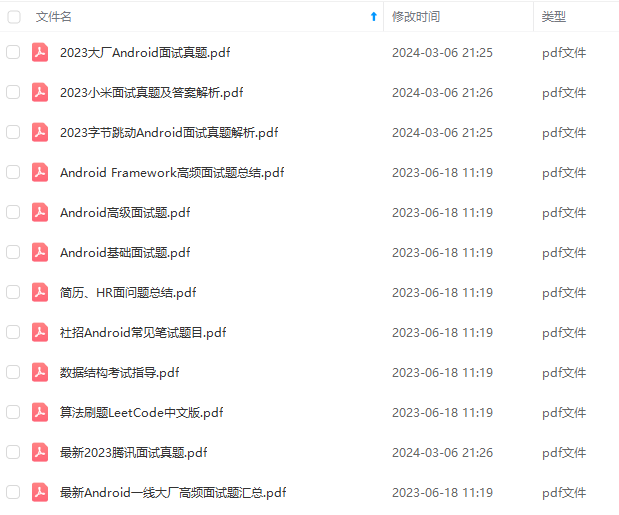
由于文件比较大,这里只是将部分目录截图出来,每个节点里面都包含大厂面经、学习笔记、源码讲义、实战项目、讲解视频,并且会持续更新!
存中…(img-oWqgnow0-1715846989234)]
[外链图片转存中…(img-3EY2SK3c-1715846989238)]
[外链图片转存中…(img-XdmaW0Zw-1715846989240)]
[外链图片转存中…(img-FLPRDqjV-1715846989242)]
既有适合小白学习的零基础资料,也有适合3年以上经验的小伙伴深入学习提升的进阶课程,基本涵盖了95%以上Android开发知识点!不论你是刚入门Android开发的新手,还是希望在技术上不断提升的资深开发者,这些资料都将为你打开新的学习之门
如果你觉得这些内容对你有帮助,需要这份全套学习资料的朋友可以戳我获取!!
由于文件比较大,这里只是将部分目录截图出来,每个节点里面都包含大厂面经、学习笔记、源码讲义、实战项目、讲解视频,并且会持续更新!


 436
436


 被折叠的 条评论
为什么被折叠?
被折叠的 条评论
为什么被折叠?
 到【灌水乐园】发言


