


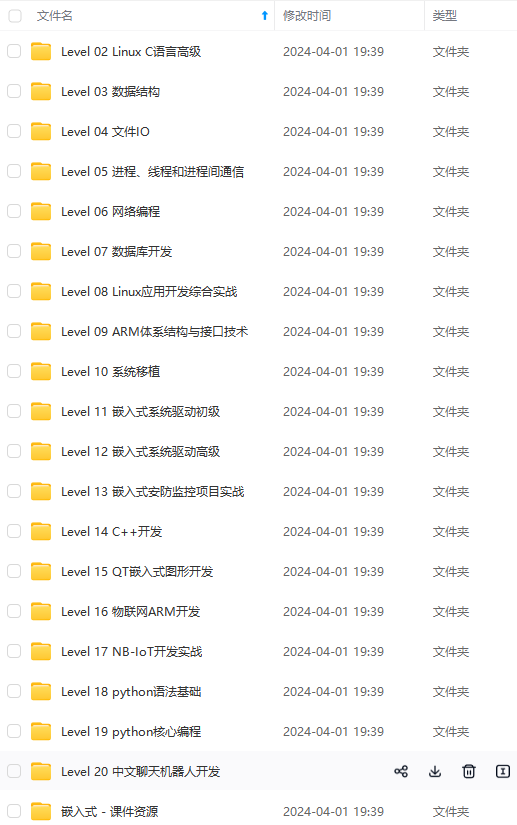
既有适合小白学习的零基础资料,也有适合3年以上经验的小伙伴深入学习提升的进阶课程,涵盖了95%以上物联网嵌入式知识点,真正体系化!
由于文件比较多,这里只是将部分目录截图出来,全套包含大厂面经、学习笔记、源码讲义、实战项目、大纲路线、电子书籍、讲解视频,并且后续会持续更新
pthread\_detach(tid2);
//detach thread
while(1)
{};
return 0;
}
### 二、同步和互斥问题


#### 1.什么是临界资源


并发编程中,多线程/进程 共享的资源,都叫临界资源


#### 2.什么是临界区


代码中操作临界资源的部分,称为临界区


#### 3.操作临界资源的使用要注意哪些问题


读读不互斥
 读写互斥
 写写互斥


#### 4.如何安全的操作临界资源


同步
 互斥


### 三、同步


#### 1.什么是同步:


多进程/多线程在访问临界资源时,按照一定的操作顺序来访问。


#### 2.什么时候使用同步


需要按照一定的顺序访问临界资源时使用


#### 3.实现同步的方法


##### 1.信号量


有名信号量:进程使用
 无名信号量:线程使用


##### 2.能够共享的变量


(1)进程:


管道
 ------------有名管道
 ------------无名管道
 共享内存
 消息队列


(2) 线程:


全局变量
 静态变量


#### 4.如何实现无名信号量


##### (1)sem\_init
/*需要包含的头文件*/
#include <semaphore.h>
/*
*函数名:sem_init
*函数功能:初始化一个无名信号量
*函数参数:
* sem_t *sem:信号量操作对象的指针
* int pshare:默认为0为线程使用
* unsigned int value:信号量的初始值
*函数返回值:int:成功返回0,失败返回-1
*/
int sem_init(sem_t *sem, int pshare, unsigned int value);
##### (2)sem\_wait


##### (3)sem\_post


##### (4)sem\_destroy
/*需要包含的头文件*/
#include <semaphore.h>
/*
*函数名:sem_destroy
*函数功能:销毁一个无名信号量
*函数参数:sem_t *sem:被销毁的无名信号量的操作对象指针
*函数返回值:int :成功0,失败-1
*/
int sem_destroy(sem_t *sem);
#### 5.如何使用无名信号量


多线程需要同步访问临界资源时使用


#### 6.同步代码演示


##### (1)flags


>
> create\_thread-------------------------------------------------------------------------------------------------代码如下
>
>
>
#include <stdio.h>
#include <pthread.h>
int c;
int flag;
void *t1f(void *arg)
{
while(1)
{
if(flag == 0)
{
if(c < 100)
{
c++;
}
else
{
c = 0;
}
flag = 1;
}
}
return NULL;
}
void *t2f(void *arg)
{
while(1)
{
if(flag == 1)
{
printf(“c:%d\n”,c);
flag = 0;
}
}
return NULL;
}
int main()
{
//create thread two
pthread_t tid1, tid2;
int ret = pthread_create(&tid1, NULL, t1f ,NULL);
if(ret != 0)
{
puts(“create thread 1 error.”);
return -1;
}
ret = pthread_create(&tid2, NULL, t2f ,NULL);
if(ret != 0)
{
puts(“create thread 1 error.”);
return -1;
}
pthread_detach(tid1);
pthread_detach(tid2);
//detach thread
while(1)
{};
return 0;
}
##### (2)unamed\_sem


>
> create\_thread-------------------------------------------------------------------------------------------------代码如下
>
>
>
#include <stdio.h>
#include <pthread.h>
#include <semaphore.h>
int c;
sem_t mysem;
void *t1f(void *arg)
{
while(1)
{
int sval = 0;
sem_getvalue(&mysem, &sval);
if(sval == 2)
{
sem_wait(&mysem);
if(c < 100)
{
c++;
}
else
{
c = 0;
}
}
}
return NULL;
}
void *t2f(void *arg)
{
while(1)
{
int sval = 0;
sem_getvalue(&mysem, &sval);
if(sval == 1)
{
sem_wait(&mysem);
printf(“c:%d\n”,c);
sem_post(&mysem);
sem_post(&mysem);
}
}
return NULL;
}
int main()
{
//sem_init
int ret = sem_init(&mysem,0,2);
if(ret != 0)
{
puts(“sem_init error.”);
return -1;
}
//create thread two
pthread_t tid1, tid2;
ret = pthread_create(&tid1, NULL, t1f ,NULL);
if(ret != 0)
{
puts(“create thread 1 error.”);
return -1;
}
ret = pthread_create(&tid2, NULL, t2f ,NULL);
if(ret != 0)
{
puts(“create thread 1 error.”);
return -1;
}
pthread_detach(tid1);
pthread_detach(tid2);
//detach thread
//sem_destroy
sem_destroy(&mysem);
while(1)
{};
return 0;
}
### 四、互斥


#### 1.什么是互斥


多线程/多进程访问临界资源时,没有顺序要求,只需要满足写写互斥和读写互斥时,此时说的就是不能同时访问临界资源。


#### 2.什么时候使用互斥


写写互斥,读写互斥


#### 3.如何实现互斥锁


#### <1>初始化互斥锁
头文件:
#include <pthread.h>
/*
*函数名:pthread_mutex_init
*函数功能:初始化互斥锁
*函数参数:
* pthread_mutex_t *mutex:锁的指针
* pthread_mutexattr_t *attr:锁的参数的指针,通常为NULL
*函数返回值:成功为0,失败返回-1
*/
int pthread\_mutex\_init(pthread_mutex_t \*mutex, pthread_mutexattr_t \*attr);
##### <2>加锁
头文件:#include <pthread.h>
/\*
*函数名:pthread_mutex_lock
*函数功能:申请锁资源
*函数参数:pthread_mutex_t *mutex:锁的指针
*函数返回值:成功返回0,失败-1
*/
int pthread_mutex_lock(pthread_mutex_t *mutex);
##### <3>解锁
头文件:
#include <pthread.h>
/\*
*函数名:pthread_mutex_unlock
*函数功能:释放互斥锁
*函数参数:pthread_mutex_t *mutex:锁的指针
*函数返回值:成功返回0,失败-1
*/
int pthread_mutex_unlock(pthread_mutex_t *mutex);
#### 4.互斥代码演示:


>
> create\_thread-------------------------------------------------------------------------------------------------代码如下
>
>
>
#include <stdio.h>
#include <string.h>
#include <pthread.h>
char buf[100];
pthread_mutex_t mutex;
void *t1f(void *arg)
{
while(1)
{
pthread_mutex_lock(&mutex);
puts(buf);
memset(buf,0,100);
strcpy(buf,“Jerry is a student.”);
pthread_mutex_unlock(&mutex);
}
return NULL;
}
void *t2f(void *arg)
{
while(1)
{
pthread_mutex_lock(&mutex);
puts(buf);
memset(buf,0,100);
strcpy(buf,“Ben is a teacher.”);
pthread_mutex_unlock(&mutex);
}
return NULL;
}
int main()
{
pthread_mutex_init(&mutex, NULL);
//create thread two
pthread_t tid1, tid2;
int ret = pthread_create(&tid1, NULL, t1f ,NULL);
if(ret != 0)
{
puts(“create thread 1 error.”);
return -1;
}
ret = pthread_create(&tid2, NULL, t2f ,NULL);
if(ret != 0)
{
puts(“create thread 1 error.”);

既有适合小白学习的零基础资料,也有适合3年以上经验的小伙伴深入学习提升的进阶课程,涵盖了95%以上物联网嵌入式知识点,真正体系化!
由于文件比较多,这里只是将部分目录截图出来,全套包含大厂面经、学习笔记、源码讲义、实战项目、大纲路线、电子书籍、讲解视频,并且后续会持续更新
!= 0)
{
puts(“create thread 1 error.”);
return -1;
}
ret = pthread_create(&tid2, NULL, t2f ,NULL);
if(ret != 0)
{
puts(“create thread 1 error.”);
[外链图片转存中…(img-rDtFFVKL-1715716685086)]
[外链图片转存中…(img-dY4W1WQf-1715716685088)]
既有适合小白学习的零基础资料,也有适合3年以上经验的小伙伴深入学习提升的进阶课程,涵盖了95%以上物联网嵌入式知识点,真正体系化!
由于文件比较多,这里只是将部分目录截图出来,全套包含大厂面经、学习笔记、源码讲义、实战项目、大纲路线、电子书籍、讲解视频,并且后续会持续更新


 被折叠的 条评论
为什么被折叠?
被折叠的 条评论
为什么被折叠?
 到【灌水乐园】发言


