


| –enable-rewrite | 支持网站地址重写 |
| –enable-ssl | 支持SSL加密 |
| –with-pcre=/usr/local/pcre | pcre路径 |
| –with-apr=/usr/local/apr | apr路径 |
| –with-apr-util=/usr/local/apr-util | apr-util路径 |
[root@ecs-c13b httpd-2.4.43]# make && make install
c. 配置文件及相应目录
配置文件路径: /usr/local/apache2/conf/httpd.conf
网站根目录: /usr/local/apache/htdocs/
d. 生成启动脚本并启动
root@ecs-c13b ~]# cp /usr/local/apache/bin/apachectl /etc/init.d/
[root@ecs-c13b ~]# chmod +x /etc/init.d/apachectl
[root@ecs-c13b ~]#
[root@ecs-c13b ~]# /etc/init.d/apachectl restart ## 启动方法一(简单快捷)
e. 设置使用systemctl的方式启动(启动方法二)
vim /usr/lib/systemd/system/apache.service

[Unit]

Description=apache

After=network.target

[Service]

Type=forking

ExecStart=/etc/init.d/apachectl start

ExecReload=/etc/init.d/apachectl restart

ExecStop=/etc/init.d/apachectl stop

PrivateTmp=true

[Install]

WantedBy=multi-user.target
systemctl start apache.service
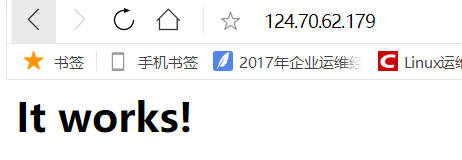
3. 测试是否启动
[root@ecs-c13b ~]# lsof -i:80

COMMAND  PID   USER   FD   TYPE DEVICE SIZE/OFF NODE NAME

httpd   1579   root    4u  IPv6  58850      0t0  TCP *:http (LISTEN)

httpd   1580 daemon    4u  IPv6  58850      0t0  TCP *:http (LISTEN)

httpd   1581 daemon    4u  IPv6  58850      0t0  TCP *:http (LISTEN)

httpd   1582 daemon    4u  IPv6  58850      0t0  TCP *:http (LISTEN)

[root@ecs-c13b ~]#
4. 浏览器端测试
二. 源码编译mysql
1. 下载mysql包
[root@ecs-c13b ~]# wget http://www.mysql.com/Downloads/MySQL-5.7/mysql-5.7.19.tar.gz
2. 下载boost库
MySQL从5.7版本之后,boost是必须的,建议把系统自带的boost库卸载,源码编译安装高版本
[root@ecs-c13b ~]# ls boost_1_59_0.tar.gz
boost_1_59_0.tar.gz
3. 安装依赖包
[root@ecs-c13b ~]# yum install -y cmake make gcc gcc-c++ bison ncurses ncurses-devel
4. 添加mysql用户和用户组
[root@ecs-c13b ~]# groupadd mysql
[root@ecs-c13b ~]# useradd -M -s /sbin/nologin -r -g mysql mysql
5. 解压及规划安装目录
[root@ecs-c13b ~]# tar xf boost_1_59_0.tar.gz -C /usr/local/src/
[root@ecs-c13b ~]# tar xf mysql-5.7.19.tar.gz -C /usr/local/src/
规划安装目录:
安装目录: /var/lib/mysql
数据目录: /var/lib/mysql/data
创建规划目录并给权限:
[root@ecs-c13b ~]# mkdir -p /var/lib/mysql/data
[root@ecs-c13b ~]# chown -R mysql:mysql /var/lib/mysql/
[root@ecs-c13b ~]#
6. 开始编译mysql
进入相应目录
[root@ecs-c13b ~]# cd /usr/local/src/

[root@ecs-c13b src]# pwd

/usr/local/src

[root@ecs-c13b src]# cd mysql-5.7.19/

[root@ecs-c13b mysql-5.7.19]#
cmake:
cmake -DCMAKE_INSTALL_PREFIX=/var/lib/mysql \

-DMYSQL_DATADIR=/var/lib/mysql/data \

-DSYSCONFDIR=/etc \

-DWITH_MYISAM_STORAGE_ENGINE=1 \

-DWITH_INNOBASE_STORAGE_ENGINE=1 \

-DWITH_MEMORY_STORAGE_ENGINE=1 \

-DWITH_READLINE=1 \

-DMYSQL_UNIX_ADDR=/var/lib/mysql/mysql.sock \

-DMYSQL_TCP_PORT=3306 \

-DENABLED_LOCAL_INFILE=1 \

-DWITH_PARTITION_STORAGE_ENGINE=1 \

-DEXTRA_CHARSETS=all \

-DDEFAULT_CHARSET=utf8 \

-DDEFAULT_COLLATION=utf8_general_ci \

-DDOWNLOAD_BOOST=1 \

-DWITH_BOOST=/usr/local/src/boost_1_59_0
参数从哪里找:
http://www.mysql.com→→Documentation→→选择对应的版本(5.7)Installation & Upgrades→→Installing MySQL from Source →→MySQL Source-Configuration Options
直接点击url: https://dev.mysql.com/doc/refman/5.7/en/source-configuration-options.html
[root@ecs-c13b mysql-5.7.19]# make -j 4
编译时间很长,无聊的抽根烟等等吧

[root@ecs-c13b mysql-5.7.19]# make install
7. 编辑mysql配置文件
a . 默认是没有的,需要手动输入
[root@ecs-c13b ~]# cat /etc/my.cnf

[mysqld]

basedir=/var/lib/mysql

datadir=/var/lib/mysql/data

port=3306

socket=/var/lib/mysql/mysql.sock

character-set-server=utf8

log-error=/var/log/mysqld.log

pid-file=/tmp/mysqld.pid

[mysql]

socket=/var/lib/mysql/mysql.sock

[client]

socket=/var/lib/mysql/mysql.sock


[root@ecs-c13b ~]#
b. 添加path路径,让系统能够读到mysql命令
[root@ecs-c13b ~]# cat !$

cat /etc/profile.d/mysql.sh

export PATH=/var/lib/mysql/bin:$PATH
c. 设置生效
root@ecs-c13b ~]# . /etc/profile.d/mysql.sh
d. 生成启动脚本
[root@ecs-c13b ~]# cp /var/lib/mysql/support-files/mysql.server /etc/init.d/mysqld
[root@ecs-c13b ~]# chmod +x /etc/init.d/mysqld
[root@ecs-c13b ~]#
e. 修改权限并初始化数据库
[root@ecs-c13b ~]# chown -R mysql:mysql /var/lib/mysql


[root@ecs-c13b ~]#  /var/lib/mysql/bin/mysqld --initialize-insecure --user=mysql --basedir=/var/lib/mysql --datadir=/var/lib/mysql/data
f. 启动mysql测试
[root@ecs-c13b ~]# /etc/init.d/mysqld start

Starting MySQL.. ERROR! The server quit without updating PID file (/tmp/mysqld.pid).

[root@ecs-c13b ~]# cd /var/lib/mysql/data/

[root@ecs-c13b data]# ls

auto.cnf  ib_buffer_pool  ibdata1  ib_logfile0  ib_logfile1

[root@ecs-c13b data]# rm -rf ./*

[root@ecs-c13b data]# /var/lib/mysql/bin/mysqld --initialize-insecure --user=mysql --basedir=/var/lib/mysql --datadir=/var/lib/mysql/data

[root@ecs-c13b data]# /etc/init.d/mysqld start

Starting MySQL. SUCCESS!
这里第一次启动失败了,然后删除data目录下的内容,重新初始化,之后启动成功
g. 修改数据库密码
[root@ecs-c13b ~]# mysql

mysql> set password for root@localhost=password('12345678');

Query OK, 0 rows affected, 1 warning (0.00 sec)

mysql> flush privileges;

Query OK, 0 rows affected (0.00 sec)
三. 编译php
1. 下载php7的包
[root@ecs-c13b ~]# wget http://jp2.php.net/distributions/php-7.1.24.tar.gz
2. 安装依赖包
[root@ecs-c13b ~]# yum -y install php-mcrypt libmcrypt libmcrypt-devel autoconf freetype gd libmcrypt libpng libpng-devel libjpeg libxml2 libxml2-devel zlib curl curl-devel re2c php-pear
3. 编译安装php
a. 解压
[root@zmgaosh ~]# tar xf php-7.1.24.tar.gz -C /usr/local/src

[root@zmgaosh ~]# cd /usr/local/src/php-7.1.24/
b. 编译
[root@ecs-c13b php-7.1.24]# ./configure --prefix=/usr/local/php/ --with-apxs2=/usr/local/apache/bin/apxs --enable-mbstring --with-curl --with-gd --enable-fpm --enable-mysqlnd --with-pdo-mysql=mysqlnd --with-config-file-path=/usr/local/php/etc/ --with-mysqli=mysqlnd --with-mysql-sock=/var/lib/mysql/mysql.sock --enable-maintainer-zts


[root@ecs-c13b php-7.1.24]# make -j 4 && make install
c. 生成配置文件
root@ecs-c13b php-7.1.24]# cp php.ini-production /usr/local/php/etc/php.ini
编译apache配置文件,使其支持php
[root@ecs-c13b php-7.1.24]# vim /usr/local/apache/conf/httpd.conf


 AddType application/x-httpd-php .php

AddType application/x-httpd-php-source .phps
DirectoryIndex index.php index.html
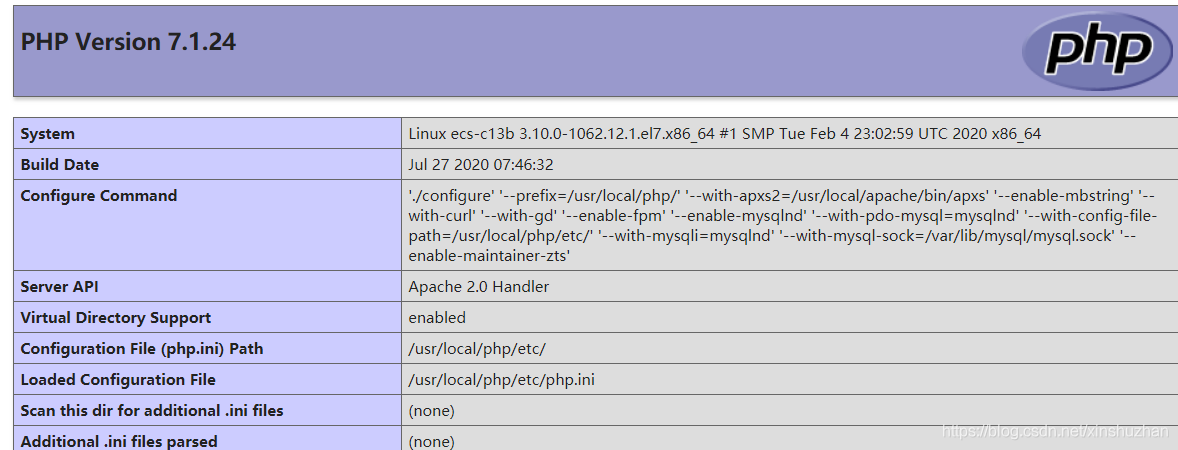
d. 创建测试页面测试
[root@ecs-c13b php-7.1.24]# cd /usr/local/apache/htdocs/

[root@ecs-c13b htdocs]# pwd

/usr/local/apache/htdocs


[root@ecs-c13b htdocs]# vim index.php

[root@ecs-c13b htdocs]# /etc/init.d/apachectl restart


[root@ecs-c13b htdocs]# cat index.php

<?php

        phpinfo();

?>
四. wordpress安装
1. 上传wordpress中文版
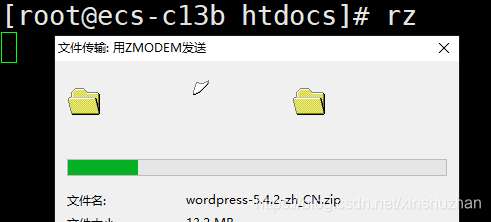
2. 解压
[root@ecs-c13b htdocs]# ls
最后的话
最近很多小伙伴找我要Linux学习资料,于是我翻箱倒柜,整理了一些优质资源,涵盖视频、电子书、PPT等共享给大家!
资料预览
给大家整理的视频资料:
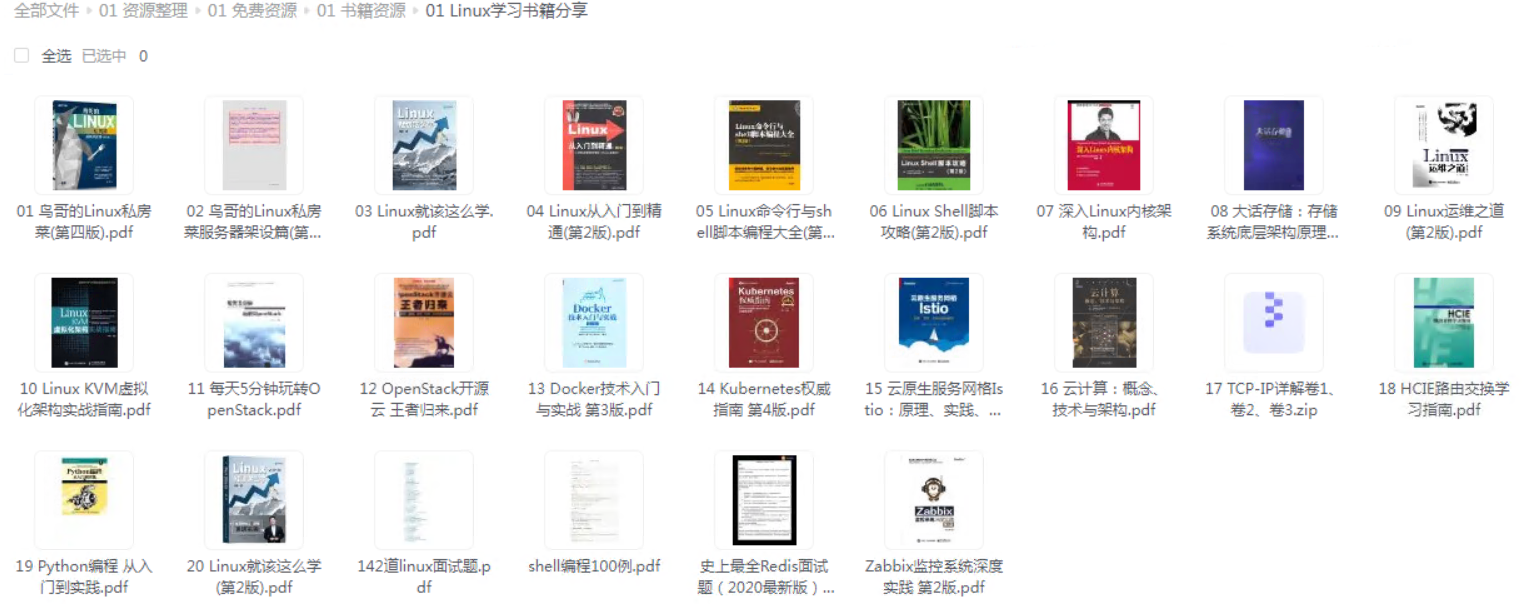
给大家整理的电子书资料:
如果本文对你有帮助,欢迎点赞、收藏、转发给朋友,让我有持续创作的动力!
加入社区》https://bbs.csdn.net/forums/4304bb5a486d4c3ab8389e65ecb71ac0
ess安装
1. 上传wordpress中文版
2. 解压
[root@ecs-c13b htdocs]# ls
最后的话
最近很多小伙伴找我要Linux学习资料,于是我翻箱倒柜,整理了一些优质资源,涵盖视频、电子书、PPT等共享给大家!
资料预览
给大家整理的视频资料:
[外链图片转存中…(img-Czf71KmH-1725756597101)]
给大家整理的电子书资料:
[外链图片转存中…(img-B1VRnseU-1725756597101)]
如果本文对你有帮助,欢迎点赞、收藏、转发给朋友,让我有持续创作的动力!
加入社区》https://bbs.csdn.net/forums/4304bb5a486d4c3ab8389e65ecb71ac0


 74
74

 被折叠的 条评论
为什么被折叠?
被折叠的 条评论
为什么被折叠?
 到【灌水乐园】发言


