


  "size" : "60x60",

  "idiom" : "iphone",

  "filename" : "icon_os7@2x.png",

  "scale" : "2x"

},

{

  "size" : "60x60",

  "idiom" : "iphone",

  "filename" : "icon@3x.png",

  "scale" : "3x"

}
],
“info” : {
"version" : 1,

"author" : "xcode"
}
}
4、设置LaunchImage的图片如下图:
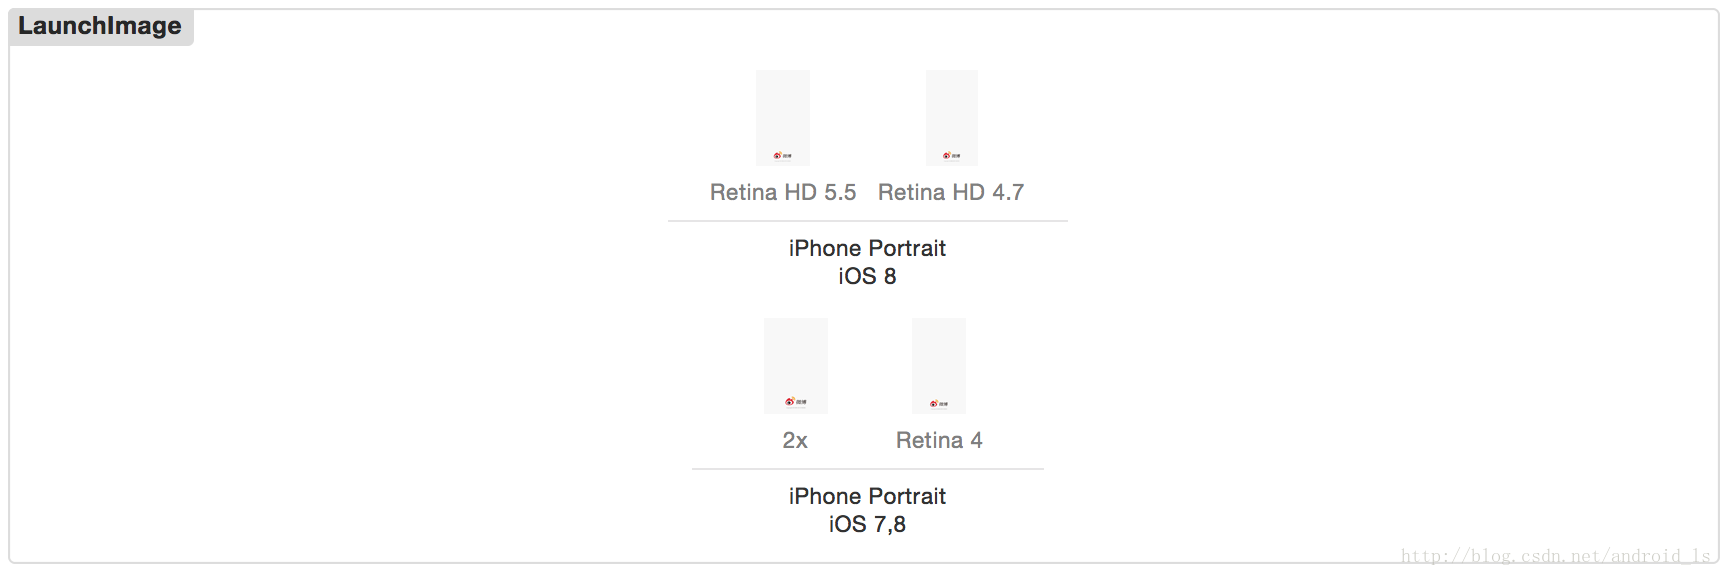
想要你的应用在4S、5、5S、6和6plus上显示都正确,LaunchImage中对应的上图中的几张图片都不可少,每张图对应的尺寸如下:
Retina HD 5.5 对应的图片尺寸:1242 × 2208
Retina HD 4.7 对应的图片尺寸:750 × 1334
iPhone Portrait IOS 7,8(Retina 4) 对应的图片尺寸:640 × 1136
iPhone Portrait IOS 7,8(2x) 对应的图片尺寸:640 × 960
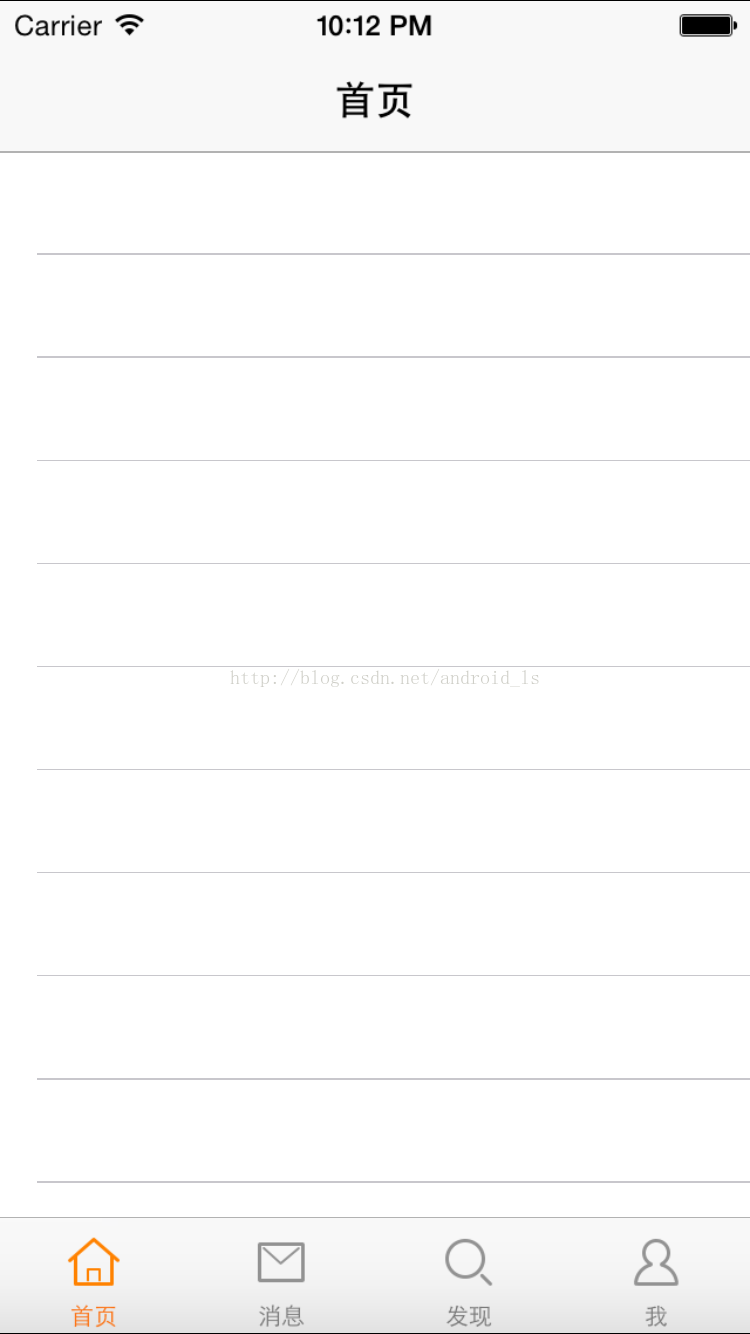
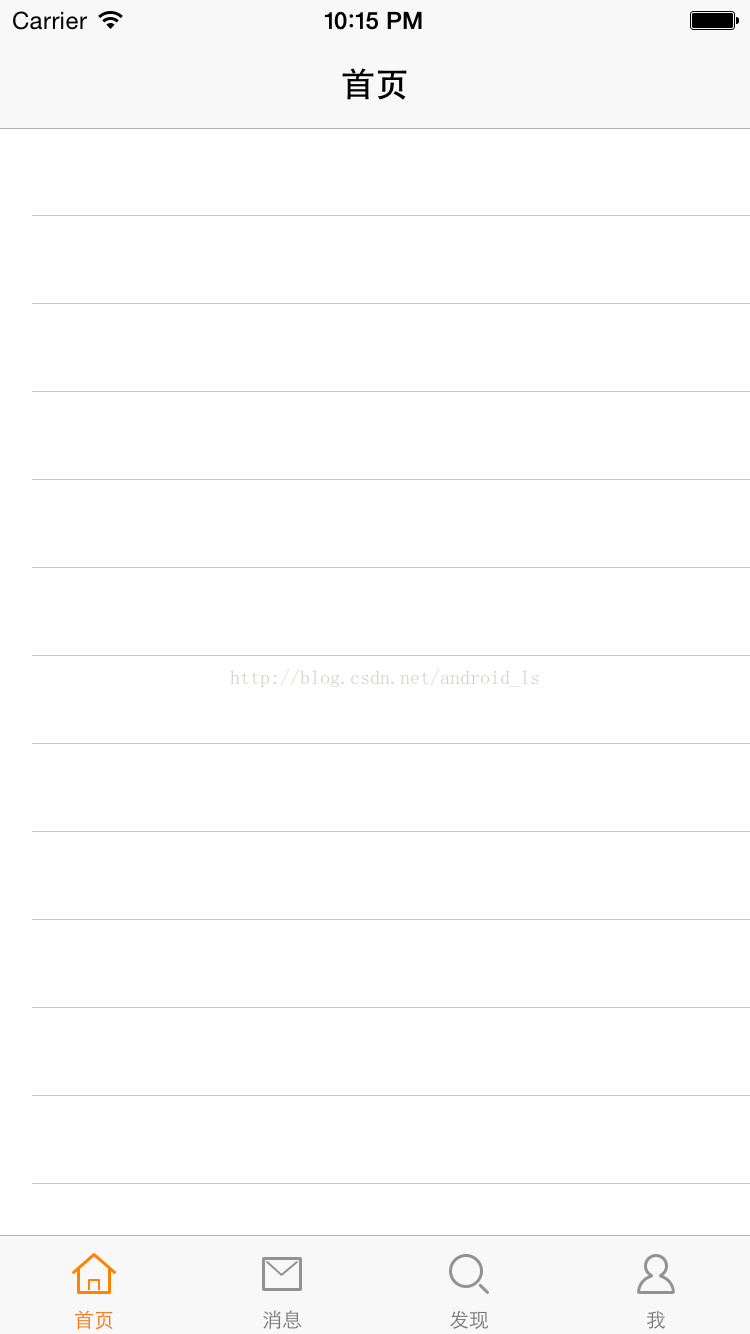
比如少了Retina HD 4.7这张图,效果图如下:左侧在LaunchImage中没有添加Retina HD 4.7这张图,右侧是正常情况下的显示。
5、创建UIWindow,设置rootViewController并显示窗口,具体代码如下:
#pragma mark 应用程序第一次完成启动,第一个调用的代理方法
-
(BOOL)application:(UIApplication *)application didFinishLaunchingWithOptions:(NSDictionary *)launchOptions {
// 1、创建UIWindow
self.window = [[UIWindow alloc] init];
self.window.frame = [UIScreen mainScreen].bounds;
// 2、设置rootViewController
self.window.rootViewController = [[WBTabBarController alloc] init];
// 3、显示窗口
[self.window makeKeyAndVisible];
return YES;
}
6、创建WBTabBarController类,让其继承自UITabBarController;依次创建HomeViewController、MessageViewController、DiscoverViewController和ProfileViewController让它们都继承自UITableViewController,在WBTabBarController.m文件中- (void)viewDidLoad {}函数中添加具体实现,代码如下:
-
(void)viewDidLoad {
[super viewDidLoad];
_homeViewController = [[HomeViewController alloc]init];
[self addChildController:_homeViewController title:@“首页” image:@“tabbar_home”];
_messageViewController = [[MessageViewController alloc]init];
[self addChildController:_messageViewController title:@“消息” image:@“tabbar_message_center”];
_discoverViewController = [[DiscoverViewController alloc]init];
[self addChildController:_discoverViewController title:@“发现” image:@“tabbar_discover”];
_profileViewController = [[ProfileViewController alloc]init];
[self addChildController:_profileViewController title:@“我” image:@“tabbar_profile”];
}
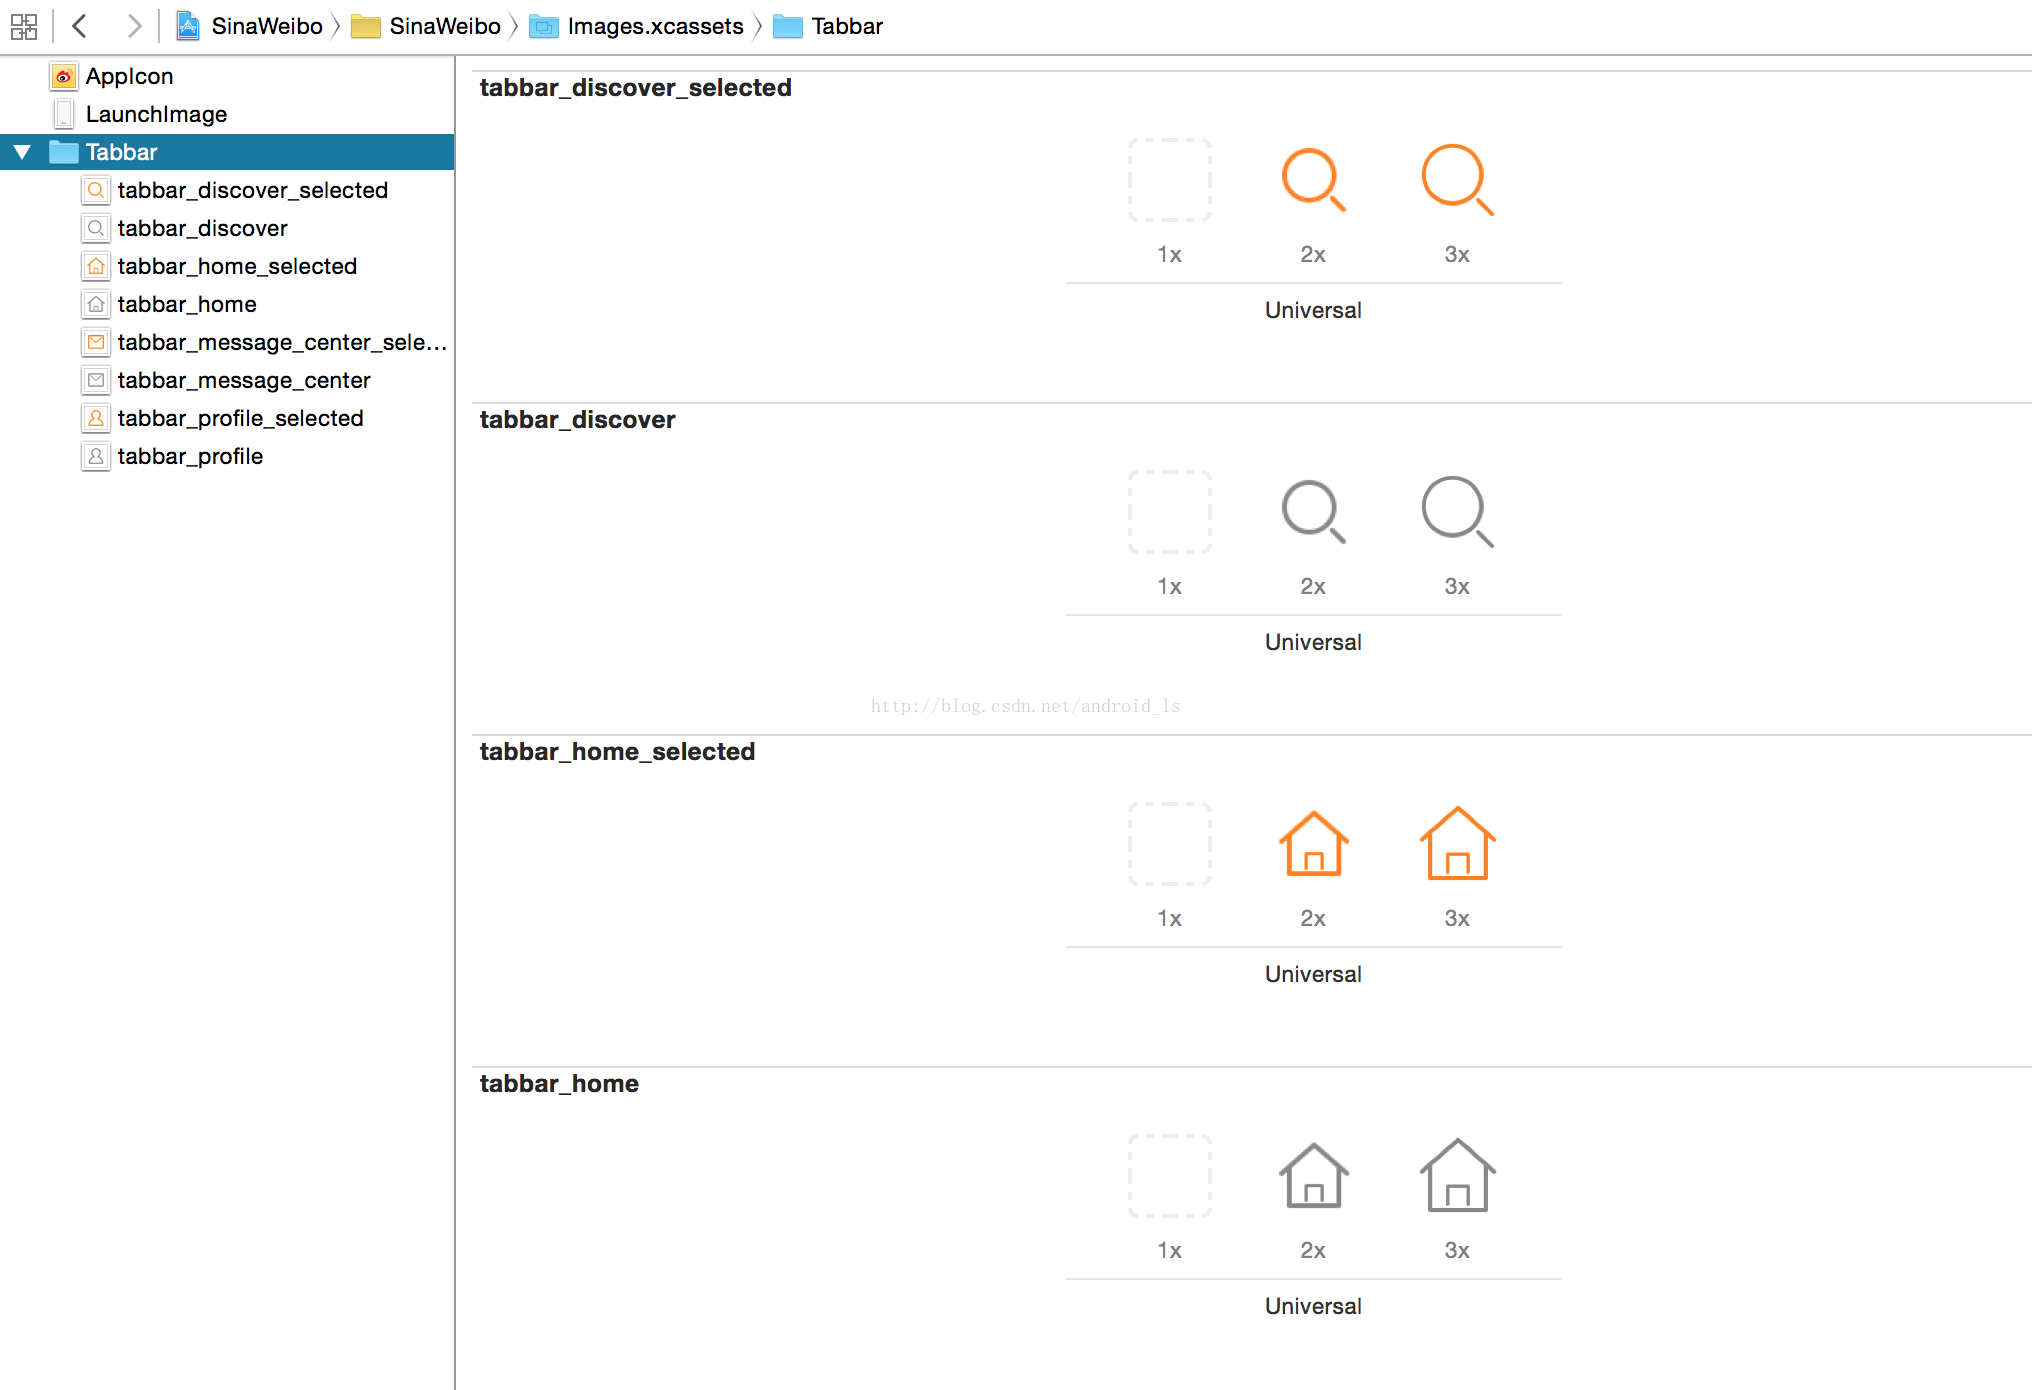
在Images.xcassets中,添加相应的图片资源,添加好后如下图:
7、WBTabBarController类完整的代码如下:
//
// WBTabBarController.m
// SinaWeibo
//
// Created by android_ls on 15/5/17.
// Copyright © 2015年 android_ls. All rights reserved.
//
// 获得RGB颜色
#define kColor(r, g, b) [UIColor colorWithRed:®/255.0 green:(g)/255.0 blue:(b)/255.0 alpha:1]
#import “WBTabBarController.h”
#import “HomeViewController.h”
#import “MessageViewController.h”
#import “DiscoverViewController.h”
#import “ProfileViewController.h”
@interface WBTabBarController ()
{
HomeViewController * _homeViewController;

MessageViewController * _messageViewController;

DiscoverViewController * _discoverViewController;

ProfileViewController * _profileViewController;
}
@end
@implementation WBTabBarController
-
(void)viewDidLoad {
[super viewDidLoad];
_homeViewController = [[HomeViewController alloc]init];
[self addChildController:_homeViewController title:@“首页” image:@“tabbar_home”];
_messageViewController = [[MessageViewController alloc]init];
[self addChildController:_messageViewController title:@“消息” image:@“tabbar_message_center”];
_discoverViewController = [[DiscoverViewController alloc]init];
[self addChildController:_discoverViewController title:@“发现” image:@“tabbar_discover”];
_profileViewController = [[ProfileViewController alloc]init];
[self addChildController:_profileViewController title:@“我” image:@“tabbar_profile”];
}
/**
- 添加子控制器到UITabBarController中
*/
- (void)addChildController:(UIViewController *)childViewController title:(NSString *)title image:(NSString *)image
{
// 设置子控制器,tabbar和navigationBar上的title

childViewController.title = title;


// 设置tabBarItem上默认的指示图片和选中时的图片

childViewController.tabBarItem.image = [UIImage imageNamed:image];

childViewController.tabBarItem.selectedImage = [[UIImage imageNamed:[NSString stringWithFormat:@"%@%@", image, @"_selected"]]imageWithRenderingMode:UIImageRenderingModeAlwaysOriginal];


// 设置tabBarItem上文字的样式(这里是设置文字在不同状态下的颜色值)

[childViewController.tabBarItem setTitleTextAttributes:

 @{NSForegroundColorAttributeName:kColor(117, 117, 117)} forState:UIControlStateNormal];

[childViewController.tabBarItem setTitleTextAttributes:

 @{NSForegroundColorAttributeName:kColor(253, 109, 10)} forState:UIControlStateSelected];

更多学习和讨论,欢迎加入我们!
有许多来自一线的技术大牛,也有在小厂或外包公司奋斗的码农,我们致力打造一个平等,高质量的Android交流圈子,不一定能短期就让每个人的技术突飞猛进,但从长远来说,眼光,格局,长远发展的方向才是最重要的。
这里有2000+小伙伴,让你的学习不寂寞~·
utes:
@{NSForegroundColorAttributeName:kColor(253, 109, 10)} forState:UIControlStateSelected];
[外链图片转存中…(img-Q9AlfcHZ-1720121937384)]
更多学习和讨论,欢迎加入我们!
有许多来自一线的技术大牛,也有在小厂或外包公司奋斗的码农,我们致力打造一个平等,高质量的Android交流圈子,不一定能短期就让每个人的技术突飞猛进,但从长远来说,眼光,格局,长远发展的方向才是最重要的。
这里有2000+小伙伴,让你的学习不寂寞~·


 被折叠的 条评论
为什么被折叠?
被折叠的 条评论
为什么被折叠?
 到【灌水乐园】发言


