


命令行三行即可,假如我想把上传的视频配置到nginx的文件目录下,
#修改指定用户的指定文件目录
usermod -d /home/nginx/www/images ftpuser
#
#给权限
chown -R  ftpuser:ftpuser   /home/nginx/www/images
#重启
systemctl restart vsftpd.service
顺便再讲一讲安装ftp步骤把
在Linux服务器上安装vsftpd
使用包管理工具安装vsftpd

在终端里输入以下命令(需要root权限):

# Ubuntu/Debian系统
sudo apt update
sudo apt install vsftpd

# CentOS/RHEL系统
sudo yum install vsftpd
启动vsftpd服务

在安装完成后,使用以下命令启动vsftpd服务:

sudo systemctl start vsftpd
设置vsftpd开机自启动

如果您希望vsftpd服务在服务器重启后自动启动,执行以下命令:

sudo systemctl enable vsftpd
配置防火墙

如果系统有防火墙,确保允许FTP服务通过防火墙。在大多数情况下,FTP使用端口21。您需要确保打开此端口以允许FTP连接。

配置vsftpd
编辑vsftpd配置文件

打开vsftpd的主要配置文件/etc/vsftpd.conf,您可以使用文本编辑器如vi或nano进行编辑:

sudo vi /etc/vsftpd.conf
配置用户权限

在配置文件中,您可以配置用户访问权限、目录等详细设置。确保根据需要配置用户权限并保存文件。

重启vsftpd服务

保存配置文件后,重新启动vsftpd服务使其生效:

sudo systemctl restart vsftpd
使用Cyberduck上传视频
现在您已经成功安装并配置了vsftpd,可以使用Cyberduck连接到Linux服务器并上传视频文件了:

打开Cyberduck,选择连接类型为FTP。
输入服务器IP地址、端口(默认为21)、用户名和密码。
点击连接,成功连接后,您可以通过Cyberduck上传您的视频文件到Linux服务器。
请注意,安全性是非常重要的。确保您的FTP连接是安全的,可以考虑使用SFTP(SSH File Transfer Protocol)来保护您的数据传输。 如果您需要更详细的指导或遇到问题,请随时告诉我,我会尽力帮助您。

//csdn版本教程(别忘记设置用户)
1.安装ftp service:

sudo apt-get install vsftpd
2.重启linux ftp service

sudo service vsftpd restart
3.安装成功,可以看到21端口为listen状态

root@henry:/home/henry# netstat -an | grep 21
tcp        0      0 0.0.0.0:21              0.0.0.0:*               LISTEN
udp        0      0 127.0.0.1:921           0.0.0.0:*
unix  3      [ ]         STREAM     CONNECTED     10214
unix  3      [ ]         STREAM     CONNECTED     10213
4.添加一个用户:

 useradd hh
 passwd hh
两次输入密码。

5.测试:ftp 172.0.12.164(ubuntu ip)

root@henry:/home# ftp 172.0.12.164
Connected to 172.0.12.164.
220 (vsFTPd 3.0.2)
Name (172.0.12.164:dev): hh
331 Please specify the password.
Password:
530 Login incorrect.
Login failed.
ftp> quit
出现530错误,无法登陆ftp service!

修改办法:

vim /etc/pam.d/vsftpd
将

auth   required        pam_shells.so
注释掉,即可。

root@henry:/home# ftp 172.0.12.164
Connected to 172.0.12.164.
220 (vsFTPd 3.0.2)
Name (172.0.12.164:dev): hh
331 Please specify the password.
Password:
230 Login successful.
Remote system type is UNIX.
Using binary mode to transfer files.
ftp> quit
221 Goodbye.
6.修改上传文件权限:

vi /etc/vsftpd.conf
将下面内容修改,并打开:

anonymous_enable=YES

write_enable=YES

anon_upload_enable=YES
附赠一份ftp配置文件
# Example config file /etc/vsftpd/vsftpd.conf
#
# The default compiled in settings are fairly paranoid. This sample file
# loosens things up a bit, to make the ftp daemon more usable.
# Please see vsftpd.conf.5 for all compiled in defaults.
#
# READ THIS: This example file is NOT an exhaustive list of vsftpd options.
# Please read the vsftpd.conf.5 manual page to get a full idea of vsftpd's
# capabilities.
#
# Allow anonymous FTP? (Beware - allowed by default if you comment this out).
anonymous_enable=NO
#
# Uncomment this to allow local users to log in.
local_enable=YES
#
# Uncomment this to enable any form of FTP write command.
write_enable=YES
#
# Default umask for local users is 077. You may wish to change this to 022,
# if your users expect that (022 is used by most other ftpd's)
local_umask=022
#
# Uncomment this to allow the anonymous FTP user to upload files. This only
# has an effect if the above global write enable is activated. Also, you will
# obviously need to create a directory writable by the FTP user.
# When SELinux is enforcing check for SE bool allow_ftpd_anon_write, allow_ftpd_full_access
#anon_upload_enable=YES
#
# Uncomment this if you want the anonymous FTP user to be able to create
# new directories.
#anon_mkdir_write_enable=YES
#
# Activate directory messages - messages given to remote users when they
# go into a certain directory.
dirmessage_enable=YES
#
# Activate logging of uploads/downloads.
xferlog_enable=YES
#
# Make sure PORT transfer connections originate from port 20 (ftp-data).
connect_from_port_20=YES
#
# If you want, you can arrange for uploaded anonymous files to be owned by
# a different user. Note! Using "root" for uploaded files is not
# recommended!
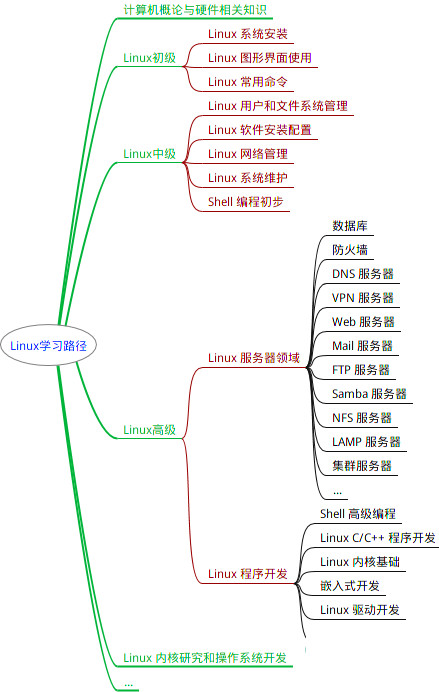
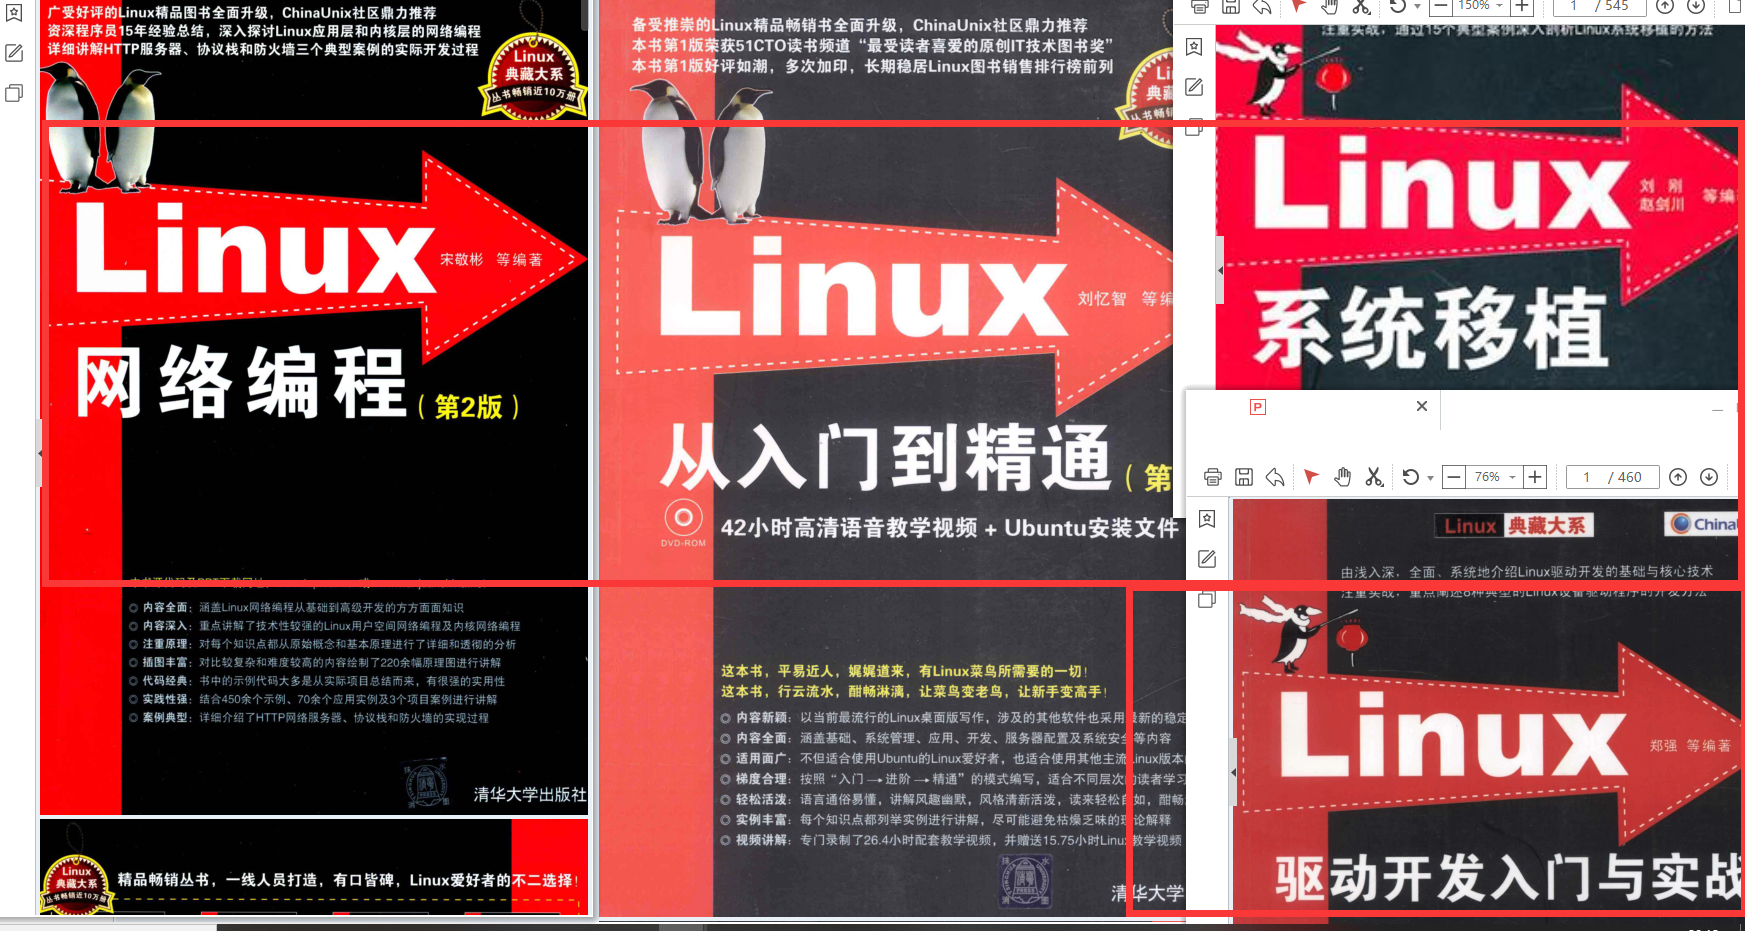
最全的Linux教程,Linux从入门到精通
======================
1. **linux从入门到精通(第2版)**
2. **Linux系统移植**
3. **Linux驱动开发入门与实战**
4. **LINUX 系统移植 第2版**
5. **Linux开源网络全栈详解 从DPDK到OpenFlow**
第一份《Linux从入门到精通》466页
====================
内容简介
====
本书是获得了很多读者好评的Linux经典畅销书**《Linux从入门到精通》的第2版**。本书第1版出版后曾经多次印刷,并被51CTO读书频道评为“最受读者喜爱的原创IT技术图书奖”。本书第﹖版以最新的Ubuntu 12.04为版本,循序渐进地向读者介绍了Linux 的基础应用、系统管理、网络应用、娱乐和办公、程序开发、服务器配置、系统安全等。本书附带1张光盘,内容为本书配套多媒体教学视频。另外,本书还为读者提供了大量的Linux学习资料和Ubuntu安装镜像文件,供读者免费下载。

**本书适合广大Linux初中级用户、开源软件爱好者和大专院校的学生阅读,同时也非常适合准备从事Linux平台开发的各类人员。**
> 需要《Linux入门到精通》、《linux系统移植》、《Linux驱动开发入门实战》、《Linux开源网络全栈》电子书籍及教程的工程师朋友们劳烦您转发+评论
加入社区》https://bbs.csdn.net/forums/4304bb5a486d4c3ab8389e65ecb71ac0


 4304
4304

 被折叠的 条评论
为什么被折叠?
被折叠的 条评论
为什么被折叠?
 到【灌水乐园】发言


