


同时为了更方便的使用,使用函数getRotationMatrix2D可以方便生成变换矩阵:
getRotationMatrix2D(center, angle, scale)
参数:
center: 旋转中心
angle: 旋转角度
scale: 缩放系数
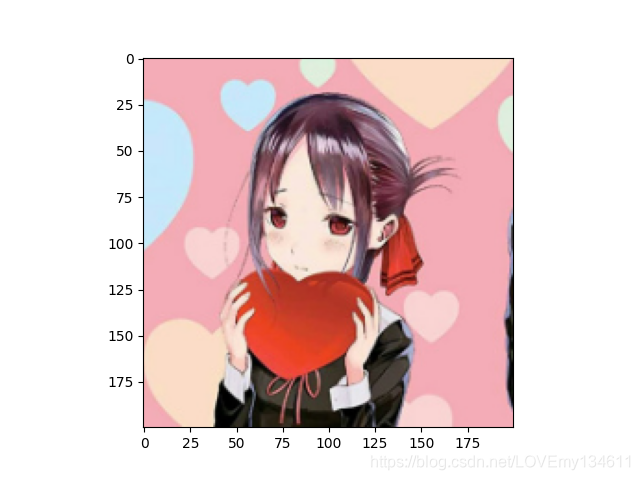
图像缩放
show_img_3 = cv2.resize(img, (200,200))
plt.imshow(show_img_3)
plt.show()
rows, cols, _ = img.shape
matrix = cv2.getRotationMatrix2D((cols/2,rows/2),0,0.5)
show_img_4 = cv2.warpAffine(img,matrix,(cols,rows))
plt.imshow(show_img_4)
plt.show()

图像旋转
matrix = cv2.getRotationMatrix2D((cols/2,rows/2),90,1)
show_img_5 = cv2.warpAffine(img,matrix,(cols,rows))
matrix = cv2.getRotationMatrix2D((cols/2,rows/2),180,1)
show_img_6 = cv2.warpAffine(img,matrix,(cols,rows))
matrix = cv2.getRotationMatrix2D((cols/2,rows/2),270,1)
show_img_7 = cv2.warpAffine(img,matrix,(cols,rows))
plt.subplot(131)
plt.imshow(show_img_5)
plt.subplot(132)
plt.imshow(show_img_6)
plt.subplot(133)
plt.imshow(show_img_7)
plt.show()

图像平移
import numpy as np
matrix = np.float32([[1,0,25],[0,1,25]])
show_img_8 = cv2.warpAffine(img,matrix,(cols,rows))
matrix = np.float32([[1,0,50],[0,1,50]])
show_img_9 = cv2.warpAffine(img,matrix,(cols,rows))
matrix = np.float32([[1,0,100],[0,1,0]])
show_img_10 = cv2.warpAffine(img,matrix,(cols,rows))
plt.subplot(131)
plt.imshow(show_img_8)
plt.subplot(132)
plt.imshow(show_img_9)
plt.subplot(133)
plt.imshow(show_img_10)
plt.show()

图像裁剪
#[左上角x轴坐标:右下角x轴坐标,左上角y轴坐标:右下角y轴坐标]
show_img_11 = img[50:150,50:150]
plt.imshow(show_img_11)
plt.show()

图像翻转
srcPoints = np.float32([[0,0],[0,150],[200,200]])
canvasPoints = np.float32([[0,0],[0,150],[150,150]])
matrix = cv2.getRotationMatrix2D((0,0),0,0.5)
show_img_12 = cv2.warpAffine(img,matrix,(cols,rows))
plt.subplot(121)
plt.imshow(show_img_12)
matrix = cv2.getAffineTransform(np.array(srcPoints),np.array(canvasPoints))
show_img_13 = cv2.warpAffine(img,matrix,(cols,rows))
plt.subplot(122)
plt.imshow(show_img_13)
plt.show()

亮度与对比度变换
通过调整像素值来改变图像亮度和对比度:
f ( x ^ ) = α f ( x ) + β f(\hat x)=\alpha f(x) + \beta f(x^)=αf(x)+β
α \alpha α用于调整对比度, β \beta β用于调整亮度。
#调整亮度
show_img_14 = np.uint8(np.clip((img+20),0,255))
#调整对比度
show_img_15 = np.uint8(np.clip((1.5*img),0,254))
plt.subplot(121)
plt.imshow(show_img_14)
plt.subplot(122)
plt.imshow(show_img_15)
plt.show()

常见噪声包括高斯噪声和椒盐噪声。
高斯噪声
噪声的概率密度符合高斯分布的图片噪声称为高斯噪声。
def gasuss_noise(image, mean=0, var=0.001):
‘’’
添加高斯噪声
mean : 均值
var : 方差
‘’’
image = np.array(image/255, dtype=float)
noise = np.random.normal(mean, var ** 0.5, image.shape)
out = image + noise
if out.min() < 0:
low_clip = -1.
else:
low_clip = 0.
out = np.clip(out, low_clip, 1.0)
out = np.uint8(out*255)
#cv.imshow(“gasuss”, out)
return out
show_img_16 = gasuss_noise(img,var=0.01)
show_img_17 = gasuss_noise(img,var=0.04)
plt.subplot(121)
plt.imshow(show_img_16)
plt.subplot(122)
plt.imshow(show_img_17)
plt.show()

椒盐噪声
椒盐噪声是指图片中包含白色的盐噪声和黑色的胡椒噪声。
def sp_noise(image,prob):
‘’’
添加椒盐噪声
prob:噪声比例
‘’’
output = np.zeros(image.shape,np.uint8)
thres = 1 - prob
for i in range(image.shape[0]):
for j in range(image.shape[1]):
rdn = random.random()
if rdn < prob:
output[i][j] = 0
elif rdn > thres:
output[i][j] = 255
else:
output[i][j] = image[i][j]
return output
show_img_18 = sp_noise(img,0.01)
show_img_19 = sp_noise(img,0.05)
plt.subplot(121)
plt.imshow(show_img_18)
plt.subplot(122)
plt.imshow(show_img_19)
plt.show()

中值和均值滤波
中值滤波是使用邻域内所有像素的中位数替换中心像素,可以有效去除图像中的高斯噪声。而均值是使用邻域内所有像素的平均值替换中心像素。
show_img_20 = gasuss_noise(img,var=0.01)
show_img_20 = np.uint8(show_img_20)
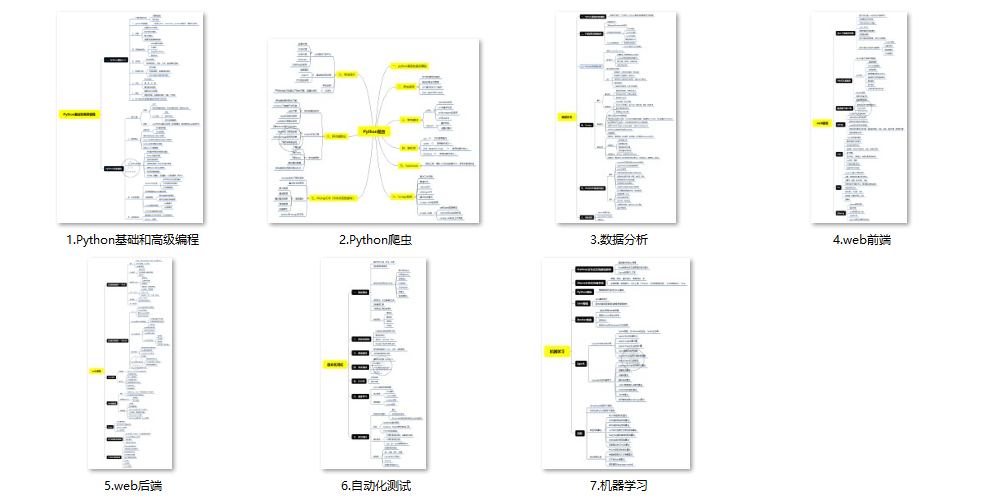
(1)Python所有方向的学习路线(新版)
这是我花了几天的时间去把Python所有方向的技术点做的整理,形成各个领域的知识点汇总,它的用处就在于,你可以按照上面的知识点去找对应的学习资源,保证自己学得较为全面。
最近我才对这些路线做了一下新的更新,知识体系更全面了。
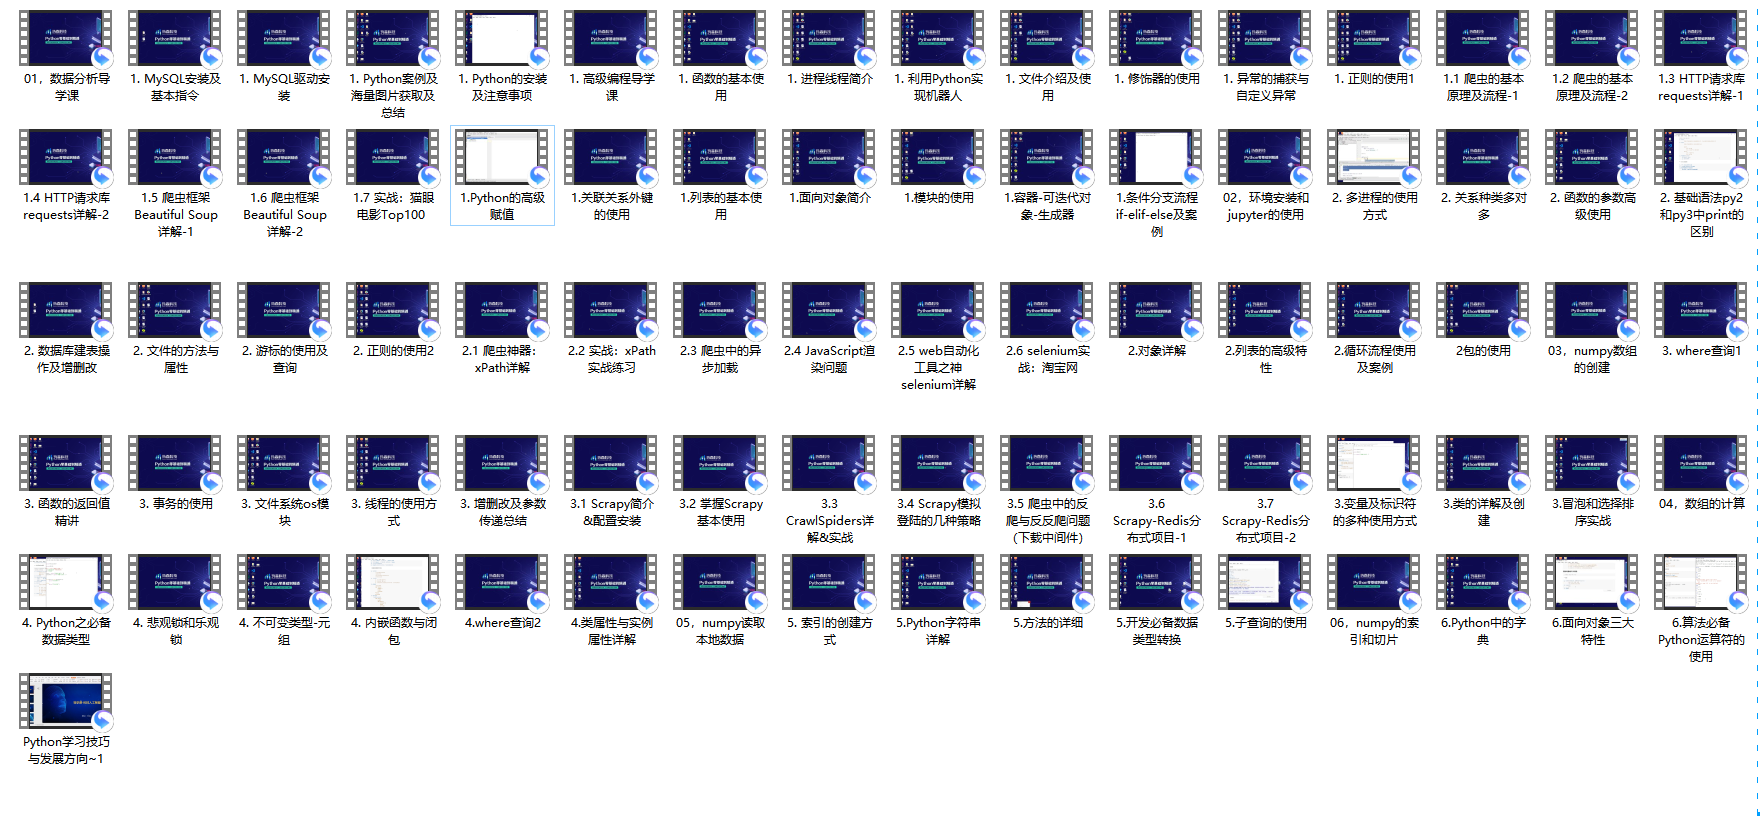
(2)Python学习视频
包含了Python入门、爬虫、数据分析和web开发的学习视频,总共100多个,虽然没有那么全面,但是对于入门来说是没问题的,学完这些之后,你可以按照我上面的学习路线去网上找其他的知识资源进行进阶。
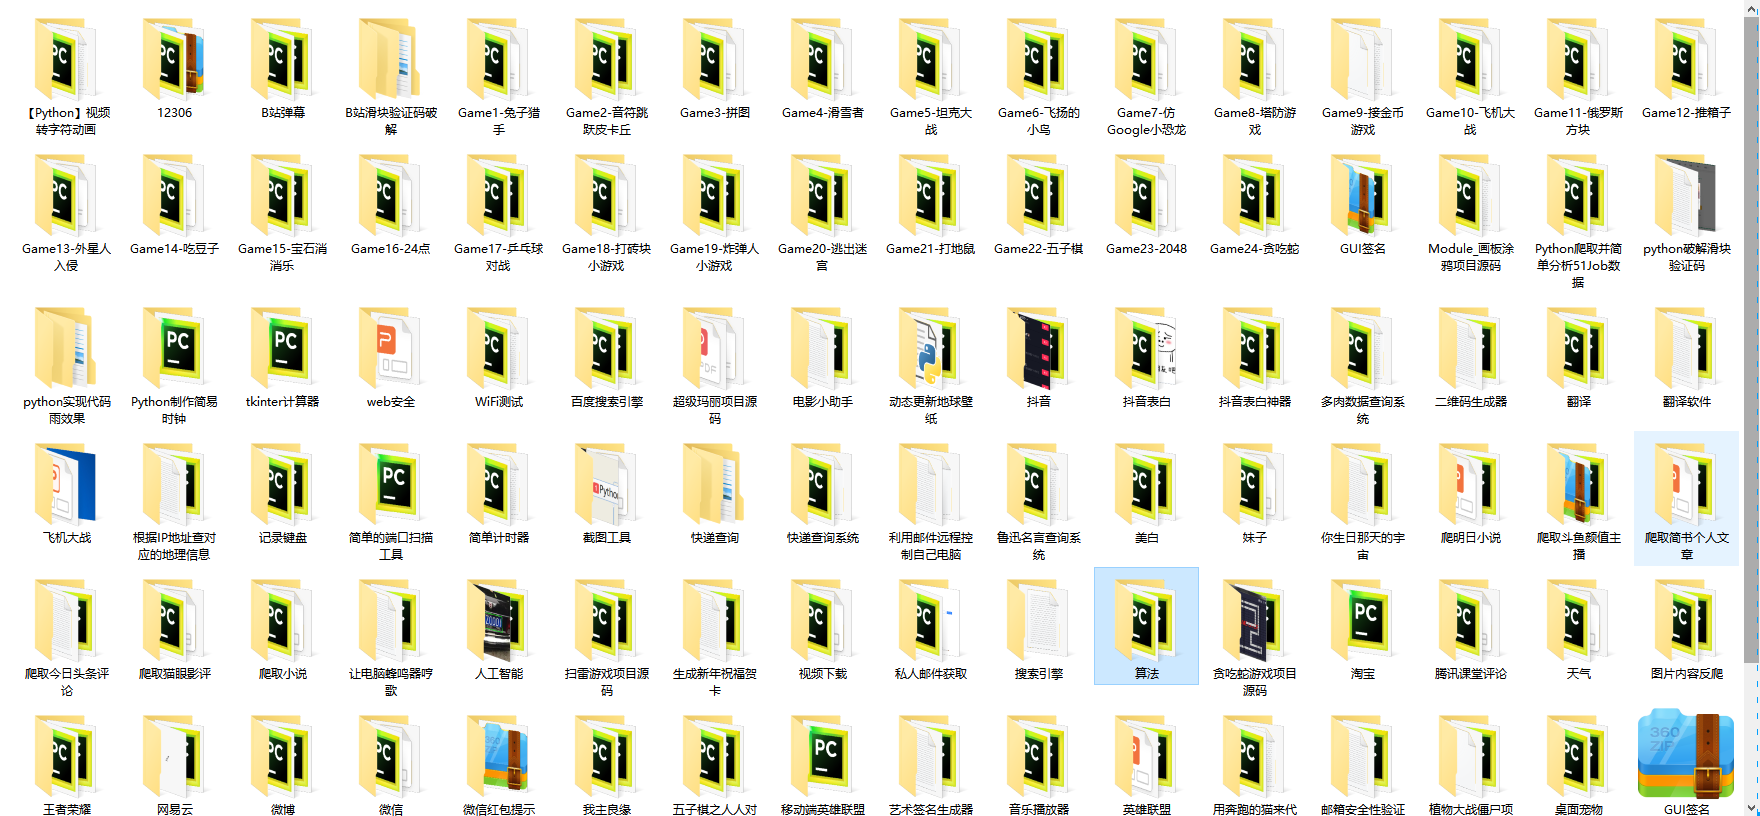
(3)100多个练手项目
我们在看视频学习的时候,不能光动眼动脑不动手,比较科学的学习方法是在理解之后运用它们,这时候练手项目就很适合了,只是里面的项目比较多,水平也是参差不齐,大家可以挑自己能做的项目去练练。
加入社区:https://bbs.csdn.net/forums/4304bb5a486d4c3ab8389e65ecb71ac0


 6780
6780

 被折叠的 条评论
为什么被折叠?
被折叠的 条评论
为什么被折叠?
 到【灌水乐园】发言


