


- 系统环境:mac OSX
2、项目目录结构
-
- biz层:业务逻辑层
-
dao层:数据持久层
-
web层:请求处理层
二、搭建步骤
1、创建父工程
DEA 工具栏选择菜单 File -> New -> Project…

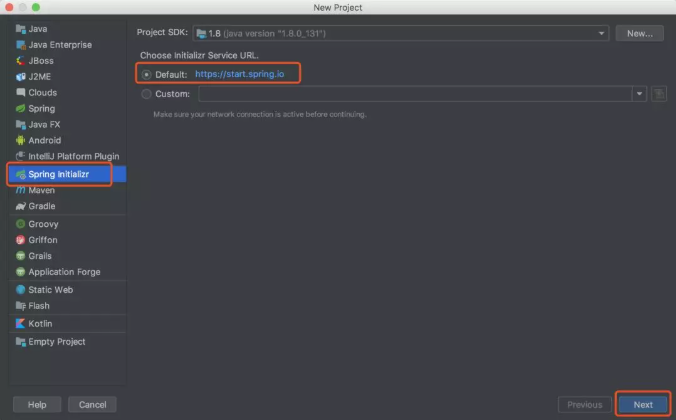
选择Spring Initializr,Initializr默认选择Default,点击Next
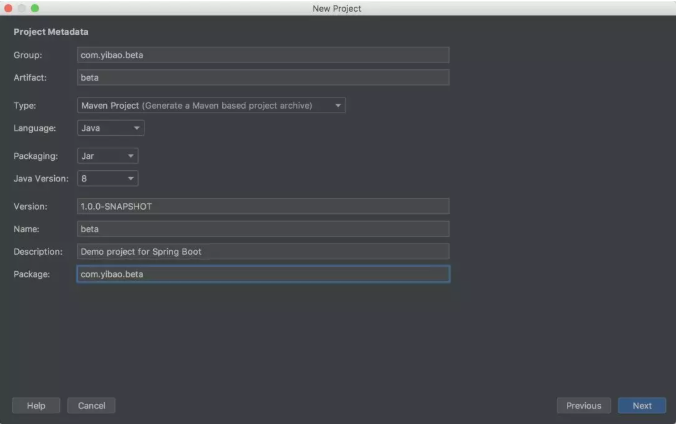
填写输入框,点击Next
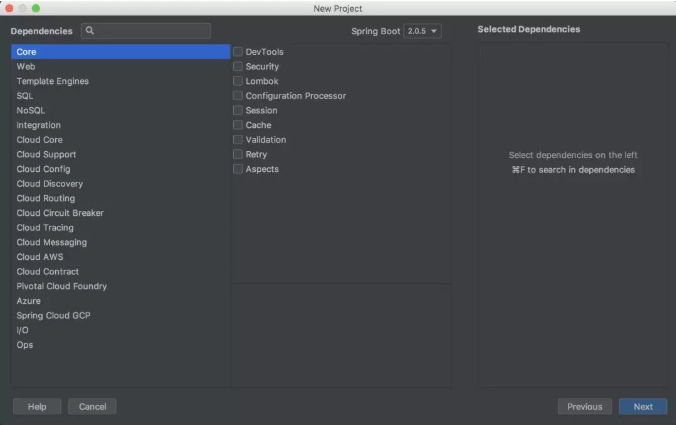
这步不需要选择直接点Next
点击Finish创建项目

最终得到的项目目录结构如下
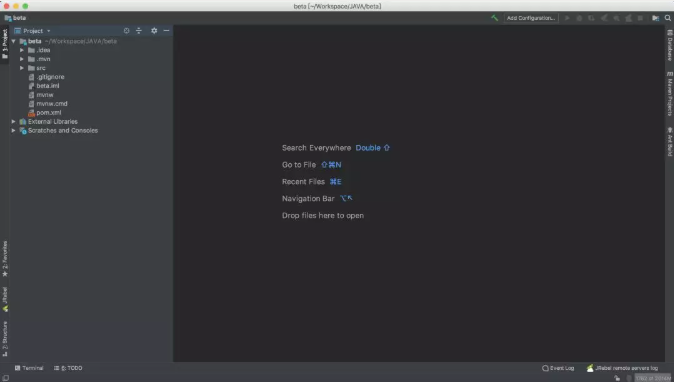
删除无用的.mvn目录、src目录、mvnw及mvnw.cmd文件,最终只留.gitignore和pom.xml

2、创建子模块
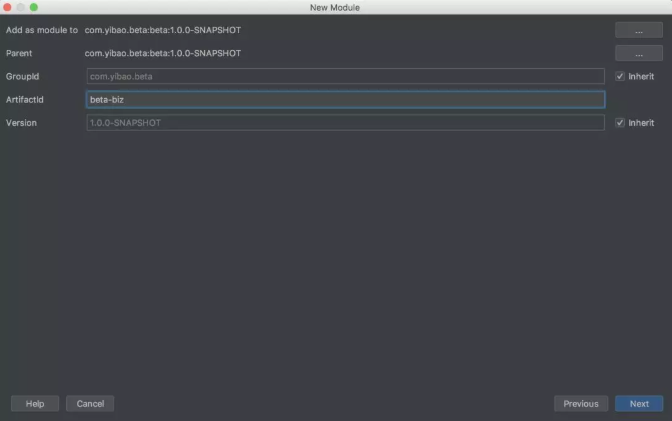
选择项目根目录beta右键呼出菜单,选择New -> Module

选择Maven,点击Next

填写ArifactId,点击Next
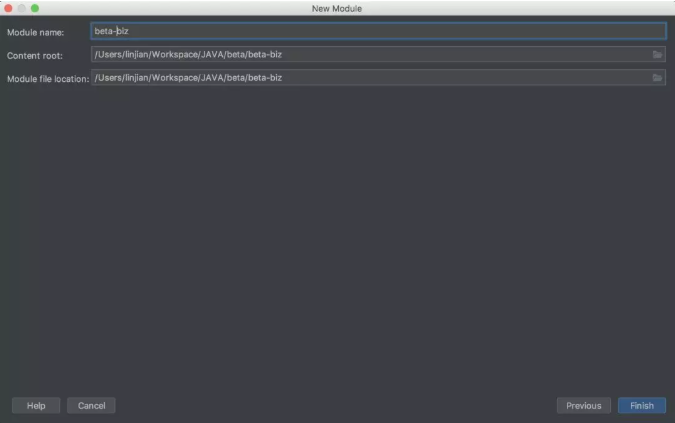
修改Module name增加横杠提升可读性,点击Finish
同理添加beta-dao、beta-web子模块,最终得到项目目录结构如下图

3、运行项目
在beta-web层创建com.yibao.beta.web包(注意:这是多层目录结构并非单个目录名,com >> yibao >> beta >> web)并添加入口类BetaWebApplication.java
@SpringBootApplication public class BetaWebApplication { public static void main(String[] args) { SpringApplication.run(BetaWebApplication.class, args); } }
在com.yibao.beta.web包中添加controller目录并新建一个controller,添加test方法测试接口是否可以正常访问
@RestController @RequestMapping("demo") public class DemoController { @GetMapping("test") public String test() { return "Hello World!"; } }
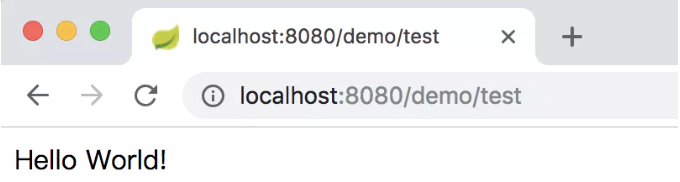
运行BetaWebApplication类中的main方法启动项目,默认端口为8080,访问http://localhost:8080/demo/test得到如下效果
以上虽然项目能正常启动,但是模块间的依赖关系却还未添加,下面继续完善。微信搜索 web_resource 获取更多推送、
4、配置模块间的依赖关系
各个子模块的依赖关系:biz层依赖dao层,web层依赖biz层父pom文件中声明所有子模块依赖(dependencyManagement及dependencies的区别自行查阅文档)
<dependencyManagement> <dependencies> <dependency> <groupId>com.yibao.beta</groupId> <artifactId>beta-biz</artifactId> <version>${beta.version}</version> </dependency> <dependency> <groupId>com.yibao.beta</groupId> <artifactId>beta-dao</artifactId> <version>${beta.version}</version> </dependency> <dependency> <groupId>com.yibao.beta</groupId> <artifactId>beta-web</artifactId> <version>${beta.version}</version> </dependency> </dependencies> </dependencyManagement>
其中${beta.version}定义在properties标签中
在beta-web层中的pom文件中添加beta-biz依赖
<dependencies> <dependency> <groupId>com.yibao.beta</groupId> <artifactId>beta-biz</artifactId> </dependency> </dependencies>
在beta-biz层中的pom文件中添加beta-dao依赖
<dependencies> <dependency> <groupId>com.yibao.beta</groupId> <artifactId>beta-dao</artifactId> </dependency> </dependencies>
4. web层调用biz层接口测试
在beta-biz层创建com.yibao.beta.biz包,添加service目录并在其中创建DemoService接口类,微信搜索 web_resource 获取更多推送
public interface DemoService { String test(); }
@Service public class DemoServiceImpl implements DemoService { @Override public String test() { return "test"; } }
DemoController通过@Autowired注解注入DemoService,修改DemoController的test方法使之调用DemoService的test方法,最终如下所示:
package com.yibao.beta.web.controller;@RestController @RequestMapping("demo") public class DemoController { @Autowired private DemoService demoService; @GetMapping("test") public String test() { return demoService.test(); } }
再次运行BetaWebApplication类中的main方法启动项目,发现如下报错
*************************** APPLICATION FAILED TO START *************************** Description: Field demoService in com.yibao.beta.web.controller.DemoController required a bean of type 'com.yibao.beta.biz.service.DemoService' that could not be found. Action: Consider defining a bean of type 'com.yibao.beta.biz.service.DemoService' in your configuration.
原因是找不到DemoService类,此时需要在BetaWebApplication入口类中增加包扫描,设置@SpringBootApplication注解中的scanBasePackages值为com.yibao.beta,最终如下所示、
package com.yibao.beta.web; @SpringBootApplication(scanBasePackages = "com.yibao.beta") @MapperScan("com.yibao.beta.dao.mapper") public class BetaWebApplication { public static void main(String[] args) { SpringApplication.run(BetaWebApplication.class, args); } }
设置完后重新运行main方法,项目正常启动,访问http://localhost:8080/demo/test得到如下效果


 4万+
4万+

 被折叠的 条评论
为什么被折叠?
被折叠的 条评论
为什么被折叠?
 到【灌水乐园】发言


