


- Nginx作为反向代理, 实现PHP项目的负载均衡
docker pull nginx
- 创建容器
docker run --name n1 \
-p 6101:80 \
-v ~/nginx/conf.d:/etc/nginx/conf.d \
-v ~/nginx/nginx.conf:/etc/nginx/nginx.conf \
--net=net1 \
--privileged \
-d nginx
- 修改配置文件
# 宿主机目录 vim ~/nginx/nginx.conf
user  nginx;
worker_processes  1;

error_log  /var/log/nginx/error.log warn;
pid        /var/run/nginx.pid;


events {
    worker_connections  1024;
}
http {
    include       /etc/nginx/mime.types;
    default_type  application/octet-stream;

    log_format  main  '$remote\_addr - $remote\_user [$time\_local] "$request" '
                      '$status $body\_bytes\_sent "$http\_referer" '
                      '"$http\_user\_agent" "$http\_x\_forwarded\_for"';

    access_log  /var/log/nginx/access.log  main;

    sendfile        on;
    #tcp\_nopush on;

    keepalive_timeout  65;

    #gzip on;
    upstream webs {
    	# 刚才所创建的三个节点 对应的 宿主机IP:端口
        server 192.168.5.144:8081;
        server 192.168.5.144:8082;
        server 192.168.5.144:8083;
    }
    include /etc/nginx/conf.d/\*.conf;
}
主要是 upstream webs { }这块, 后边的webs名字可以自己定义, 但是要与后边的配置保持一致
# 进入宿主机目录 vim ~/nginx/conf.d/default.conf
server {
    listen       80;
    server_name  localhost;

    #charset koi8-r;
    #access\_log /var/log/nginx/host.access.log main;

    location / {
        root   /usr/share/nginx/html;
        index  index.html index.htm;
        proxy_pass http://webs;
        proxy_set_header Host $host;
    }

    #error\_page 404 /404.html;

    # redirect server error pages to the static page /50x.html
    #
    error_page   500 502 503 504  /50x.html;
    location = /50x.html {
        root   /usr/share/nginx/html;
    }

    # proxy the PHP scripts to Apache listening on 127.0.0.1:80
    #
    #location ~ \.php$ {
    # proxy\_pass http://127.0.0.1;
    #}

	# pass the PHP scripts to FastCGI server listening on 127.0.0.1:9000
    #
    #location ~ \.php$ {
    # root html;
    # fastcgi\_pass 127.0.0.1:9000;
    # fastcgi\_index index.php;
    # fastcgi\_param SCRIPT\_FILENAME /scripts$fastcgi\_script\_name;
    # include fastcgi\_params;
    #}

    # deny access to .htaccess files, if Apache's document root
    # concurs with nginx's one
    #
    #location ~ /\.ht {
    # deny all;
    #}
}
主要是 location / { }这块 , proxy_pass http://webs; 名字webs与前面的配置保持一致
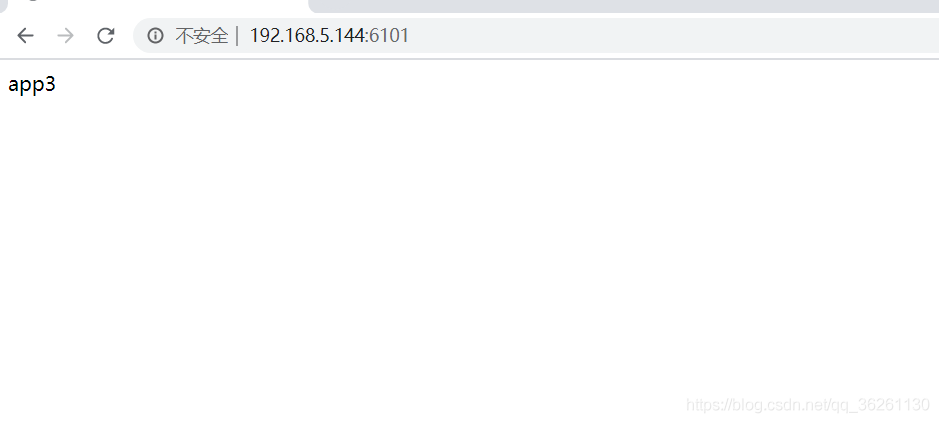
- 现在浏览器访问宿主机IP:6101, Nginx会把请求均匀的发送到三个节点去处理, 其中某一个PHP节点挂点,不影响项目正常运行
若Nginx配置upstream 后, 请求无法进行跳转, 查看是否开启端口的防火墙
# 查看防火墙开放端口
firewall-cmd --permanent --list-ports
# 添加开放端口
firewall-cmd --permanent --add-port=6101-6102/tcp
firewall-cmd --permanent --add-port=8081-8083/tcp
# 移除端口
firewall-cmd --permanent --remove-port=8081-8083/tcp
# 重新加载
firewall-cmd --reload
# 暂停a1 节点
docker pause a1
# 开启
docker unpause a1
3. 双机热备
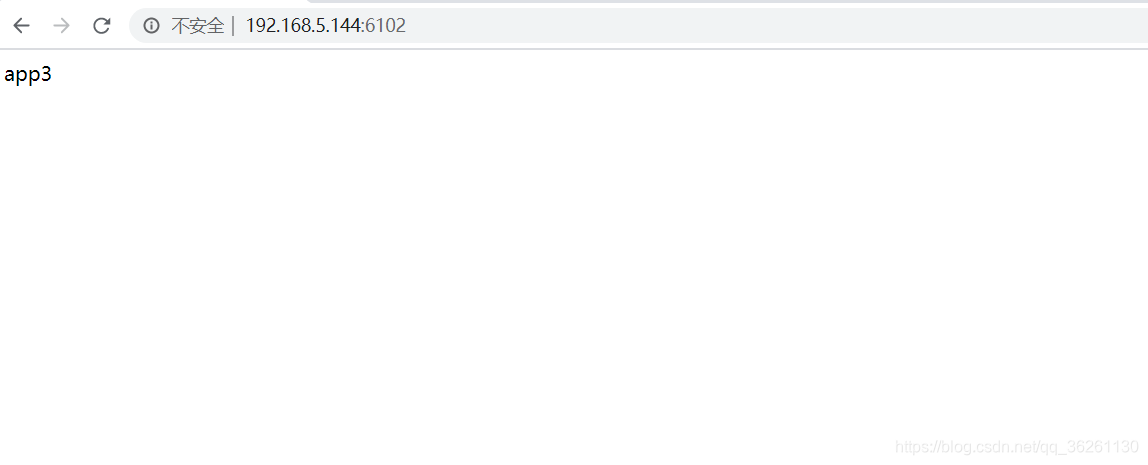
- 单节点的Nginx, 没有冗余设计,一旦某一个Nginx节点挂掉,项目的负载均衡失效, 所以需要创建多个Nginx节点, 两个Nginx节点都具备负载均衡的功能
# 创建第二个Nginx节点
docker run --name n2 \
-p 6102:80 \
-v ~/nginx/conf.d:/etc/nginx/conf.d \
-v ~/nginx/nginx.conf:/etc/nginx/nginx.conf \
--net=net1 \
--privileged \
-d nginx
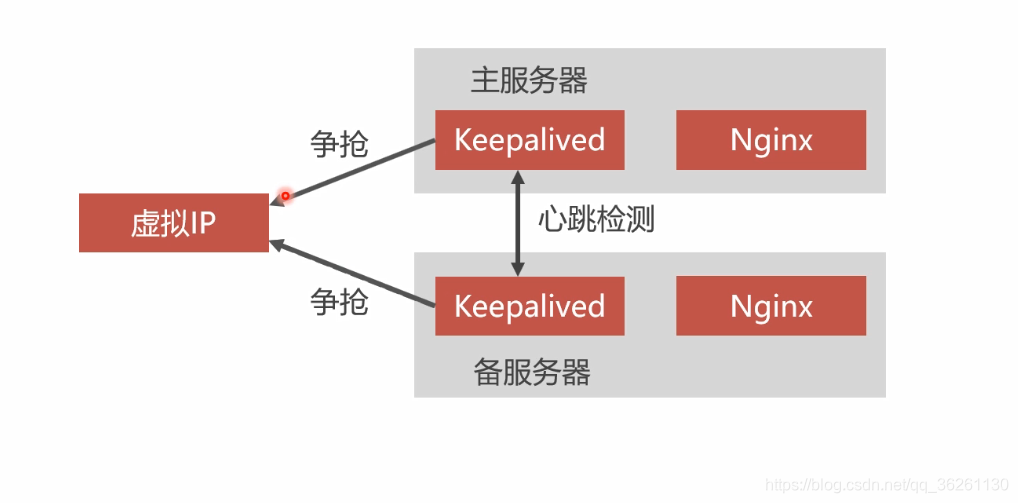
- 利用Keepalived实现双机热备
在每个Nginx节点容器内, 安装Keepalived, 然后让Keepalived去争抢某一个虚拟IP, 抢到则成为主服务器, 接收请求并均匀分发到执行PHP的某个节点, 一旦主程序出现故障, 未抢到虚拟IP的备服务器通过心跳检测检测到, 就会抢到虚拟IP成为主服务器接收请求并实现负载均衡
- 安装Keepalived
# 进入n1 容器, n2容器
docker exec -it n1 bash
docker exec -it n2 bash
# 更新
apt-get update
# 安装 keepalived
apt-get install keepalived
# 安装 vim
apt-get install vim
# 修改配置文件
vim /etc/keepalived/keepalived.conf
vrrp_instance VI_1 {
## 指定Keepalived的身份(MASTER主服务器, BACKUP备服务器)主服务器要抢占IP, 备用服务器不会抢占IP, 如果把所有Keepalived节点都设置成MASTER,这些节点启动之后都会去争抢IP,只有一个节点抢到,其他节点身份降为BACKUP
state MASTER
## 网卡设备 eth0是Docker虚拟机的网卡,该网卡在局域网看不到,把虚拟IP写到Docker网卡内,宿主机是可以访问该网卡,局域网其他电脑不能访问,所以需要在宿主机上把eth0网卡内的虚拟IP映射到局域网上的某个虚拟IP上
interface eth0
## 虚拟路由标识, MASTER和BACKUP的虚拟路由标识必须一致,标识可以是0~255
virtual_router_id 55
## 权重 MASTER权重要高于BACKUP,数字越大优先级越高,优先抢到虚拟IP
priority 100
## MASTER与BACKUP节点间同步检测的时间间隔,单位为秒,主备之间必须一致
advert_int 1
## 心跳检测需要登录到某一节点,主从服务器验证方式,主备必须使用相同的密码才能正常通信
authentication {
auth_type PASS
auth_pass 123456
}
## 虚拟IP地址,可以设置多个虚拟IP地址,每行一个,只能在Docker内部可见
virtual_ipaddress {
172.17.0.201
}
**既有适合小白学习的零基础资料,也有适合3年以上经验的小伙伴深入学习提升的进阶课程,涵盖了95%以上Go语言开发知识点,真正体系化!**
加入社区》https://bbs.csdn.net/forums/4304bb5a486d4c3ab8389e65ecb71ac0
[外链图片转存中...(img-I12Nx954-1725647660496)]
[外链图片转存中...(img-7vqoIGHs-1725647660496)]
**既有适合小白学习的零基础资料,也有适合3年以上经验的小伙伴深入学习提升的进阶课程,涵盖了95%以上Go语言开发知识点,真正体系化!**
加入社区》https://bbs.csdn.net/forums/4304bb5a486d4c3ab8389e65ecb71ac0


 978
978

 被折叠的 条评论
为什么被折叠?
被折叠的 条评论
为什么被折叠?
 到【灌水乐园】发言


