


1.环境变量设置
Airflow需要一个主目录,默认使用~/airflow,但如果您喜欢,可以设置一个不同的位置。AIRFLOW_HOME环境变量用于通知Airflow所需的位置。设置环境变量的这一步应该在安装Airflow之前完成,以便安装过程知道在哪里存储必要的文件。
export AIRFLOW\_HOME=~/airflow
2.使用约束文件进行安装
官网给出的文件内容:
AIRFLOW\_VERSION=2.7.2

# Extract the version of Python you have installed. If you're currently using a Python version that is not supported by Airflow, you may want to set this manually.
# See above for supported versions.
PYTHON\_VERSION="$(python --version | cut -d " " -f 2 | cut -d "." -f 1-2)"

CONSTRAINT\_URL="https://raw.githubusercontent.com/apache/airflow/constraints-${AIRFLOW\_VERSION}/constraints-${PYTHON\_VERSION}.txt"
# For example this would install 2.7.2 with python 3.8: https://raw.githubusercontent.com/apache/airflow/constraints-2.7.2/constraints-3.8.txt

pip install "apache-airflow==${AIRFLOW\_VERSION}" --constraint "${CONSTRAINT\_URL}"
本次使用虚拟环境进行安装:
# 创建并切换到airflow虚拟环境
conda create -n airflow python=3.8
conda activate airflow
创建约束文件airflowInstall.sh添加官网给出的内容:
AIRFLOW\_VERSION=2.7.2
PYTHON\_VERSION="$(python --version | cut -d " " -f 2 | cut -d "." -f 1-2)"
CONSTRAINT\_URL="https://raw.githubusercontent.com/apache/airflow/constraints-${AIRFLOW\_VERSION}/constraints-${PYTHON\_VERSION}.txt"
pip install "apache-airflow==${AIRFLOW\_VERSION}" --constraint "${CONSTRAINT\_URL}"
执行文件即可。也可以使用pip进行安装:
pip install "apache-airflow==2.7.2"
查询版本:
airflow version
3.启动单机版
3.1 快速启动
该命令初始化数据库、创建用户并启动所有组件。
airflow standalone

# 启动成功标志
standalone | Airflow is ready
standalone | Login with username: admin  password: ZUUNtd9ppZZTQuqy
standalone | Airflow Standalone is for development purposes only. Do not use this in production!
3.2 分步骤启动
如果您想手动运行Airflow的各个部分,而不是使用一体化的独立命令,您可以运行:
- 该命令用于执行数据库迁移。在使用 Airflow 之前,你需要初始化数据库结构。db migrate 命令会根据你的配置文件创建数据库表格,以便存储任务调度、任务实例、DAG(Directed Acyclic Graph,有向无环图)等信息。运行后的信息:
airflow db migrate
初始化数据库后的输出信息:
DB: sqlite:root/airflow/airflow.db
Performing upgrade to the metadata database sqlite:root/airflow/airflow.db
[2023-10-19T14:21:37.687+0800] {migration.py:213} INFO - Context impl SQLiteImpl.
[2023-10-19T14:21:37.688+0800] {migration.py:216} INFO - Will assume non-transactional DDL.
[2023-10-19T14:21:37.690+0800] {db.py:1620} INFO - Creating tables
INFO  [alembic.runtime.migration] Context impl SQLiteImpl.
INFO  [alembic.runtime.migration] Will assume non-transactional DDL.
WARNI [unusual_prefix_911b7e3bced5159145cb88698226ecde6e08c7be_example_kubernetes_executor] The example_kubernetes_executor example DAG requires the kubernetes provider. Please install it with: pip install apache-airflow[cncf.kubernetes]
WARNI [unusual_prefix_008dd7238a3787d68b758fe337b9f566c5014ba3_tutorial_taskflow_api_virtualenv] The tutorial_taskflow_api_virtualenv example DAG requires virtualenv, please install it.
WARNI [unusual_prefix_db2b4614a7fb1ba43706f0a1f2be91e808476bfa_example_python_operator] The virtalenv_python example task requires virtualenv, please install it.
WARNI [unusual_prefix_5624127e5a8d9c88ab5a41d62ecf92869309dd74_example_local_kubernetes_executor] Could not import DAGs in example_local_kubernetes_executor.py
Traceback (most recent call last):
  File "/root/anaconda3/envs/airflow/lib/python3.8/site-packages/airflow/example\_dags/example\_local\_kubernetes\_executor.py", line 37, in <module>
    from kubernetes.client import models as k8s
ModuleNotFoundError: No module named 'kubernetes'
WARNI [unusual_prefix_5624127e5a8d9c88ab5a41d62ecf92869309dd74_example_local_kubernetes_executor] Install Kubernetes dependencies with: pip install apache-airflow[cncf.kubernetes]
WARNI [unusual_prefix_f16a910b73b9eed67cbb95faa136bc7fd6c14eb6_workday] Could not import pandas. Holidays will not be considered.
Database migrating done!
- 该命令用于创建 Airflow 的用户。在这个例子中,它创建了一个名为 “admin” 的用户,具有管理员角色(Admin),并提供了一些用户信息,如名字、姓氏、电子邮件等。
airflow users create \
    --username admin \
    --firstname Peter \
    --lastname Parker \
    --role Admin \
    --email spiderman@superhero.org

# 测试
airflow users create \
    --username test \
    --firstname te \
    --lastname st \
    --role Admin \
    --email testman@superhero.org

# 输入密码并确认后即可创建新用户
Password:
Repeat for confirmation:
[2023-10-19T15:08:26.070+0800] {manager.py:211} INFO - Added user %s
User "test" created with role "Admin"
- 该命令启动 Airflow 的 Web 服务器。Web 服务器提供了一个用户界面,你可以通过浏览器访问。–port 8080 选项指定了 Web 服务器监听的端口号,这里是 8080。你可以通过访问 http://localhost:8080 来打开 Airflow Web UI。
# 用于启动
airflow webserver --port 8080 -D
- 该命令启动 Airflow 的调度器。调度器负责按照你的 DAG(工作流)定义定期运行任务。它会检查定义的任务调度时间,然后触发相应的任务实例。调度器是 Airflow 中关键的组件之一,确保任务按照计划执行。
airflow scheduler -D
-D: 表示以守护进程(daemon)模式运行。以守护进程模式运行意味着该进程将在后台持续运行,而不占用当前终端。
3.3 启动后
在运行这些命令后,Airflow将创建$AIRFLOW_HOME文件夹,并创建默认值为Airflow .cfg的文件,这将使您快速运行。您可以使用环境变量覆盖默认值,请参见配置参考:https://airflow.apache.org/docs/apache-airflow/stable/configurations-ref.html。您可以在$AIRFLOW_HOME/airflow.cfg中检查该文件,或者通过Admin->Configuration菜单中的UI检查该文件。如果由systemd启动webserver的PID将存储在$AIRFLOW_HOME/airflow-webserver.pid或/run/airflow/webserver.pid文件中。

3.4 服务启动停止脚本
感谢 https://blog.csdn.net/weixin_45417821/article/details/128729413 的分享,脚本airflow-service.sh内容:
#!/bin/bash
case $1 in
"start"){
	echo " --------start airflow-------"
	conda activate airflow;airflow webserver -p 8080 -D;airflow scheduler -D;conda deactivate
};;
"stop"){
	echo " --------stop airflow-------"
	ps -ef | egrep 'scheduler|airflow-webserver' | grep -v grep | awk '{print $2}' | xargs kill -15
};;
esac
脚本的执行环境为非虚拟环境也就是Linux本Lin,为何要使用source进行执行小伙伴儿们可以自行学习啊:
# 启动
source ./airflow-service.sh start
# 停止
source ./airflow-service.sh stop
4.访问
4.1 登录
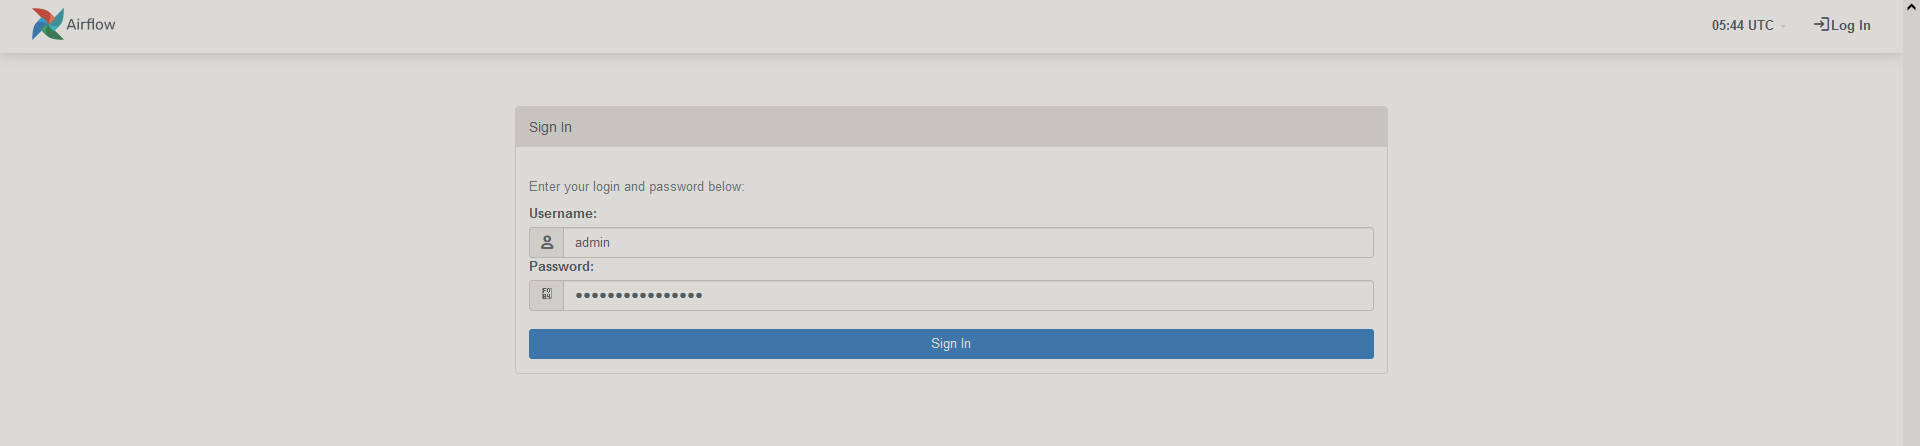
在浏览器中访问localhost:8080,并使用终端显示的管理员帐户详细信息登录。
4.2 测试
在主页中启用example_bash_operatorDAG。
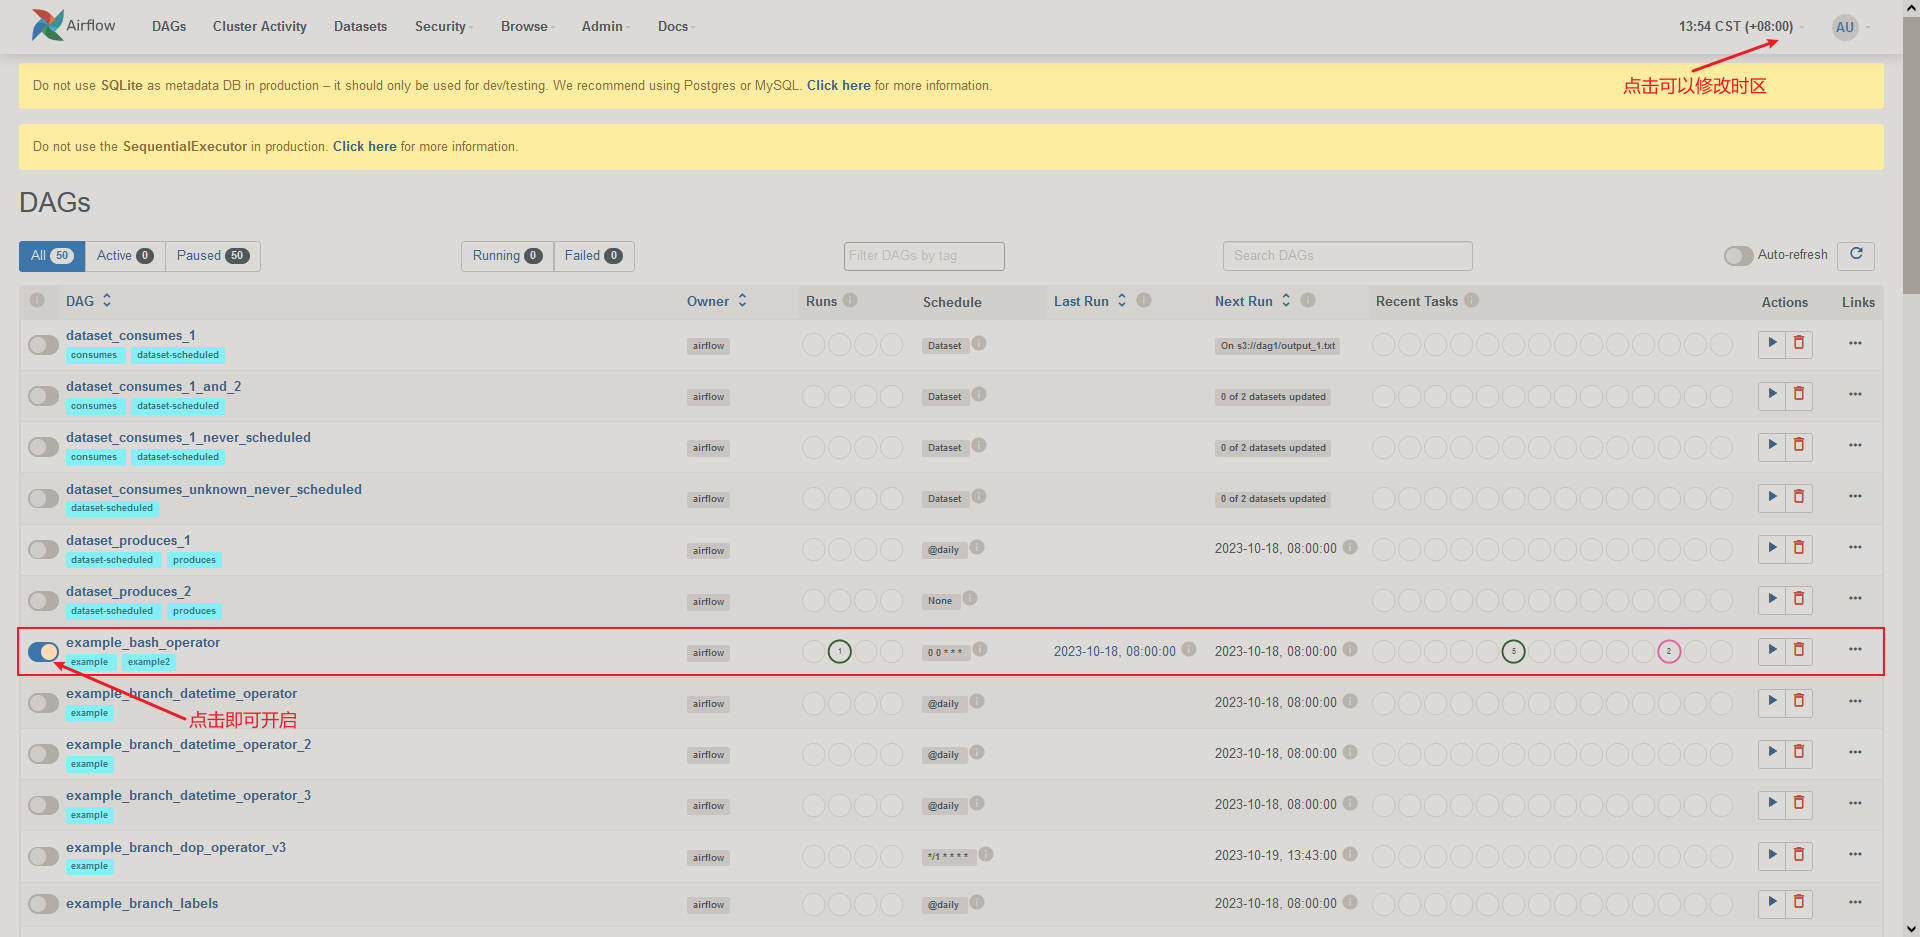
页面的两条信息说明:
- 开箱即用,Airflow使用SQLite数据库,由于使用此数据库后端不可能实现并行化,因此您应该很快就能适应该数据库。它与SequentialExecutor一起工作,后者只按顺序运行任务实例。虽然有很多限制,但它允许您快速启动和运行,并了解UI和命令行实用程序。
- 当您将Airflow扩展并部署到生产环境中时,您还需要从我们在这里使用的独立命令转移到单独运行组件。您可以在生产部署中了解更多信息:https://airflow.apache.org/docs/apache-airflow/stable/administration-and-deployment/production-deployment.html。
任务的详情:


 1018
1018

 被折叠的 条评论
为什么被折叠?
被折叠的 条评论
为什么被折叠?
 到【灌水乐园】发言


