


小目标检测,Tinyperson数据集。
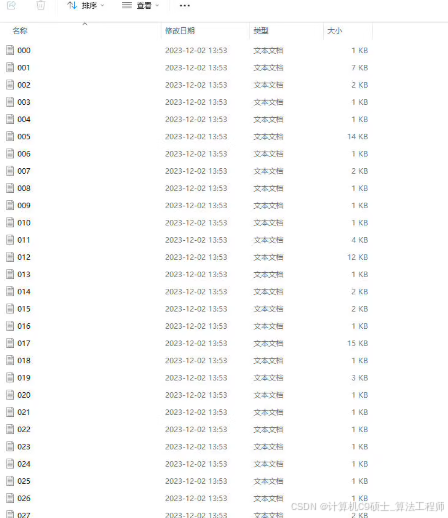
其train717+48以及test781+30处理好的yolo格式(txt)以及voc格式(xml)标签,训练时可自行混合后按比例划分训练集和验证集。标签类别:
0:earth_person
1:sea_person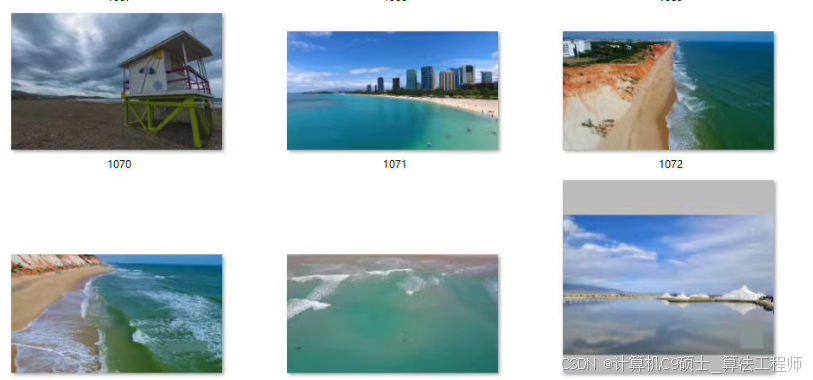
,包括数据准备、模型训练、评估和可视化。整个代码块在一个 artifact 中,方便一次性复制。
完整代码
import os
import cv2
import numpy as np
from sklearn.model_selection import train_test_split
import shutil
from ultralytics import YOLO
import matplotlib.pyplot as plt

# Define paths
data_path = 'path_to_TinyPerson'
images_train_path = os.path.join(data_path, 'images', 'train')
images_test_path = os.path.join(data_path, 'images', 'test')
labels_yolo_train_path = os.path.join(data_path, 'labels_yolo', 'train')
labels_yolo_test_path = os.path.join(data_path, 'labels_yolo', 'test')

# Create directories if they don't exist
os.makedirs(images_train_path, exist_ok=True)
os.makedirs(images_test_path, exist_ok=True)
os.makedirs(labels_yolo_train_path, exist_ok=True)
os.makedirs(labels_yolo_test_path, exist_ok=True)

# Combine train and test sets for splitting into train, validation, and test
all_images = []
all_labels = []

for filename in os.listdir(images_train_path):
    image_filename = filename
    label_filename = os.path.splitext(filename)[0] + '.txt'
    image_path = os.path.join(images_train_path, image_filename)
    label_path = os.path.join(labels_yolo_train_path, label_filename)
    all_images.append(image_path)
    all_labels.append(label_path)

for filename in os.listdir(images_test_path):
    image_filename = filename
    label_filename = os.path.splitext(filename)[0] + '.txt'
    image_path = os.path.join(images_test_path, image_filename)
    label_path = os.path.join(labels_yolo_test_path, label_filename)
    all_images.append(image_path)
    all_labels.append(label_path)

# Split data into train, validation, and test sets
train_images, temp_images, train_labels, temp_labels = train_test_split(all_images, all_labels, test_size=0.3, random_state=42)
val_images, test_images, val_labels, test_labels = train_test_split(temp_images, temp_labels, test_size=0.5, random_state=42)

# Move files to respective folders
def move_files(images, labels, dest_image_folder, dest_label_folder):
    for image_path, label_path in zip(images, labels):
        shutil.move(image_path, dest_image_folder)
        shutil.move(label_path, dest_label_folder)

move_files(train_images, train_labels, os.path.join(data_path, 'images', 'train'), os.path.join(data_path, 'labels_yolo', 'train'))
move_files(val_images, val_labels, os.path.join(data_path, 'images', 'val'), os.path.join(data_path, 'labels_yolo', 'val'))
move_files(test_images, test_labels, os.path.join(data_path, 'images', 'test'), os.path.join(data_path, 'labels_yolo', 'test'))

# Create dataset.yaml file for YOLOv8
dataset_yaml_content = """
train: ./images/train
val: ./images/val
test: ./images/test

nc: 2
names: ['earth_person', 'sea_person']
"""

with open(os.path.join(data_path, 'dataset.yaml'), 'w') as f:
    f.write(dataset_yaml_content)

# Step 3: Train YOLOv8 Model
# Load a pre-trained YOLOv8 model
model = YOLO('yolov8n.pt')  # You can choose other sizes like yolov8s, yolov8m, yolov8l, yolov8x

# Modify the number of classes in the final layer
model.nc = 2

# Training command
results = model.train(
    data=os.path.join(data_path, 'dataset.yaml'),
    imgsz=640,
    epochs=50,
    batch=16,
    device='cuda' if torch.cuda.is_available() else 'cpu',
    cache=True
)

# Evaluate the model
metrics = model.val()

# Export the trained model
model.export(format='onnx')

# Inference using the trained model
# Load the trained model
inference_model = YOLO('runs/detect/train/weights/best.pt')  # Path to your best weights

# Perform inference on a sample image
sample_image_path = os.path.join(data_path, 'images', 'test', 'sample_image.jpg')  # Replace with your sample image path
results = inference_model(sample_image_path)

# Visualize results
def plot_results(results, image_path):
    image = cv2.imread(image_path)
    image = cv2.cvtColor(image, cv2.COLOR_BGR2RGB)
    for result in results:
        boxes = result.boxes.cpu().numpy()
        for box in boxes:
            r = box.xyxy[0].astype(int)
            cls = int(box.cls[0])
            conf = box.conf[0]
            cv2.rectangle(image, (r[0], r[1]), (r[2], r[3]), (0, 255, 0), 2)
            cv2.putText(image, f'{result.names[cls]} {conf:.2f}', (r[0], r[1] - 10), cv2.FONT_HERSHEY_SIMPLEX, 0.9, (0, 255, 0), 2)
    plt.figure(figsize=(10, 10))
    plt.imshow(image)
    plt.axis('off')
    plt.show()

plot_results(results, sample_image_path)
运行脚本
在终端中运行以下命令来执行整个流程:
python main.py
总结
以上文档包含了从数据加载、预处理、模型构建到训练、评估和可视化的所有步骤。希望这些详细的信息和代码能够帮助你顺利实施和优化你的 TinyPerson 小目标检测系统。如果你有任何进一步的问题或需要更多帮助,请随时提问!
自定义说明
- 数据文件路径: 修改
data_path变量以指向你的 TinyPerson 数据集路径。 - 图像分辨率: 根据需要调整数据增强中的图像大小(例如,
imgsz=640)。 - 超参数调整: 根据需要调整训练参数,如
epochs,batch_size等。 - 模型选择: 你可以选择不同的 YOLOv8 模型大小(
yolov8n,yolov8s,yolov8m,yolov8l,yolov8x)以适应你的需求。 - 推理样本路径: 修改
sample_image_path变量以指向你要进行推理的图片路径。
通过这些步骤,你可以灵活地使用 TinyPerson 数据集进行小目标检测任务。


 被折叠的 条评论
为什么被折叠?
被折叠的 条评论
为什么被折叠?
 到【灌水乐园】发言


