


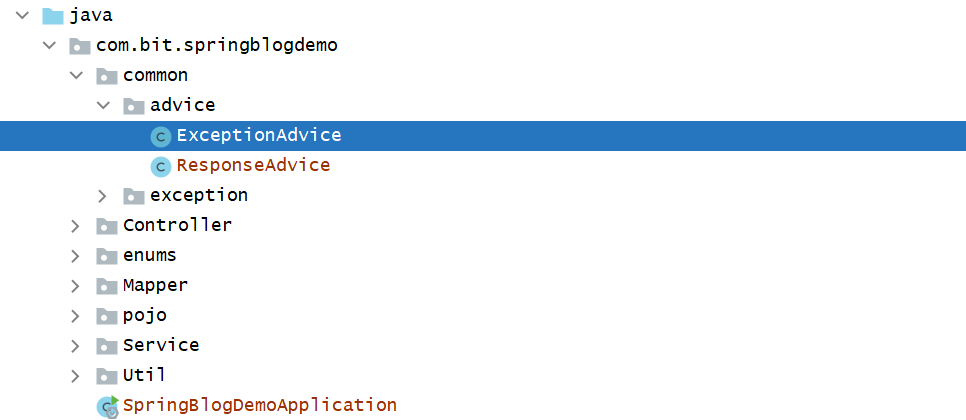
实现博客详情
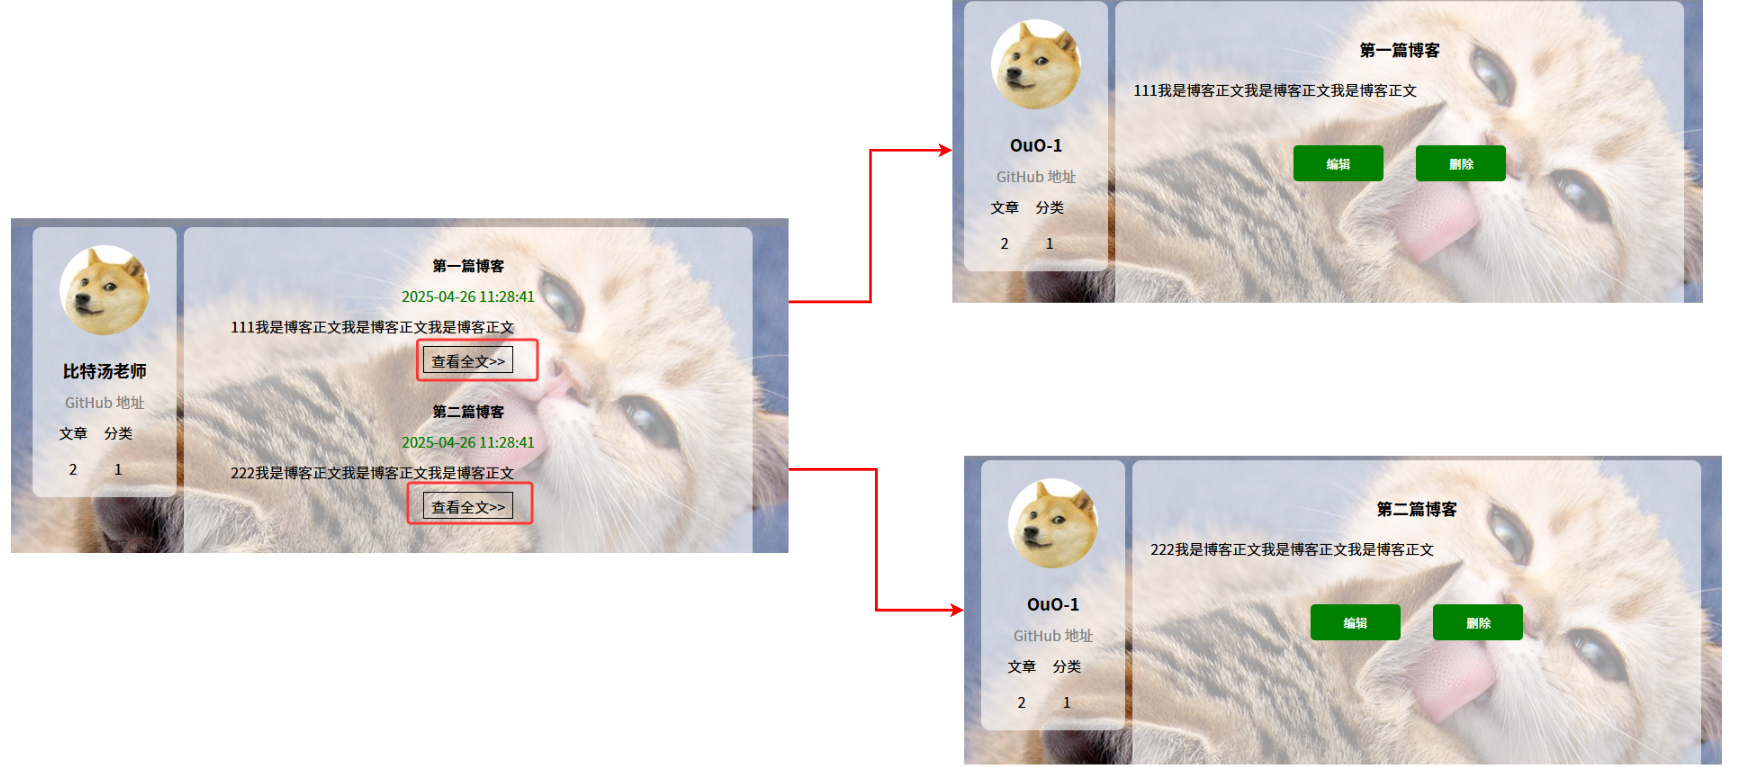
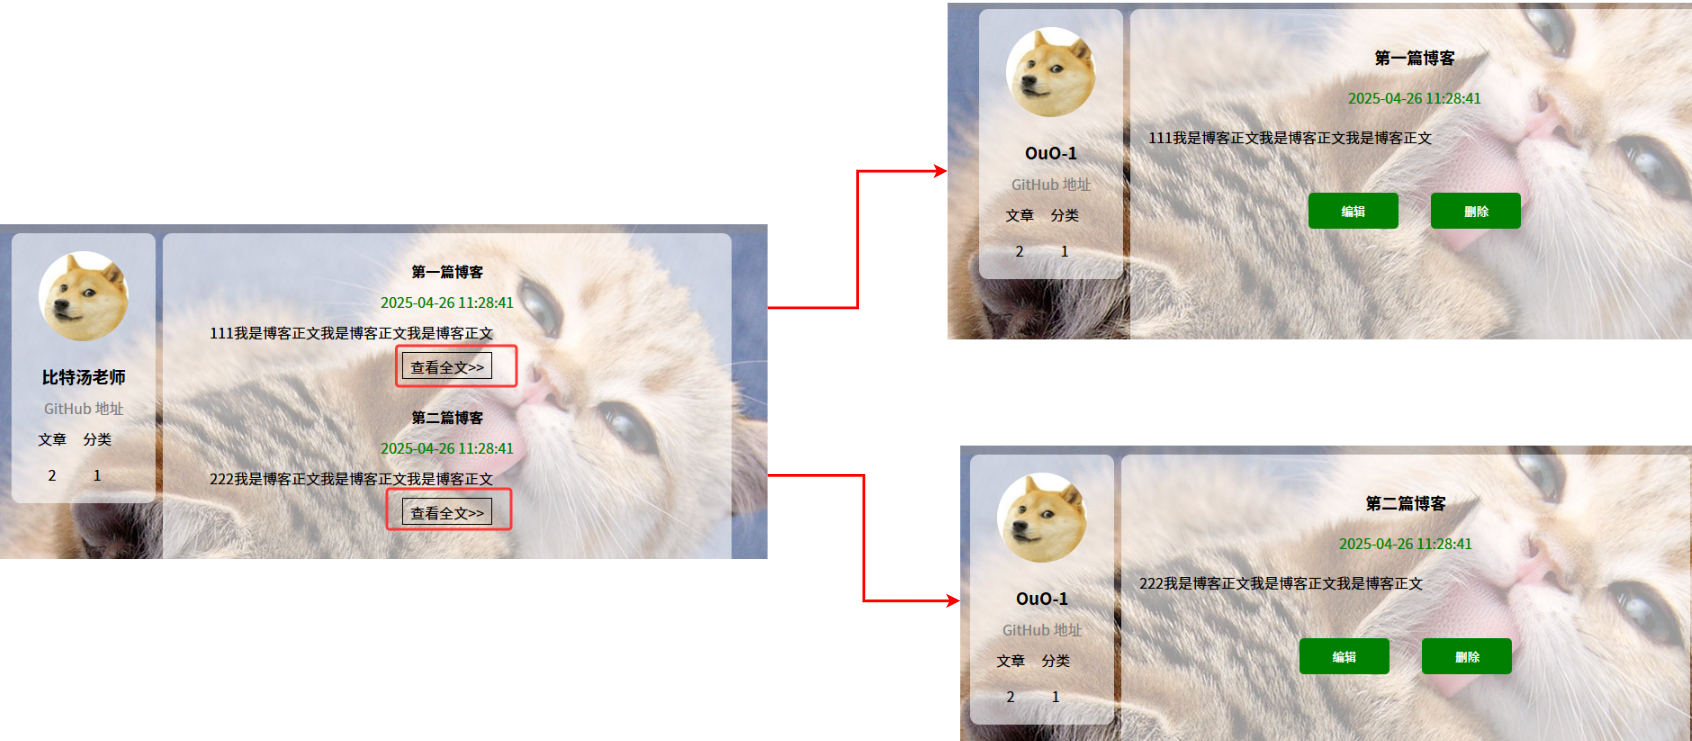
目前点击博客列表页的“查看全文”,能进入博客详情页,但是这个博客详情页是写死的内容。
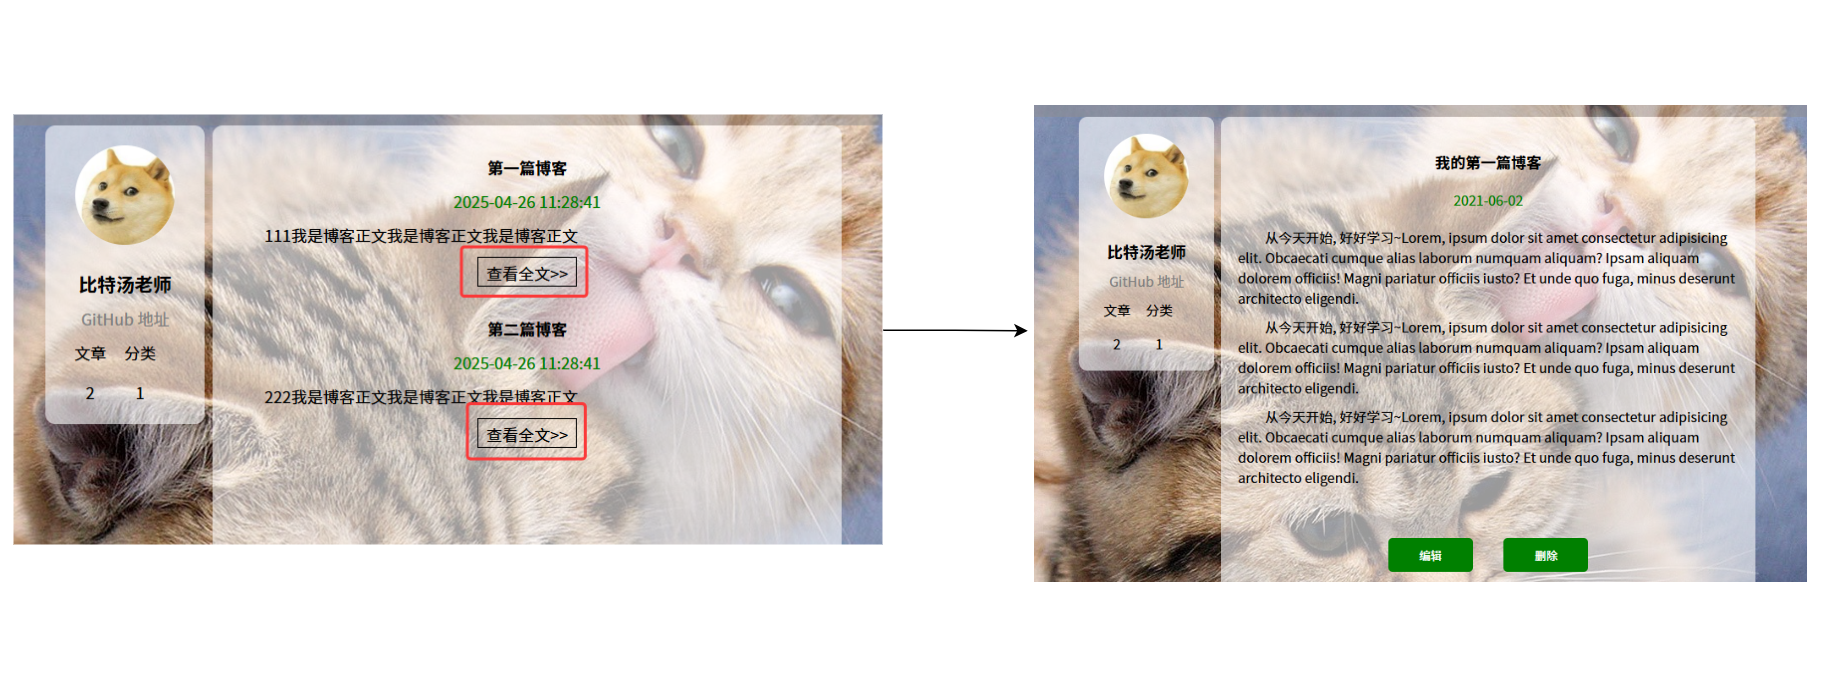
我们期望能够根据当前的博客 id 从服务器动态获取博客内容。
约定前后端交互接口
-
[请求]
/blog/getBlogDetail?blogId=1 -
[响应]
{
  "code": 200,
  "errMsg": null,
  "data": {
    "id": 1,
    "title": "第一篇博客",
    "content": "111我是博客正文我是博客正文我是博客正文",
    "userId": 1,
    "updateTime": "2024-08-22 11:27:03"
  }
}
完善接口代码
在 BlogController 中添加 getBlogDetail 方法:

@RequestMapping("/getBlogDetail")
public BlogInfoReponse getBlogDetail(Integer blogId){
    log.info("获取博客详情, blogId: {}", blogId);
    return blogService.getBlogDetail(blogId);
}
在 BlogService 中添加 getBlogDetail 方法:
public interface BlogService {

    List<BlogInfoReponse> getList();

    BlogInfoReponse getBlogDetail(Integer blogId);  // 新添加的接口方法
}
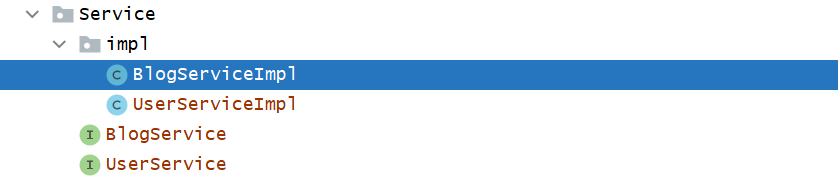
在 BlogServiceImpl 中进行实现:
@Override
public BlogInfoReponse getBlogDetail(Integer blogId) {
    // 1. 只根据 Id 查询博客详情
    // blogInfoMapper.selectById(blogId);

    // 2. 根据 id 和 getDeleteFlag 查询, getDeleteFlag 最好不要直接传 0, 而是另外设置一个枚举常量
    QueryWrapper<BlogInfo> queryWrapper = new QueryWrapper<>();
    queryWrapper.lambda().eq(BlogInfo::getDeleteFlag, 0)
        .eq(BlogInfo::getId, blogId);
    BlogInfo blogInfo = blogInfoMapper.selectOne(queryWrapper);
    // 3. selectOne() 标识根据条件构造器, 只查询一个符合题意的目标, 如果有多个符合题意的目标, 会报错

    // 4. 把 BlogInfo 换成 BlogInfoReponse
    BlogInfoReponse blogInfoReponse = new BlogInfoReponse();
    BeanUtils.copyProperties(blogInfo, blogInfoReponse);
    blogInfoReponse.setCreateTime(blogInfo.getCreateTime());
    return blogInfoReponse;
}
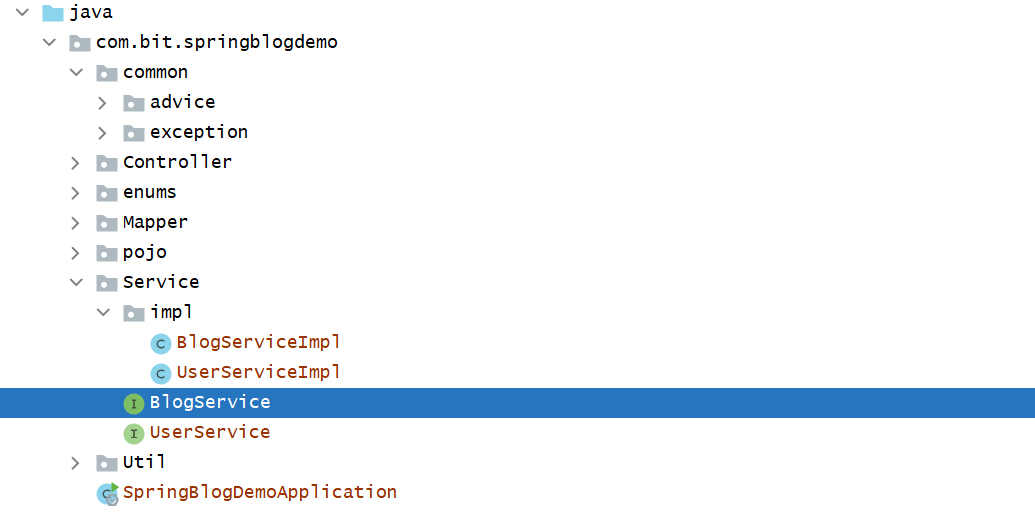
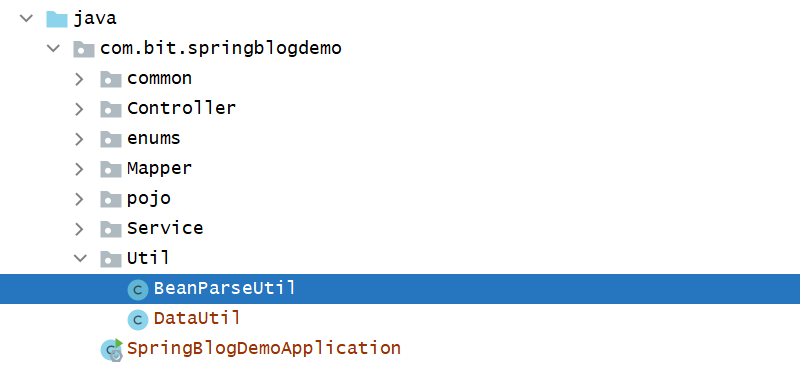
把 BlogInfo 换成 BlogInfoReponse 的处理代码进行封装,便于后续复用
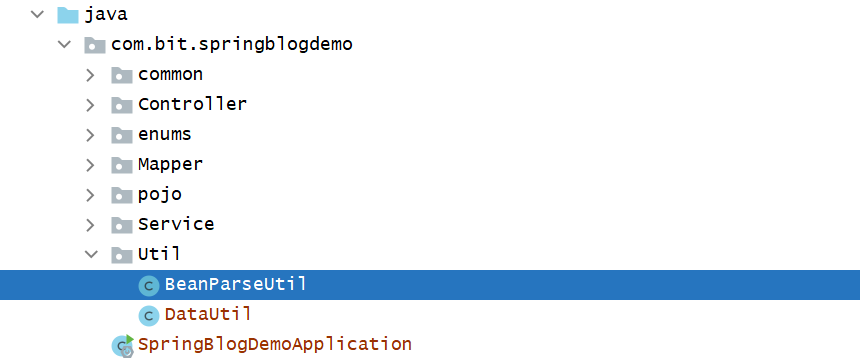
public class BeanParseUtil {
    public static BlogInfoReponse trans(BlogInfo blogInfo){
        BlogInfoReponse blogInfoReponse = new BlogInfoReponse();
        BeanUtils.copyProperties(blogInfo, blogInfoReponse);
        blogInfoReponse.setCreateTime(blogInfo.getCreateTime());
        return blogInfoReponse;
    }
}
封装好BlogInfo 换成 BlogInfoReponse 的处理代码后,我们就可以简化代码:

@Override
public List<BlogInfoReponse> getList() {

    QueryWrapper<BlogInfo> queryWrapper = new QueryWrapper<>();
    queryWrapper.lambda().eq(BlogInfo::getDeleteFlag, 0);
    List<BlogInfo> blogInfos = blogInfoMapper.selectList(queryWrapper);

    //  BlogInfo 换成 BlogInfoReponse 的简化代码 1
    List<BlogInfoReponse> blogInfoReponses = blogInfos.stream()
        .map(blogInfo -> BeanParseUtil.trans(blogInfo))
        .collect(Collectors.toList());

    return blogInfoReponses;
}

@Override
public BlogInfoReponse getBlogDetail(Integer blogId) {
    QueryWrapper<BlogInfo> queryWrapper = new QueryWrapper<>();
    queryWrapper.lambda().eq(BlogInfo::getDeleteFlag, 0)
        .eq(BlogInfo::getId, blogId);
    BlogInfo blogInfo = blogInfoMapper.selectOne(queryWrapper);

    //  BlogInfo 换成 BlogInfoReponse 的简化代码 2
    return BeanParseUtil.trans(blogInfo);
}
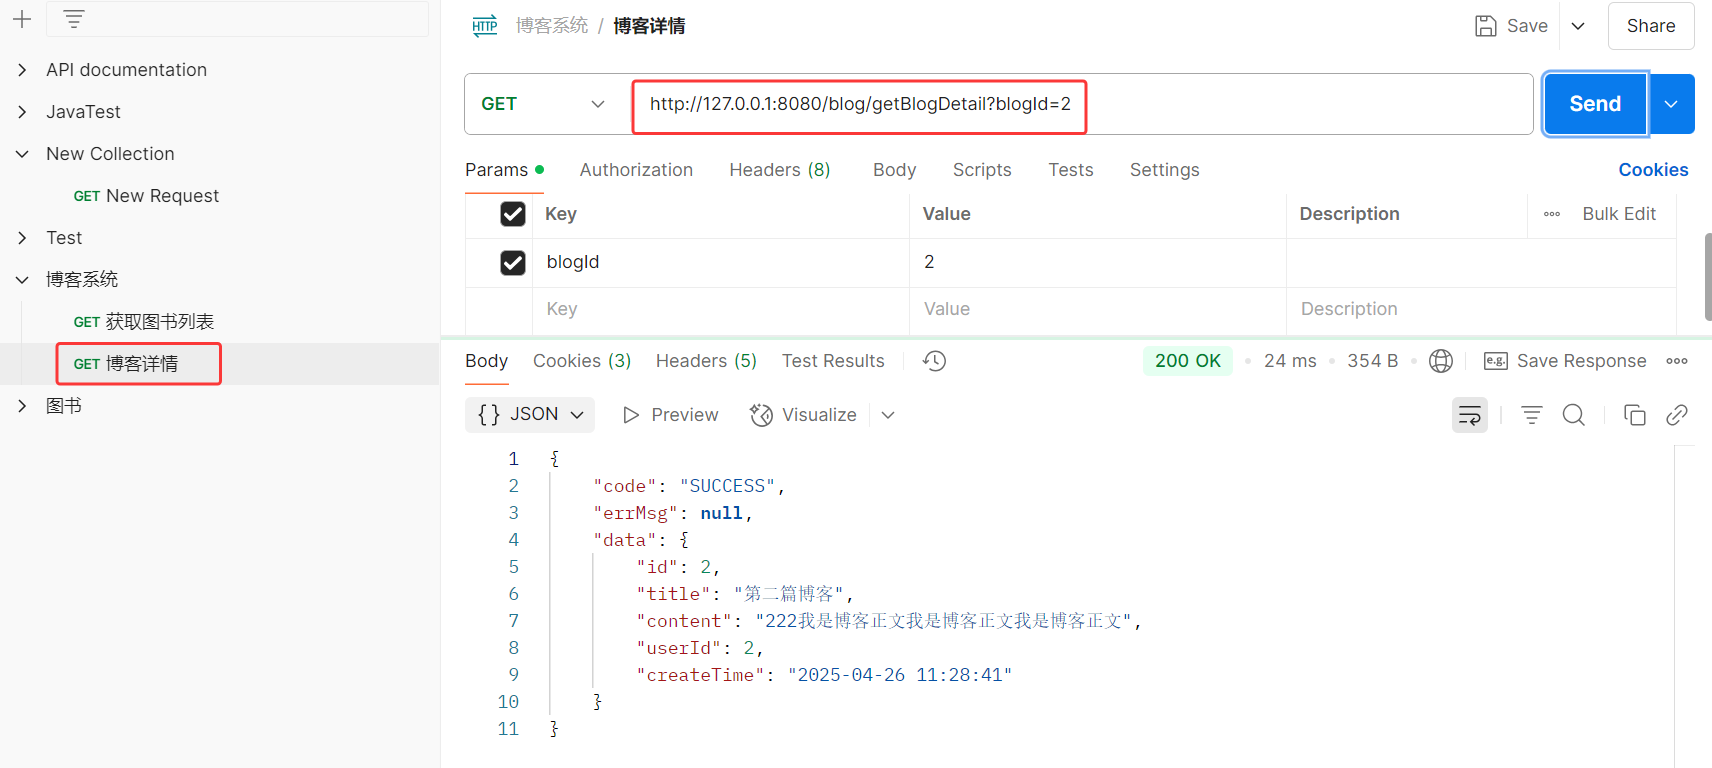
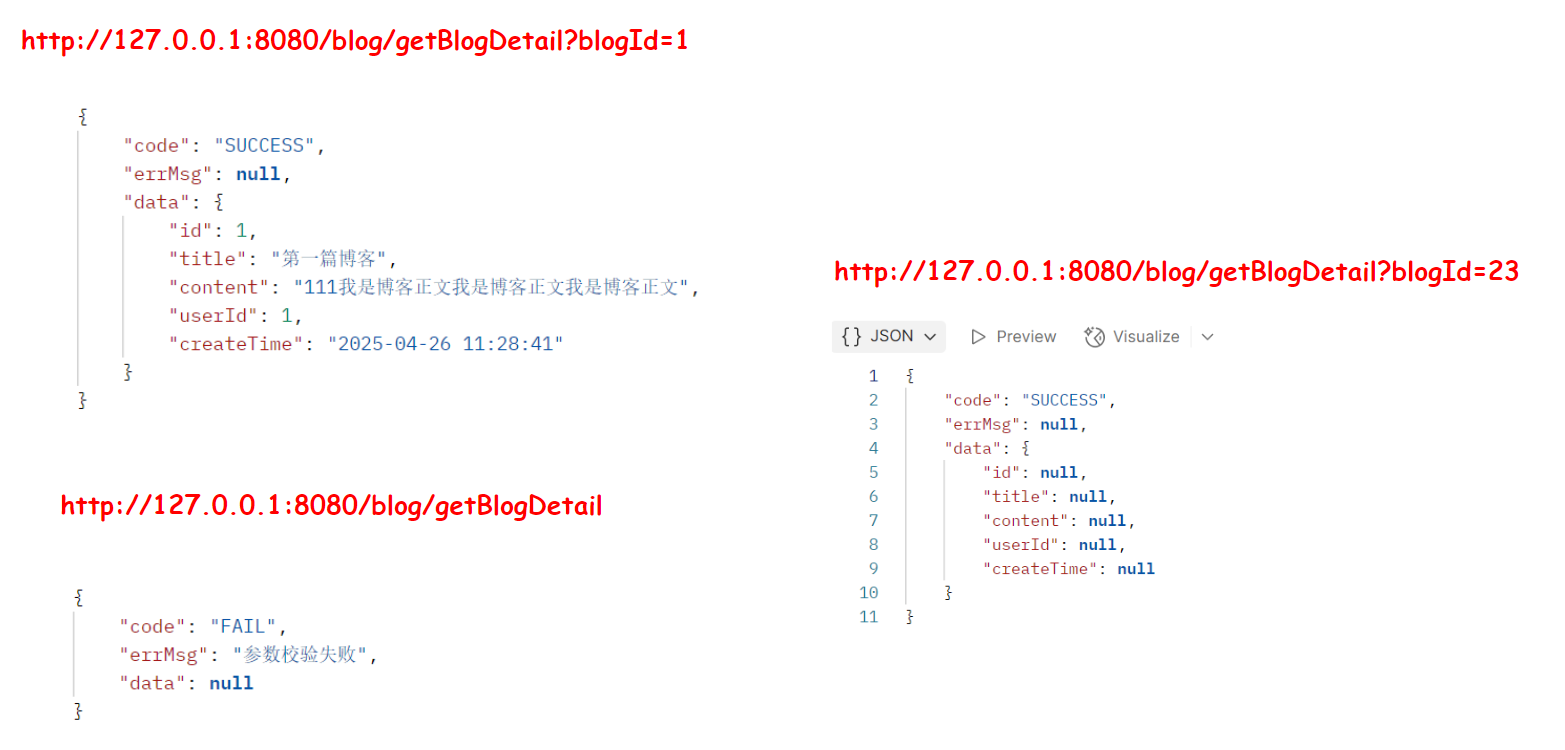
部署程序,验证服务器是否能正确返回数据(使用URLhttp://127.0.0.1:8080/blog/getBlogDetail?blogId=1 即可)。
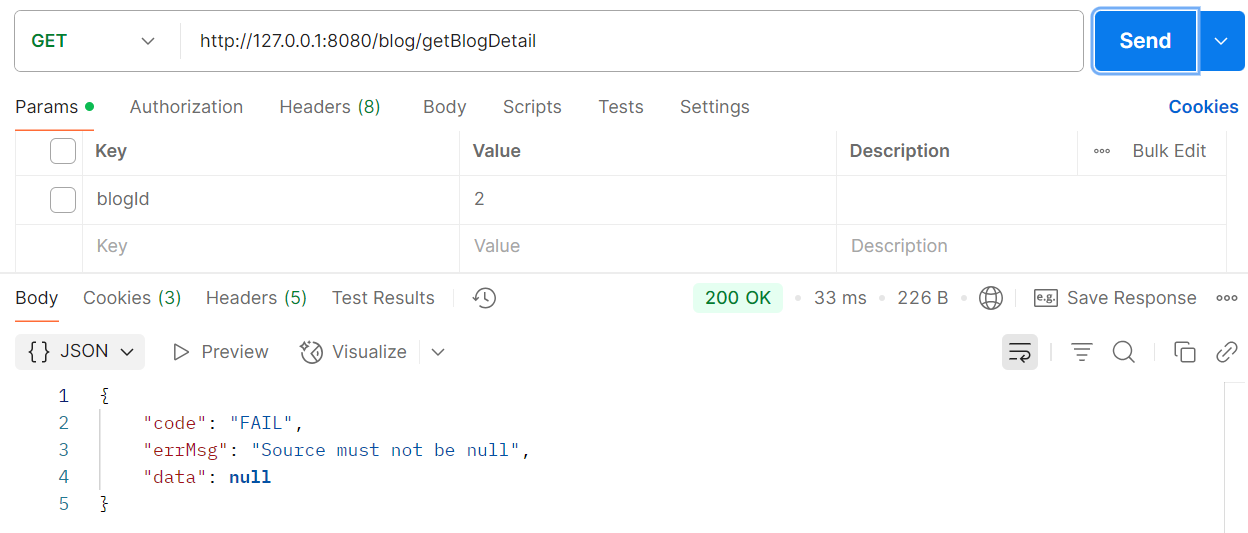
当 blogId 为空时:
public class BeanParseUtil {
    public static BlogInfoReponse trans(BlogInfo blogInfo){
        if(blogInfo == null){
            // 对 blogInfo 传参为 null 的情况进行处理, 可以返回 null, 也可以返回一个自定义对象
            return new BlogInfoReponse();
        }
        BlogInfoReponse blogInfoReponse = new BlogInfoReponse();
        BeanUtils.copyProperties(blogInfo, blogInfoReponse);
        blogInfoReponse.setCreateTime(blogInfo.getCreateTime());
        return blogInfoReponse;
    }
}
但是如果 blogId 为空,就应该在 Controller 层拦截请求,避免过度调用接口;除了在 Controller 层校验 blogId 外,还可以使用jakarta.validation 进行参数校验;
参数校验:jakarta.validation
这个接口中,blogId 不能为空:
可以借助 jakarta.validation 帮我们完成参数校验,免去繁琐的串行校验。
javax.validation 是 Java Bean Validation API 的包名,这个 API 允许开发者通过注解(如 @NotNull, @NotBlank, @Null 等)来声明对象的验证规则,然后在运行时自动验证这些对象。
常见注解:
| 注解 | 数据类型 | 说明 |
|---|---|---|
@NotBlank | CharSequence 子类型 | 验证注解的元素值不为空(不为 null、去除首位空格后长度为 0) |
@NotEmpty | CharSequence 子类型、Collection、Map、数组 | 验证注解的元素值不为 null 且不为空(字符串长度不为 0、集合大小不为 0) |
@NotNull | 任意类型 | 验证注解的元素值不是 null |
SpringBoot 项目使用时,添加以下依赖到 pom.xal 文件中即可:
<dependency>
    <groupId>org.springframework.boot</groupId>
    <artifactId>spring-boot-starter-validation</artifactId>
</dependency>
方法声明:
@RequestMapping("/getBlogDetail")
public BlogInfoReponse getBlogDetail(@NotNull Integer blogId){
    log.info("获取博客详情, blogId: {}", blogId);
    return blogService.getBlogDetail(blogId);
}
重新启动程序,校验接口:
针对校验出现的异常,进行处理:
    @ExceptionHandler
    public Result exceptionHandler(HandlerMethodValidationException exception){
        // 记不住什么时候加 {} , 就全部都加 {}
        log.error("发生异常, e: {}", exception.getMessage());
        return Result.fail("参数校验失败");
    }
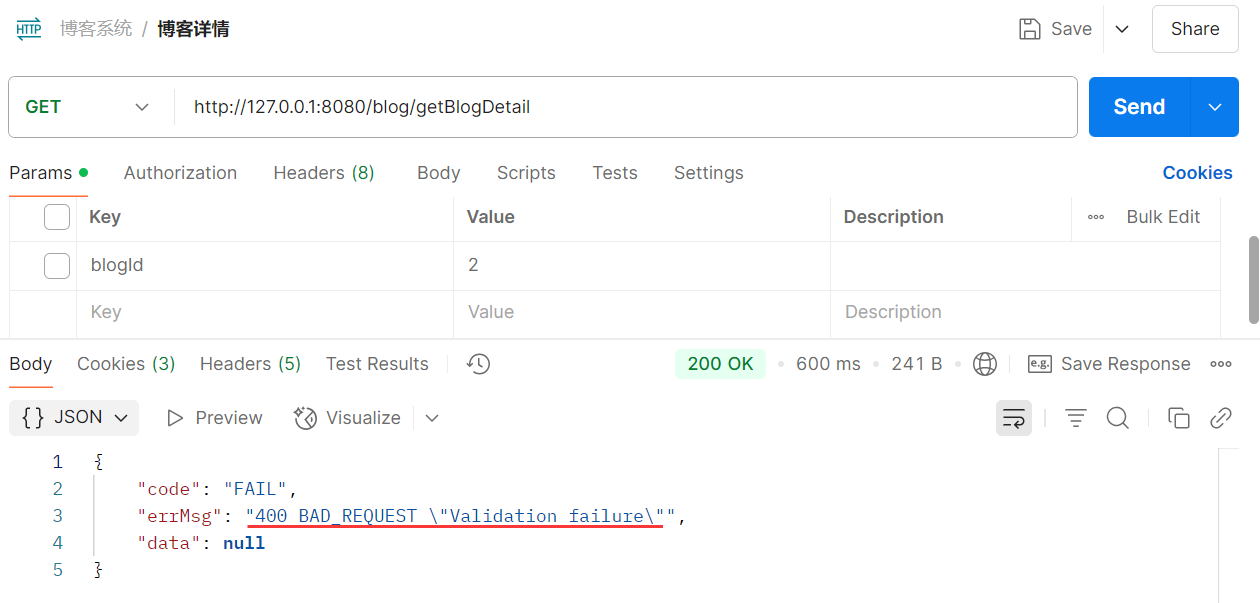
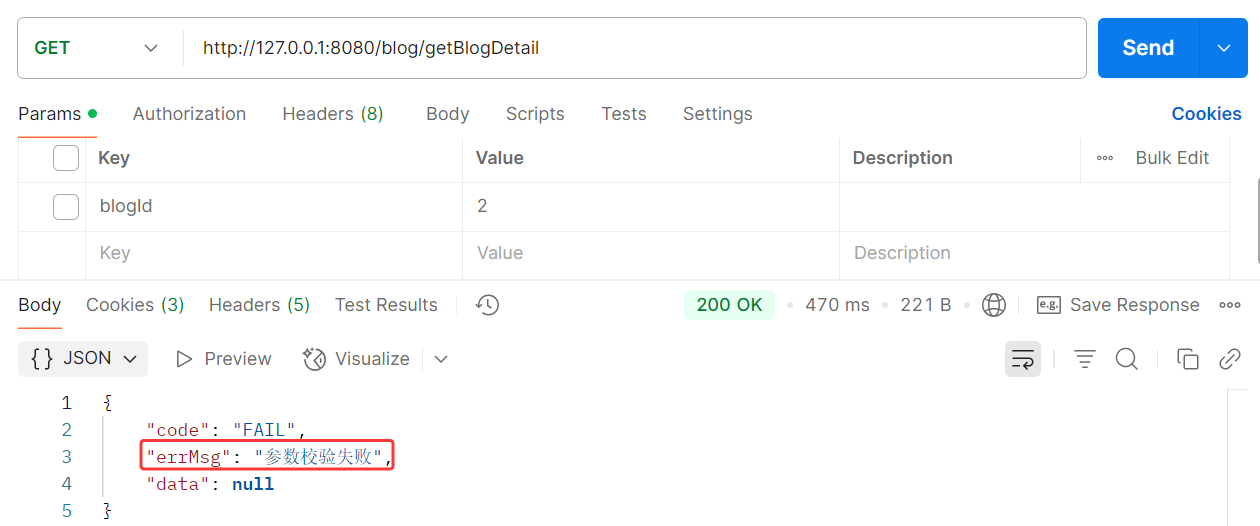
重新启动程序,再次发送 blogId = null 的请求:

完善客户端与接口交互逻辑
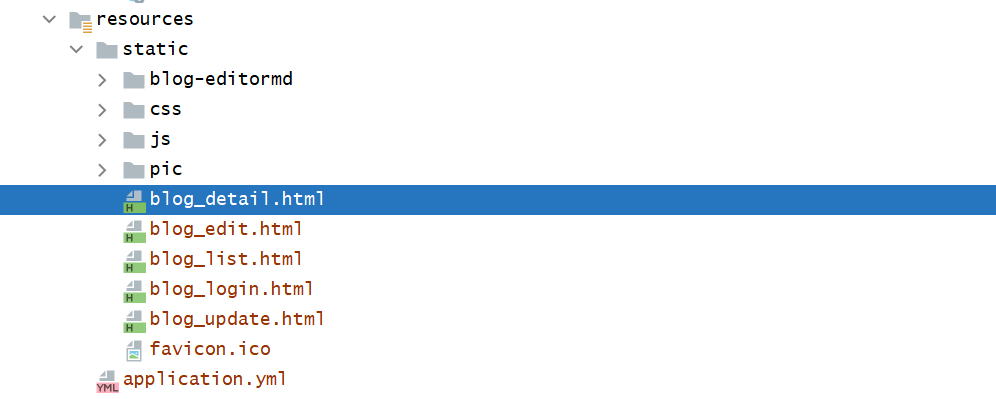
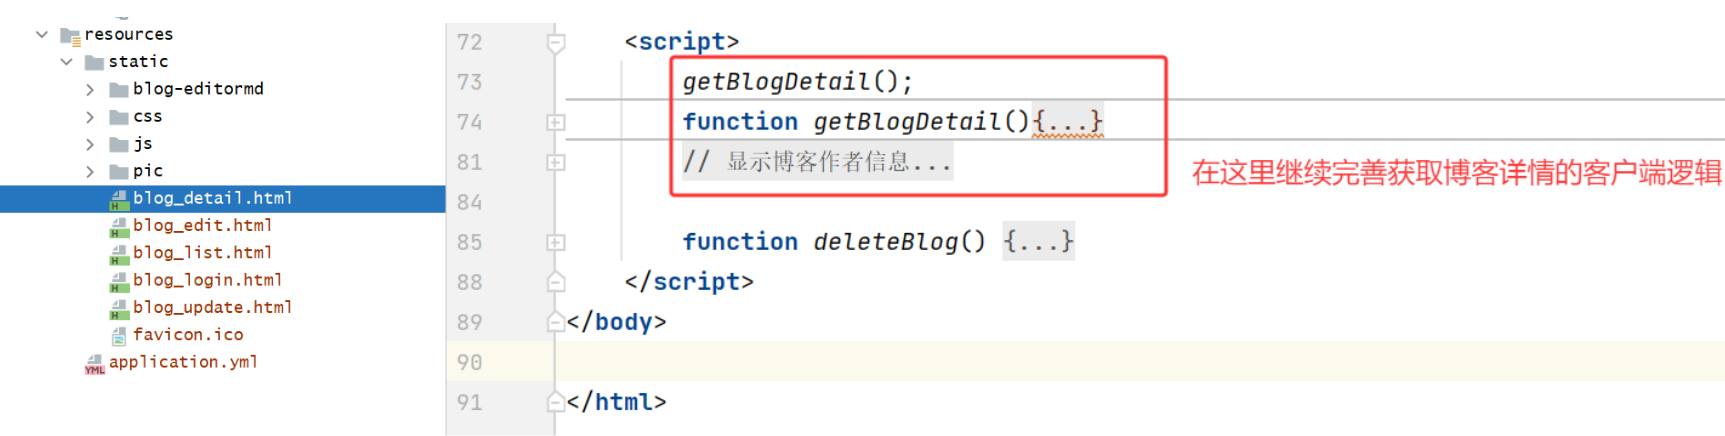
修改 blog_detail.html:
完善 js 代码,从服务器获取博客详情数据:
<script>
    getBlogDetail();
    function getBlogDetail(){
        $.ajax({
            type: "get",
            url: "/blog/getBlogDetail" + location.search,
            success: function (){

            }
        });
        // url: "/blog/getBlogDetail" + location.search, 这样的写法就不需要写 data 了, 并且 url 会自动拼接 ? 分割符
    }
</script>
根据 URL 是否正确传递参数 blogId 返回的响应,来进一步完善客户端代码:
<script>
    getBlogDetail();
    function getBlogDetail(){
        $.ajax({
            type: "get",
            url: "/blog/getBlogDetail" + location.search,
            success: function (result){
                if(result.code == FAIL){
                    alert(result.errMsg);
                    return;
                }

                if(result.code == success && result.data != null){
                    // 从数据库中拿值
                }
            }
        });
    }
</script>
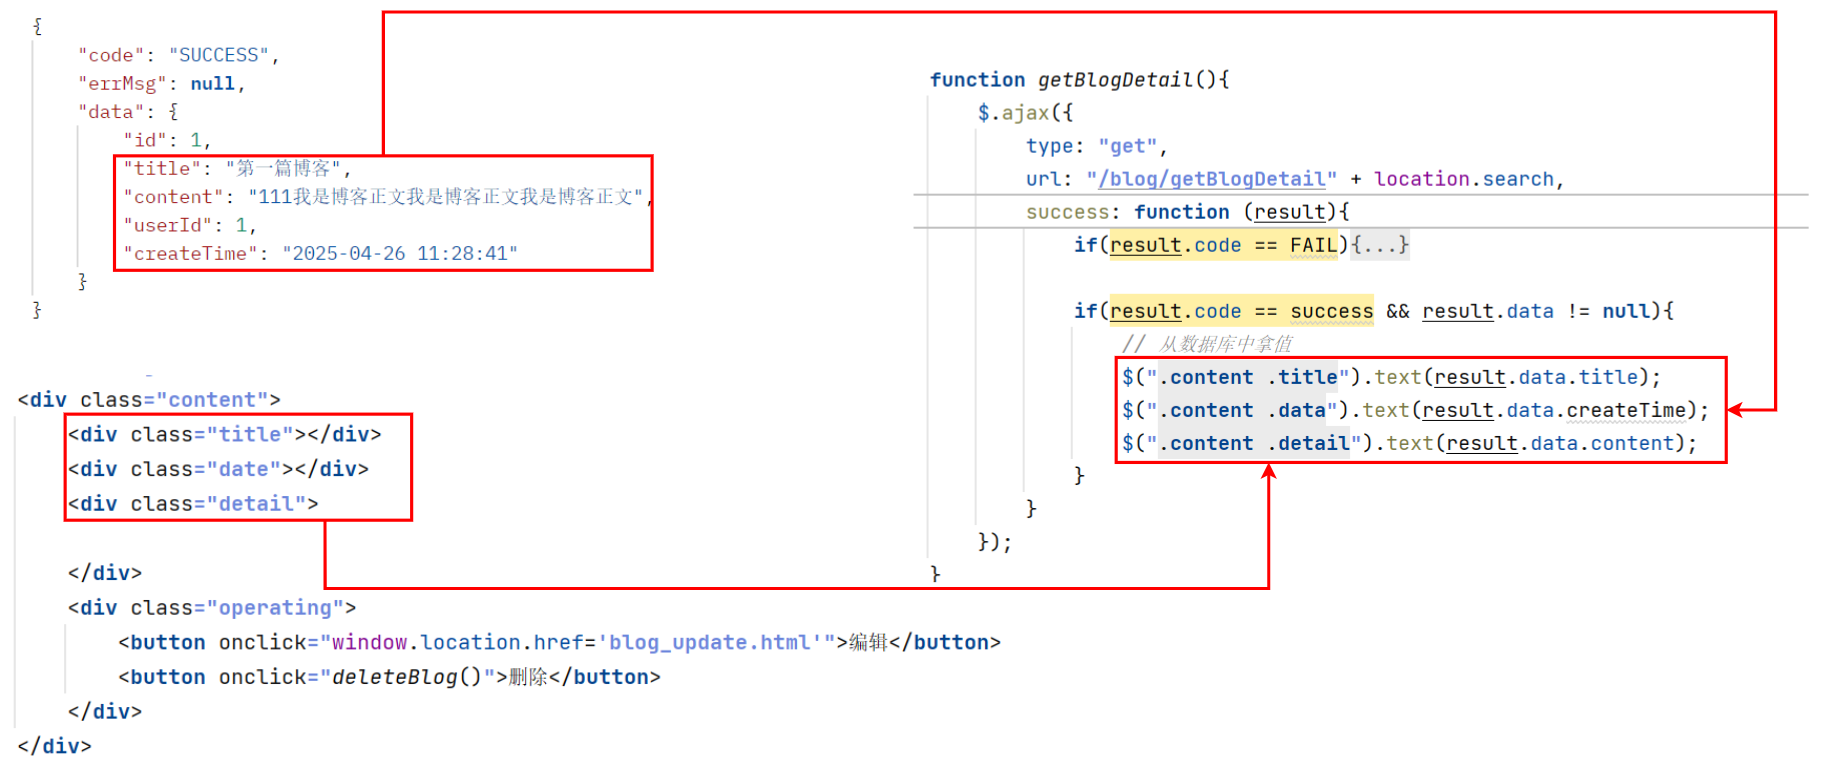
下面这块地方是写死的,我们需要修改把这些地方,修改成从数据库中拿值:
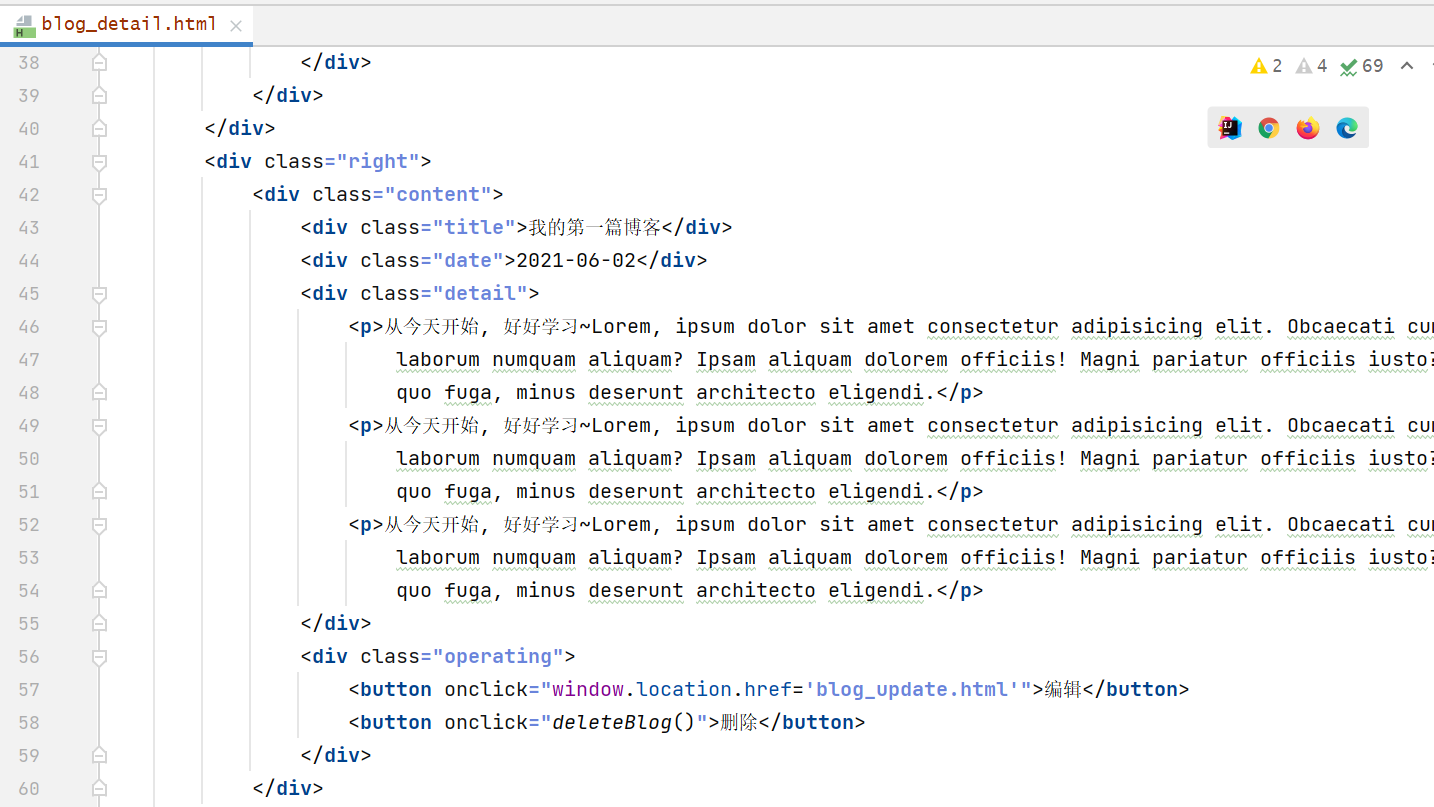
修改 HTML 页面,去掉原来写死的博客标题、日期和正文部分:
<div class="content">
    <div class="title"></div>
    <div class="date"></div>
    <div class="detail"></div>
    <div class="operating">
        <button onclick="window.location.href='blog_update.html'">编辑</button>
        <button>删除</button>
    </div>
</div>
<script>
    getBlogDetail();
    function getBlogDetail(){
        $.ajax({
            type: "get",
            url: "/blog/getBlogDetail" + location.search,
            success: function (result){
                if(result.code == FAIL){
                    alert(result.errMsg);
                    return;
                }

                if(result.code == success && result.data != null){
                    // 从数据库中拿值
                    $(".content .title").text(result.data.title);
                    $(".content .data").text(result.data.createTime);
                    $(".content .detail").text(result.data.content);
                }
            }
        });
    }
</script>
接口校验
部署程序,验证效果。
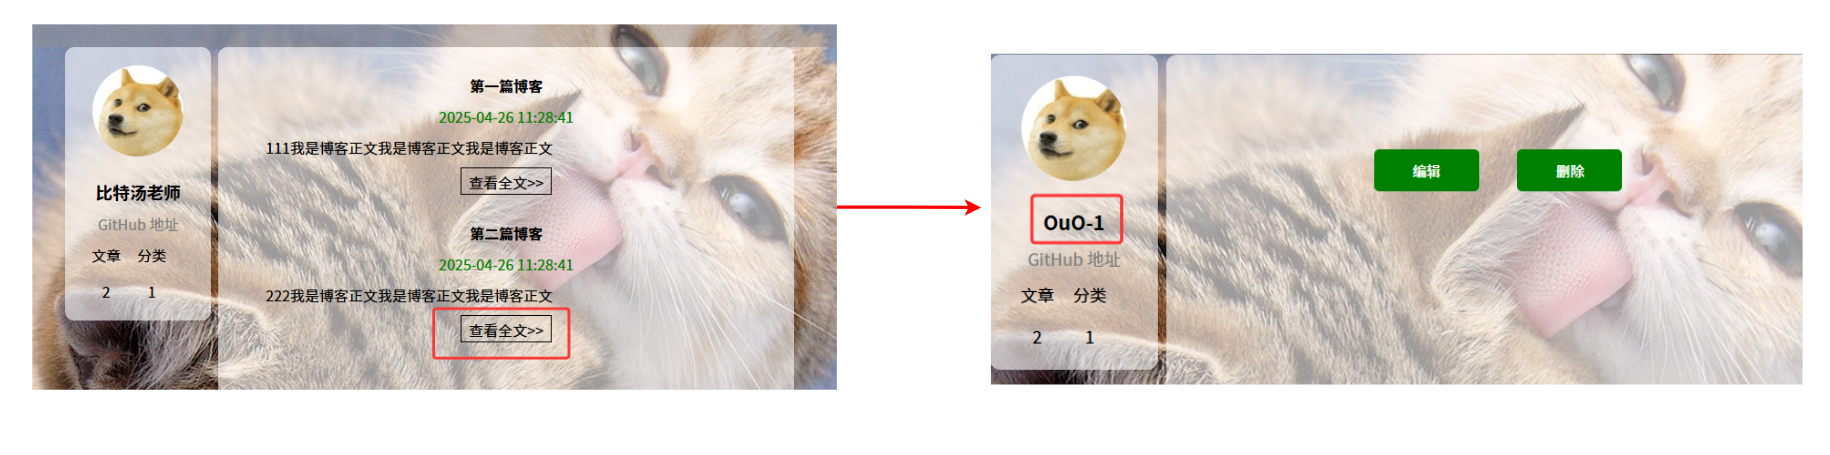
我们发现,按查看全文按钮后,并没有显示数据库文章内容;

页面按 F12,进入控制台:
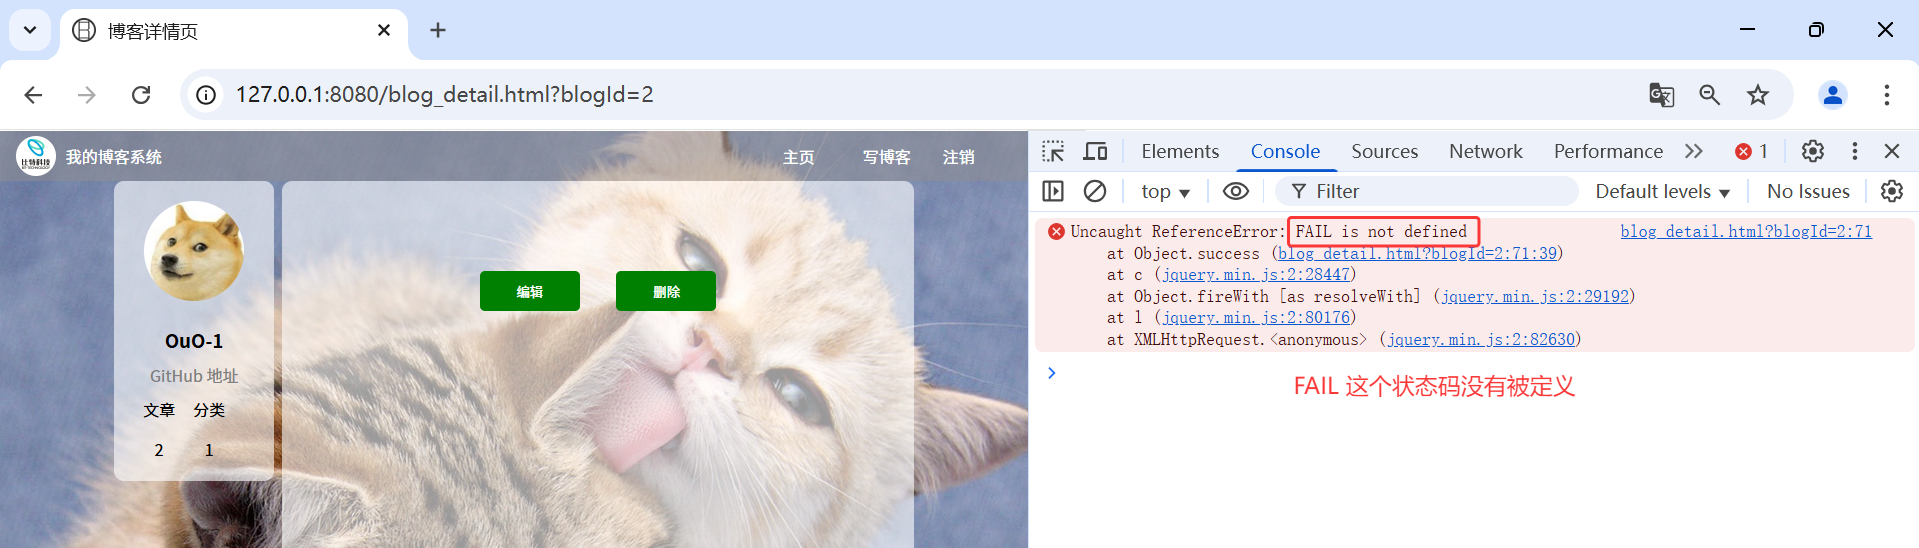
点击右侧链接,跳转到报错的代码中:
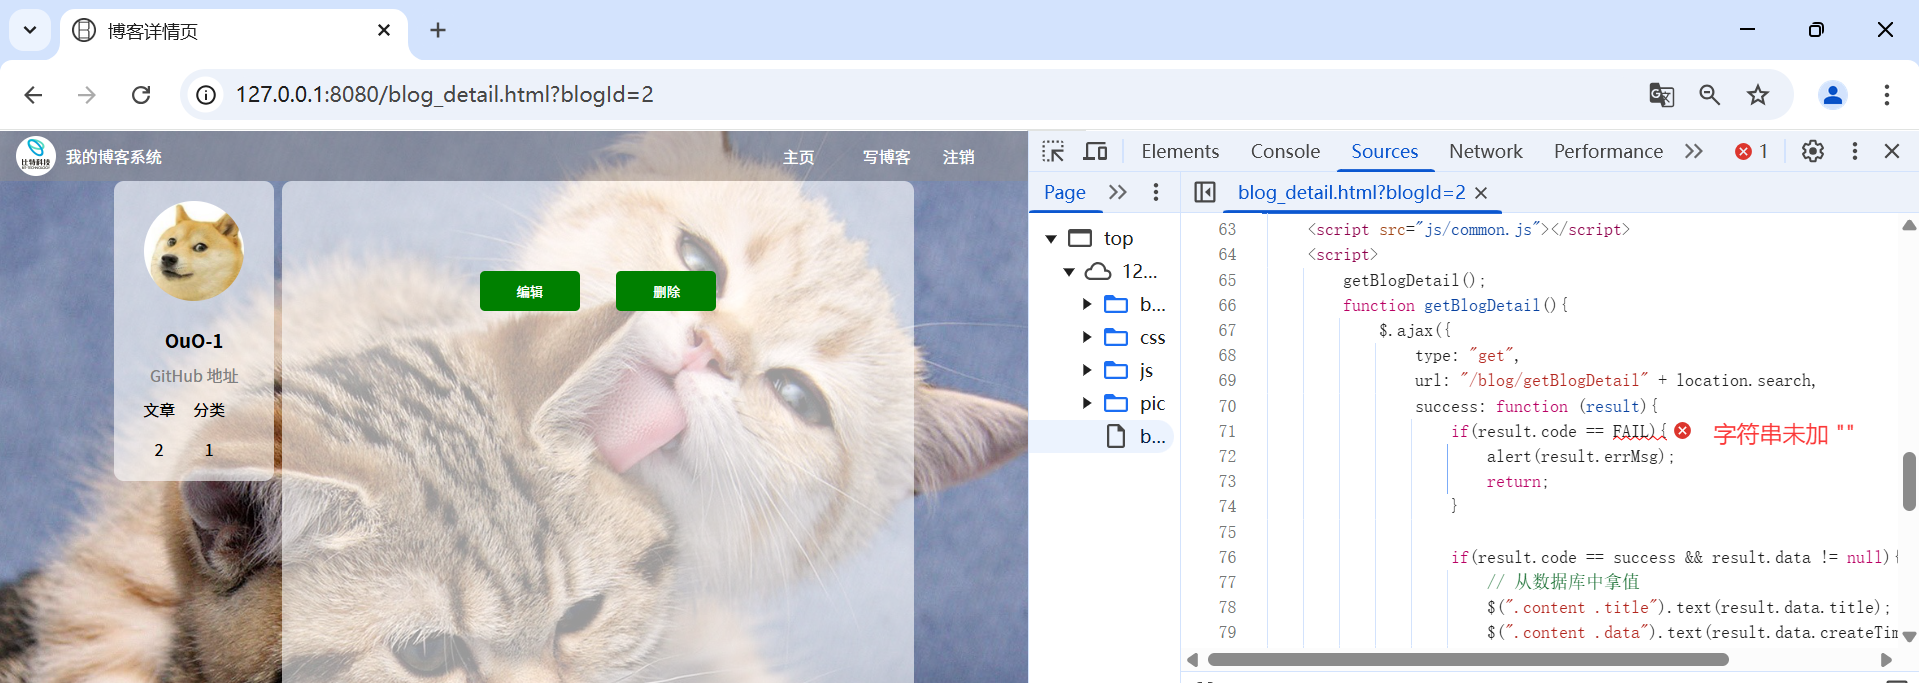
给状态码字符串加上双引号:
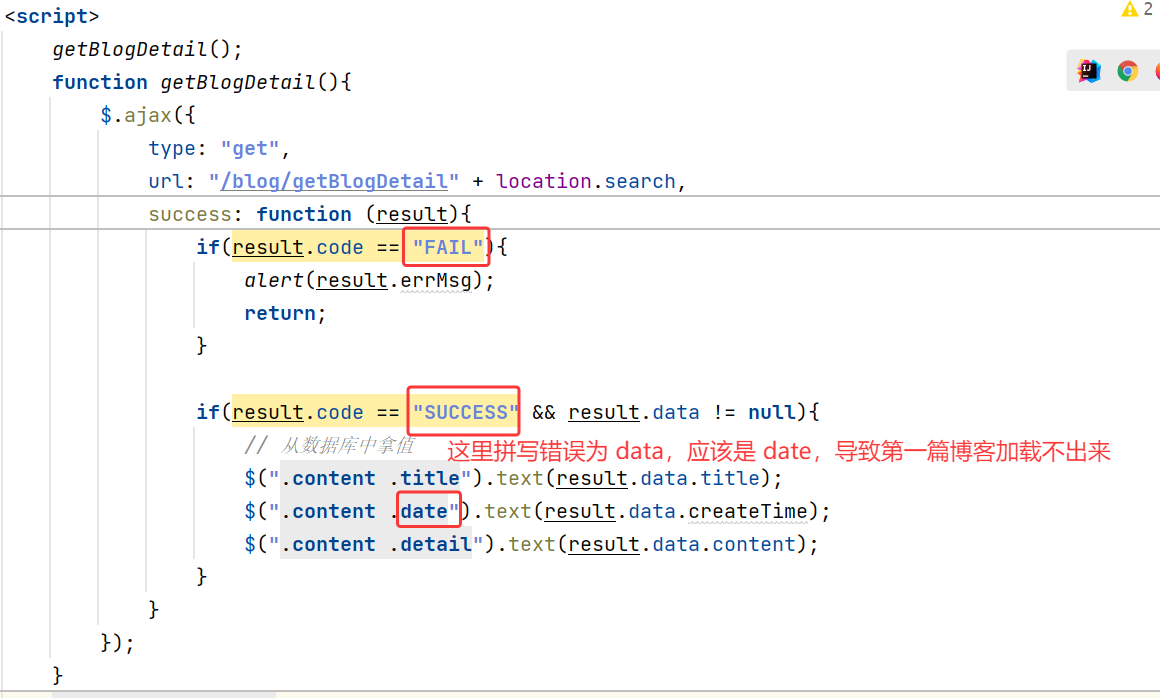
只更正状态码,还没发现要把 data 修改为 date,重新运行程序,刷新页面:
修改 data 为 date,重新运行程序,再次刷新页面,此时 createTime 就可以正常显示了:
<script>
    getBlogDetail();
    function getBlogDetail(){
        $.ajax({
            type: "get",
            url: "/blog/getBlogDetail" + location.search,
            success: function (result){
                if(result.code == "FAIL"){
                    alert(result.errMsg);
                    return;
                }

                if(result.code == "SUCCESE" && result.data != null){
                    // 从数据库中拿值
                    $(".content .title").text(result.data.title);
                    $(".content .date").text(result.data.createTime);
                    $(".content .detail").text(result.data.content);
                }
            }
        });
    }
</script>


 被折叠的 条评论
为什么被折叠?
被折叠的 条评论
为什么被折叠?
 到【灌水乐园】发言


