


系统介绍
基于SpringBoot和Vue实现的快递物流仓库管理系统采用前后端分离的架构方式,系统实现了用户登录、基础管理、销售管理、配送管理、运输管理、图表分析、系统管理、日志管理等功能模块,其中用户登录可采用账号密码和邮箱验证码两种登录方式。
技术选型
开发工具:idea2020.3+Webstorm2020.3
运行环境:jdk1.8+maven3.6.0+MySQL5.7+nodejs14.21.3
服务端技术:Springboot+Mybatis-Plus+SpringSecurity+Fastjson
前端技术:html+css+Vue+axios+Element-UI+echarts
成果展示
用户登录

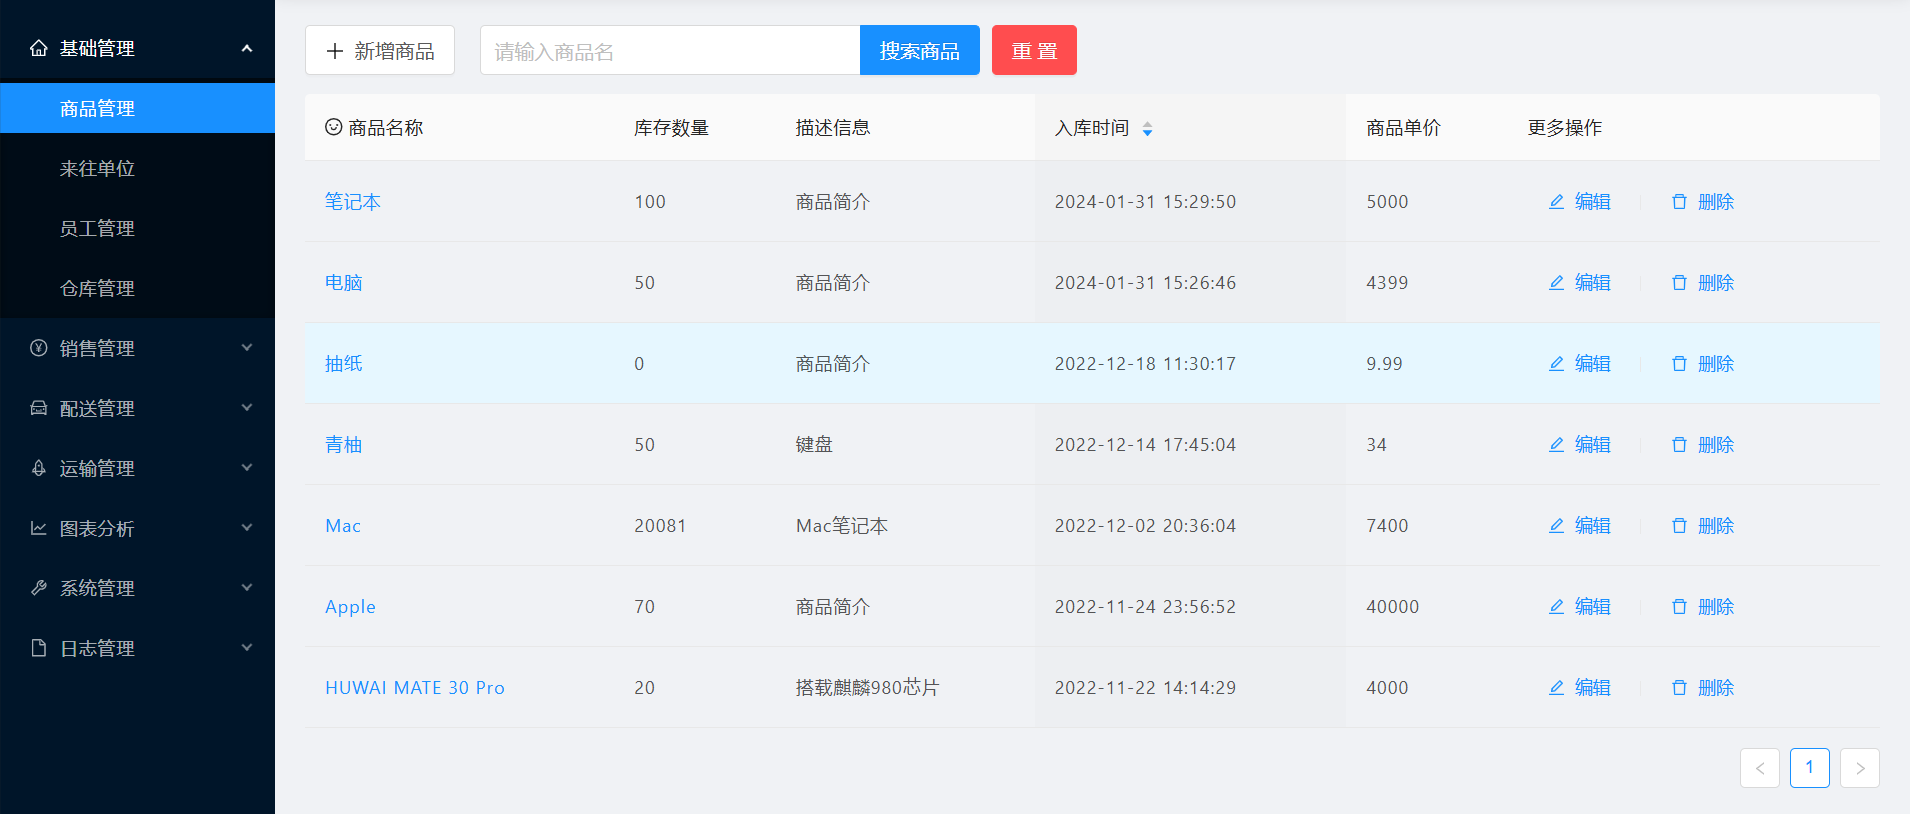
基础管理->商品管理
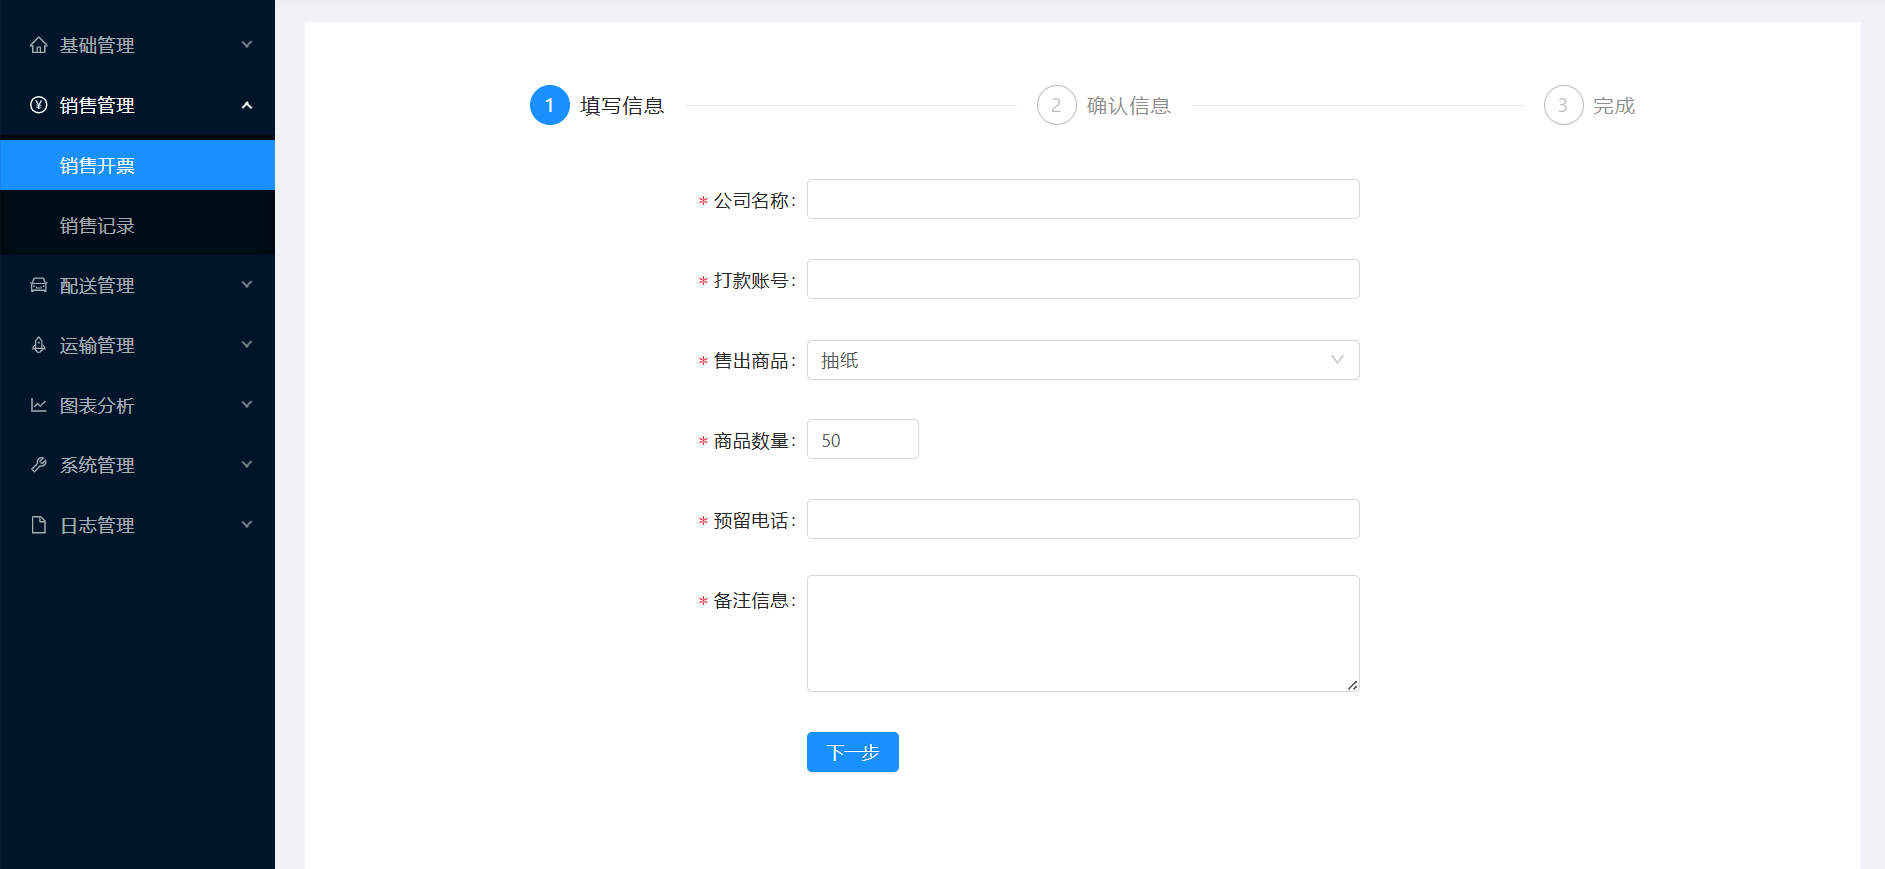
销售管理->销售开票
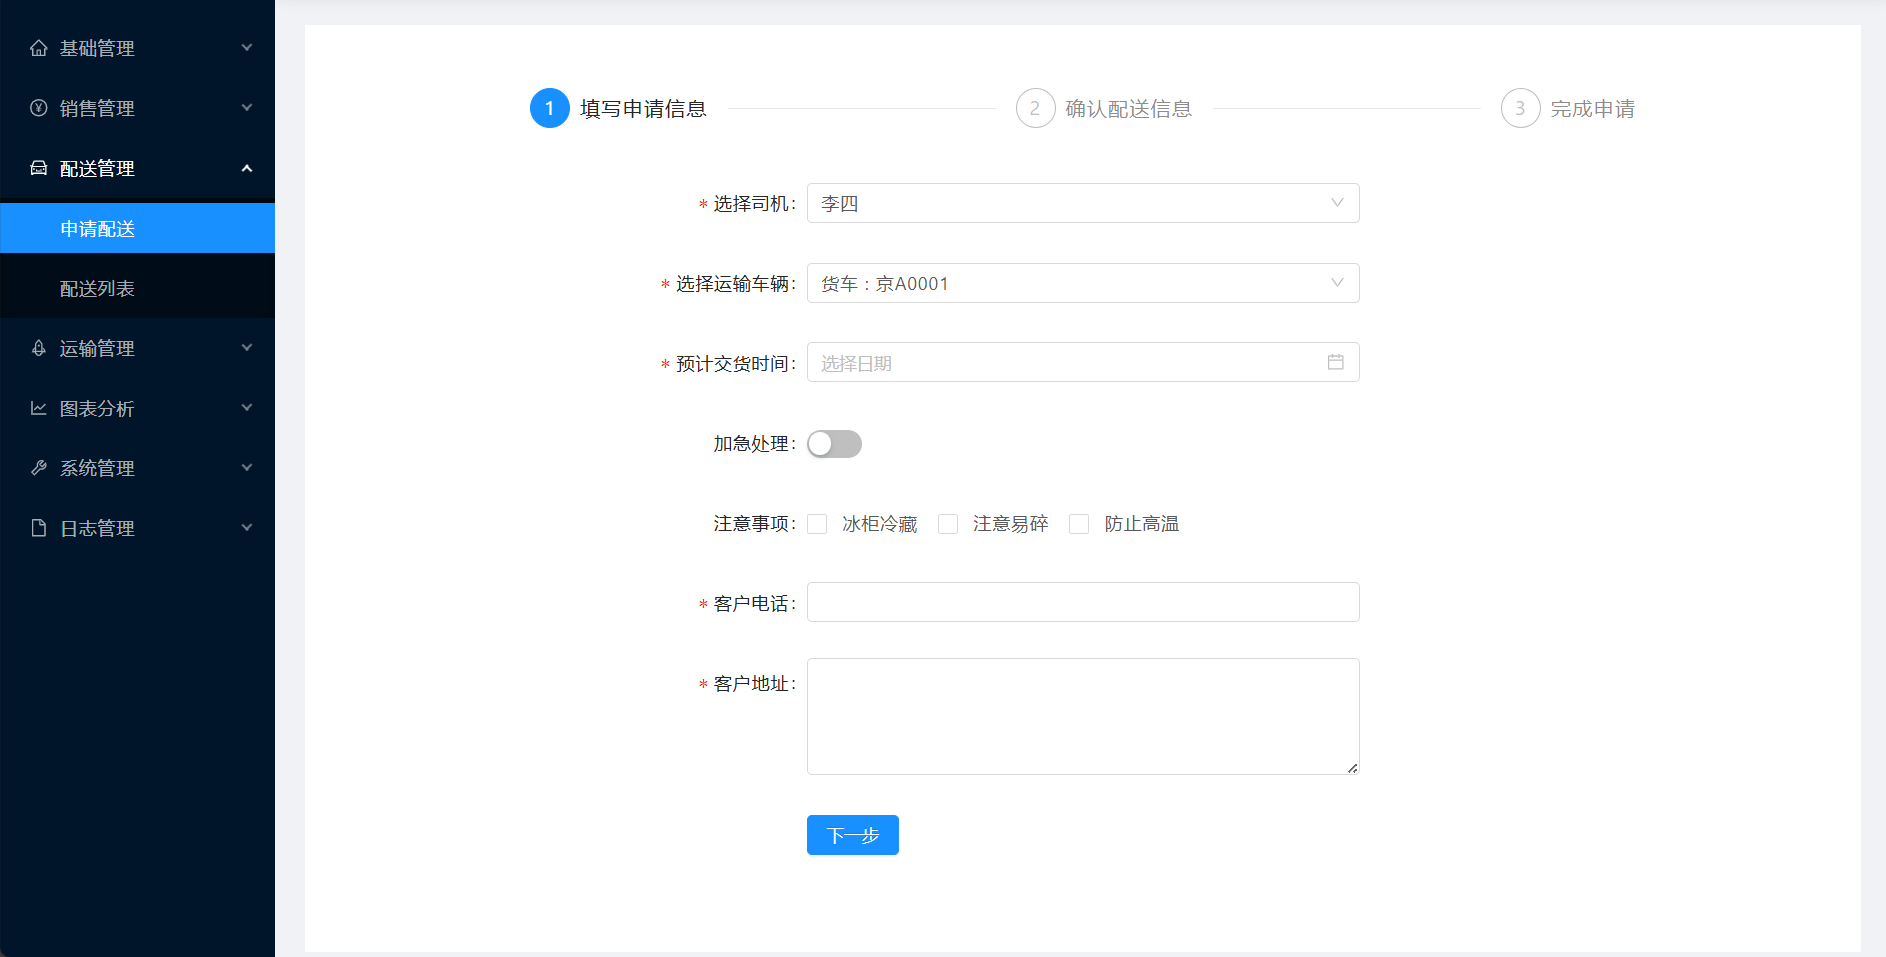
配送管理->申请配送
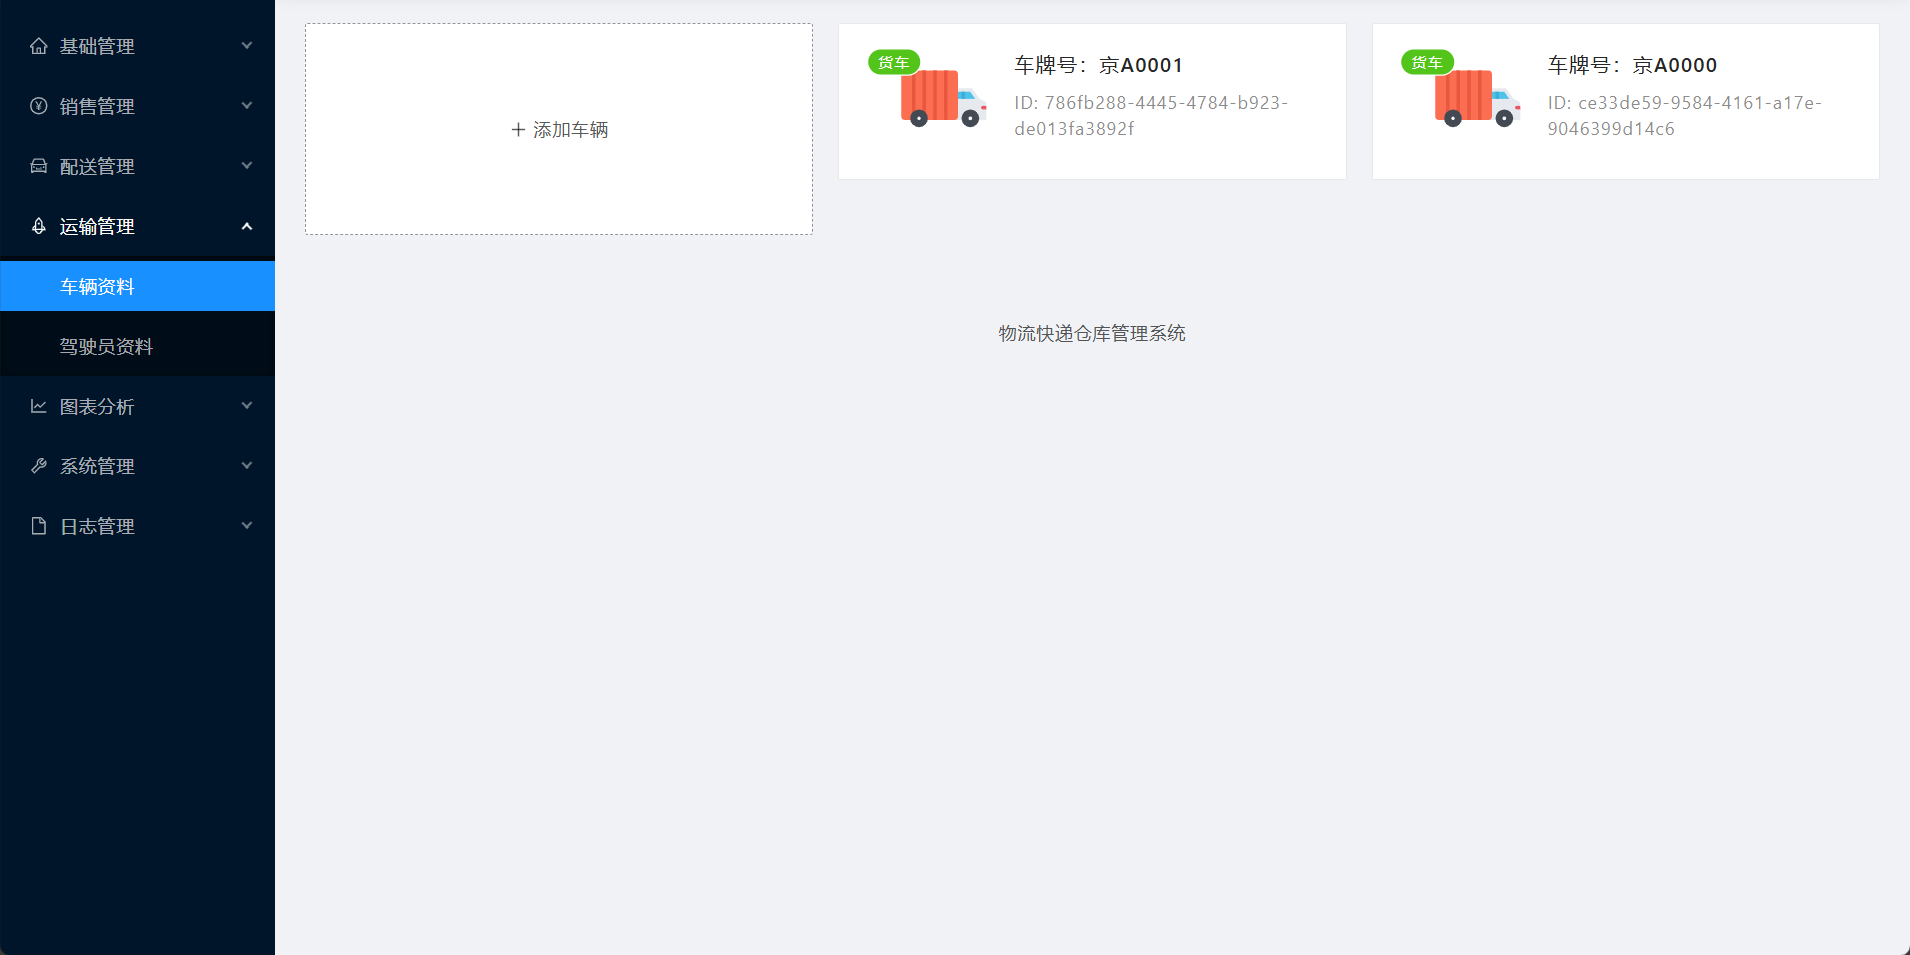
运输管理->车辆资料
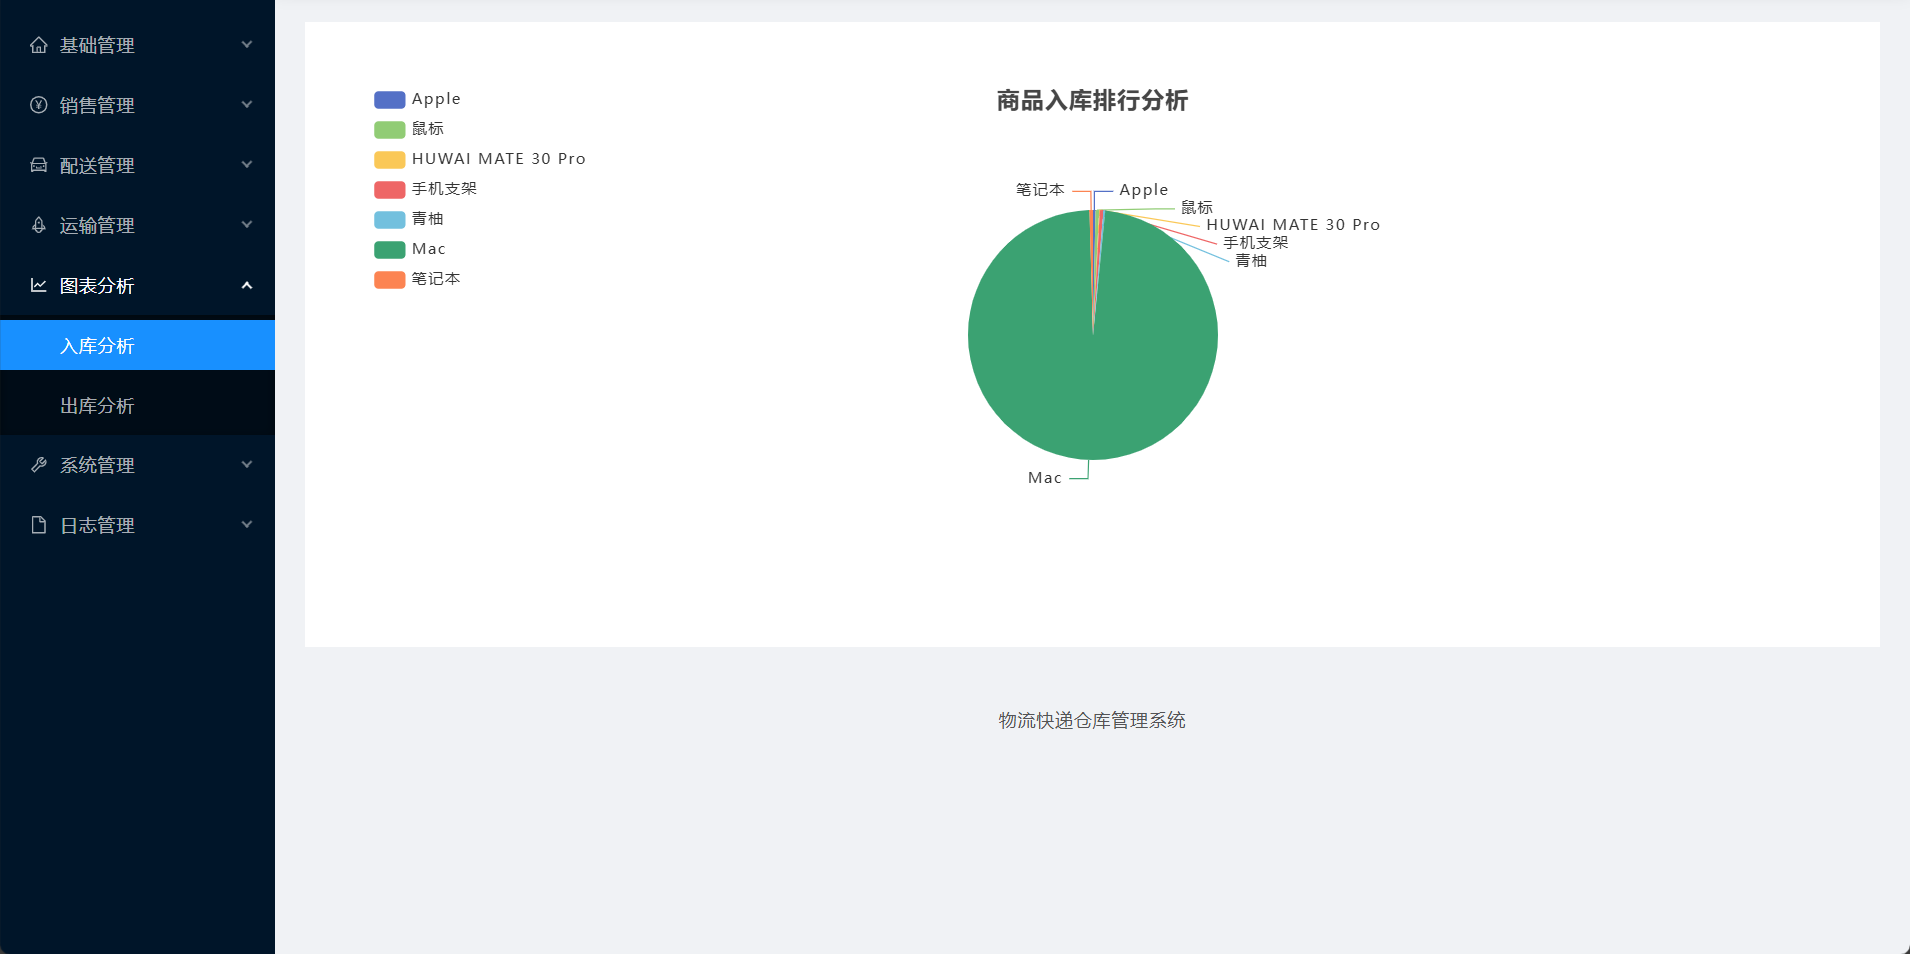
图表分析->入库分析
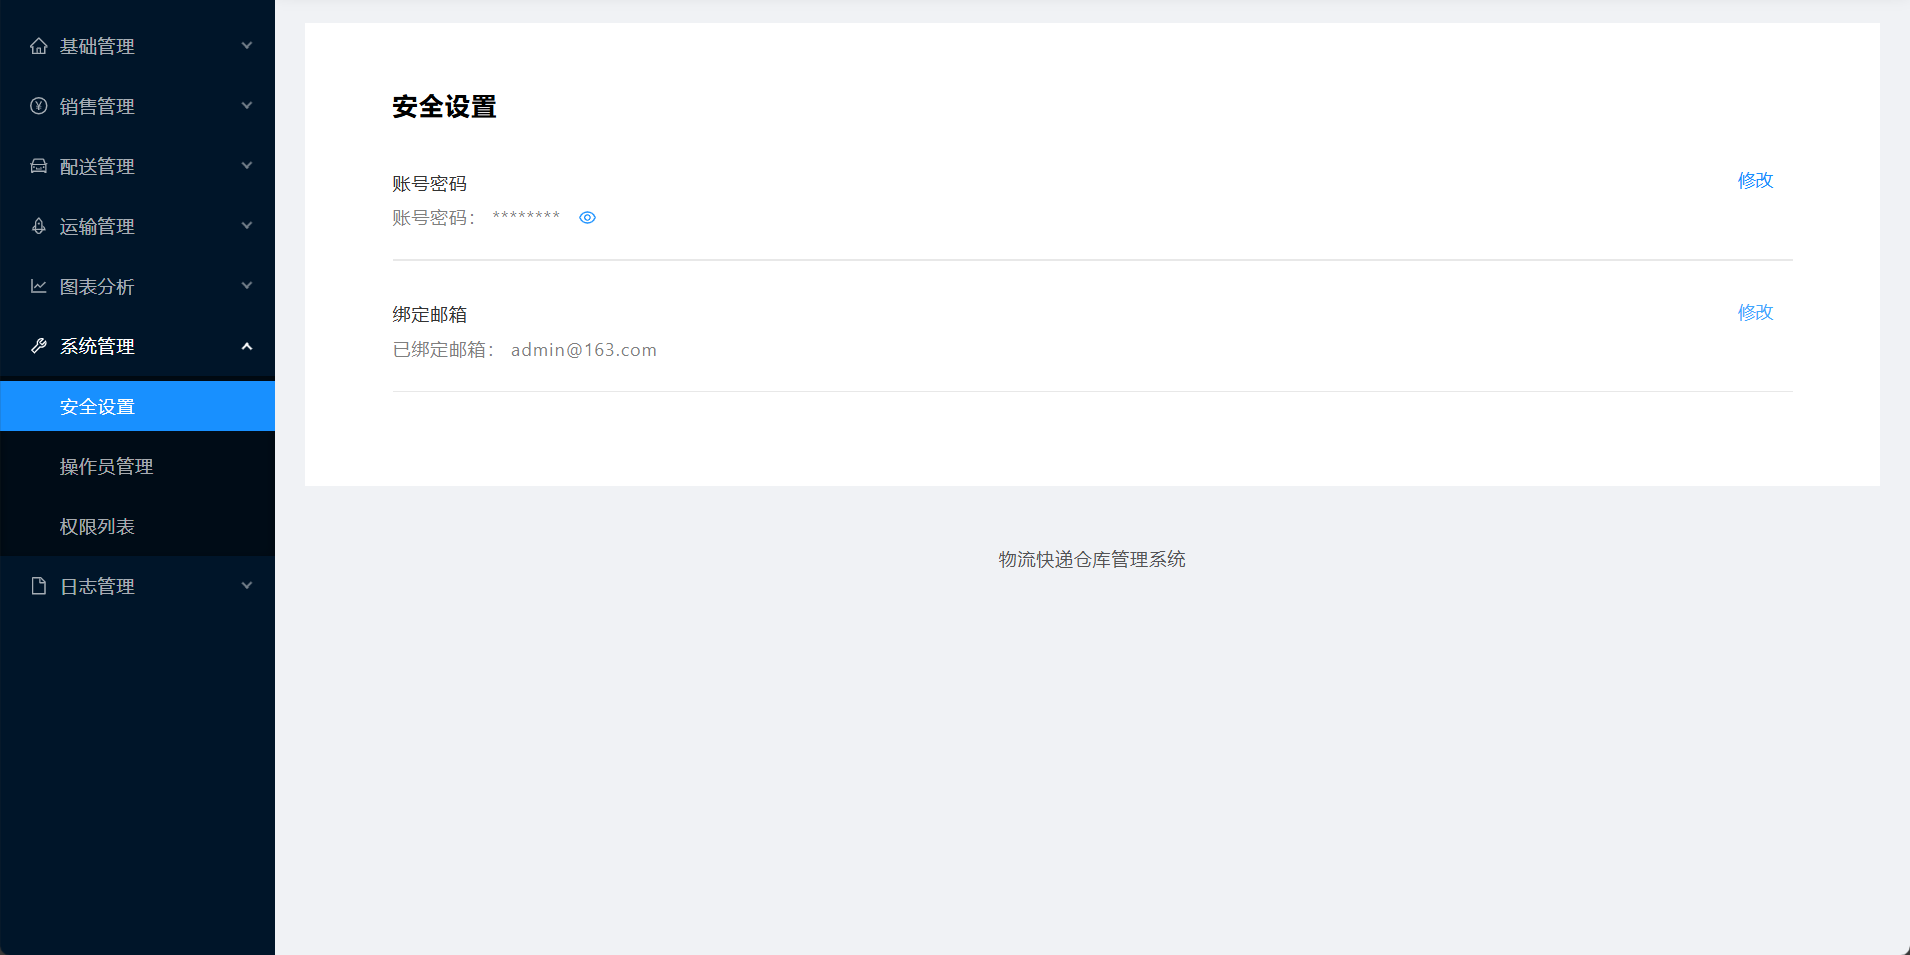
系统设置->安全设置
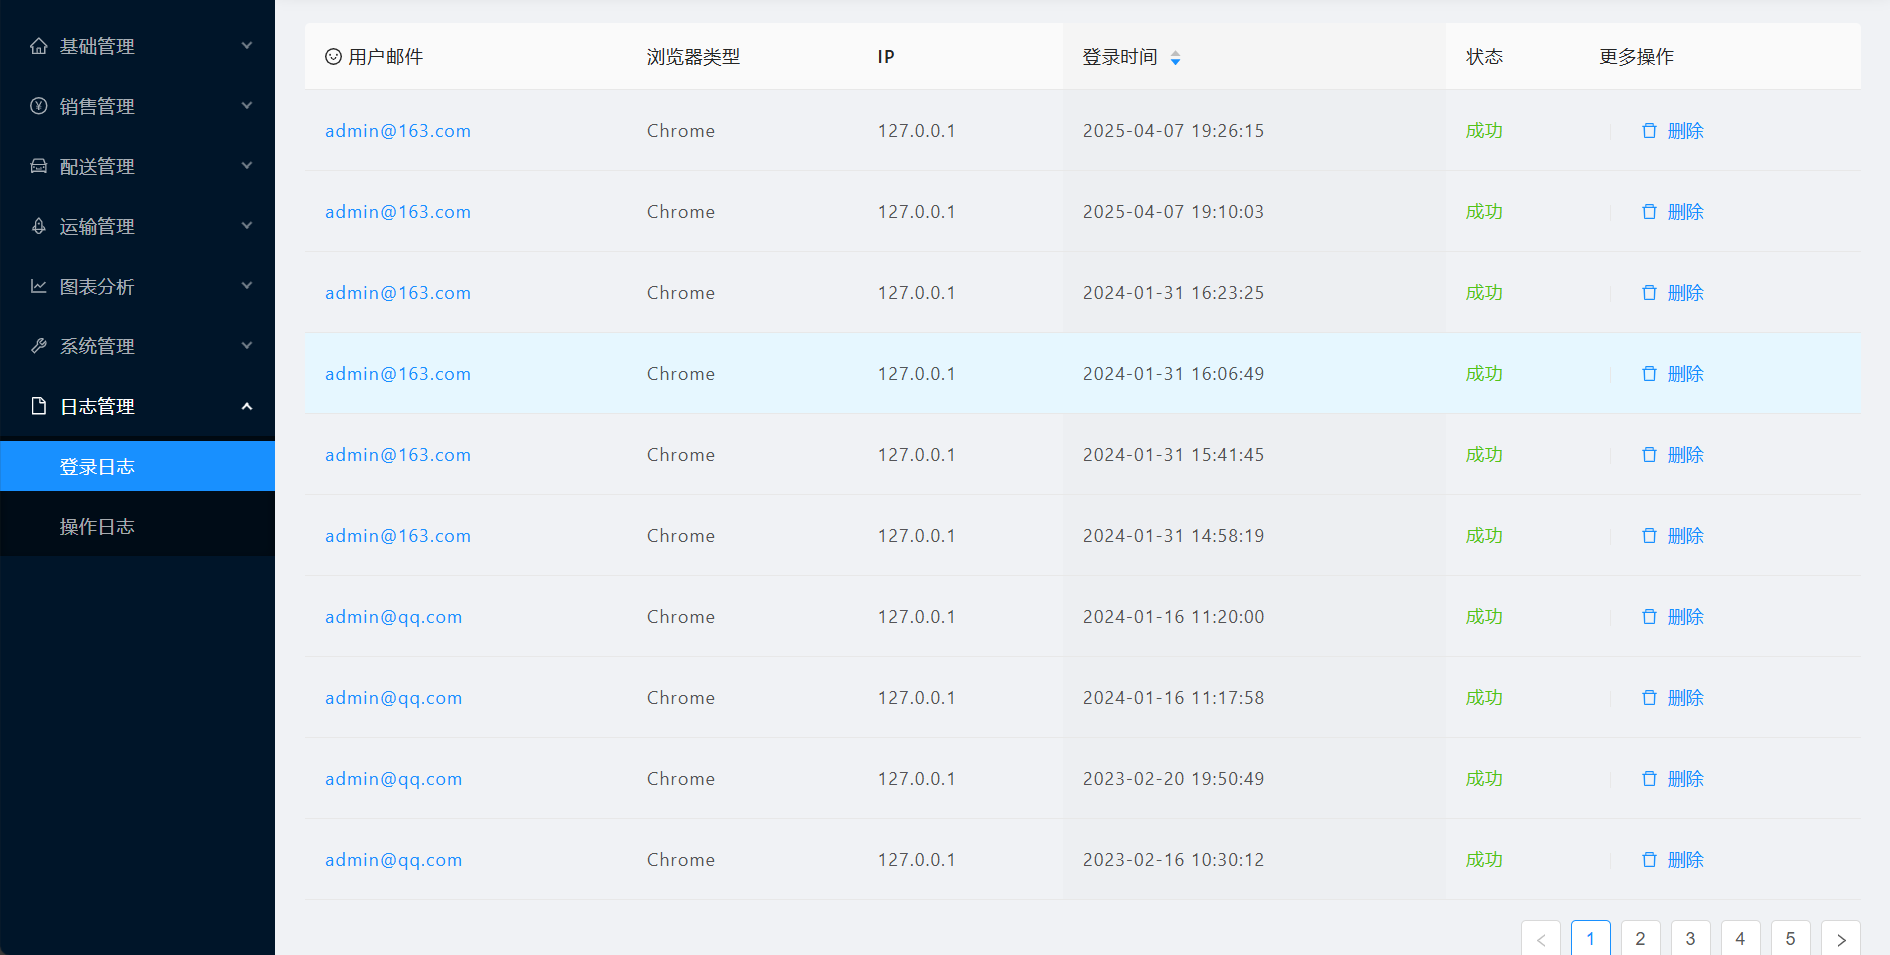
日志管理->登录日志
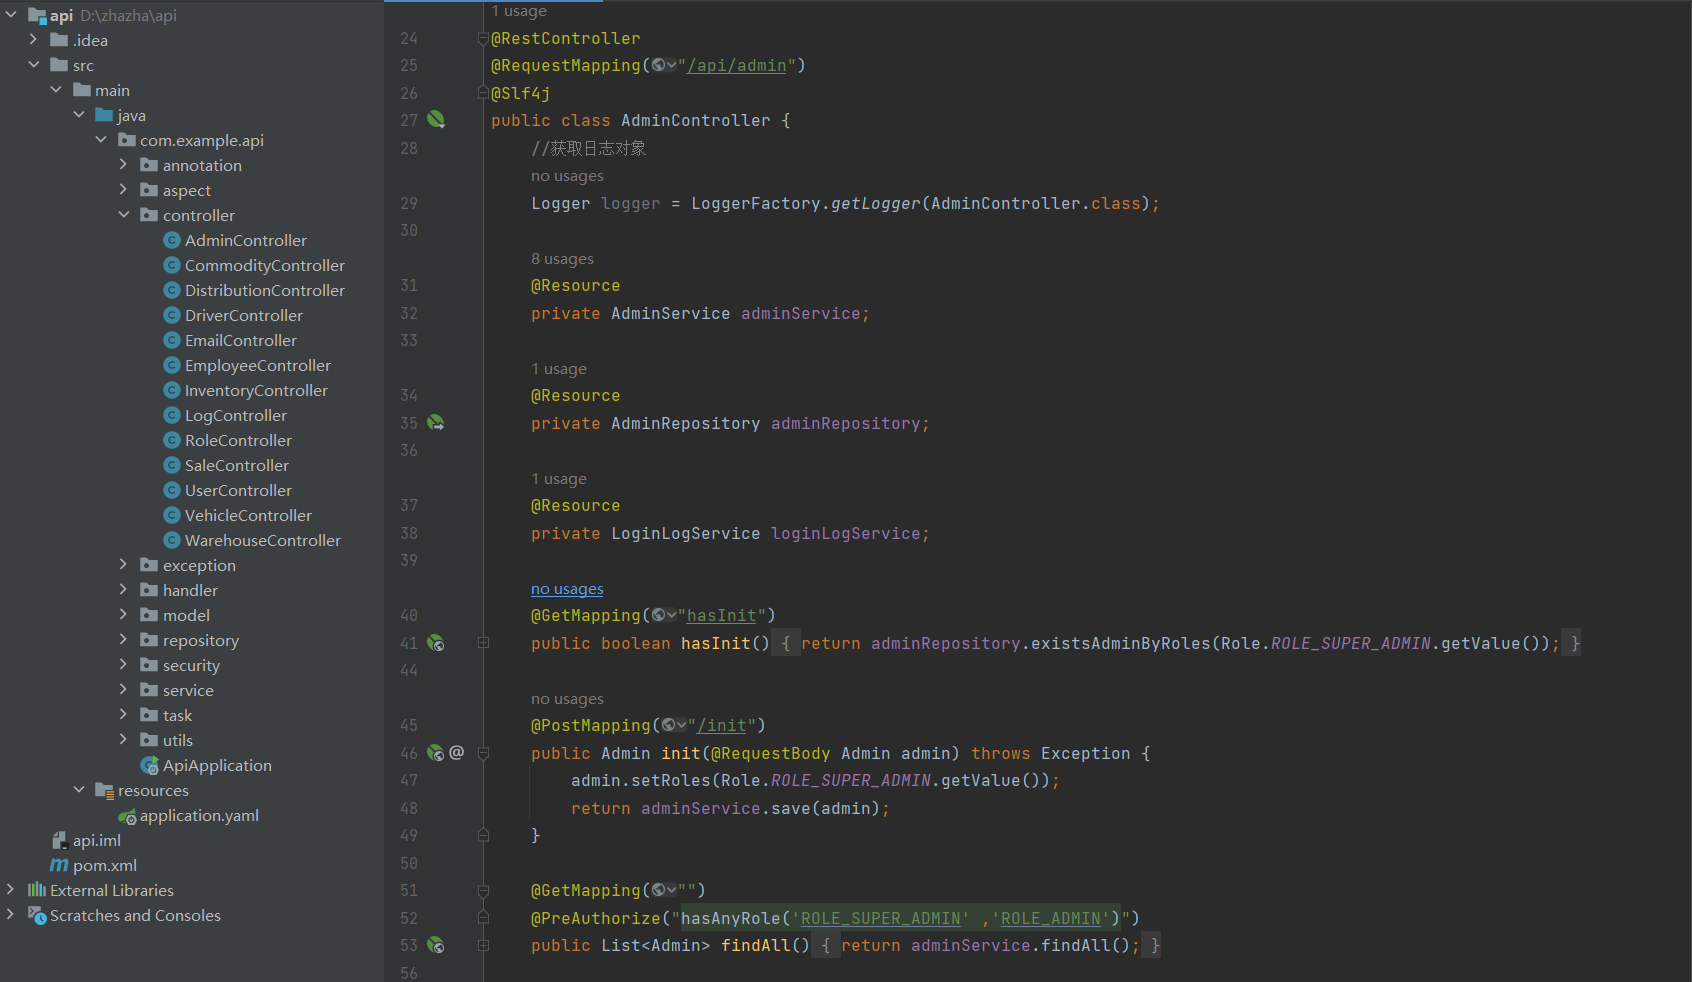
源码展示
@RestController
@RequestMapping("/api/admin")
@Slf4j
public class AdminController {
//获取日志对象
Logger logger = LoggerFactory.getLogger(AdminController.class);
@Resource
private AdminService adminService;
@Resource
private AdminRepository adminRepository;
@Resource
private LoginLogService loginLogService;
@GetMapping("hasInit")
public boolean hasInit() {
return adminRepository.existsAdminByRoles(Role.ROLE_SUPER_ADMIN.getValue());
}
@PostMapping("/init")
public Admin init(@RequestBody Admin admin) throws Exception {
admin.setRoles(Role.ROLE_SUPER_ADMIN.getValue());
return adminService.save(admin);
}
@GetMapping("")
@PreAuthorize("hasAnyRole('ROLE_SUPER_ADMIN' ,'ROLE_ADMIN')")
public List<Admin> findAll() {
return adminService.findAll();
}
@DeleteMapping("")
@PreAuthorize("hasAnyRole('ROLE_SUPER_ADMIN' ,'ROLE_ADMIN')")
public void delete(String id) {
adminService.delete(id);
}
@PostMapping("")
@PreAuthorize("hasAnyRole('ROLE_SUPER_ADMIN' ,'ROLE_ADMIN')")
public Admin save(@RequestBody Admin admin) throws Exception {
return adminService.save(admin);
}
@PostMapping("/login")
public Map<String, Object> loginByEmail(String type, @RequestBody LoginDto dto, HttpServletRequest request) throws Exception {
Map<String, Object> map = new HashMap<>();
Admin admin = null;
String token = null;
try {
admin = type.equals("email") ? adminService.loginByEmail(dto) : adminService.loginByPassword(dto);
token = adminService.createToken(admin,
dto.isRemember() ? JwtTokenUtil.REMEMBER_EXPIRATION_TIME : JwtTokenUtil.EXPIRATION_TIME);
}catch (Exception e){
throw new Exception("邮箱或密码错误");
}finally {
loginLogService.recordLog(dto,admin,request);
}
map.put("admin", admin);
map.put("token", token);
return map;
}
@GetMapping("/sendEmail")
public ResponseResult sendEmail(String email) throws Exception {
Boolean flag = adminService.sendEmail(email);
ResponseResult res = new ResponseResult();
if (flag){
res.setMsg("发送成功,请登录邮箱查看");
}else {
res.setMsg("发送验证码失败,请检查邮箱服务");
}
res.setStatus(flag);
return res;
}
}
账号地址及其它说明
1、地址说明
登录页:http://localhost:8080/
2、账号说明
管理员:admin@163.com/admin
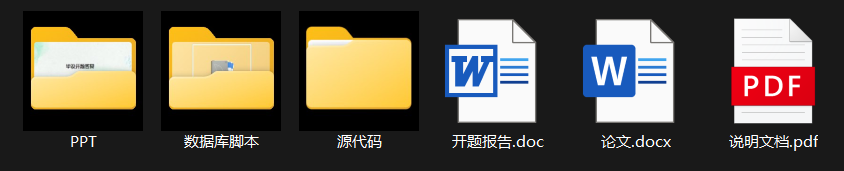
3、目录结构展示
4、项目结构展示
5、运行步骤
1)创建数据库、导入sql脚本
2)修改application.yaml中的数据库配置文件,启动服务端
3)在web-app目录下打开cmd,执行npm install下载依赖
4)下载完毕后启动前端npm run serve,访问端口
点赞收藏关注博主,评论区留言获取,博主会挨个回复发送,感谢支持!!!


 被折叠的 条评论
为什么被折叠?
被折叠的 条评论
为什么被折叠?
 到【灌水乐园】发言


