


title: 记 Vue3 + Element-Plus 上传组件上传图片到 SM.MS 图床
date: 2022-05-21 10:10:12
tags:
- Vue
categories: - 问题记录
cover: https://cover.png
feature: false
1. 上传组件
action 表示上传的地址,这里使用 http-request 覆盖默认的上传行为,自定义上传的实现
<template>
  <el-row>
    <el-col :span="12">
      <el-upload
        action="#"
        :http-request="upload"
        :show-file-list="false"
        :before-upload="handleUpload"
      >
        <el-avatar
          :src="$store.state.userInfo.avatar"
          :size="300"
          class="avatar"
        />
        <el-avatar
          :size="300"
          class="mask"
        >
          <el-icon :size="50">
            <Plus />
          </el-icon>
        </el-avatar>
      </el-upload>
    </el-col>
  </el-row>
</template>

<style scoped>
:deep(.el-upload) {
  position: relative;
  border-radius: 50%;
}
.avatar {
  position: absolute;
  z-index: 1;
}
.mask {
  z-index: 5;
  opacity: 0;
  background-color: #0a0a0a;
}
.mask:hover {
  opacity: 0.5;
}
2. 上传实现
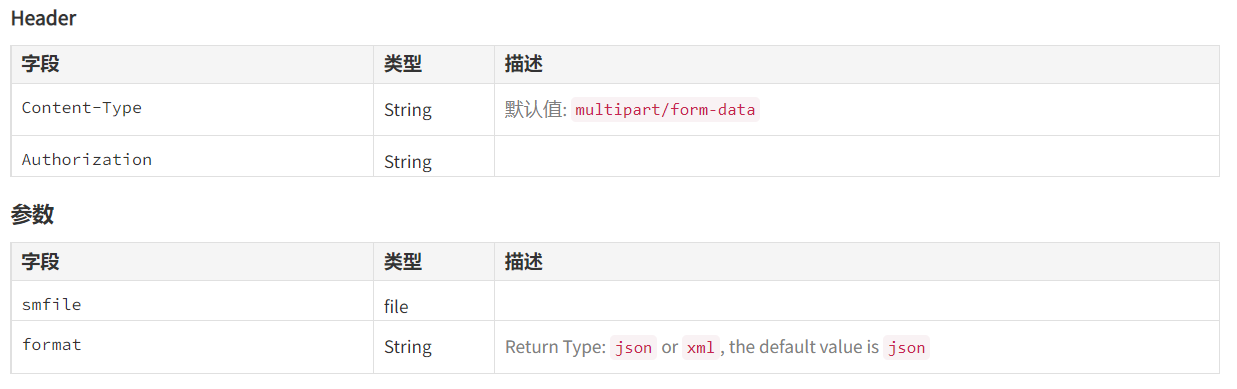
创建一个 formData 对象,然后将组件传进来的文件 file 传进去。这里的参数名 smfile 是图床接口所需要的参数,类型为 file
function upload(file) {
      const formData = new FormData();
      formData.append('smfile', file.file);

      axios.post('/api/v2/upload', formData, {
        headers: {
          'Content-Type': 'multipart/form-data',
          'Authorization': 'xxx',
        },
      }).then((res) => {
        console.log(res);
      });
}
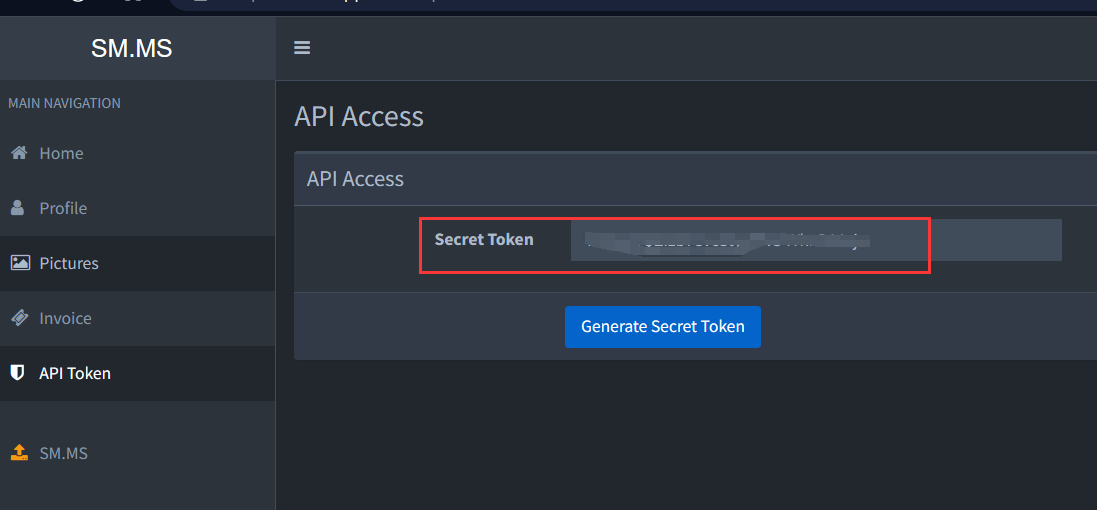
设置 headers 的 Content-Type 为 multipart/form-data,然后设置 Authorization 为 sm:ms 的 API Token
3. 代理设置
注意现在 SM.MS 国内最新的地址为 https://smms.app
这里需要把响应超时时间设长一点,上传速度可能比较慢,我给的是15秒。假如由于 https 等问题上传失败,可以将注释掉的代码放开,secure 表示安全证书校验,设为 false,然后设置 Referer,表示请求来源
const { defineConfig } = require('@vue/cli-service')
module.exports = defineConfig({
  transpileDependencies: true,
  devServer: {
    port: '8081',
    proxy: {
      '/fanBlog': {
        target: 'http://localhost:8888',
        ws: true,
        changeOrigin: true
      },
      '/api': {
        target: "https://smms.app",
        ws: true,
        changeOrigin: true,
        // secure: false
        // Headers: {
        //   'Referer': 'https://smms.app'
        // }
      }
    }
  }
})
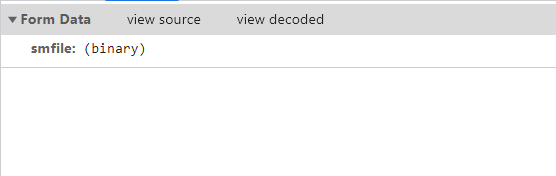
注意这里的文件类型,一般浏览器会默认转为 multipart/form-data,使用 FormData 来进行传输

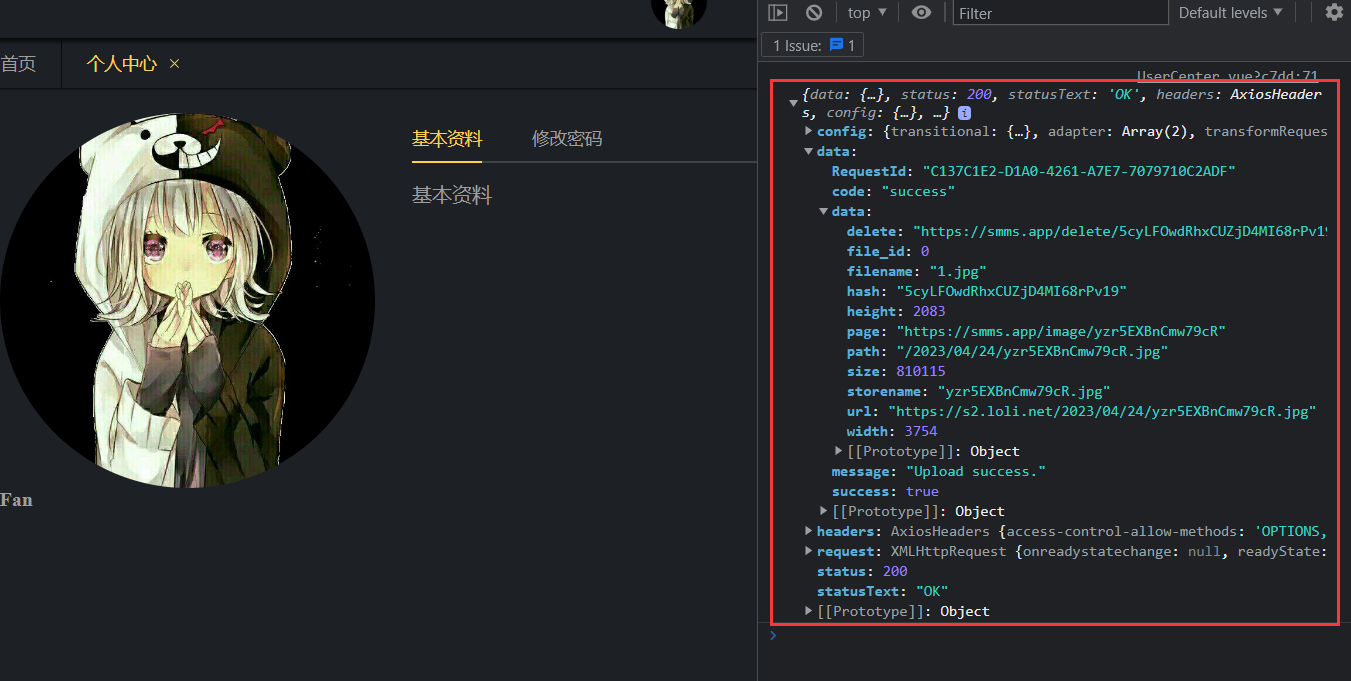
可以看到上传成功后返回了响应结果
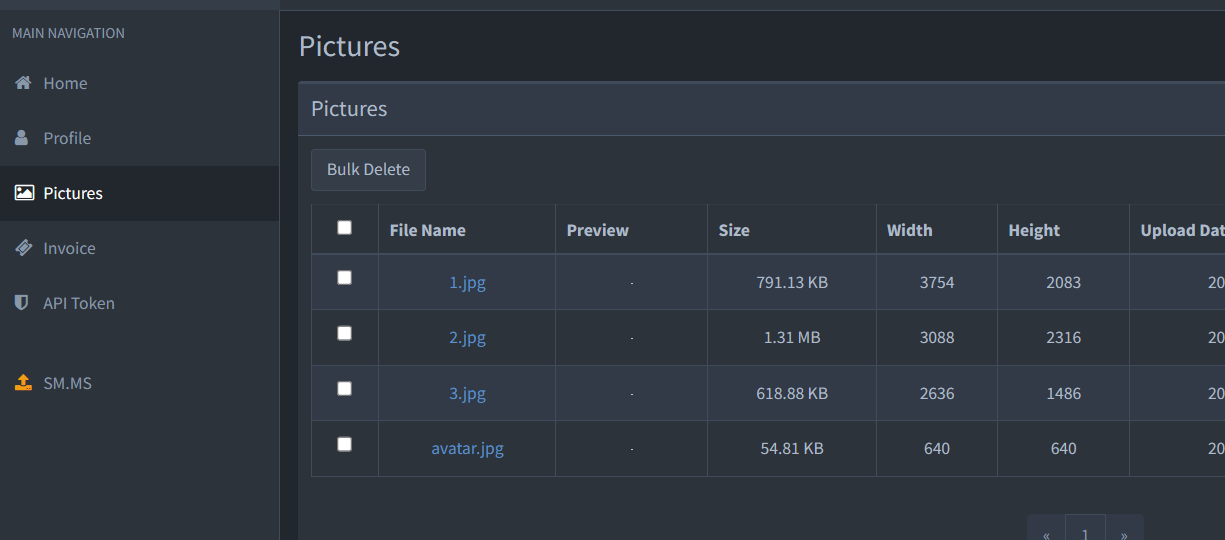
SM.MS 管理页面也已经能看到上传的图片


 被折叠的 条评论
为什么被折叠?
被折叠的 条评论
为什么被折叠?
 到【灌水乐园】发言


