cocoStudio工具的使用-----场景编辑器

~~~~我的生活,我的点点滴滴!!


场景编辑器比较复杂,改动比较大,本人使用的是cocoStudio1.5版本,即当时最新的版本,用的时候,完全不知所措,其实包括现在我也不是很会用,我们一起尝试


创建项目


新版本需要添加你当前使用的cocos2dx版本,然后会创建一个完整的cocos2dx工程(即函数有cocos2dx源码),如果不想要完全可以不添加,添加后会很慢,下面我不添加此项(建议不添加)创建完成后,你会发觉什么也干不了,还得在此项目基础上继续创建,我们可以 新建场景项目 然后添加了一个场景到此项目中


文件结构布局如上,如果你想要使用UI或者骨骼等,你可以继续 新建, 他们并列显示在一起。我们导入我们需要使用的资源(不一定是图片,还有可能是plist之类的)


我们在assets上右键就能导入我们所需要的文件。

我们先更改 画布 大小 为我们背景图片的大小,这里我们使用 960*640 然后把 背景图片拖到画布上


照上面的方法,我们依次任务添加我们想添加的图片,最后我在添加一个粒子效果,我们选中一个粒子组件(在下面会介绍)放到我们需要显示粒子的地方,然后直接拖动粒子文件到 属性文件一栏


这样一个简单的的场景就编辑完了,可以点击播放看看效果。上面用到了组件,下来我们来看看cocostudio给我们提供了哪些组件?


分别简单的介绍一下上面给出的几种组件

1 精灵主要用来显示静态图片

2 骨骼组件用来显示动画(动画编辑器导出文件)

3 UI组件用来展示UI界面(UI编辑器导出文件)

4 地图用来显示瓦片地图(.tmx格式)

5 粒子组件是用于挂载粒子的(.Plist格式)

6 音效用户播放声音

如果我们想使用UI组件,我们点击 "UI" 会出现一个小图标,我们需要更改他的样子,这时找到我们新建的UI文件就会自动打开 cocoStudio的编辑器


改完后保存 然后要 导出 导出时路径默认,其他的参数可以根据需要更改,然后回到场景编辑器下面,刷新 publish 文件,就能看到我们新加的UI了,这个时候选中我们前面添加的UI,然后把新生成的UI的ExportJson文件直接拖到文件哪里就行了。


我们可以运行模拟器看看效果,模拟器在上面工具条里面


我们去 对象结构 里面去看看,会有很多个Node,每一个Node对应场景上一个小图片,他们是有父子关系的,通过选中Node 去属性里面更改他的属性就可以了,在对象结构树里面 F2是不能改名字的,这和其他的不同,只能上属性栏里面更改

到此一个基本的场景就弄好了,我们导出添加到代码中试试 -----> 点击 文件 ---> 导出项目 ---> 导出资源 一切可以默认。


按照前两文章讲的,我们添加好他所需要的库以后,只需要几行简单的代码就能展显出效果 ,我们把生成的资源放到项目Resources下,当初我们导出时名字为RPGGame,我们也不改变什么,直接把整个文件放到资源文件夹下面,添加下面的代码。

void HelloWorld::addMyScene()
{
	auto myScene = SceneReader::getInstance()->createNodeWithSceneFile("RPGGame/publish/Scene01.json");
	//myScene->setPosition(Point::ZERO);
	this->addChild(myScene);
}


然后运行的时候,报段错误,提示找到不 什么什么文件,但是当我们去那目录下找时,此文件确实是存在,这就纳闷了,唯一的问题就是可以路径有问题,我们理下思路,我们导出时默认是 Resources 目录,然后目录下面并列放几个文件夹,那JSON文件里面的路径应该是 "Resources/xxx/yy.png" 我们去看看,发现真的是这样的,所以如果我们把整个生成的文件夹放到项目的Resources下面,必定出错,有两种方式更改

1. 在使用场景编辑器导出时,手动添加一层目录,然后拷贝里面那层目录

2. 拷贝里面的目录到项目Resources 下面,然后更改代码 加载文件路径  auto myScene = SceneReader::getInstance()->createNodeWithSceneFile("publish/Scene01.json");这样也是可以的

不管哪种方法都是可行的。但是cocostudio1.5里面导出路径是不让选择的,不知道这是不是bug,所以目前第一种方式不可行。还是用第二种吧!

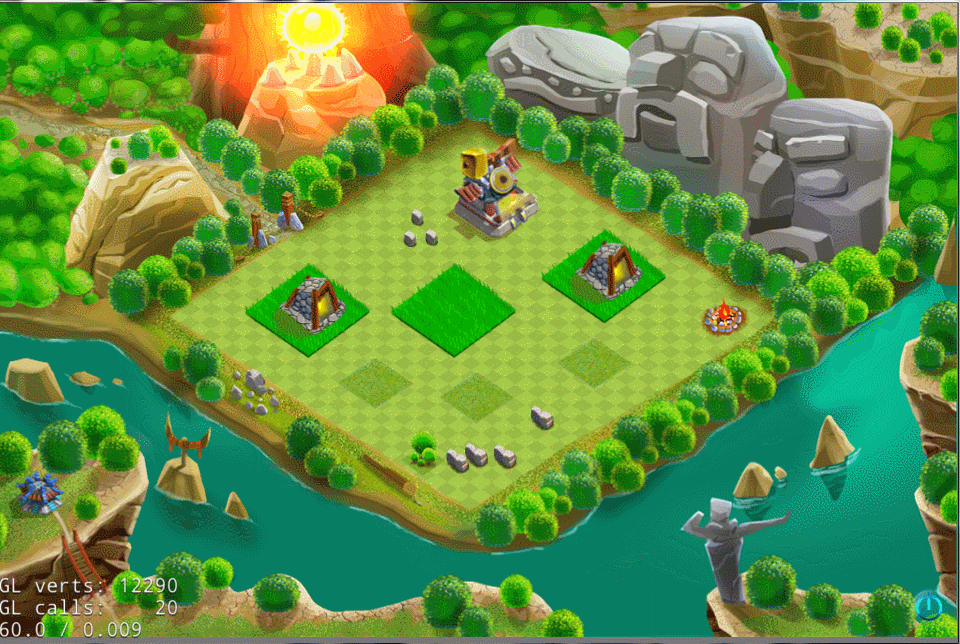
前面UI用的是 GUIReader 这里用的 Sce但neReader 这是唯一的区别 !看下由代码生成出来的效果图吧


                                           ------有待补充。。。

About CocoStudio is a game development tool kit based on Cocos2d-x. It breaks down tasks in game development into different roles, it includes: UI editor for UI graphic artists, Animation editor for graphic artists, Number cruncher for game data designers, Scene editor for game designers CocoStudio forms a complete game development solution. The UI editor The UI was designed to serve its only purpose: create UI for games. Its simple and intuitive interface allows graphic artists to focus on their expertise, without worrying about other aspects such as programming. Currently the UI editor has 12 different UI elements ready to be used in games, new UI elements will be added with each and every release of CocoStudio, Other key features that the UI editor supports are: Texture packaging - Automatically packs individual texture files into a single large sprite, which further saves memory and improves game performance. Multi-resolution adaption - Automatically adapts to multiple resolution sizes with relative UI positioning. Templating - Reuse the same UI layout across different games, swap out texture resources to give it a new look. The Animation editor The Animation editor was designed to feel like Adobe Flash, which makes graphic artists feel right at home. The Animation editor brings skeletal animation to Cocos2d-x. What advantage does skeletal animation holds against the traditional frame animation? Lower memory consumption - An animation with the traditional frame based solution could use dozens of individual textures, but with skeletal animation, only 1 set of body parts is required to make infinite number of different animations. Smaller file size - due to less number of assets. Animation blending - you can combine animations together to easily make new animation, for example, you could blend attacking animation with walk animation to create "attacking while walking animation". Animation reuse - you can share skeletal animations with another character with the same skeleton setup. Smooth interpolation - traditional frame based animation is very choppy especially in slow motion. Skeletal animation interpolates between 2 sets of key frames, so animation is always played at the same frame rate as the game. However Skeletal animation cannot replace the traditional frame based animation, for example, it cannot make isometric character, it cannot make explosion, that is why we did not forget frame based animation, we even made it better and simpler. You only have to drag and drop frame sequences to the work space, and the animation editor will automatically creates the frame animation for you. Other highlight of Animation editor includes: WYSIWYG collision box editing - editing collision box in wysiwyg way has never being easier and accurate. Reference point - enables characters to wield swords, mount horses, and attaching other objects easily. Texture packing - Automatically packs individual texture files into a single large sprite, which further saves memory and improves game performance. The Data Cruncher The data Cruncher imports excel tables and converts the data into a format readable by cocos2d-x, which can also be used as a component for the Scene editor. The Scene editor The scene editor pieces all the assets made by the UI editor, Animation editor, and the Data Cruncher into a game scene, it can then simulate the game inside the editor. The scene editor also supports many assets made from third party editors such as particle designer, tiled etc. The scene editor relies on the CocosStudio Framework. CocoStudio Framework CocoStudio Framework is an open source higher level framework on top of Cocos2d-x, it employes entity and component system, it is used to read the data saved from the scene editor. The Scene editor saves data in a MVC like fashion, it includes all entities and events used in the current scene, and exports to corresponding code template for the programmers. A programmer can then write the code in Javascript to bring the game alive. CocoStudio的安装 1.CocoStudio的运行平台是Windows操作系统,推荐使用Windows7操作系统。 2.安装CocoStudio之前,确保电脑中安装了.Net 4.0 Framework 3.安装目录尽量不要在C盘的Program Files文件夹下,可能会导致启动器无法启动编辑器。当然,通过“以管理员身份运行”的方式也可以打开软件 4.在Xp和Windows8的操作系统下,可能会出现的闪屏或无法运行的问题。这个问题会尽快修复
评论
添加红包

请填写红包祝福语或标题

红包个数最小为10个

红包金额最低5元

当前余额3.43前往充值 >
需支付:10.00
成就一亿技术人!
领取后你会自动成为博主和红包主的粉丝 规则
hope_wisdom
发出的红包
实付
使用余额支付
点击重新获取
扫码支付
钱包余额 0

抵扣说明:

1.余额是钱包充值的虚拟货币,按照1:1的比例进行支付金额的抵扣。
2.余额无法直接购买下载,可以购买VIP、付费专栏及课程。

余额充值