


先来了解什么是openresty:
OpenResty是一个基于Nginx与Lua的高性能Web平台,用于方便地搭建能够处理超高并发、扩展
性极高的动态 Web 应用、Web 服务和动态网关。
waf:
WAF即Web应用程序防火墙通过过滤和监视Web应用程序与Internet之间的HTTP通信来帮助保护
web应用程序,他是基于第七层进行防御,可以用来过滤一些恶意ip
先对环境进行部署:此实验使用的是阿里云的ecs实例rockylinux9.2
安装openresty:
安装依赖包
[root@aa ~]# yum install readline-devel pcre-devel openssl-devel gcc
下载openresty源码并解压安装包:
[root@aa ~]# wget https://openresty.org/download/openresty-1.21.4.3.tar.gz
[root@aa ~]# tar zxvf openresty-1.21.4.3.tar.gz
对源码包进行编译安装,根据实际情况增加减少模块
[root@aa ~]# cd openresty-1.21.4.3/
[root@aa openresty-1.21.4.3]# ./configure --prefix=/opt/openresty --with-luajit --without-http_redis2_module --with-http_iconv_module
[root@aa openresty-1.21.4.3]# gmake
[root@aa openresty-1.21.4.3]# gmake install
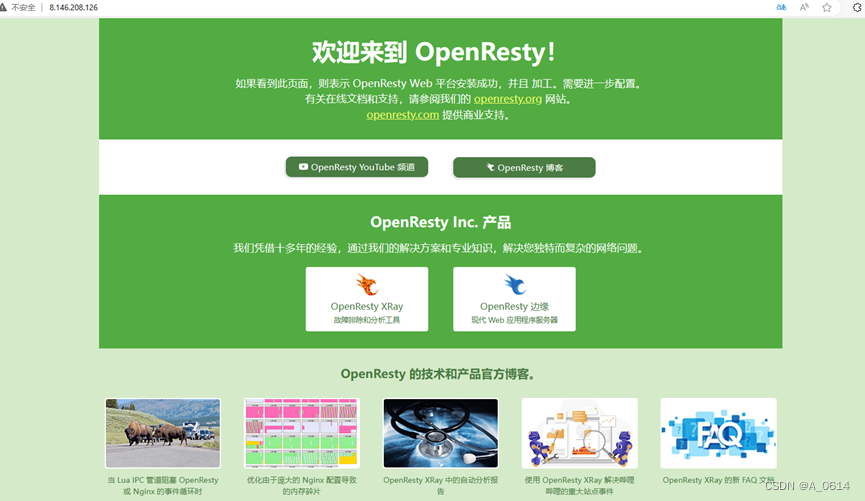
尝试启动服务:
[root@aa openresty-1.21.4.3]# /opt/openresty/nginx/sbin/nginx
访问外网地址:
启动本地waf
[root@aa ~]# yum install -y git
[root@aa ~]# git clone https://github.com/unixhot/waf.git
[root@aa ~]# cp -r ./waf/waf/ /opt/openresty/nginx/conf/
将openresty引入waf模块
[root@aa ~]# vim /opt/openresty/nginx/conf/nginx.conf
#添加
26 #WAF
27 lua_shared_dict limit 50m;
28 lua_package_path "/opt/openresty/nginx/conf/waf/?.lua";
29 init_by_lua_file "/opt/openresty/nginx/conf/waf/init.lua";
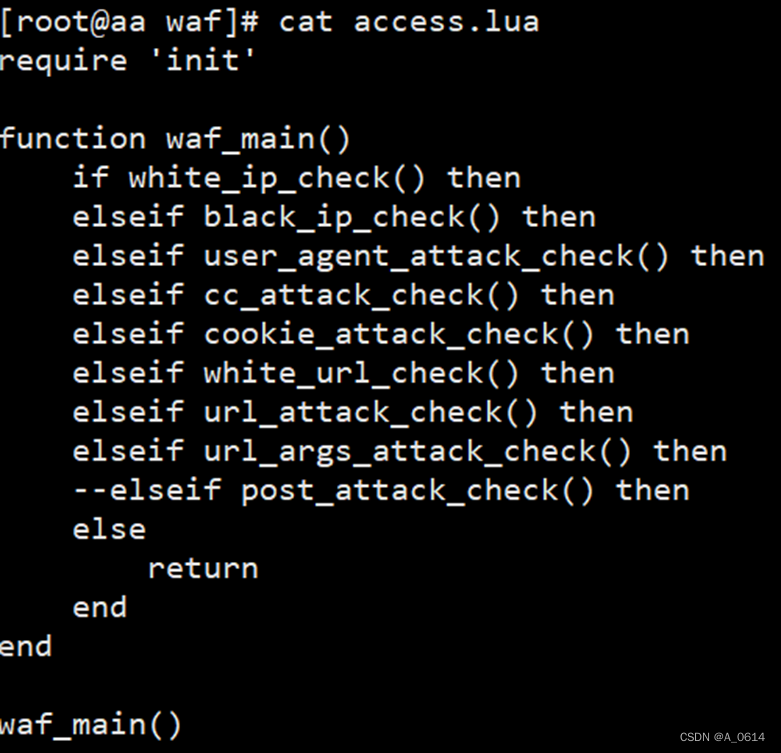
30 access_by_lua_file "/opt/openresty/nginx/conf/waf/access.lua";

设置软链接并重启nginx:
[root@aa ~]# ln -s /opt/openresty/lualib/resty/ /opt/openresty/nginx/conf/waf/resty
[root@aa ~]# /opt/openresty/nginx/sbin/nginx -t
[root@aa ~]# /opt/openresty/nginx/sbin/nginx -s reload
修改waf配置文件(因为waf配置文件默认是/usr/local/我没编译的openresty的目录是在/opt/)
  8 config_rule_dir = "/opt/openresty/nginx/conf/waf/rule-config"
#改这一行就可以了,改成你的openresty安装目录
访问页面:

想要修改此页面的话是在[root@aa rule-config]# vi /opt/openresty/nginx/conf/waf/config.lua
此文件的末尾有html页面文件内容,修改body内的就可以
默认waf配置文件的参数
[root@localhost ~]# vim /opt/openresty/nginx/conf/waf/config.lua
--WAF config file,enable = "on",disable = "off"
--waf status
 config_waf_enable = "on"   #是否开启配置
 --log dir
 config_log_dir = "/tmp/waf_logs"    #日志记录地址
 --rule setting
config_rule_dir = "/opt/nginx/conf/waf/rule-config"      #匹配规则缩放地址
--enable/disable white url
config_white_url_check = "on"  #是否开启url检测
--enable/disable white ip
config_white_ip_check = "on"   #是否开启IP白名单检测
--enable/disable block ip
config_black_ip_check = "on"   #是否开启ip黑名单检测
--enable/disable url filtering
config_url_check = "on"      #是否开启url过滤
--enalbe/disable url args filtering
config_url_args_check = "on"   #是否开启参数检测
--enable/disable user agent filtering
config_user_agent_check = "on"  #是否开启ua检测
--enable/disable cookie deny filtering
config_cookie_check = "on"    #是否开启cookie检测
--enable/disable cc filtering
config_cc_check = "on"   #是否开启防cc攻击
--cc rate the xxx of xxx seconds
config_cc_rate = "10/60"   #允许一个ip60秒内只能访问10次
--enable/disable post filtering
config_post_check = "on"   #是否开启post检测
--config waf output redirect/html
config_waf_output = "html"         #action一个html页面,也可以选择跳转
--if config_waf_output ,setting url
config_waf_redirect_url = "https://www.feiyiblog.com"
config_output_html=[[
<html>
<head>
<meta http-equiv="Content-Type" content="text/html; charset=utf-8" />
<meta http-equiv="Content-Language" content="zh-cn" />
<title>网站防火墙</title>
</head>
<body>
<h1 align="center"> 欢迎白帽子进行授权安全测试,安全漏洞请联系QQ:718334935。
</body>
</html>
]]
检测顺序:先检查白名单,通过即不检测;再检查黑名单,不通过即拒绝,检查UA,UA不通过即拒绝;检查cookie;URL检查;URL参数检查,post检查
使用ab压测工具模拟防cc攻击:
[root@aa waf]# ab -c 50 -n 50 http://http://8.146.208.126/a.sql
黑名单位置:[root@aa rule-config]# vi /opt/openresty/nginx/conf/waf/rule-config/blackip.rule
白名单位置:[root@aa rule-config]# vi /opt/openresty/nginx/conf/waf/rule-config/whiteip.rule
这两个文件是写黑白名单的IP地址的


 6809
6809

 被折叠的 条评论
为什么被折叠?
被折叠的 条评论
为什么被折叠?
 到【灌水乐园】发言


