


下载
使用附件中redis-7.2.2.tar.gz,或打开下载连接,下载Redis

环境验证
- 校验是否存在
gcc,打开终端输入gcc -v查看版本,存在版本信息无需安装
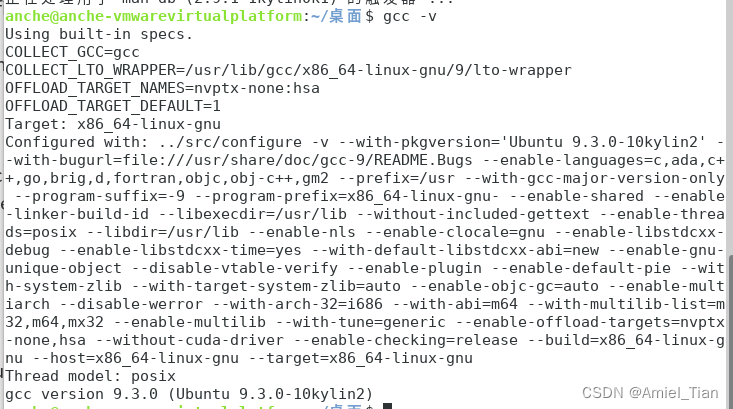
-
没有版本信息时需要进行安装,打开终端执行命令
sudo apt install gcc-9 g++-9
配置启动
-
将压缩包解压到服务器,示例是
/home/anche/Redis下
编译并安装Redis
-
进入解压的Redis目录下,右键打开终端,执行命令
make,等待命令结束。输出过长以下节选
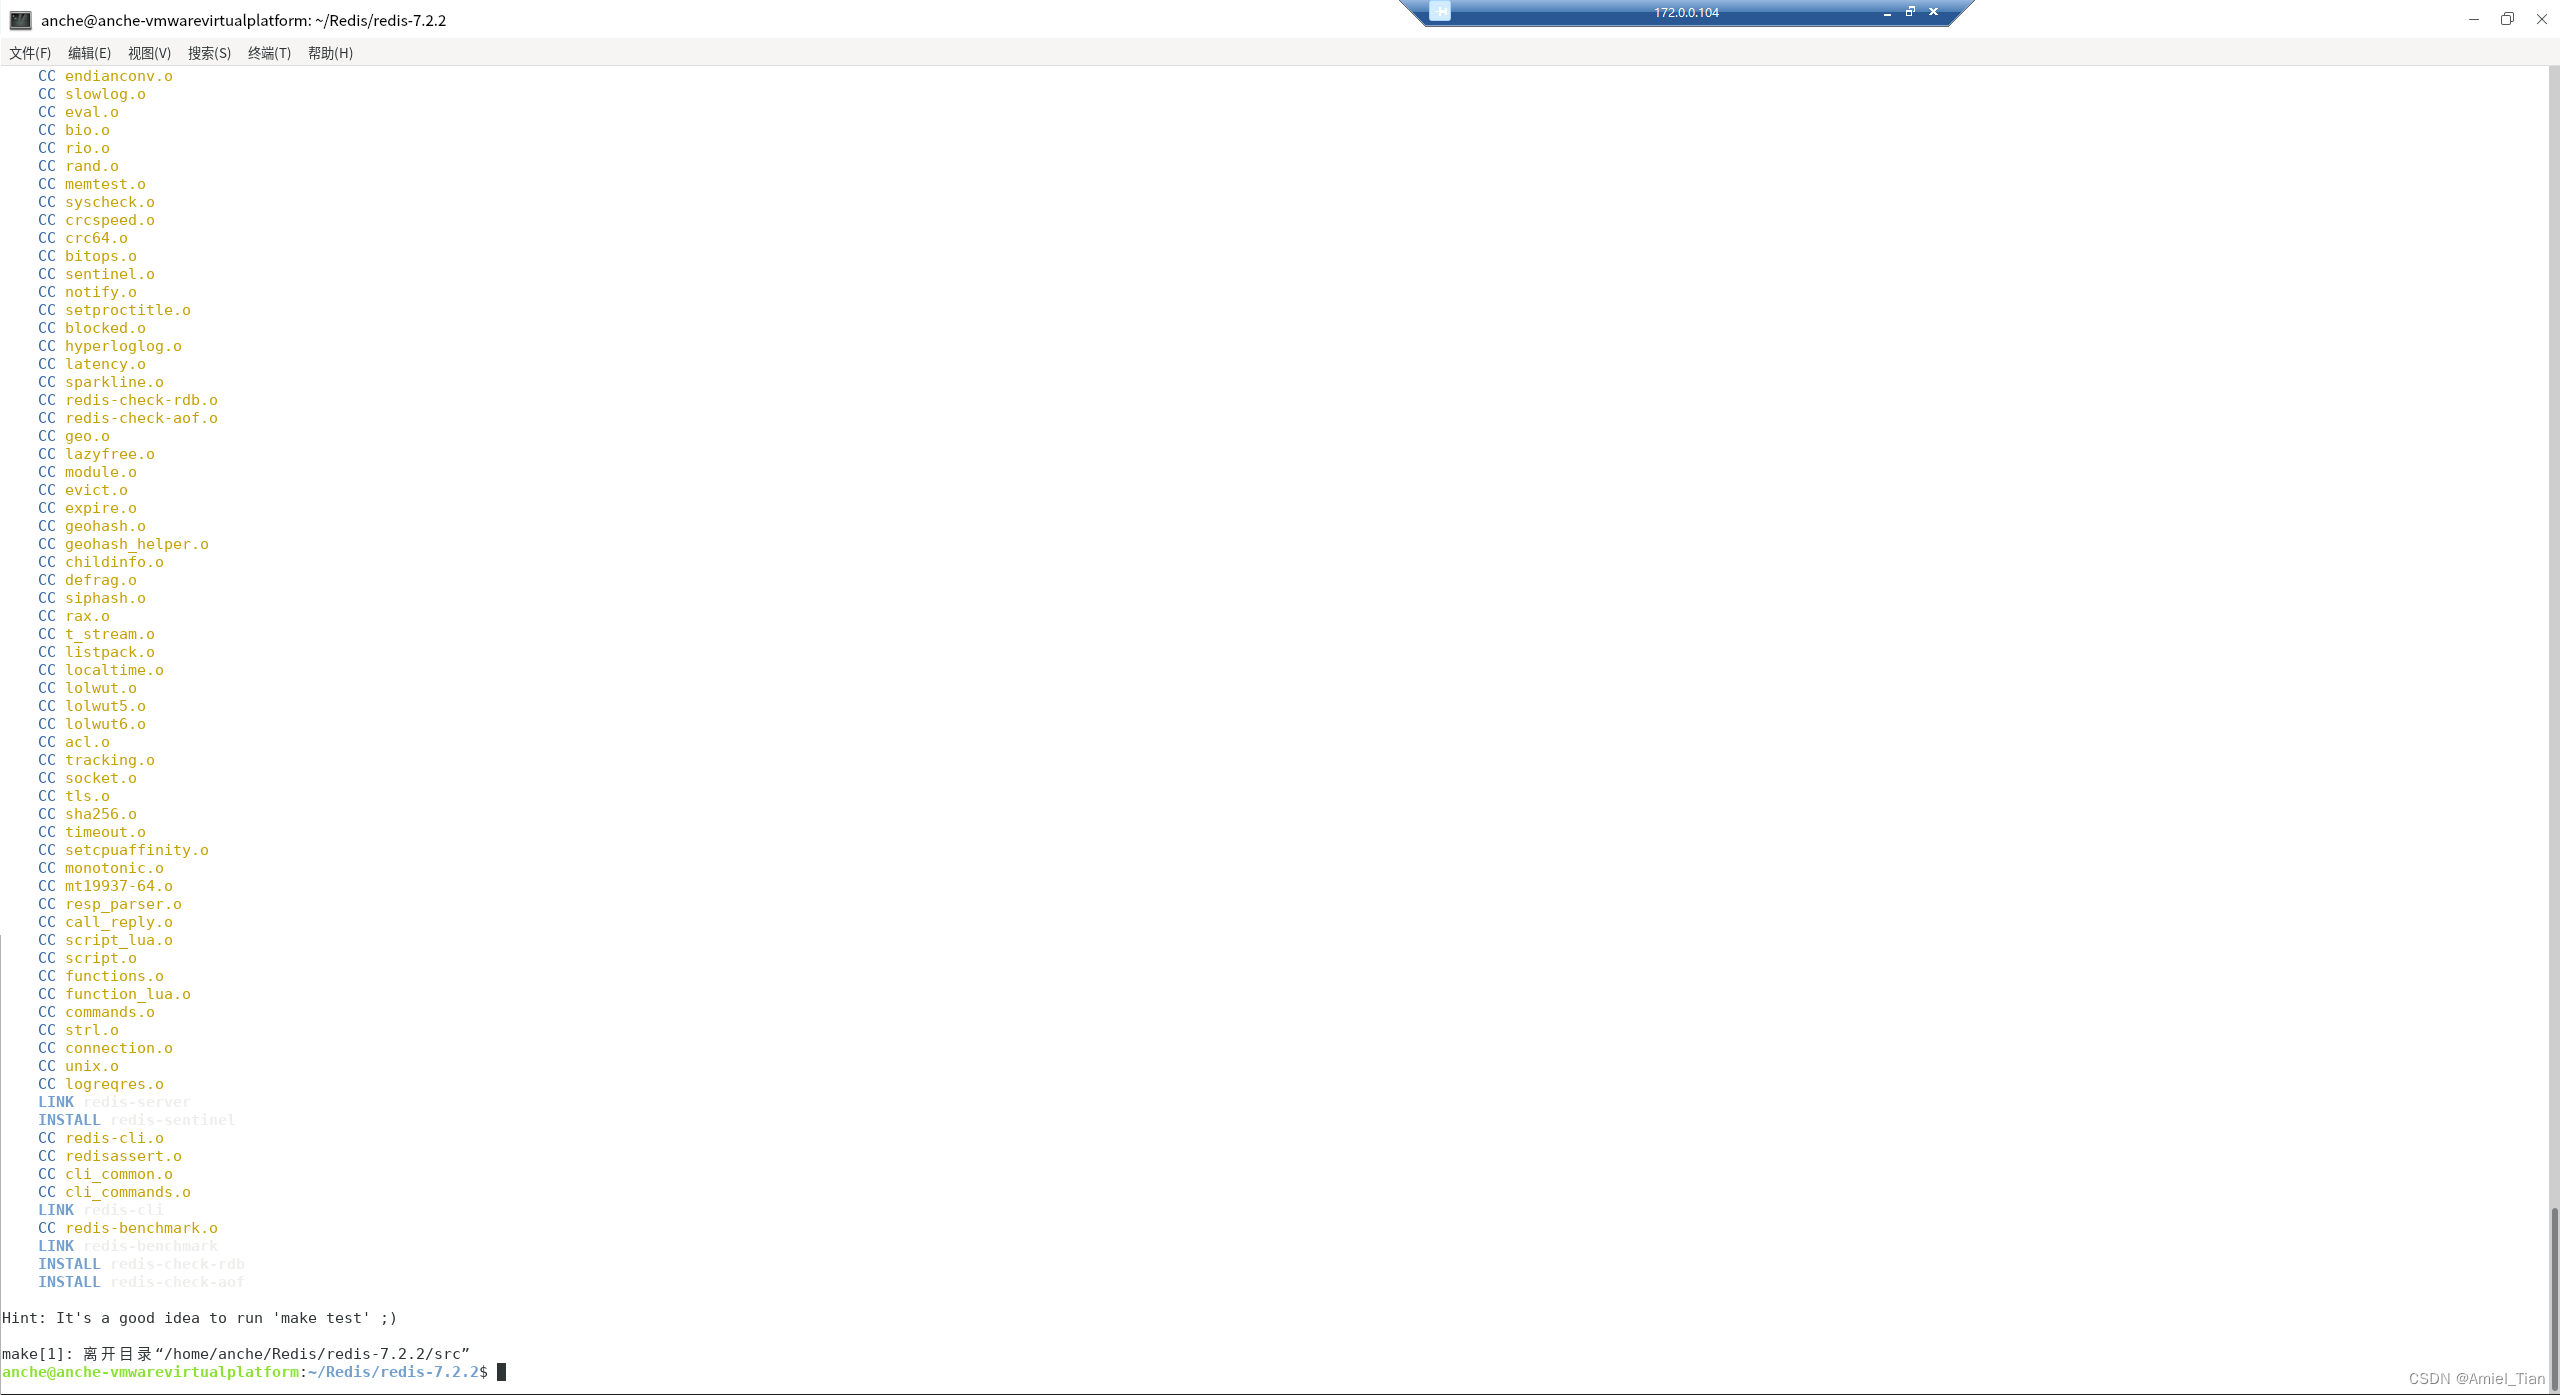
-
继续执行
sudo make install命令

编辑配置
- 将附件的
redis.conf覆盖Redis目录下的redis.conf,以下是配置好的功能说明,密码并未配置。
设置后台启动
-
打开Redis目录下的
redis.conf文件,修改其中的daemonize no改为daemonize yes
设置允许远程连接
-
打开Redis目录下的
redis.conf文件,注释其中的bind 127.0.0.1 -::1(最前面加#)、protected-mode yes改为protected-mode no
设置密码(如适用)
-
打开Redis目录下的
redis.conf文件,打开requirepass foobared的注释(去掉#),将其中的foobared改为自己的密码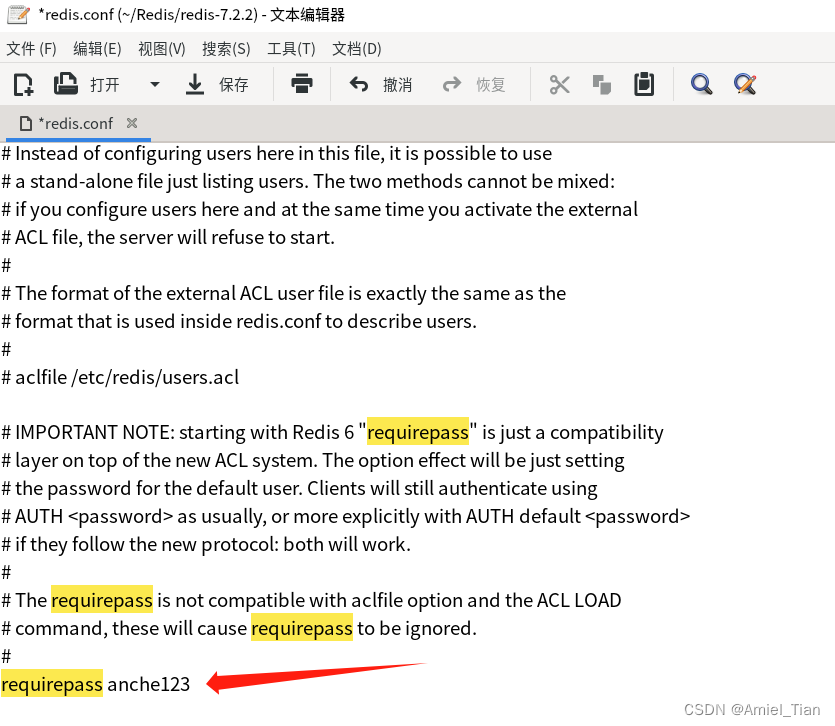
启动
-
进入
/usr/local/bin目录下,右键打开终端,执行命令./redis-server /home/anche/Redis/redis-7.2.2/redis.conf,其中redis.conf是Redis解压目录下文件的路径地址
-
启动时如果报错
WARNING Memory overcommit must be enabled! Without it, a background save or replication may fail under low memory condition. Being disabled, it can also cause failures without low memory condition, see https://github.com/jemalloc/jemalloc/issues/1328. To fix this issue add 'vm.overcommit_memory = 1' to /etc/sysctl.conf and then reboot or run the command 'sysctl vm.overcommit_memory=1' for this to take effect.,切换到root用户执行命令echo 1 > /proc/sys/vm/overcommit_memory然后再执行启动命令
查看运行状态
-
查看Redis进程状态
ps -ef | grep redis -
查看默认端口运行状态,有进程使用时即正在运行
netstat -tunple | grep 6379

结束运行
-
进入
/usr/local/bin目录下,右键打开终端,执行命令redis-cli shutdown -
无法使用上述命令结束时,打开
系统监视器,选择我的进程,找到redis-server,结束进程即可
工具
打开软件商城,搜索redis,下载Redis Desktop Manager,打开后按照提示连接本机的Redis服务器即可


 1229
1229


 被折叠的 条评论
为什么被折叠?
被折叠的 条评论
为什么被折叠?
 到【灌水乐园】发言


