


实现思路:
1.用fastjson读取swagger生成的json
2.创建数据库==》创建实体类
3.利用fastjson获取json对象内数据并封装
4.添加到数据库
5.前端读取展示所有接口相关信息
1:导入依赖
fastjson:1.2.76
swagger2:2.9.2
swagger-ui:2.9.2
mybatis:2.2.2
mysql:5.1.47
<dependency>
    <groupId>com.alibaba</groupId>
    <artifactId>fastjson</artifactId>
    <version>1.2.76</version>
</dependency>
<dependency>
    <groupId>io.springfox</groupId>
    <artifactId>springfox-swagger2</artifactId>
    <version>2.9.2</version>
</dependency>
<dependency>
    <groupId>io.springfox</groupId>
    <artifactId>springfox-swagger-ui</artifactId>
    <version>2.9.2</version>
</dependency>
<dependency> <groupId>mysql</groupId> <artifactId>mysql-connector-java</artifactId> <version>5.1.47</version> </dependency> <dependency> <groupId>org.mybatis.spring.boot</groupId> <artifactId>mybatis-spring-boot-starter</artifactId> <version>2.2.2</version> </dependency>
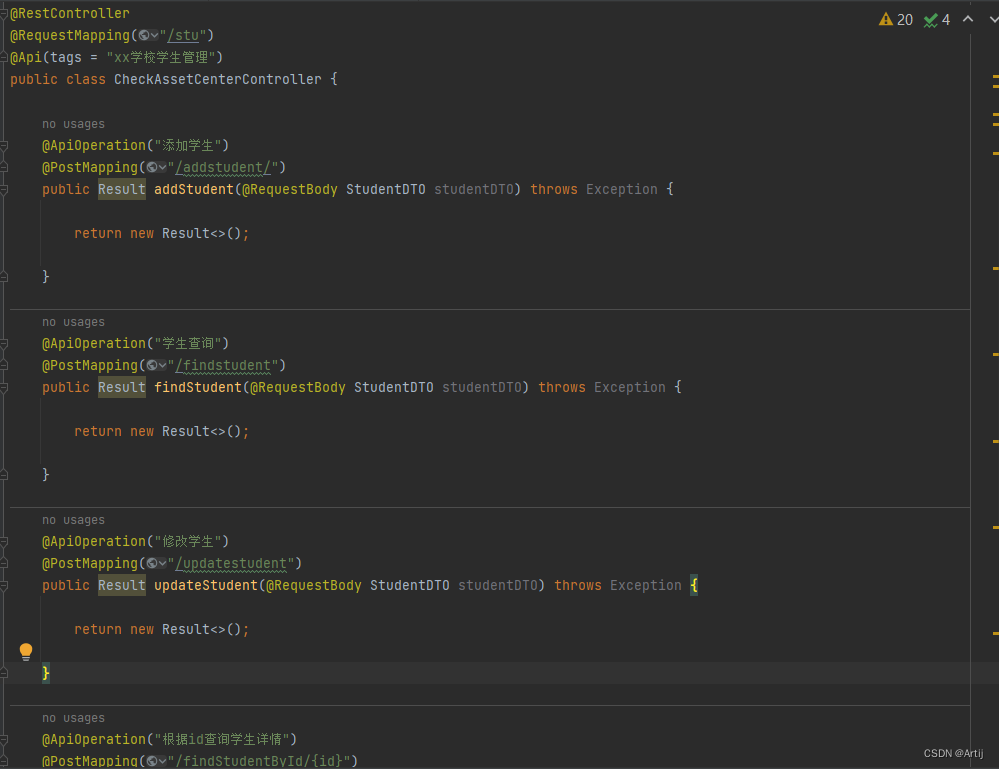
2:在controller层添加注解
@Api用于定义接口或接口类的元数据信息
@ApiOperation用于描述接口方法的元数据信息
StudentDTO对象
@Data
@ApiModel(value = "学生入参对象")
public class StudentDTO {
    @ApiModelProperty(value = "姓名")
    private String name;
    @ApiModelProperty(value = "年龄")
    private Integer age;
    @ApiModelProperty(value = "班级")
    private String studentclass;
    @ApiModelProperty(value = "电话")
    private Integer phone;
}
启动springboot服务
进入http://localhost:9494/doc.html
端口号切换成自己的服务端口
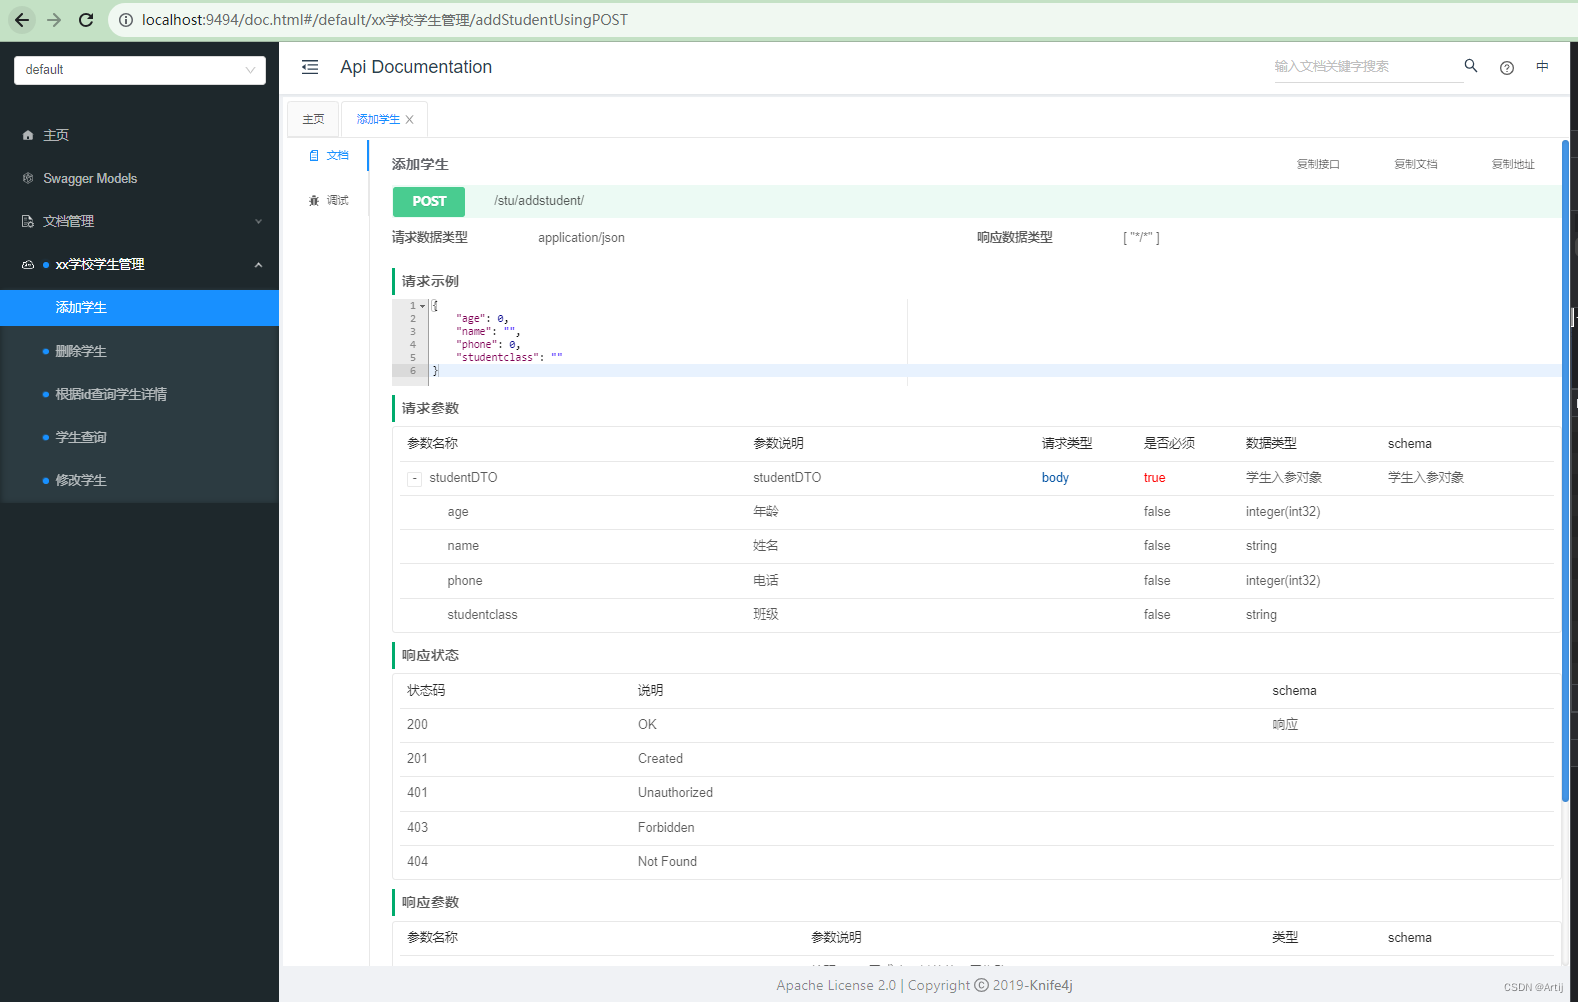
进入这个页面,说明swagger运行正常
3:拿json字符串
在启动类加上@EnableSwagger2这个注解(不加进不去)
进入http://localhost:9494/swagger-ui.html
点击页面内的http://localhost:9494/v2/api-docs
 拿到swagger页面的json格式字符串
4:创建数据库、实体类
只拿服务名称和服务路径
create table servicesdome
(
    id                  int auto_increment comment '唯一标识符'
        primary key,
    service_name        varchar(20)          not null comment '服务名称',
    service_path        varchar(255)         not null comment '服务路径'

)
    comment '服务信息表';

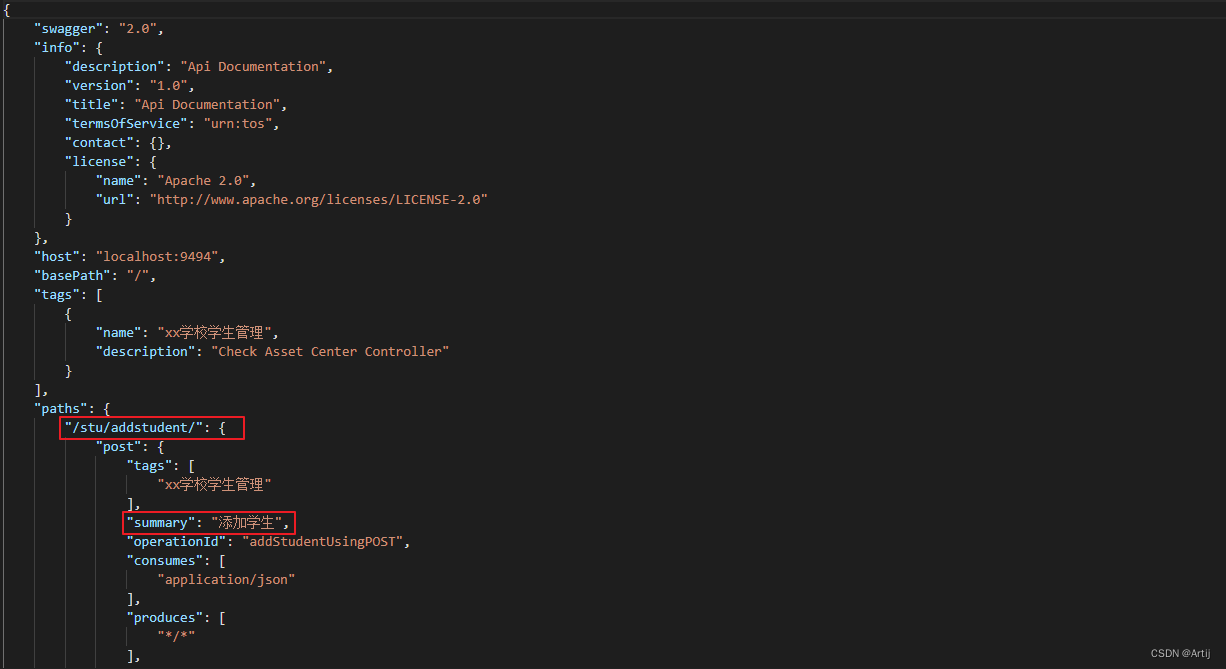
5:Fastjson解析json
目前我们只需要红框内的数据
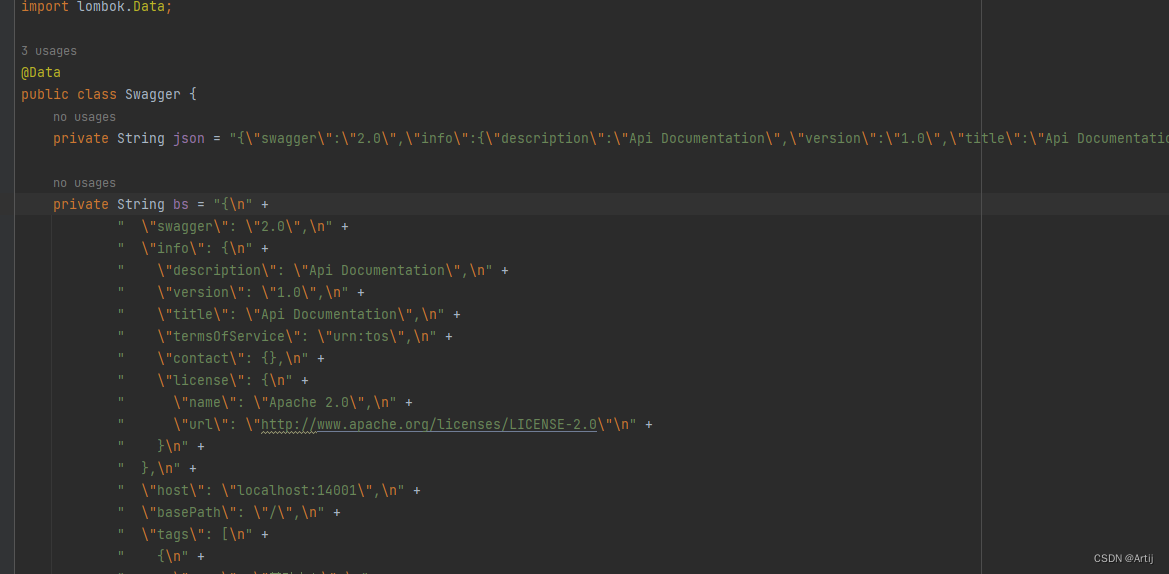
把json放到一个String类型中(可以根据实际业务进行调整)
这两种格式都可行,不影响
按照格式化后的json一层一层的拿数据,遇到集合就转一下

Swagger swagger = new Swagger();
//swagger.getJson()获取json字符串转为json对象
JSONObject jsonObject = JSON.parseObject(swagger.getJson());
//拿路径
JSONObject jsonPaths = jsonObject.getJSONObject("paths");
Set<String> paths = jsonPaths.keySet();
for (String path : paths) {
    //拿服务
    String serviceDescription = jsonPaths.getJSONObject(path).getJSONObject("post").getString("summary");
    //封装
    StudentAPIDTO studentAPIDTO = new StudentAPIDTO();

    studentAPIDTO.setServicePath(path);
    studentAPIDTO.setServiceName(serviceDescription);

    jsonDomeMpper.addStudentAPI(studentAPIDTO);
}
想办法执行这段代码,test,main都可以
addStudentAPI:添加语句

6:运行测试
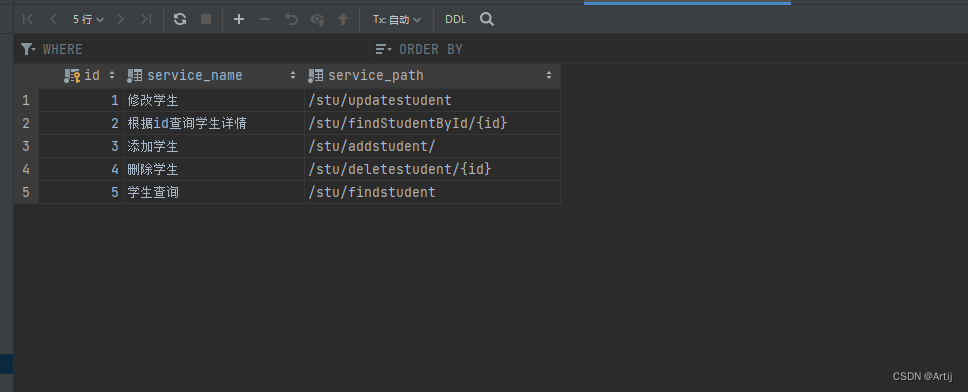
成功添加
可以拿到json内的所有数据
json可以修改为读取json文件
...
具体实现根据实际需求选择
7:优化
思路:利用restTemplate服务器访问Swagger,动态获取json
1..注入restTemplate

2.利用restTemple发送请求
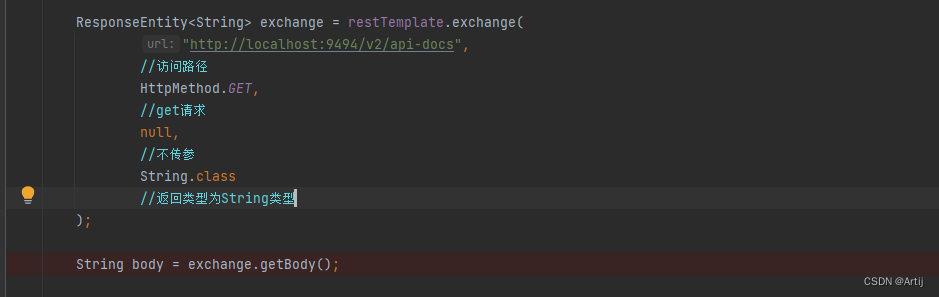
ResponseEntity<String> exchange = restTemplate.exchange(
        "http://localhost:9494/v2/api-docs",
        HttpMethod.GET,
        null,
        String.class
);

String body = exchange.getBody();
3.运行测试
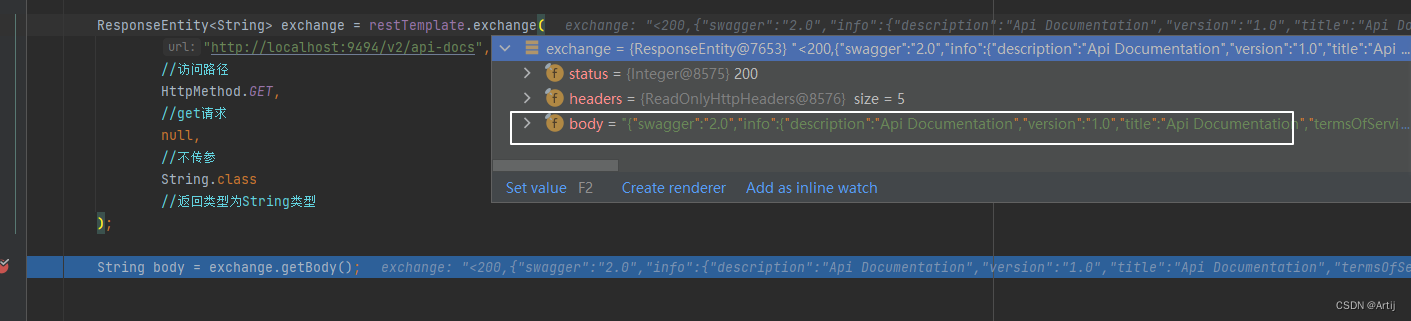
body中的数据就是json字符串


 1014
1014


 被折叠的 条评论
为什么被折叠?
被折叠的 条评论
为什么被折叠?
 到【灌水乐园】发言


