


前言
教程是简化了sipeed官网的教程,快速配置固件,快速训练模型,快速读懂代码——带你一个下午走过学长当时 傻傻的学了 半个月 的官方教程。。。
原教程——需要先到此处下载MaixPyIDE
https://wiki.sipeed.com/soft/maixpy/zh/get_started/upgrade_maixpy_firmware.html
Q&A——下面教程里出现了问题
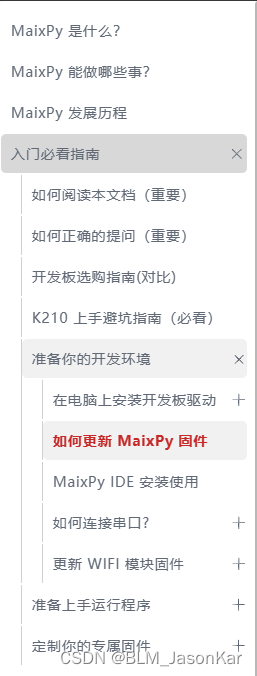
进入网站——https://wiki.sipeed.com/soft/maixpy/zh/get_started/upgrade_maixpy_firmware.html

零、下载安装MaixPy IDE
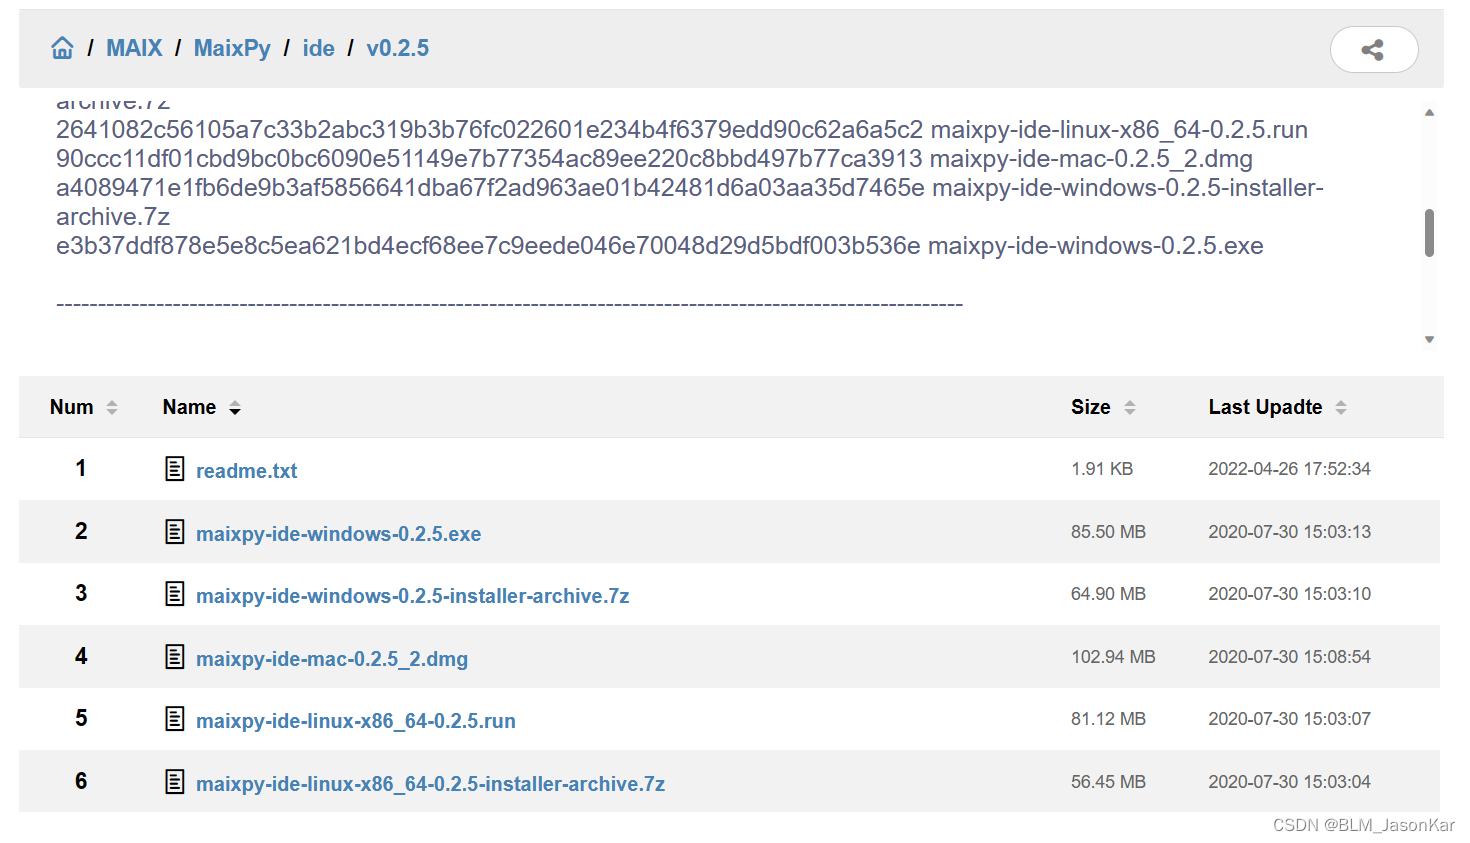
http://dl.sipeed.com/MAIX/MaixPy/ide/
/Maix/MaixPy/ide/v0.2.5/.exe——下载双击即可
一、烧Maixpy固件
固件下载地址——https://dl.sipeed.com/
 sipeed资源下载站
 在搜索栏搜索support bin
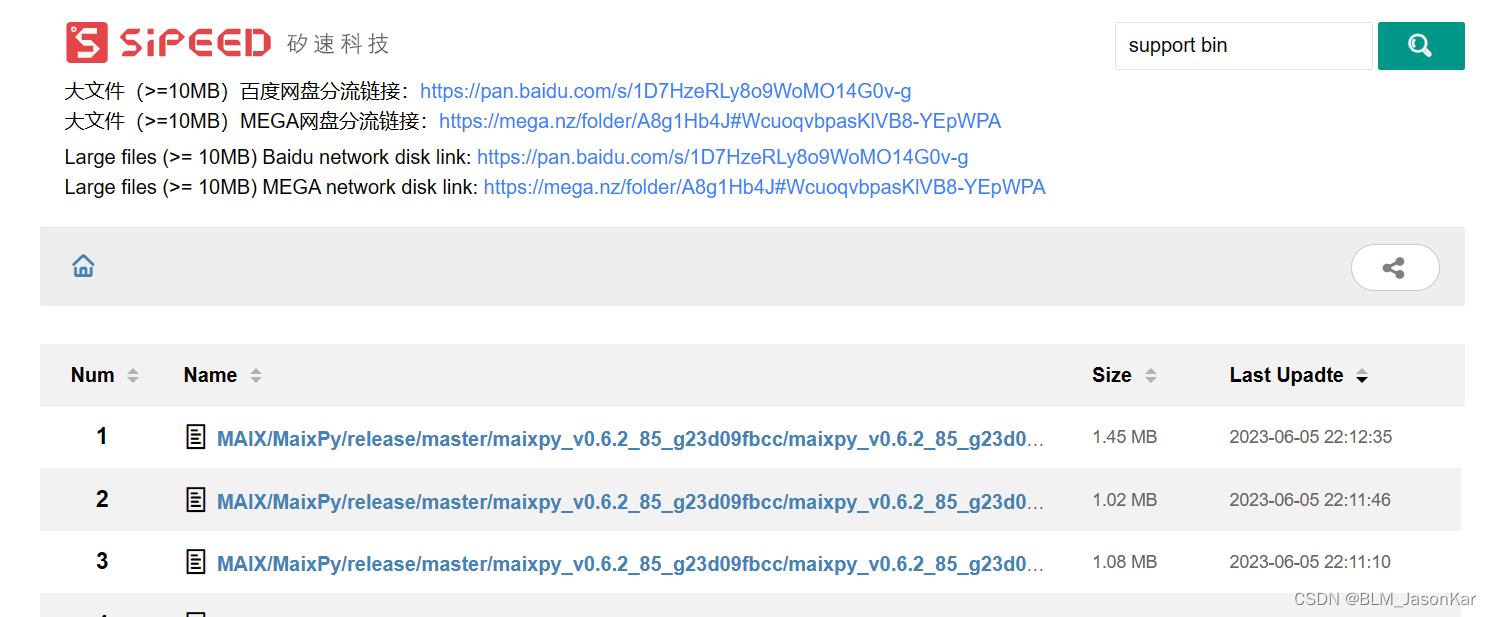 点击最新的文件夹就行,即在右边last Update的时间最晚者的最上方文件夹
 最小者也可以
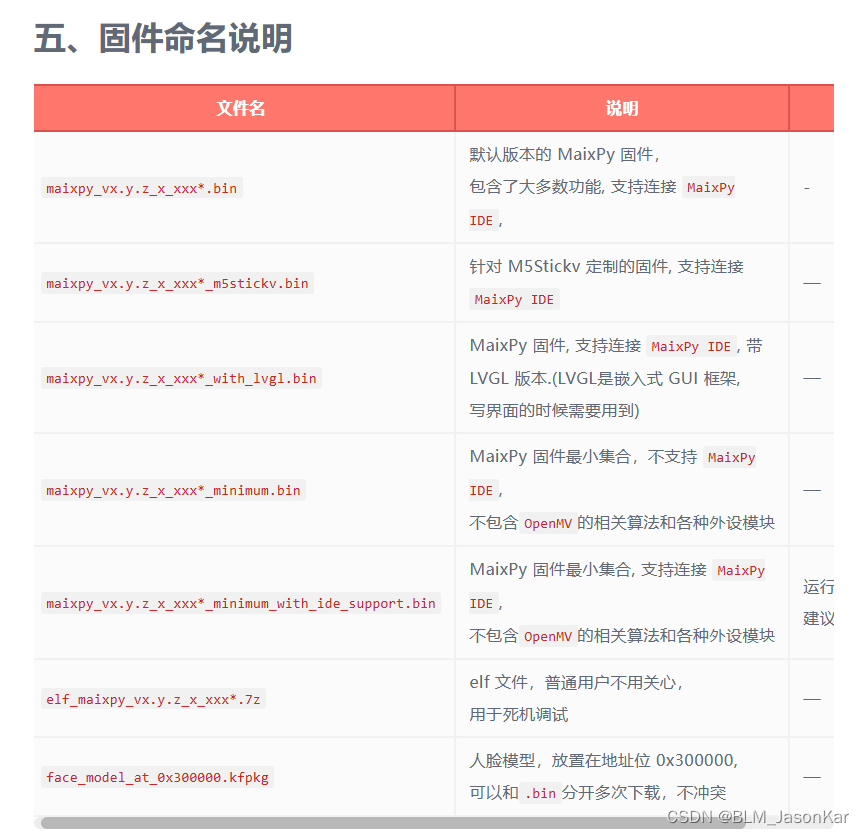
或者是——openmv_kmodel_v4_with_ide_support.bin
支持openmv库和IDE的固件。
 搜索kflash
然后还要下载烧固件的软件,搜索kflash
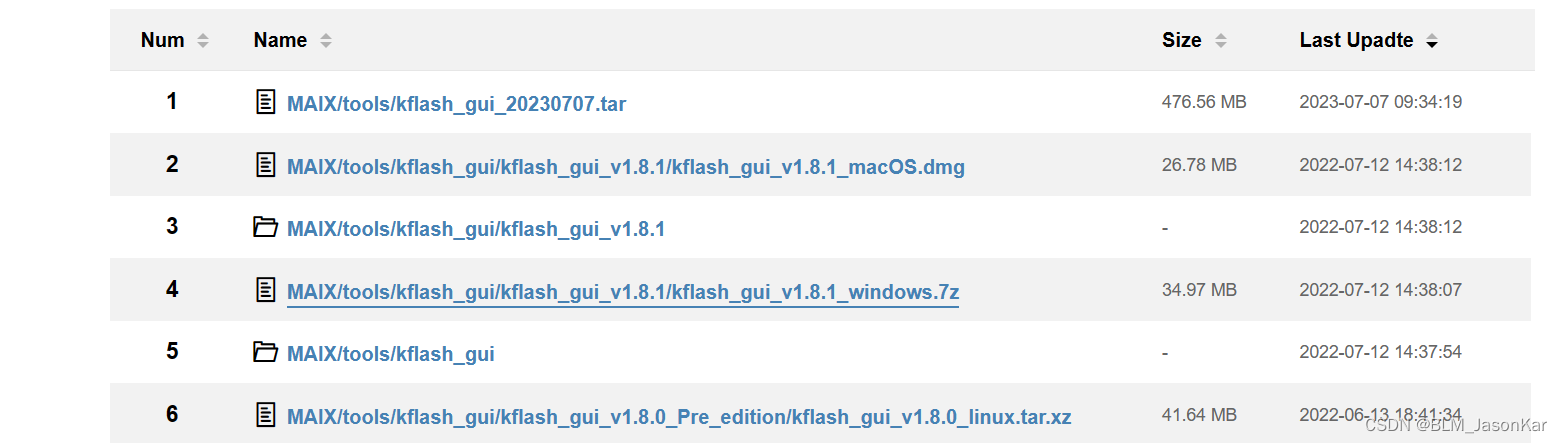 选最近的,带windows字眼的.7z文件
解压.7z文件,运行kflash.exe,
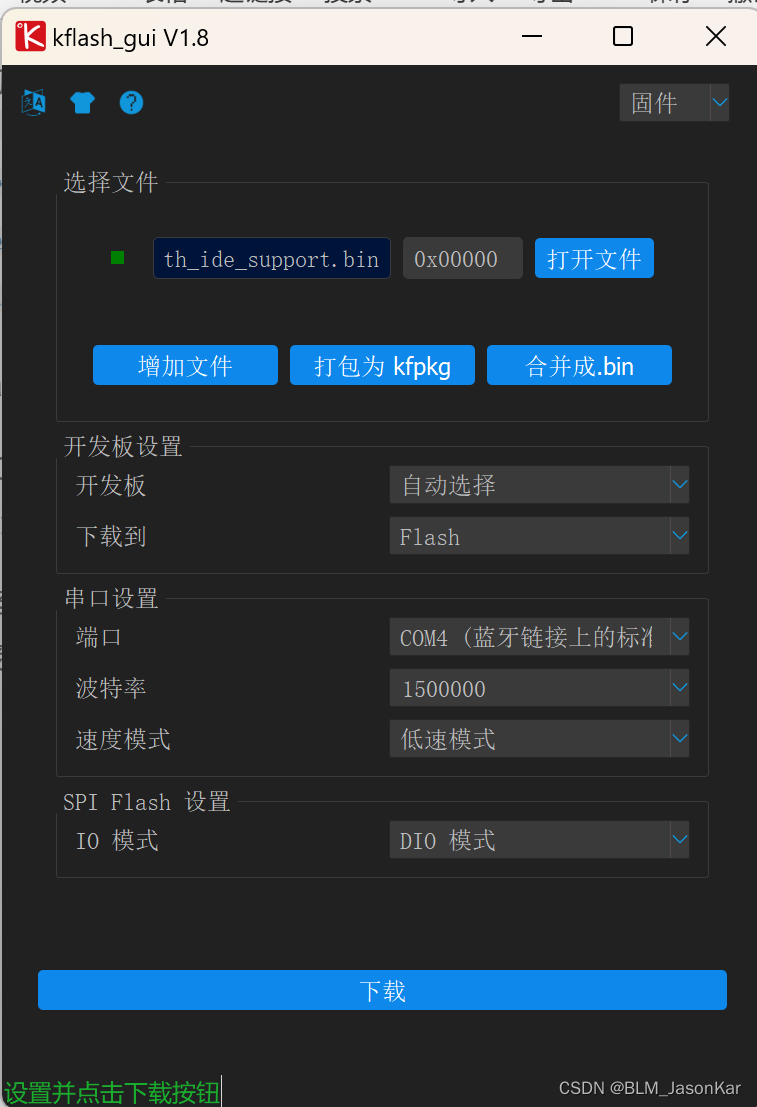
界面-打开文件——找到之前下载的固件,选中
将固件烧写到地址0x00000,0x00000是程序起始址。
端口选中对应maixbit的端口号,
其他默认,点击下载。
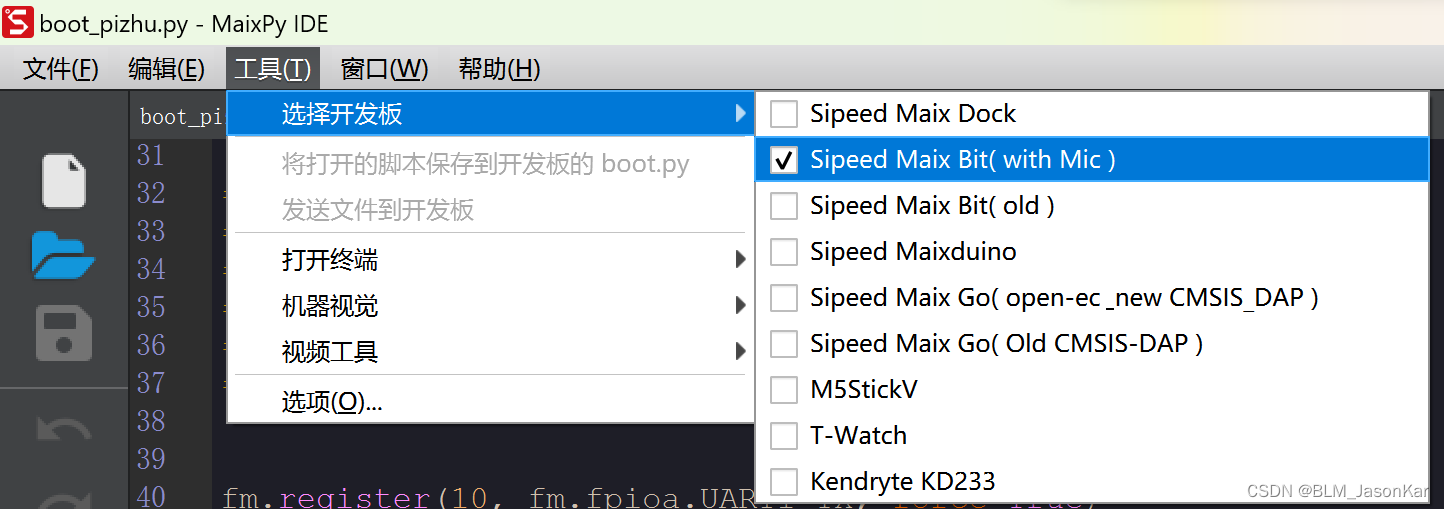 打开Maixpy IDE,选择对应的开发板
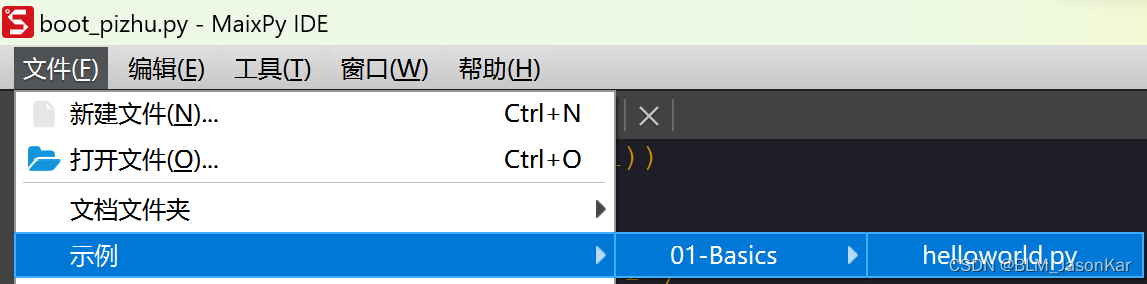 示例.py的·位置

点击连接按钮
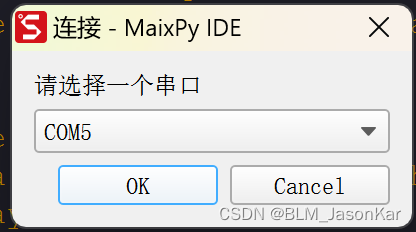 端口号不一定是5,每个板子可能不一样
 运行·按钮
运行·按钮
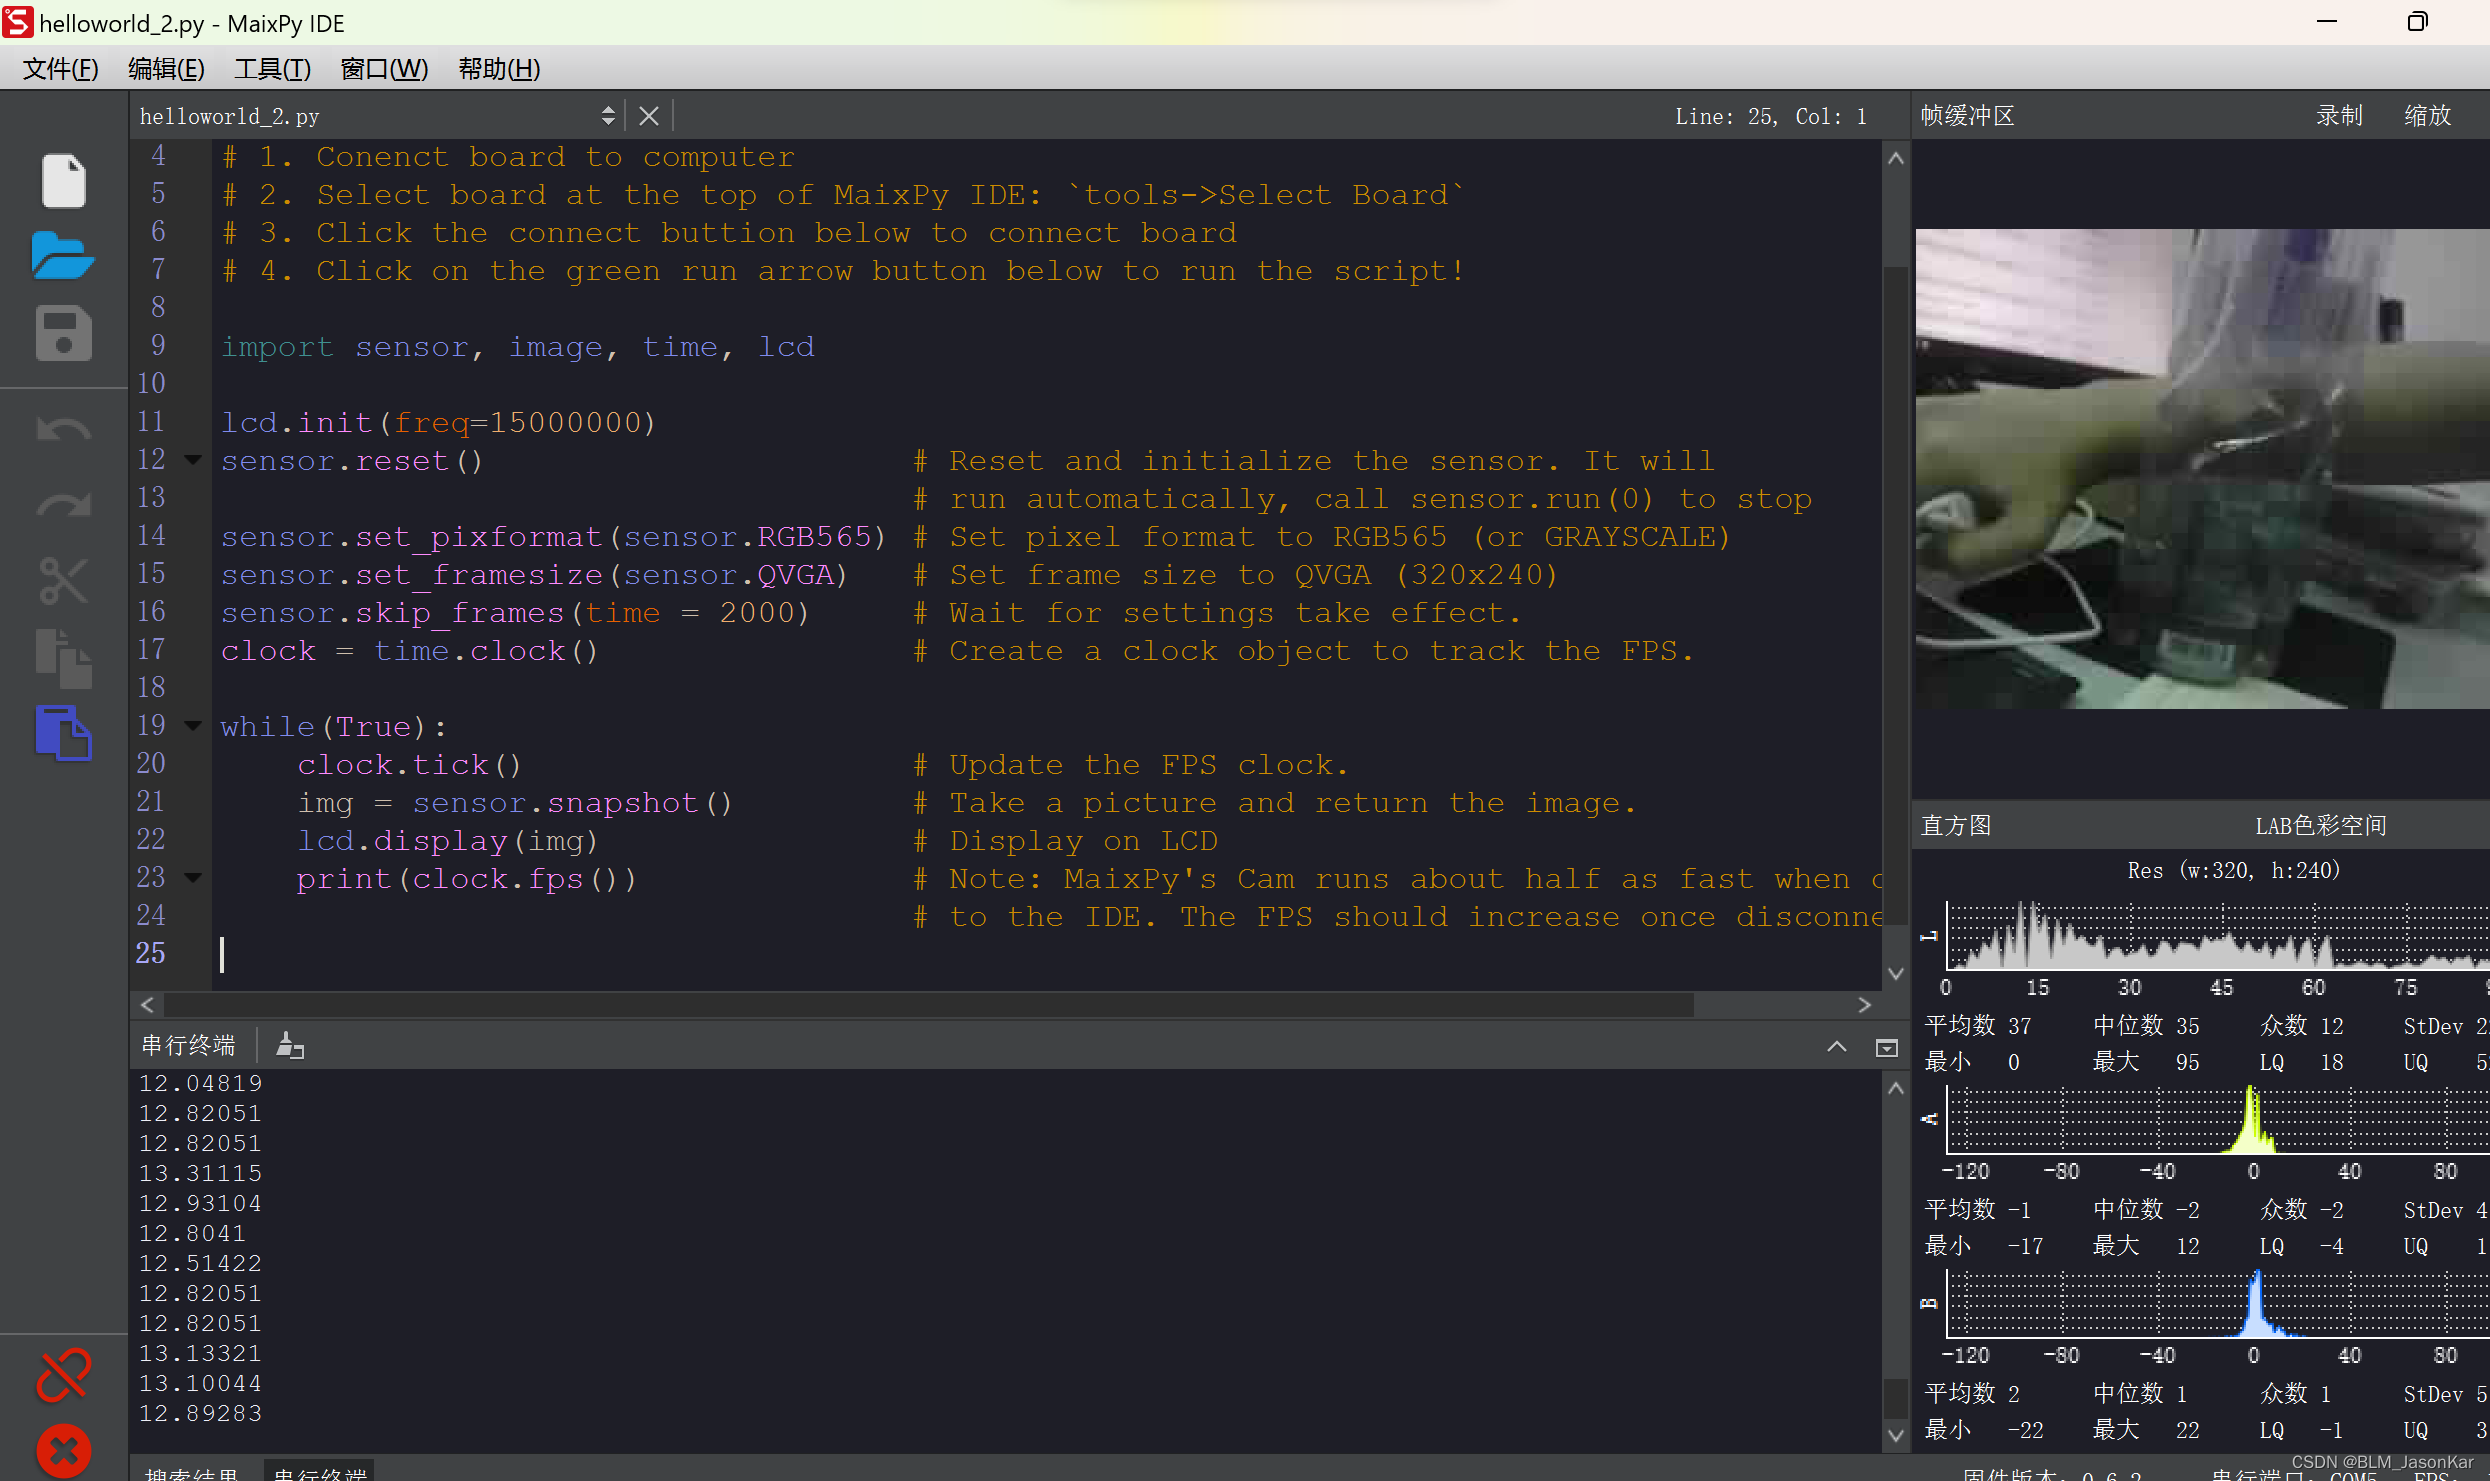
并运行hello world进行测试。
二、训练集准备
见此博客https://blog.csdn.net/qq_45396672/article/details/117390991
三、在线网站训练模型
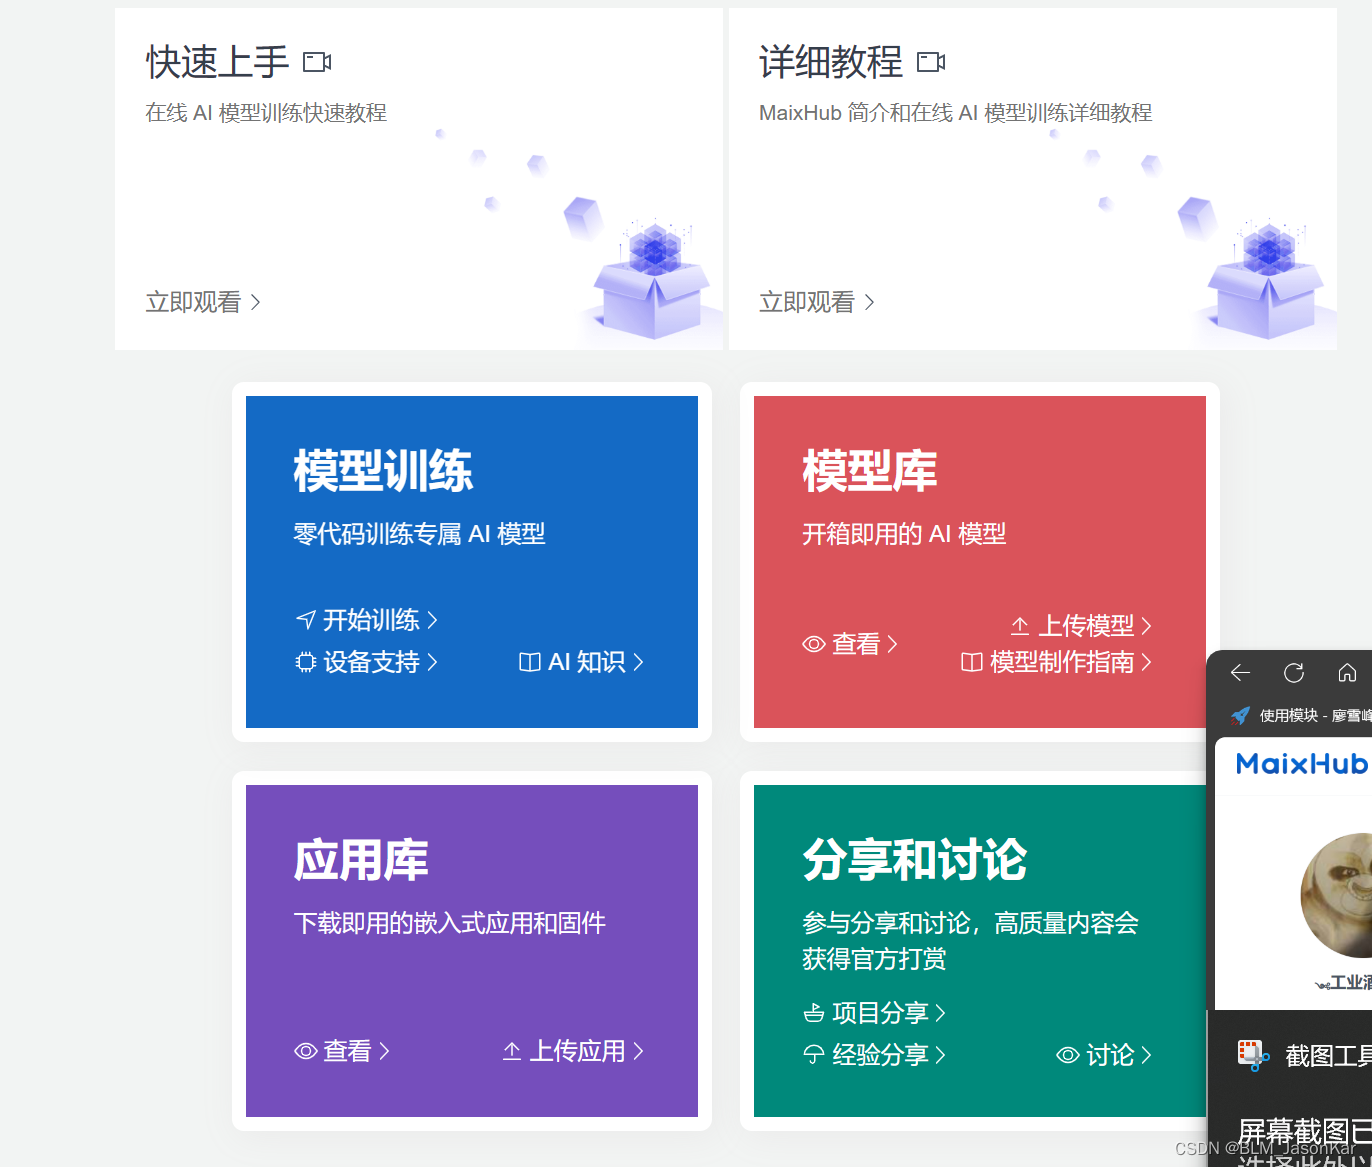 上面两个视频十分详细
不用在csdn上面搜——maixhub这个在线网站近年更新了网站,很多博客是之前旧网站的教学
四、模型压缩文件
四、Ⅰ文件结构
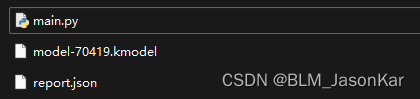
main.py——用于加载模型和调用yolo库
model-70419.kmodel就是模型文件
report.json 一般不用管
四、Ⅱ脚本解析
# generated by maixhub, tested on maixpy3 v0.4.8
# copy files to TF card and plug into board and power on
import sensor, image, lcd, time
import KPU as kpu
import gc, sys
#——————————————————————————————————————————————————
input_size = (224, 224)
labels = ['7', '4']
anchors = [1.44, 1.34, 1.69, 2.31, 1.91, 2.44, 1.69, 1.78, 2.22, 2.28]
#——————————————————————————————————————————————————
def lcd_show_except(e):
    import uio
    err_str = uio.StringIO()
    sys.print_exception(e, err_str)
    err_str = err_str.getvalue()
    img = image.Image(size=input_size)
    img.draw_string(0, 10, err_str, scale=1, color=(0xff,0x00,0x00))
    lcd.display(img)
#——————————————————————————————————————————————————
def main(anchors, labels = None, model_addr="/sd/m.kmodel", sensor_window=input_size, lcd_rotation=0, sensor_hmirror=False, sensor_vflip=False):
    sensor.reset()
    sensor.set_pixformat(sensor.RGB565)
    sensor.set_framesize(sensor.QVGA)
    sensor.set_windowing(sensor_window)
    sensor.set_hmirror(sensor_hmirror)
    sensor.set_vflip(sensor_vflip)
    sensor.run(1)

    lcd.init(type=1)
    lcd.rotation(lcd_rotation)
    lcd.clear(lcd.WHITE)
#——————————————————————————————————————————————————
    if not labels:
        with open('labels.txt','r') as f:
            exec(f.read())
    if not labels:
        print("no labels.txt")
        img = image.Image(size=(320, 240))
        img.draw_string(90, 110, "no labels.txt", color=(255, 0, 0), scale=2)
        lcd.display(img)
        return 1
    try:
        img = image.Image("startup.jpg")
        lcd.display(img)
    except Exception:
        img = image.Image(size=(320, 240))
        img.draw_string(90, 110, "loading model...", color=(255, 255, 255), scale=2)
        lcd.display(img)
#——————————————————————————————————————————————————
    try:
        task = None
        task = kpu.load(model_addr)
        kpu.init_yolo2(task, 0.5, 0.3, 5, anchors) # threshold:[0,1], nms_value: [0, 1]
        while(True):
            img = sensor.snapshot()
            t = time.ticks_ms()
            objects = kpu.run_yolo2(task, img)
            t = time.ticks_ms() - t
            if objects:
                for obj in objects:
                    pos = obj.rect()
                    img.draw_rectangle(pos)
                    img.draw_string(pos[0], pos[1], "%s : %.2f" %(labels[obj.classid()], obj.value()), scale=2, color=(255, 0, 0))
            img.draw_string(0, 200, "t:%dms" %(t), scale=2, color=(255, 0, 0))
            lcd.display(img)
    except Exception as e:
        raise e
    finally:
        if not task is None:
            kpu.deinit(task)
#——————————————————————————————————————————————————

if __name__ == "__main__":
    try:
        # main(anchors = anchors, labels=labels, model_addr=0x300000, lcd_rotation=0)
        main(anchors = anchors, labels=labels, model_addr="/sd/model-70419.kmodel")
    except Exception as e:
        sys.print_exception(e)
        lcd_show_except(e)
    finally:
        gc.collect()
代码分为几部分理解
类似C的int main()
if __name__ == "__main__":
    try:
        # main(anchors = anchors, labels=labels, model_addr=0x300000, lcd_rotation=0)
        main(anchors = anchors, labels=labels, model_addr="/sd/model-70419.kmodel")
    except Exception as e:
        sys.print_exception(e)
        lcd_show_except(e)
    finally:
        gc.collect()
通俗的理解__name__ == ‘main’:假如你叫小明.py,在朋友眼中,你是小明(name == ‘小明’);在你自己眼中,你是你自己(name == ‘main’)。
if name == 'main’的意思是:当.py文件被直接运行时,if name == 'main’之下的代码块将被运行;当.py文件以模块形式被导入时,if name == 'main’之下的代码块不被运行。
那么我们就着这之下的代码块来认识整个.py文件
最下面的代码块____主函数 main(anchors = anchors, labels=labels, model_addr=“/sd/model-70419.kmodel”)
def main(anchors, labels = None, model_addr="/sd/m.kmodel", sensor_window=input_size, lcd_rotation=0, sensor_hmirror=False, sensor_vflip=False):
    sensor.reset()
    sensor.set_pixformat(sensor.RGB565)
    sensor.set_framesize(sensor.QVGA)
    sensor.set_windowing(sensor_window)
    sensor.set_hmirror(sensor_hmirror)
    sensor.set_vflip(sensor_vflip)
    sensor.run(1)

    lcd.init(type=1)
    lcd.rotation(lcd_rotation)
    lcd.clear(lcd.WHITE)
#——————————————————————————————————————————————————
    if not labels:
        with open('labels.txt','r') as f:
            exec(f.read())
    if not labels:
        print("no labels.txt")
        img = image.Image(size=(320, 240))
        img.draw_string(90, 110, "no labels.txt", color=(255, 0, 0), scale=2)
        lcd.display(img)
        return 1
    try:
        img = image.Image("startup.jpg")
        lcd.display(img)
    except Exception:
        img = image.Image(size=(320, 240))
        img.draw_string(90, 110, "loading model...", color=(255, 255, 255), scale=2)
        lcd.display(img)
#——————————————————————————————————————————————————
    try:
        task = None
        task = kpu.load(model_addr)
        kpu.init_yolo2(task, 0.5, 0.3, 5, anchors) # threshold:[0,1], nms_value: [0, 1]
        while(True):
            img = sensor.snapshot()
            t = time.ticks_ms()
            objects = kpu.run_yolo2(task, img)
            t = time.ticks_ms() - t
            if objects:
                for obj in objects:
                    pos = obj.rect()
                    img.draw_rectangle(pos)
                    img.draw_string(pos[0], pos[1], "%s : %.2f" %(labels[obj.classid()], obj.value()), scale=2, color=(255, 0, 0))
            img.draw_string(0, 200, "t:%dms" %(t), scale=2, color=(255, 0, 0))
            lcd.display(img)
    except Exception as e:
        raise e
    finally:
        if not task is None:
            kpu.deinit(task)
主函数定义——外设部分PPP初始化(LCD屏幕,Sensor摄像头,)
    sensor.reset()
    #告诉 k210 你要重新初始化 摄像头了
    sensor.set_pixformat(sensor.RGB565)
    #设置_图像img的格式_RGB565_彩图
    sensor.set_framesize(sensor.QVGA)
    #设置_图像img的大小_QVGA=320像素高*240像素宽
    sensor.set_windowing(sensor_window)
    #设置_感兴趣的区域_从320*240个像素里_剪裁了左边224*上面224个像素
    sensor.set_hmirror(sensor_hmirror)
    #设置_垂直镜像——决定了照片的方向
    sensor.set_vflip(sensor_vflip)
    #设置_水平镜像——决定了照片的方向
    sensor.run(1)
    #使能 摄像头 该外设

    lcd.init(type=1)
    #初始化
    lcd.rotation(lcd_rotation)
    #图像在lcd屏幕上旋转角度0,90,180,270度
    lcd.clear(lcd.WHITE)
    #清屏 初始化屏幕画面
主函数定义——模型加载前的屏幕画面——这段代码先不用管
#——————————————————————————————————————————————————
    if not labels:
        with open('labels.txt','r') as f:
            exec(f.read())
    if not labels:
        print("no labels.txt")
        img = image.Image(size=(320, 240))
        img.draw_string(90, 110, "no labels.txt", color=(255, 0, 0), scale=2)
        lcd.display(img)
        return 1
    try:
        img = image.Image("startup.jpg")
        lcd.display(img)
    except Exception:
        img = image.Image(size=(320, 240))
        img.draw_string(90, 110, "loading model...", color=(255, 255, 255), scale=2)
        lcd.display(img)
#——————————————————————————————————————————————————
主函数定义——KPU外设和模型的关系
#——————————————————————————————————————————————————
    try:
        task = None
        task = kpu.load(model_addr)
        kpu.init_yolo2(task, 0.5, 0.3, 5, anchors) # threshold:[0,1], nms_value: [0, 1]
        while(True):
            img = sensor.snapshot()

            t = time.ticks_ms()
            objects = kpu.run_yolo2(task, img)
            t = time.ticks_ms() - t

            if objects:
                for obj in objects:
                    pos = obj.rect()
                    img.draw_rectangle(pos)
                    img.draw_string(pos[0], pos[1], "%s : %.2f" %(labels[obj.classid()], obj.value()), scale=2, color=(255, 0, 0))
            img.draw_string(0, 200, "t:%dms" %(t), scale=2, color=(255, 0, 0))

            lcd.display(img)
    except Exception as e:
        raise e
    finally:
        if not task is None:
            kpu.deinit(task)
分为三部分来理解
KPU_Part1——kpu库的函数调用
——检测存储中是否有模型文件并将模型加载(load)到KPU中,从而创造task任务
	task = None
    task = kpu.load(model_addr)
——检测不到模型文件则会报错
except Exception as e:
        raise e
    finally:
        if not task is None:
            kpu.deinit(task)
——初始化yolo算法
kpu.init_yolo2(task, 0.5, 0.3, 5, anchors)
 # threshold:[0,1], nms_value: [0, 1]
#0.5是可能性阈值,0.3一般不要变,5也可以不管
——运行yolo算法,将检测器/分类器的输出存入opject列表中(相当于是结构体数组)
objects = kpu.run_yolo2(task, img)
KPU_Part2——模型的输入和输出
——输入:一帧 摄像头初始化设置后 得到的图像数据
img = sensor.snapshot()
——输出:objects 结构体数组——结构体成员有哪些可以搜索该函数看看
if objects:
            for obj in objects:
                pos = obj.rect()
                img.draw_rectangle(pos)
                img.draw_string(pos[0], pos[1], "%s : %.2f" %(labels[obj.classid()], obj.value()), scale=2, color=(255, 0, 0))
KPU_Part3——模型运算的耗时
		t = time.ticks_ms()
        bjects = kpu.run_yolo2(task, img)
        t = time.ticks_ms() - t
.py最下面的代码块____报错代码
    except Exception as e:
        sys.print_exception(e)
        lcd_show_except(e)
python基础:待补充
sys.print_exception(e)
用于 编译器终端 报错信息 打印
lcd_show_except(e)
用于 LCD屏幕 报错信息 显示
def lcd_show_except(e):
    import uio
    err_str = uio.StringIO()
    sys.print_exception(e, err_str)
    err_str = err_str.getvalue()
    img = image.Image(size=input_size)
    img.draw_string(0, 10, err_str, scale=1, color=(0xff,0x00,0x00))
    lcd.display(img)


 9268
9268


 被折叠的 条评论
为什么被折叠?
被折叠的 条评论
为什么被折叠?
 到【灌水乐园】发言


