


1.第一步
2.新建一个小程序项目
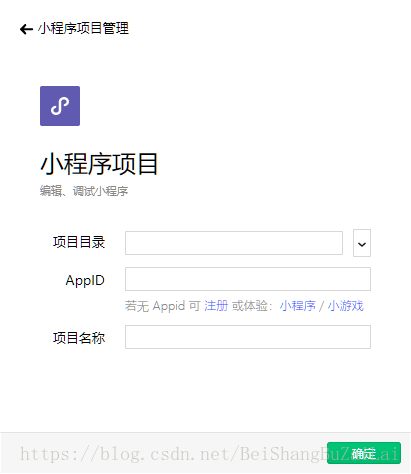
打开 “微信web开发者工具”,项目->新建项目如图:
- 创建一个项目目录
- 填写你的appId
- 给你的项目起个名字
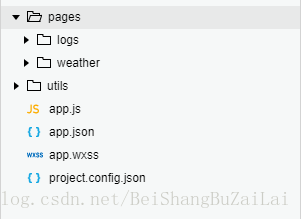
文件目录如下图:
- 点击查看代码构成以及开发文档
3.实现一个天气预报小程序
app.json配置文件新建一个
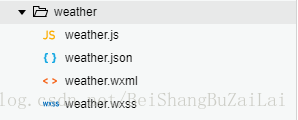
pages/weather/weather的路径(会根据路径名自动生成 xx.wxml,xx.js,xx.wxss,xx.json文件):
app.json相关配置有俩个路径log,weather
{ "pages":[ "pages/weather/weather", "pages/logs/logs" ], "window":{ "backgroundTextStyle":"light", "navigationBarBackgroundColor": "#fff", "navigationBarTitleText": "天气查询", "navigationBarTextStyle":"black", "enablePullDownRefresh": true, "navigationBarBackgroundColor":"#FF7F00" }, "networkTimeout": { "request": 10000, "downloadFile": 10000 } }- 界面 weather.wxml
<view class='flex-wrap' style='display: flex;flex-direction: row;' wx:for='{{weather.weather_data}}' wx:for-index='idx' bindtap='jumpBaidu'>
  <block wx:if='{{idx == 0}}'>
    <view class='flex-view-item font-size'>{{weather.currentCity}}</view>
    <view class='flex-view-item font-size' id='date'>{{date}}</view>
    <view class='flex-view-item font-size'>
      白天:<image src='{{item.dayPictureUrl}}' class='img'></image>
    </view>
    <view class='flex-view-item font-size'>
      夜晚:<image src='{{item.nightPictureUrl}}' class='img'></\image>
    </view>
    <view class='flex-view-item font-size'>pm2.5:{{weather.pm25===''?'自己看':weather.pm25}}</view>
    <view class='flex-view-item font-size'>实时温度:{{wd}}</view>
    <view class='flex-view-item font-size'>风级:{{item.wind}}</view>
    <view class='flex-view-item font-size'>洗车:{{xczs === ''?'看天':xczs}}</view>
    <view class='flex-view-item font-size'>预计温度:{{item.temperature}}</view>
    <view class='flex-view-item font-size'>天气情况:{{item.weather}}</view>
  </block>
  <block wx:else>
    <view class='flex-view-item font-size'>{{weather.currentCity}}</view>
    <view class='flex-view-item font-size'>{{item.date}}</view>
    <view class='flex-view-item font-size'>
      白天:<image src='{{item.dayPictureUrl}}' class='img'></image>
    </view>
    <view class='flex-view-item font-size'>
      夜晚:<image src='{{item.nightPictureUrl}}' class='img'></image>
    </view>
    <view class='flex-view-item font-size'>预计温度:{{item.temperature}}</view>
    <view class='flex-view-item font-size'>天气情况:{{item.weather}}</view>
  </block>
</view>- 界面样式 weather.wxss
.font-size{
  font-size: 14px;
}

.flex-wrap{
  flex-direction: row;
  flex-wrap:wrap;
  padding: 20rpx 0;
  border-bottom: 1px solid #eee;
}
.flex-view-item{
  width: 50%;
  margin-top: 10rpx;
  text-align: center;

}

.img{
    width: 100rpx;
    height: 100rpx;
    margin: 10rpx auto;
    display: block;
}
- weather.js
Page({

  /**
   * 页面的初始数据
   */
  data: {
    ak:'百度key',//用来调用百度天气API
    mapKey: '腾讯key',//用户定位用户当前位置调用的微信自带的腾讯地图
    location: '',
    params: {
      city: '',
    }
  },

  /**
   * 生命周期函数--监听页面加载
   */
  onLoad: function (options) {
    var self = this;
    //定位
    wx.getLocation({
      type: 'wgs84',
      success: function (res) {
        self.setData({
          location: res.latitude + ',' + res.longitude,
        })
        self.getCurAddress();
      },
    })
  },
  /**
   * 地址逆编码
   */
  getCurAddress: function () {
    var self = this;
    console.log(self.data.mapKey);
    console.log(self.data.location);
    wx.request({
      url: 'https://apis.map.qq.com/ws/geocoder/v1/',
      data: {
        key: self.data.mapKey,
        location: self.data.location,
      },
      method: 'GET',
      success: function (d) {
        console.log(d.data.result.address_component.city);
        self.setData({
          params: {
            city: d.data.result.address_component.city
          }
        })
      },
      //数据获取完成加载天气数据
      complete: function (e) {
        self.getWeather();
      }
    })
  },
  /**
   * 获取天气数据
   */
  getWeather: function () {
    wx.showLoading({
      title: '正在加载',
    })
    var self = this;
    wx.request({
      url:'https://api.map.baidu.com/telematics/v3/weather',
      data:{
        output:'json',
        location:self.data.params.city,
        ak:self.data.ak,
      },
      method: 'GET',
      success: function (res) {
        var xczs = res.data.results["0"].index[1].des,
            date_wd = res.data.results["0"].weather_data[0].date,
            date = date_wd.substring(0, date_wd.lastIndexOf(' ')),
            wd = date_wd.substring(date_wd.lastIndexOf(' ') + 1);
        self.setData({
          //weather: res.data.data
          weather: res.data.results["0"],
          xczs: xczs.substring(0, xczs.indexOf(',')),
          date: date,
          wd:wd,
        })
        wx.hideLoading();
      }
    })
  },
  /**
   * 生命周期函数--监听页面初次渲染完成
   */
  onReady: function () {

  },

  /**
   * 生命周期函数--监听页面显示
   */
  onShow: function () {

  },

  /**
   * 生命周期函数--监听页面隐藏
   */
  onHide: function () {

  },

  /**
   * 生命周期函数--监听页面卸载
   */
  onUnload: function () {

  },

  /**
   * 页面相关事件处理函数--监听用户下拉动作
   */
  onPullDownRefresh: function () {

  },

  /**
   * 页面上拉触底事件的处理函数
   */
  onReachBottom: function () {

  },

  /**
   * 用户点击右上角分享
   */
  onShareAppMessage: function () {

  },
  //返回上一页
  returnStoryView: function () {
    wx.navigateBack({
      delta: 1
    })
  },
  /**
   * 下拉刷新
   */
  onPullDownRefresh: function () {
    this.getWeather();
    wx.stopPullDownRefresh();
  },
  jumpBaidu: function (e) {
    console.log(e.currentTarget.dataset.currentCity)
    wx.showToast({
      title: '你好',
      icon:'none'
    })
  }
})- weather.json
这里只配置了 下拉 loading 的样式,仅支持 dark/light
{
"backgroundTextStyle":"dark"
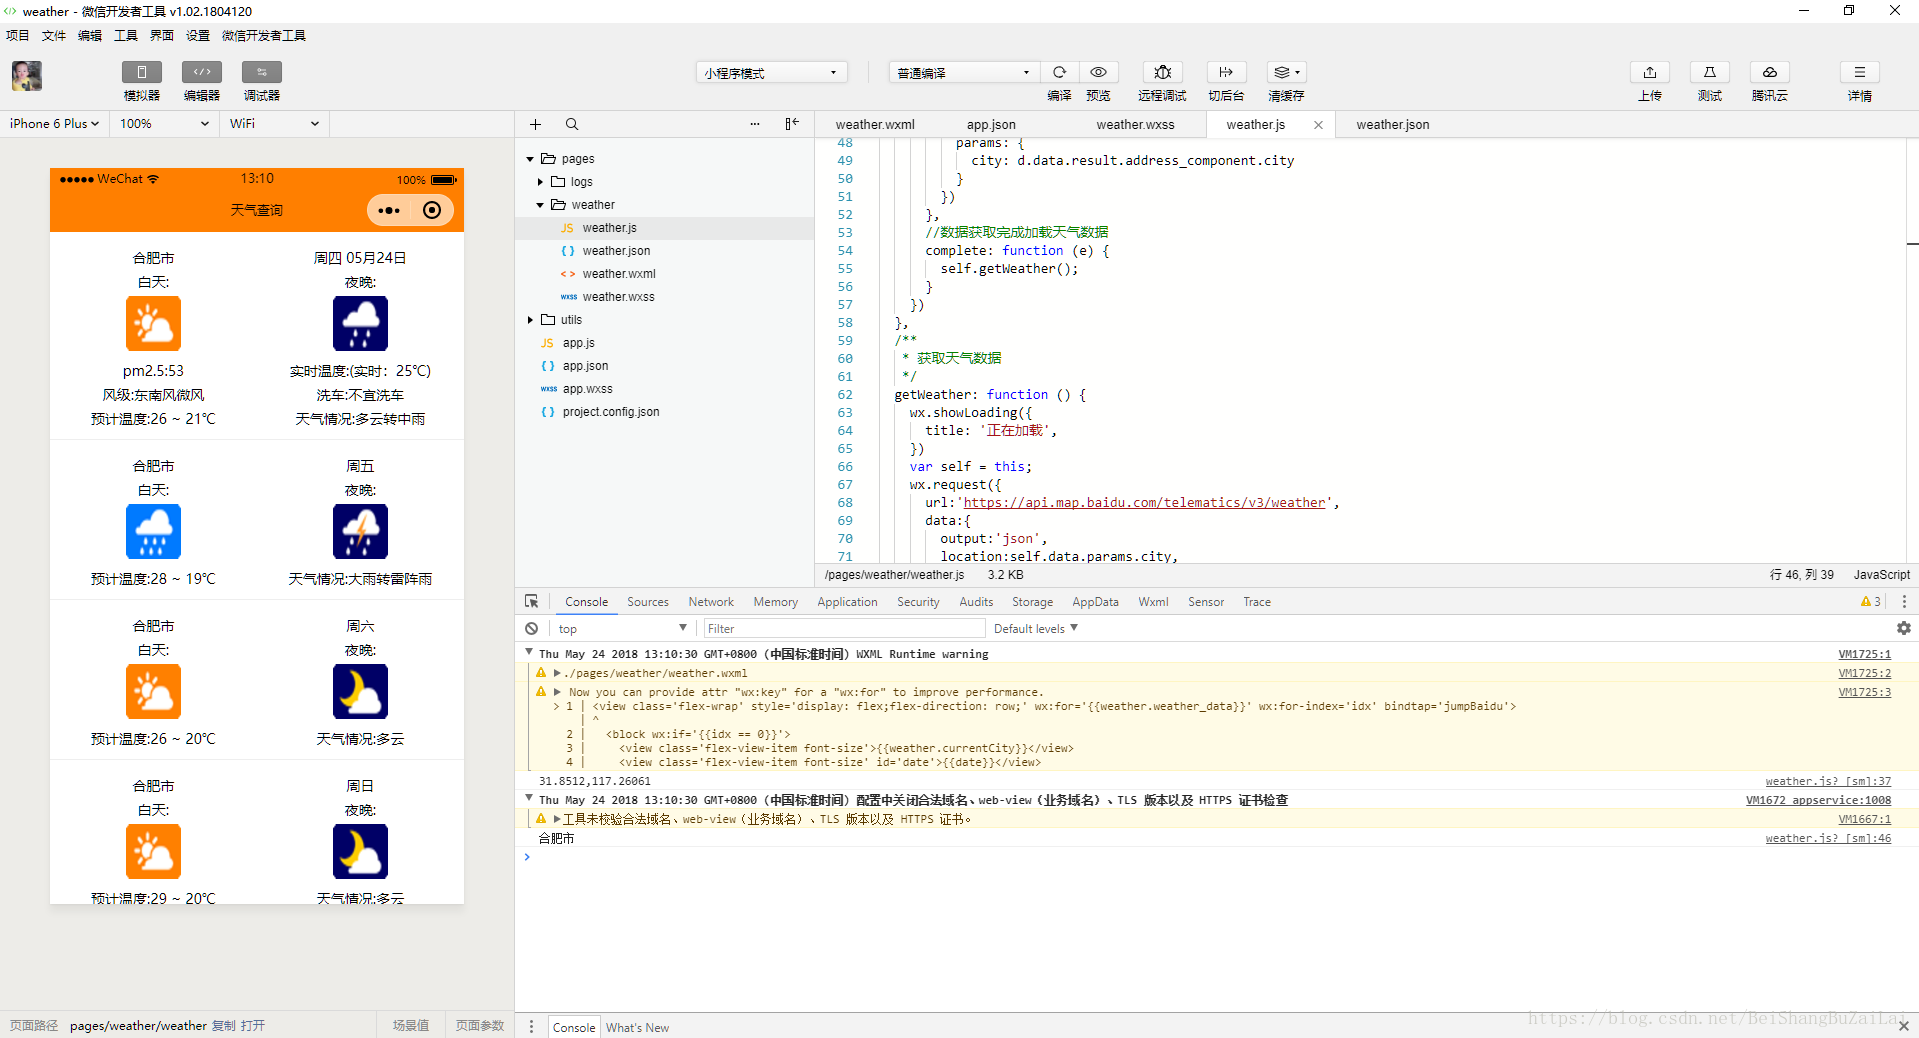
}4.预览
5.注意事项
- 小程序发布所有的接口必须是Https的
- 所有接口域名必须进行配置
- 进入小程序公众平台->设置->开发设置,如图(我这里用到的俩个外部接口):
- 进入小程序公众平台->设置->开发设置,如图(我这里用到的俩个外部接口):
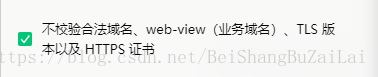
- 本地远程预览调试可以不校验Https
- 开发者工具->详情,勾选不校验合法域名。如图:
- 开发者工具->详情,勾选不校验合法域名。如图:

已经发布了可以在小程序搜 《当前天气》


 2355
2355


 被折叠的 条评论
为什么被折叠?
被折叠的 条评论
为什么被折叠?
 到【灌水乐园】发言


