


在开发中,或多或少都要接触到一点前端的问题,我不是专业的前端工程师,只会使用一些基本的前端技术,最近项目组内缺前端,有些前端页面的问题只能自己去搞了.
下面是关于一些进度条的问题,横向进度轴线.具体的专业术语我不太懂,我就这么叫它们.
这次我做了两种进度条,第一种四个步骤,第二个三个步骤,这两个的实现方式差不多的.
但是我用了不一样的方式去做了.
第一种是我在网上搜出来的,实现起来非常简单,就是复制粘贴,改过文字就完事了.具体代码如下:
首先要有一个div装载第一种进度条:
<div class="main" style="width: 920px;height: 120px; position: relative;margin-left: -20px;">
      <div id="step"></div>
</div>
接着就是把js和css都导进来
网上抄到的js文件:jquery.step.min.js 把它放到你的项目对应的js文件夹中
具体代码就长这样,可以调整文字和进度条中的圆圈的相对位置
! function (i) {
    i.fn.step = function (e) {
        var t = this,
            n = {
                index: 0,
                time: 400,
                title: []
            },
            s = (e = i.extend({}, n, e)).title,
            d = s.length,
            u = e.time,
            p = t.width() / d;
        t.index = e.index;
        var a = function () {
            var e = "";
            s.length > 0 && (e += '<div class="ui-step-wrap"><div class="ui-step-wrap-x"><div class="ui-step-bg"></div><div class="ui-step-progress"></div></div><ul class="ui-step">', i.each(s, function (i, t) {
                e += '<li class="ui-step-item">' +

                    '<div class="ui-step-item-num" style="position: relative;margin-top: 37px;"><span>' + (i + 1) + "<i></i></span></div>" +
                    '<div class="ui-step-item-title" style="position: relative;margin-top: 20px;">' + t + '</div>' +

                    "</li>"
            }), e += "</ul></div>"), t.append(e), t.find(".ui-step").children(".ui-step-item").width(p), t.toStep(t.index)
        };
        return t.toStep = function (e) {
            var n = t.find(".ui-step").children(".ui-step-item");
            t.index = e, (function () {
                if(t.index < d - 1){
                    t.find(".ui-step-progress").animate({
                        width: p * (e + 1)
                    })
                }

            })(), u, (function () {
                i.each(n, function (t) {
                    t > e ? i(this).removeClass("active") : i(this).addClass("active")
                    i(this)
                })
            })()
        }, t.getIndex = function () {
            return t.index
        }, t.nextStep = function () {
            t.index > d - 2 ||(t.index++, t.toStep(t.index))
        }, t.prevStep = function () {
            t.index < 1 || (t.index--, t.toStep(t.index))
        }, a(), this
    }
}(jQuery);
下面是css代码: 文件名是这样的:jquery.step.css
就是一些样式属性之类的设置吧,不需要怎么修改,直接用,顶多就改改颜色和大小.
body,
div,
ul,
li {
	margin: 0;
	padding: 0;
}

body {
	font-family: "微软雅黑";
}

.ui-step-wrap {
	position: relative;
}

.ui-step-wrap .ui-step-bg,
.ui-step-wrap .ui-step-progress {
	height: 6px;
	position: absolute;
	top: 54px;
	left: 0;
}

.ui-step-wrap .ui-step-bg {
	width: 100%;
	background: #c5c5c5;
}

.ui-step-wrap .ui-step-progress {
	width: 0;
	background: #0ababa;
}

.ui-step-wrap .ui-step {
	position: relative;
	z-index: 1;
	list-style: none;
}

.ui-step-wrap .ui-step:after {
	content: '';
	display: table;
	clear: both;
}

.ui-step-wrap .ui-step .ui-step-item {
	float: left;
}

.ui-step-wrap .ui-step .ui-step-item div {
	text-align: center;
	color: #625454;
}

.ui-step-wrap .ui-step .ui-step-item .ui-step-item-num {
	margin-top: 18px;
}

.ui-step-wrap .ui-step .ui-step-item .ui-step-item-num span {
	display: inline-block;
	width: 40px;
	height: 40px;
	line-height: 40px;
	border-radius: 50%;
	background: #c5c5c5;
	position: relative;
	color: #fff;
	-webkit-transition:all 1s;
	-moz-transition:all 1s;
	-o-transition:all 1s;
}
.ui-step-wrap .ui-step .ui-step-item .ui-step-item-num span i{
	position: absolute;
	display: block;
	width: 44px;
	height: 44px;
	left: -3px;
	top: -3px;
	border-radius: 50%;
	border: 1px solid #c5c5c5;
}
.ui-step-wrap .ui-step .ui-step-item.active .ui-step-item-num span {
	background: #0ababa;
	-webkit-transform:scale(1.3);
	-moz-transform:scale(1.3);
	-o-transform:scale(1.3);
}
.ui-step-wrap .ui-step .ui-step-item.active .ui-step-item-num span i{
	border: 1px solid #0ababa;
}
.ui-step-wrap-x{
	position: relative;
	margin: 0 120px;
}
准备完毕后,接着就是让这个进度条走起来,点击下一步就跳到第二个圆圈,需要这样的效果.
设置每个步骤的名字,加入文字,调用那个js文件里面的方法就好
$step.step({
index: 0,
time: 2000,
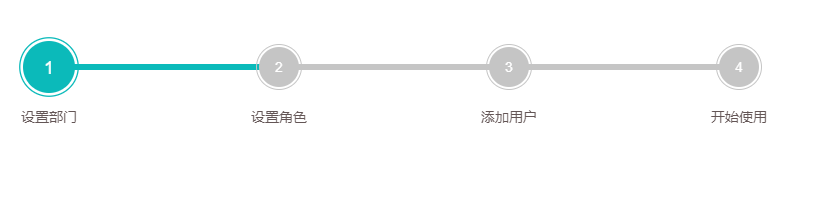
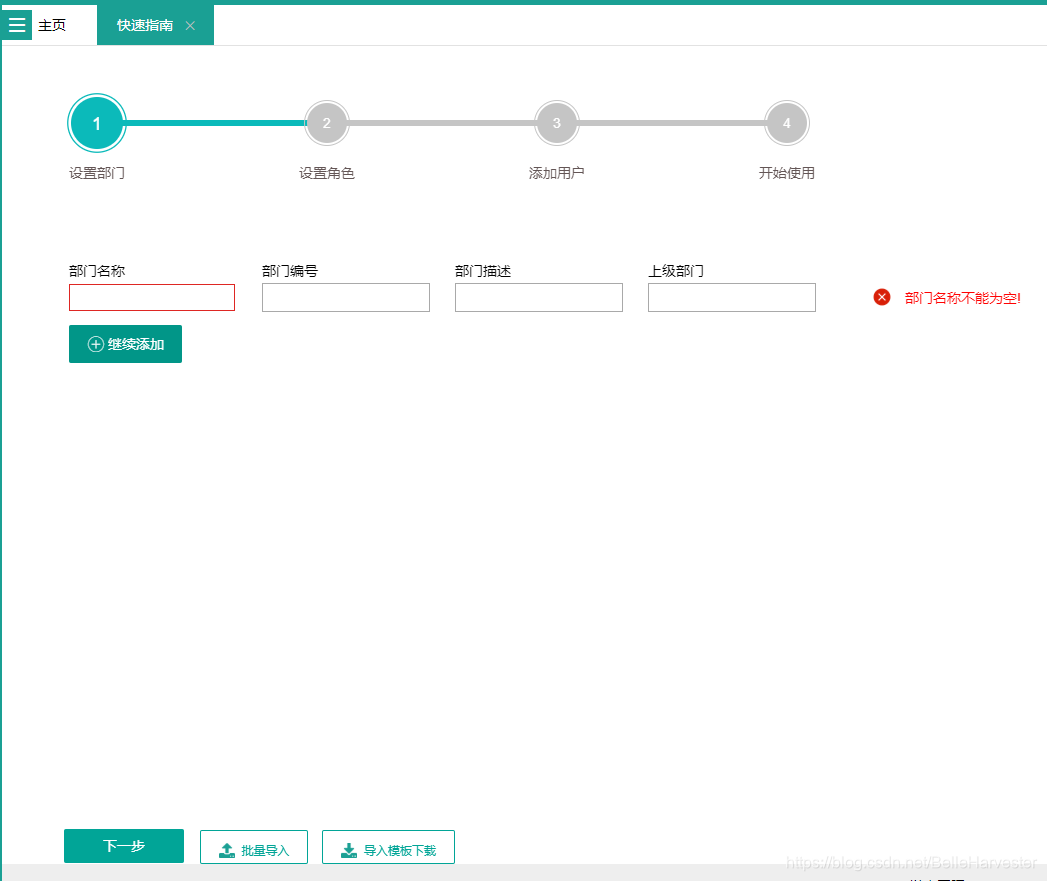
title: ["设置部门", "设置角色", "添加用户", "开始使用"]
});在jsp页面中加入记录进度条到了哪一步的索引号
<div class="info" hidden>index:<span id="index" hidden>0</span></div>设置点击下一步按钮,都是依赖于js文件里面的方法
function tonext() {
$step.nextStep();
$index.text($step.getIndex());
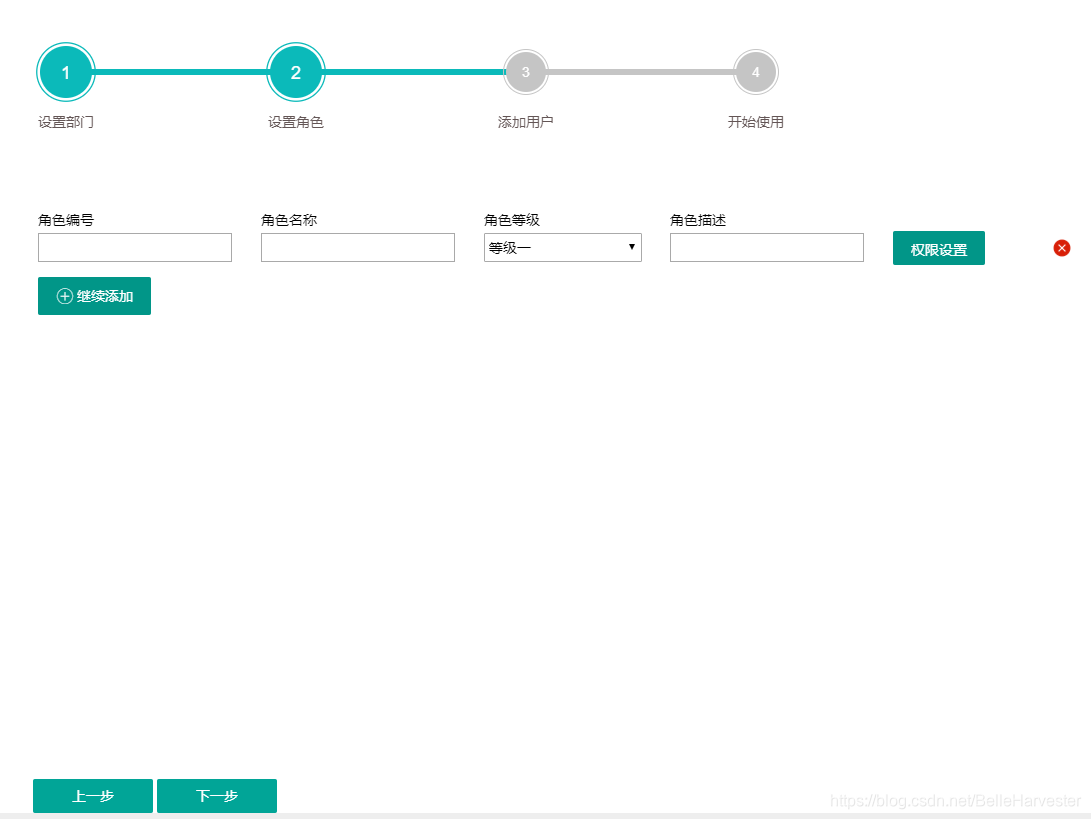
if ($step.getIndex() == 1) {
//进度条索引默认是在第一步,索引是0,索引是1则是第二步,如果点击了下一步进入了进度条的第二步如果有什么逻辑或者要显示什么隐藏什么就可以在这里面编写了
} else if ($step.getIndex() == 2) {
//进度条第三步
} else if ($step.getIndex() == 3) {
//进度条第四步
}
}设置点击上一步按钮
$("#prevBtn").on("click", function () {
    $step.prevStep();
    $index.text($step.getIndex());
    if ($step.getIndex() == 0) {
        //回到第一步
    } else if ($step.getIndex() == 1) {
       //回到第二步
    } else if ($step.getIndex() == 2) {
        //回到第三步
    }
});
这样就完成了第一种进度条的开发了.
成品就这样
==============================================================================================
接下来说一下第二种进度条的做法,我没有参照第一种的方案,我自己按照个人想法去做的,非常愚蠢但又挺易懂的做法.
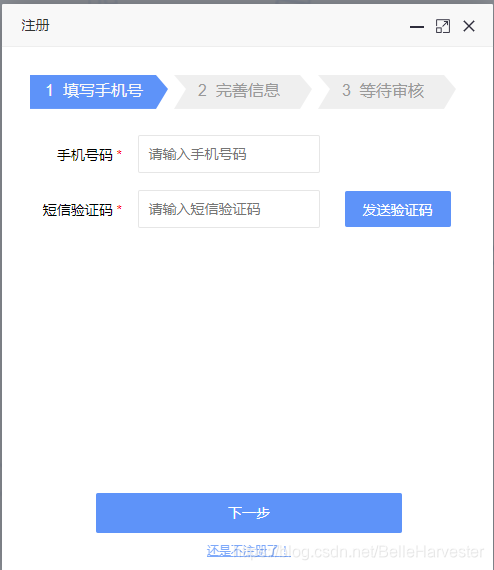
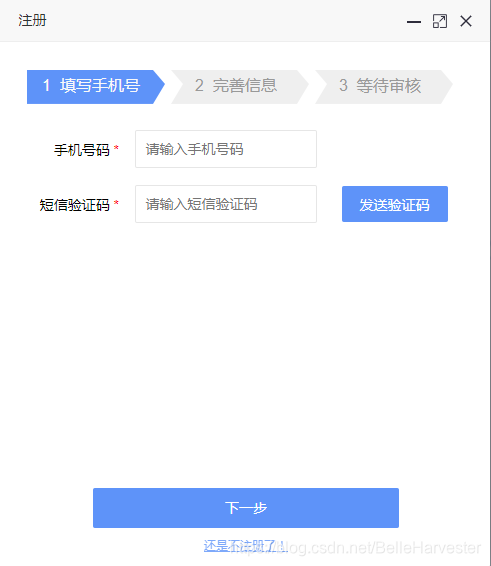
首先,这个第二种进度条,不如说是导航条,跟第一种一样,需要有一个载体,这个导航条只有三步,我这里选择的是table,一行三列.
导航条的箭头是一张图片,ui设计师弄好的,文字在图片的上面,调整位置就可以了.
<table border="0" style="width: 88%;text-align: left;position: relative;margin-left: 19px;margin:0px 0px 0 28px;">
<tr style="height: 50px;">
<td style="width: 140px">
<div style="position:relative;">
<img id="firstImg" style=" width: 138px;height: 34px;margin:0px 0px 0 0px;" src="${basePath1}/springboot/myres/images/bg01.png"/>
<div style="position:absolute;z-indent:2;left:15px;top:0;">
<span style="
width: 71px;height: 14px;font-size: 16px;line-height: 32px;letter-spacing: 0px;color: #f9f9f9;">
1 填写手机号
</span>
</div>
</div>
</td>
<td style="width: 140px">
<div style="position:relative;">
<img id="secondImg" style=" width: 138px;height: 34px;margin:0px 0px 0 0px;" src="${basePath1}/springboot/myres/images/bg02.png"/>
<div style="position:absolute;z-indent:2;left:24px;top:0;">
<span id="secondText" style="
width: 71px;height: 14px;font-size: 16px;line-height: 32px;letter-spacing: 0px;color: #999999;">
2 完善信息
</span>
</div>
</div>
</td>
<td style="width: 140px">
<div style="position:relative;">
<img id="thirdImg" style=" width: 138px;height: 34px;margin:0px 0px 0 0px;" src="${basePath1}/springboot/myres/images/bg02.png"/>
<div style="position:absolute;z-indent:2;left:24px;top:0;">
<span id="thirdText" style="
width: 71px;height: 14px;font-size: 16px;line-height: 32px;letter-spacing: 0px;color: #999999;">
3 等待审核
</span>
</div>
</div>
</td>
</tr>
</table>导航条初始化时默认在第一步,导航条走到哪一步,哪一步的箭头图片颜色和文字就变色
导航条走到第二步,改变第二步的箭头和文字的颜色
$("#secondImg").attr('src','../myres/images/bg03.png');
$("#secondText").css('color','#f9f9f9');
导航条走到第三步,改变第二步的箭头和文字的颜色
$("#thirdImg").attr('src','../myres/images/bg03.png');
$("#thirdText").css('color','#f9f9f9');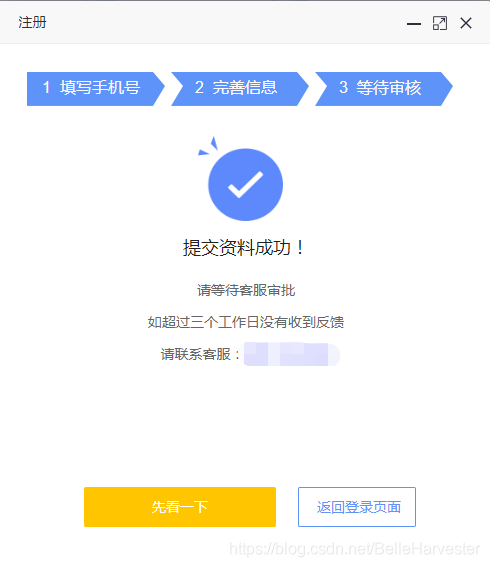
就这样完成了,感觉比第一种方便,更加容易理解,第二种的做法适合步骤少的导航条或进度条,如果步骤很多,第一种是很好的选择.


 5152
5152

 被折叠的 条评论
为什么被折叠?
被折叠的 条评论
为什么被折叠?
 到【灌水乐园】发言


