


一.Spring快速入门
1.创建 Maven 工程
正常创建就可以了
2.添加 SpringBoot的起步依赖
pom.xml
<!--所有的springboot工程都必须继承spring-boot-starter-parent-->
<parent>
    <groupId>org.springframework.boot</groupId>
    <artifactId>spring-boot-starter-parent</artifactId>
    <version>2.2.4.RELEASE</version>
</parent>
<dependencies>
    <!--web功能的依赖-->
    <dependency>
        <groupId>org.springframework.boot</groupId>
        <artifactId>spring-boot-starter-web</artifactId>
    </dependency>
    <!--热部署配置-->
    <dependency>
        <groupId>org.springframework.boot</groupId>
        <artifactId>spring-boot-devtools</artifactId>
    </dependency>
    <!--@ConfiguaritionProperties的执行器的配置-->
    <dependency>
        <groupId>org.springframework.boot</groupId>
        <artifactId>spring-boot-configuration-processor</artifactId>
        <optional>true</optional>
    </dependency>
</dependencies>
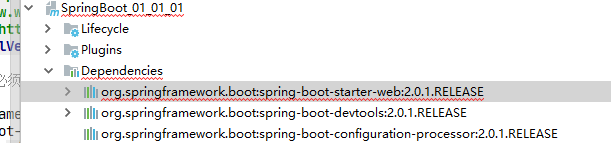
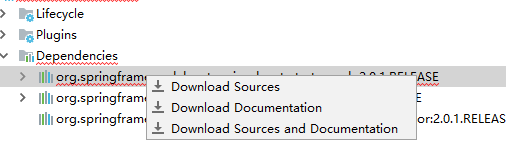
注意:在使用老版本 SpringBoot 时可能出现了坐标无法导入的情况。
会导致
Process finished with exit code 0
"C:\Program Files\Java\jdk-10.0.2\bin\java.exe" -XX:TieredStopAtLevel=1 -noverify -Dspring.output.ansi.enabled=always -Dcom.sun.management.jmxremote -Dcom.sun.management.jmxremote.port=9678 -Dcom.sun.management.jmxremote.authenticate=false -Dcom.sun.management.jmxremote.ssl=false -Djava.rmi.server.hostname=localhost -Dspring.liveBeansView.mbeanDomain -Dspring.application.admin.enabled=true "-javaagent:C:\Program Files\JetBrains\IntelliJ IDEA 2018.2.3\lib\idea_rt.jar=9679:C:\Program Files\JetBrains\IntelliJ IDEA 2018.2.3\bin" -Dfile.encoding=UTF-8 -classpath F:\java\SpringBoot_01_01_01\target\classes;C:\Users\lx136\.m2\repository\org\springframework\boot\spring-boot-starter-web\2.0.1.RELEASE\spring-boot-starter-web-2.0.1.RELEASE.jar;C:\Use 最低0.47元/天 解锁文章


 664
664


 被折叠的 条评论
为什么被折叠?
被折叠的 条评论
为什么被折叠?
 到【灌水乐园】发言


