


用具
数据线*1 x 1
WS2812B RGB LED x 1
Arduino Nano x 1
MH-Z19C x 1
USB Cable x 1
0.96 inch OLED Screen x 1
杜邦线若干
连线
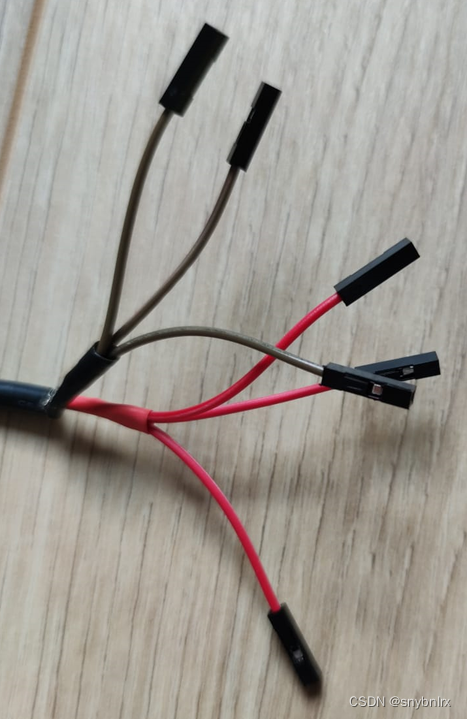
传感器和OLED需要自己的电源,因为Arduino的电源不够,我们可以用USB线和焊接杜邦线来分割正负线
Oled
Display SDA -> Arduino A4
Display SCK -> Arduino A5
Display GND -> GND-USB-Cable
Display VCC -> VCC USB-Cable
Sensor
Sensor PWM -> Arduino D7
Sensor GND -> GND-USB-Cable
Sensor Vin -> VCC USB-Cable
Arduino
Arduino Vin -> VCC-USB-Cable
Arduino GND -> GND-USB-Cable
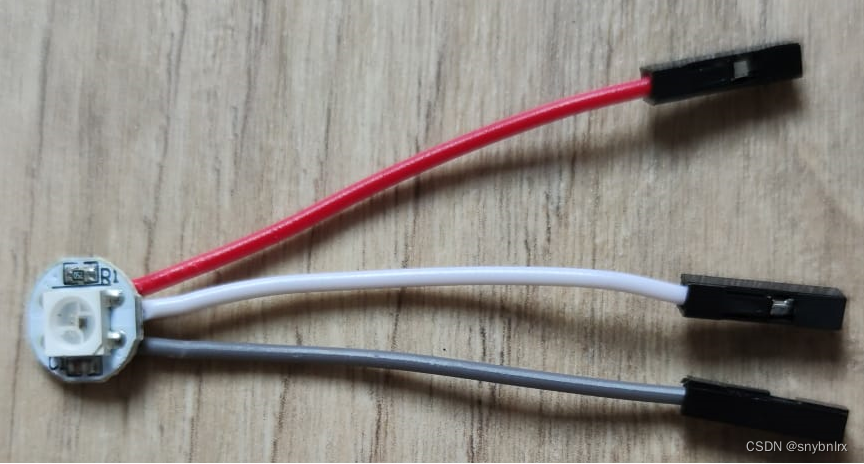
RGB LED
WS2812B RGB LED data PIN -> Arduino D8
代码烧录
#include <SPI.h>
#include <Wire.h>
#include <Adafruit_GFX.h>
#include <Adafruit_SSD1306.h>
#include <Adafruit_NeoPixel.h>
#define PIXEL_PIN 8 // RGB LED.
#define PIXEL_COUNT 1
#define SCREEN_WIDTH 128
#define SCREEN_HEIGHT 64
#define brightness 50
Adafruit_SSD1306 display(SCREEN_WIDTH, SCREEN_HEIGHT, &Wire, -1);
Adafruit_NeoPixel strip = Adafruit_NeoPixel(PIXEL_COUNT, PIXEL_PIN, NEO_GRB + NEO_KHZ800);
const int pwmpin = 7;
const int range = 5000;
uint32_t color = 0;
void setup() {
pinMode(pwmpin, INPUT);
Serial.begin(9600);
display.clearDisplay();
display.begin(SSD1306_SWITCHCAPVCC, 0x3C); // initialize with the I2C addr 0x3C (for the 128x64)
display.clearDisplay();
display.setCursor(5, 30);
display.setTextColor(WHITE);
display.setTextSize(2);
//display.write(24) ;
display.println("Heating...");
display.display();
//delay(180000);
}
void loop() {
int ppm_pwm = readCO2PWM();
String IAQ = calc_IAQ(ppm_pwm);
display.clearDisplay();
display.setCursor(0, 0);
display.setTextSize(2);
display.println("CO");
display.setCursor(23, 8);
display.setTextSize(1);
display.println("2");
display.setTextSize(2);
display.setCursor(32, 0);
// display.println(" Reading");
display.setCursor(0, 20);
display.setTextSize(3);
display.print(ppm_pwm);
display.setTextSize(2);
display.print(" ");
display.print("ppm");
display.setCursor(0, 50);
display.setTextSize(2);
display.print(IAQ);
display.display();
Serial.print("PPM PWM: ");
Serial.println(ppm_pwm);
int temp = 150 - (150 * ppm_pwm / 1800); // CO2 to Color
if (temp < 0)temp += 256;
int x=100;
color = Wheel(temp, brightness , brightness , brightness ); // Set the color and brightness
strip.begin(); // initialise the RGB led
strip.setPixelColor(0, color);
strip.show(); // send the data to the RGB LED
delay(1000);
}
int readCO2PWM() {
unsigned long th;
int ppm_pwm = 0;
float pulsepercent;
do {
th = pulseIn(pwmpin, HIGH, 1004000) / 1000;
float pulsepercent = th / 1004.0;
ppm_pwm = range * pulsepercent;
} while (th == 0);
return ppm_pwm;
}
uint32_t Wheel(byte value, byte Rdimm, byte Gdimm, byte Bdimm)
{
uint16_t Phase, Blue, Green, Red, Level;
Phase = value / 21;
Level = value % 21;
switch ( Phase )
{
case 0: //red >1548
{
Red = 255;
Green = 0;
Blue = 0;
}
break;
case 1: //orange > 1296
{
Red = 255;
Green = 55;
Blue = 0;
}
break;
case 2: //yellow > 1044
{
Red = 255;
Green = 255;
Blue = 0;
}
break;
case 3: //gelbgrün >792
{
Red = 187;
Green = 255;
Blue = 0;
}
break;
case 4: //green >540
{
Red = 0;
Green = 255;
Blue = 0;
}
break;
case 5: //blue >288
{
Red = 0;
Green = 0;
Blue = 255;
}
break;
default:
Red = Blue = 255; Green =0; // red
}
return strip.Color(Red * Rdimm / 100, Green * Gdimm / 100, Blue * Bdimm / 100);
}
String calc_IAQ(int ppm_pwm) {
String IAQ;
if (ppm_pwm > 1500) IAQ += "Hazardous";
else if (ppm_pwm >= 1250 && ppm_pwm <= 1500) IAQ += "Unhealthy";
else if (ppm_pwm > 950 && ppm_pwm <= 1250) IAQ += "Moderate";
else if (ppm_pwm > 650 && ppm_pwm <= 950) IAQ += "Good";
else if (ppm_pwm > 400 && ppm_pwm <= 650) IAQ += "Excellent";
return IAQ;
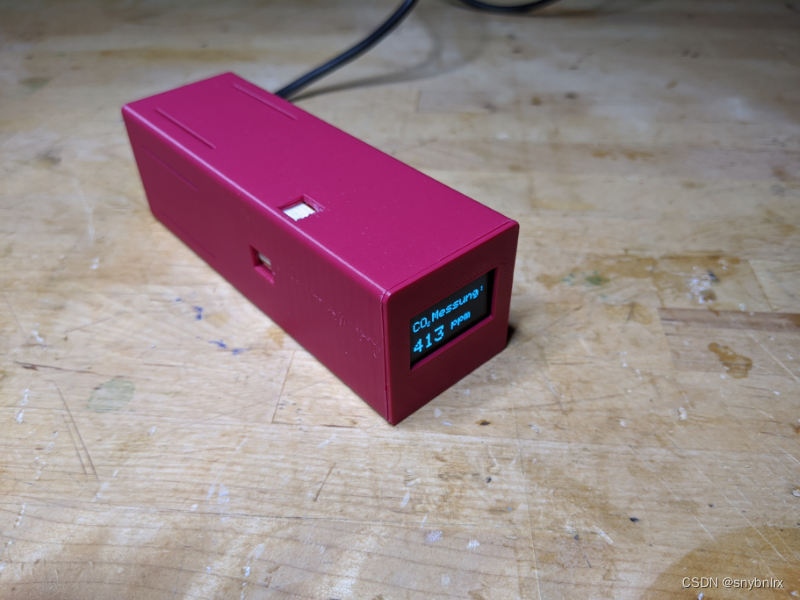
}打印外壳
Carbondioxid CO2 Sensor by ddesignmedia - Thingiverse
它最初是为MH-Z19B设计的,但它也适用MH-Z19C
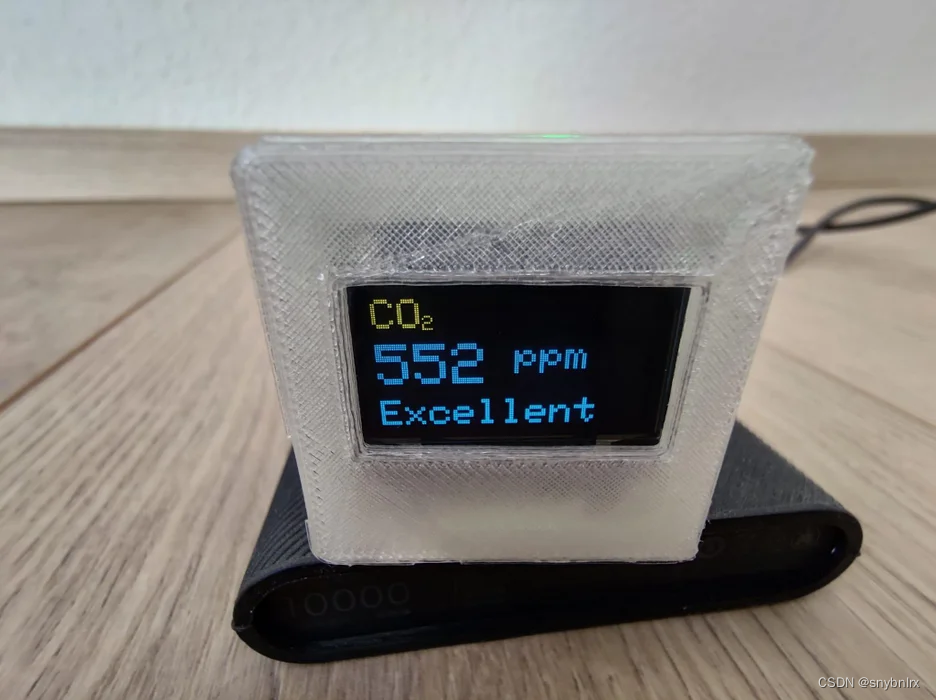
成品展示
转载:
OLED RGB CO2 Monitor : 9 Steps (with Pictures) - Instructables


 892
892

 被折叠的 条评论
为什么被折叠?
被折叠的 条评论
为什么被折叠?
 到【灌水乐园】发言


