


一、文件上传
首先要导入两个包:
- commons-fileupload-1.3.1.jar
- commons-io-2.2.jar
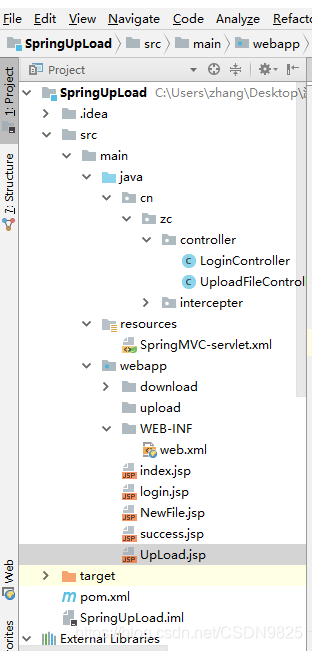
在webapp文件夹下创建upload和down包,文件位置如下图:
在SpringMVC-servlet.xml文件中:
<?xml version="1.0" encoding="UTF-8"?>
<beans xmlns="http://www.springframework.org/schema/beans"
       xmlns:xsi="http://www.w3.org/2001/XMLSchema-instance"
       xmlns:context="http://www.springframework.org/schema/context"
       xmlns:mvc="http://www.springframework.org/schema/mvc"

       xsi:schemaLocation="http://www.springframework.org/schema/beans
       http://www.springframework.org/schema/beans/spring-beans.xsd

        http://www.springframework.org/schema/context
        http://www.springframework.org/schema/context/spring-context.xsd
         http://www.springframework.org/schema/mvc
        http://www.springframework.org/schema/mvc/spring-mvc.xsd
        http://www.springframework.org/schema/cache
        http://www.springframework.org/schema/cache/spring-cache.xsd">

<!--自动扫描上下文包-->
<context:component-scan base-package="cn.zc.*"></context:component-scan>
    <!--使注释生效-->
<mvc:annotation-driven></mvc:annotation-driven>
<mvc:default-servlet-handler></mvc:default-servlet-handler>

<!--视图解析器-->
<bean id="internalResourceViewResolver" class="org.springframework.web.servlet.view.InternalResourceViewResolver">
    <property name="prefix" value="/"></property>
    <property name="suffix" value=".jsp"></property>
</bean>

    <!--设置文件上传的编码格式和文件最大值-->
<bean id="multipartResolver" class="org.springframework.web.multipart.commons.CommonsMultipartResolver">
    <property name="defaultEncoding" value="UTF-8"></property>
    <property name="maxUploadSize" value="10000000"></property>
</bean>


</beans>
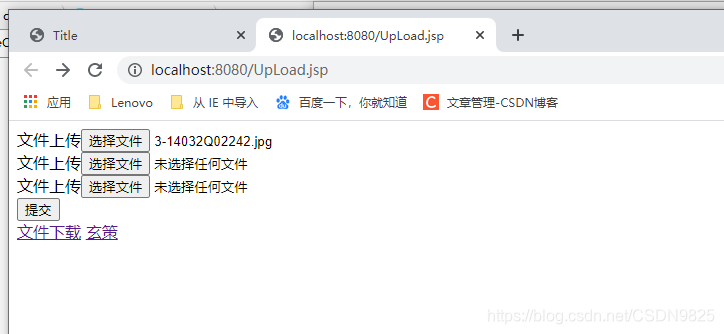
在Upload.jsp页面中添加前端页面展示:
<%@ page contentType="text/html;charset=UTF-8" language="java" %>
<html>
<body>
<%--enctype="multipart/form-data" 表示文件的数据传输以流的形式传输--%>
<form action="/upload" method="post" enctype="multipart/form-data">
    文件上传<input name="file" type="file"><br>
    文件上传<input name="file" type="file"><br>
    文件上传<input name="file" type="file"><br>
    <input type="submit" value="提交"><br>
</form>
</body>
</html>
书写一个成功页面:
<%@ page contentType="text/html;charset=UTF-8" language="java" %>
<html>
<head>
    <title>Title</title>
</head>
<body>
<h3>文件上传成功</h3>
</body>
</html>
在controller层下的UploadController中:
@Controller
public class UploadFileController {

        @RequestMapping("/upload")
    public String uploadfile(MultipartFile file[], HttpServletRequest request) throws IOException {
            for (int i = 0; i < file.length; i++) {
                //上传路径
                String path = request.getServletContext().getRealPath("/upload/");
                //获得上传文件名
                String name = file[i].getOriginalFilename();
                //修改名字,防止多人上传导致重名
                String newname = name+new Date().getTime()+new Random().nextInt(999999);
                File file1 = new File(path + newname);
                file[i].transferTo(file1);
            }
        return "success";
    }
}
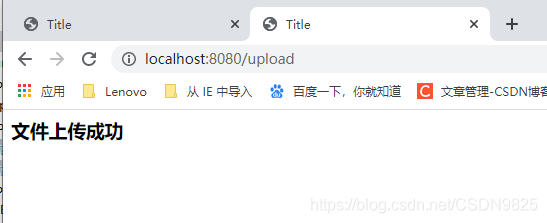
运行一下:

成功:
我们需要在tomcat的安装目录Tomcat\apache-tomcat-8.5.32\webapps\ROOT下的upload文件包内查看我们上传的文件。
二、文件下载
文件下载与上传的形式类似,想下载的文件一般放在download文件夹中
在前端页面from表单中添加:
    <%--文档下载可以直接使用a标签--%>
    <a href="download/学员月考机试.doc">文件下载</a>
    <%--图片下载 直接使用a标签将会变成查看--%>
    <%--<a href="download/玄策.jfif">玄策</a>--%>
    <a href="download?fileName=玄策.jfif">玄策</a>
在控制层controller中:
  @RequestMapping("/download")
    public ResponseEntity<byte[]> download(@RequestParam("fileName") String fileName,HttpServletRequest request) throws IOException {

            //获得下载的路径
        String path = request.getServletContext().getRealPath("/download/");
        File file = new File(path + fileName);
        //转格式
        String newName = new String(fileName.getBytes("UTF-8"), "iso-8859-1");
        //转流
        HttpHeaders hh = new HttpHeaders();
        hh.setContentDispositionFormData("attachment",newName);
        hh.setContentType(MediaType.APPLICATION_OCTET_STREAM);
        return new ResponseEntity<byte[]>(FileUtils.readFileToByteArray(file),hh, HttpStatus.CREATED);
    }
运行:
点击下载:
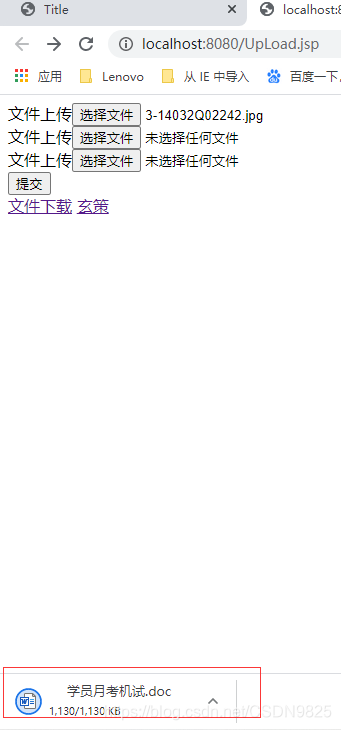
成功。


 被折叠的 条评论
为什么被折叠?
被折叠的 条评论
为什么被折叠?
 到【灌水乐园】发言


