


1首先获取证书,我这边获取的是自签名证书
openssl genrsa -out aaaa.key 2048 (aaaa自己设置的证书名)
openssl req -new key aaaa.key -out aaaa.csr
在敲下回车键后,默认会进入交互模式让你提供你个人的信息,需要注意的是,如果某些信息不想填可以选择使用默认值,也可以选择留空不填,直接回车将选择使用默认值,输入点"."将表示该信息项留空。
openssl x509 -req -days 3650 -in aaaa.csr -signkey aaaa.key -out aaaa.crt
这样自签名证书就获取完毕了,然后修改apache配置文件(apache2.4版本的安装,我之前已经写过了,有需要的可以去查看一下)
我这边apache安装在https2.4目录下,所有在该目录点,进入conf下,编辑httpd.conf
vim /https2.4/conf/httpd.conf
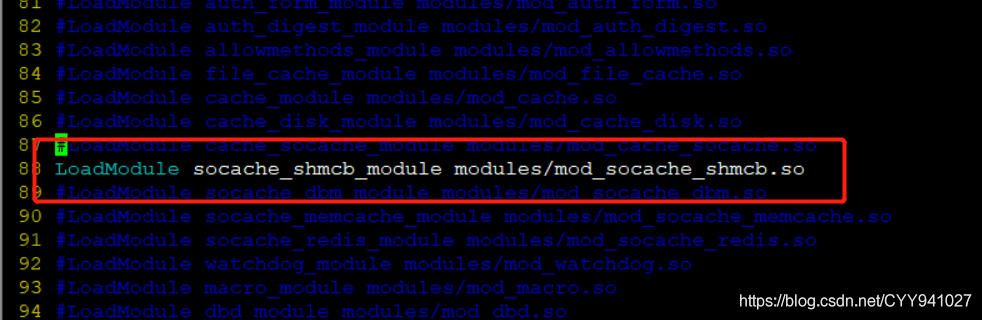
删除下面行首的配置语句注释符号“#”,大概在88行
#LoadModule socache_shmcb_module modules/mod_socache_shmcb.so
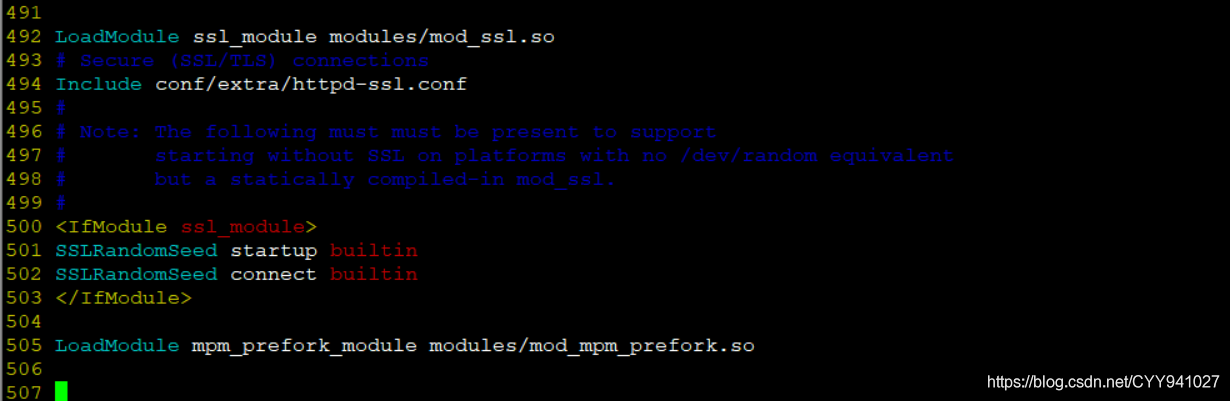
然后下拉到最下面,删除下面行首的配置语句注释符号“#”,保存后退出
#LoadModule ssl_module modules/mod_ssl.so (如果找不到请确认,直接手动添加)
#Include conf/extra/httpd-ssl.conf
然后修改/https2.4/conf/extra/httpd-ssl.conf 文件,我将VirtualHost 的内容复制出来了
vim /https2.4/conf/extra/httpd-ssl.conf
<VirtualHost *:443>
# 访问服务器内的路径
DocumentRoot "/test/"
ServerName www.example.com:443
ServerAdmin you@example.com
ErrorLog "/httpd2.4/logs/error_log"
TransferLog "/httpd2.4/logs/access_log"
SSLEngine on
# 证书公钥配置
SSLCertificateFile "/root/aaaa.crt"
# 证书私钥配置
SSLCertificateKeyFile "/root/aaaa.key"
# 证书链配置,我这是自签名证书,我这边不需要所以不用注掉
#SSLCertificateChainFile "/httpd2.4/conf/server-ca.crt"
<FilesMatch "\.(cgi|shtml|phtml|php)$">
    SSLOptions +StdEnvVars
</FilesMatch>
<Directory "/httpd2.4/cgi-bin">
    SSLOptions +StdEnvVars
</Directory>
BrowserMatch "MSIE [2-5]" \
         nokeepalive ssl-unclean-shutdown \
         downgrade-1.0 force-response-1.0
CustomLog "/httpd2.4/logs/ssl_request_log" \
          "%t %h %{SSL_PROTOCOL}x %{SSL_CIPHER}x \"%r\" %b"
</VirtualHost>
修改完后保存,退出
记得开启443端口
在test目录下放置aaaaa.jpd图片,然后访问
http://ip/aaaaa.jpg


 5427
5427


 被折叠的 条评论
为什么被折叠?
被折叠的 条评论
为什么被折叠?
 到【灌水乐园】发言


