


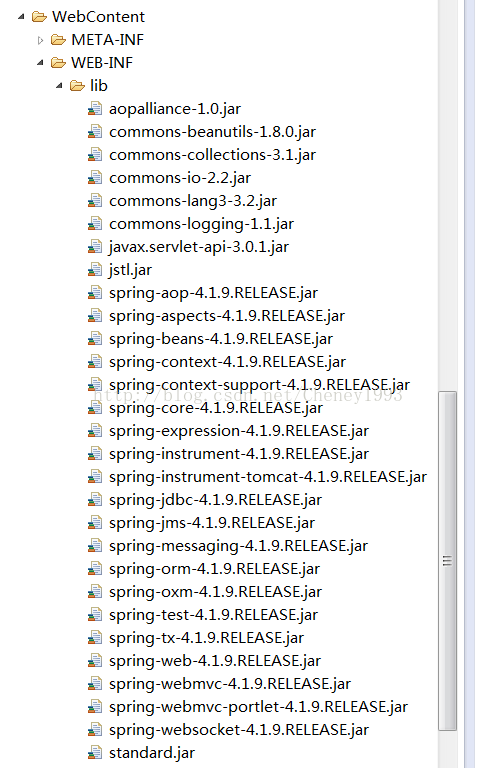
项目整体目录简图:

用到的一些jar:
1、首先配置web.xml:
<?xml version="1.0" encoding="UTF-8"?>
<web-app xmlns:xsi="http://www.w3.org/2001/XMLSchema-instance"
xmlns="http://java.sun.com/xml/ns/javaee"
xsi:schemaLocation="http://java.sun.com/xml/ns/javaee http://java.sun.com/xml/ns/javaee/web-app_2_5.xsd"
id="WebApp_ID" version="2.5">
  <display-name>spring mvc</display-name>
  <welcome-file-list>
  <welcome-file>index.jsp</welcome-file>
    <welcome-file>index.html</welcome-file>
    <welcome-file>default.html</welcome-file>
  </welcome-file-list>

  <servlet>
    <servlet-name>springmvc</servlet-name>
    <servlet-class>org.springframework.web.servlet.DispatcherServlet</servlet-class>
    <init-param>
            <param-name>contextConfigLocation</param-name>
            <param-value>classpath*:config/mvc-control.xml</param-value>
            <!--举个简单的例子,在我的web.xml中是这么定义的:classpath*:META-INF/spring/application-context.xml 那么在META-INF/spring这个文件夹底下的所有application-context.xml都会被加载到上下文中,这些包括META-INF/spring文件夹底下的 application-context.xml,
            META-INF/spring的子文件夹的application-context.xml以及jar中的application-context.xml。如果我在web.xml中定义的是:classpath:META-INF/spring/application-context.xml那么只有META-INF/spring底下的application-context.xml会被加载到上下文中。  -->
    </init-param>
    <load-on-startup>1</load-on-startup>
  </servlet>
  <servlet-mapping>
    <servlet-name>springmvc</servlet-name>
    <url-pattern>/</url-pattern>
  </servlet-mapping>

  <listener>
    <listener-class>org.springframework.web.context.ContextLoaderListener</listener-class>
  </listener>
   <context-param>
    <param-name>contextConfigLocation</param-name>
    <param-value>
        classpath*:config/mvc-control.xml,
        classpath*:config/applicationContext.xml
    </param-value>
  </context-param>

  <listener>
    <listener-class>org.springframework.web.context.ContextCleanupListener</listener-class>
  </listener>

  <filter>
    <filter-name>CharacterEncodingFilter</filter-name>
    <filter-class>org.springframework.web.filter.CharacterEncodingFilter</filter-class>
    <init-param>
        <param-name>encoding</param-name>
        <param-value>utf-8</param-value>
    </init-param>
  </filter>
  <filter-mapping>
    <filter-name>CharacterEncodingFilter</filter-name>
    <url-pattern>/*</url-pattern>
  </filter-mapping>
</web-app>2、配置config/mvc-control.xml:
<?xml version="1.0" encoding="UTF-8"?>
<beans xmlns="http://www.springframework.org/schema/beans"
    xmlns:context="http://www.springframework.org/schema/context"
    xmlns:mvc="http://www.springframework.org/schema/mvc" xmlns:xsi="http://www.w3.org/2001/XMLSchema-instance"
    xsi:schemaLocation="
        http://www.springframework.org/schema/beans
        http://www.springframework.org/schema/beans/spring-beans-4.1.xsd
        http://www.springframework.org/schema/context
        http://www.springframework.org/schema/context/spring-context-4.1.xsd
        http://www.springframework.org/schema/mvc
        http://www.springframework.org/schema/mvc/spring-mvc-4.1.xsd">

    <!-- 自动扫描该包,使SpringMVC认为包下用了@controller注解的类是控制器 -->
    <!-- 此处不需修改 -->
    <context:component-scan base-package="com.axb.cheney.controller" />
    <mvc:annotation-driven />

    <!--Spring3.1开始的注解 HandlerMapping -->
    <bean class="org.springframework.web.servlet.mvc.method.annotation.RequestMappingHandlerMapping"/>
    <!--Spring3.1开始的注解 HandlerAdapter -->
    <bean class="org.springframework.web.servlet.mvc.method.annotation.RequestMappingHandlerAdapter"/>

    <bean class="org.springframework.web.servlet.view.InternalResourceViewResolver">
        <property name="viewClass" value="org.springframework.web.servlet.view.JstlView"/>
        <property name="prefix">
            <value>/WEB-INF/pages/</value>
        </property>
        <property name="suffix">
            <value>.jsp</value>
        </property>
    </bean>
</beans>3、配置config/applicationContext.xml:(里面一开始是没有什么配置的,只是为了后面的定时任务服务的)
<?xml version="1.0" encoding="UTF-8"?>
<beans xmlns="http://www.springframework.org/schema/beans"
    xmlns:xsi="http://www.w3.org/2001/XMLSchema-instance" xmlns:context="http://www.springframework.org/schema/context"
    xmlns:tx="http://www.springframework.org/schema/tx" xmlns:task="http://www.springframework.org/schema/task"
    xmlns:aop="http://www.springframework.org/schema/aop"
    xsi:schemaLocation="http://www.springframework.org/schema/beans
    http://www.springframework.org/schema/beans/spring-beans-4.1.xsd
    http://www.springframework.org/schema/context
    http://www.springframework.org/schema/context/spring-context-4.1.xsd
    http://www.springframework.org/schema/tx
    http://www.springframework.org/schema/tx/spring-tx-4.1.xsd
    http://www.springframework.org/schema/task
    http://www.springframework.org/schema/task/spring-task-4.1.xsd
    http://www.springframework.org/schema/aop
    http://www.springframework.org/schema/aop/spring-aop-4.1.xsd">
</beans>
package com.axb.cheney.controller;
import org.springframework.stereotype.Controller;
import org.springframework.web.bind.annotation.RequestMapping;
import org.springframework.web.servlet.ModelAndView;
@Controller
@RequestMapping("/user") // 或 @RequestMapping ①将一个POJO类声明为处理器 @RequestMapping(value="hello")
public class HelloWorldController {
@RequestMapping("/hello")
public ModelAndView helloWorld() {
//1、收集参数 http://localhost:8085/springmvc_control/user/a/hello
//2、绑定参数到命令对象
//3、调用业务对象
//4、选择下一个页面
ModelAndView mv = new ModelAndView();
//添加模型数据 可以是任意的POJO对象
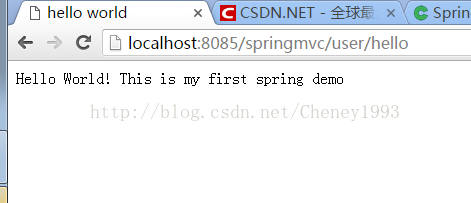
mv.addObject("message", "Hello World! This is my first spring demo");
//设置逻辑视图名,视图解析器会根据该名字解析到具体的视图页面
mv.setViewName("hellotest/hello");
// return new ModelAndView("hellotest/hello","message", "Hello World! This is my first spring demo");
return mv;
}
}
<%@ page language="java" contentType="text/html; charset=UTF-8"
    pageEncoding="UTF-8"%>
<%@ taglib prefix="c" uri="http://java.sun.com/jsp/jstl/core"%>
<!DOCTYPE html PUBLIC "-//W3C//DTD HTML 4.01 Transitional//EN" "http://www.w3.org/TR/html4/loose.dtd">
<html>
<head>
<meta http-equiv="Content-Type" content="text/html; charset=UTF-8" />
<title>article list</title>
</head>
<body>
    ${message}
</body>
</html>
6、 /springmvc/WebContent/index.jsp:
<%@ page language="java" contentType="text/html; charset=UTF-8"
pageEncoding="UTF-8"%>
<%@ taglib prefix="c" uri="http://java.sun.com/jsp/jstl/core"%>
<!DOCTYPE html PUBLIC "-//W3C//DTD HTML 4.01 Transitional//EN" "http://www.w3.org/TR/html4/loose.dtd">
<html>
<head>
<meta http-equiv="Content-Type" content="text/html; charset=UTF-8" />
<title>article list</title>
</head>
<body>
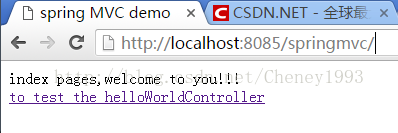
index pages,welcome to you!!!
<div><a href="http://localhost:8085/springmvc/user/hello">to test the helloWorldController</a></div>
</body>
</html>
运行后弹出index.jsp,点击超链接后,实际访问的是:http://localhost:8085/springmvc/user/hello
最终显示结果,至此最简单的demo创建成功,下一节将在此基础上添加注解式的定时任务。


 655
655

 被折叠的 条评论
为什么被折叠?
被折叠的 条评论
为什么被折叠?
 到【灌水乐园】发言


