


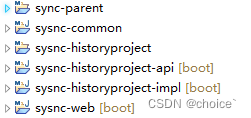
在以往javaweb开发的项目中,会为项目分层开发,一般我们会在一个功能中新建不同的package,然后把不同的类放在不同的package中,比如有api、impl、web、common等等。如下图:
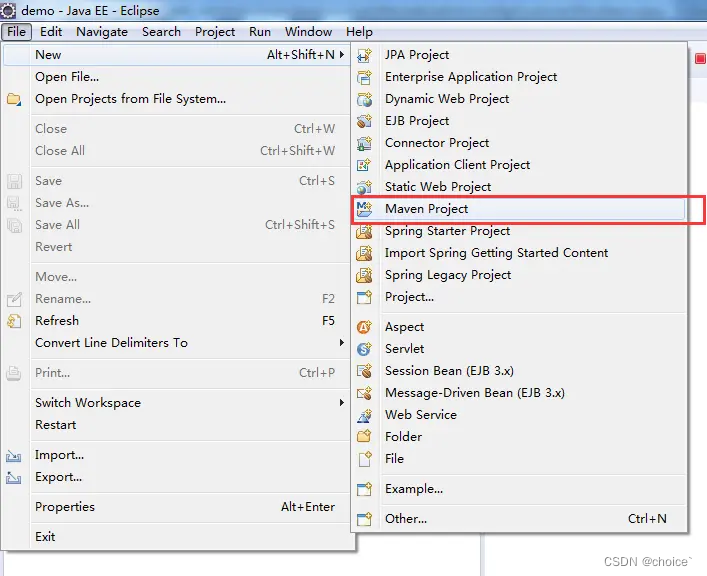
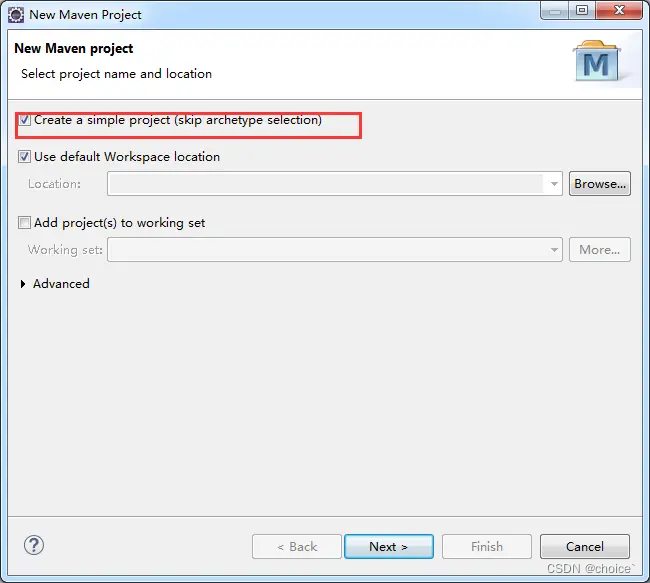
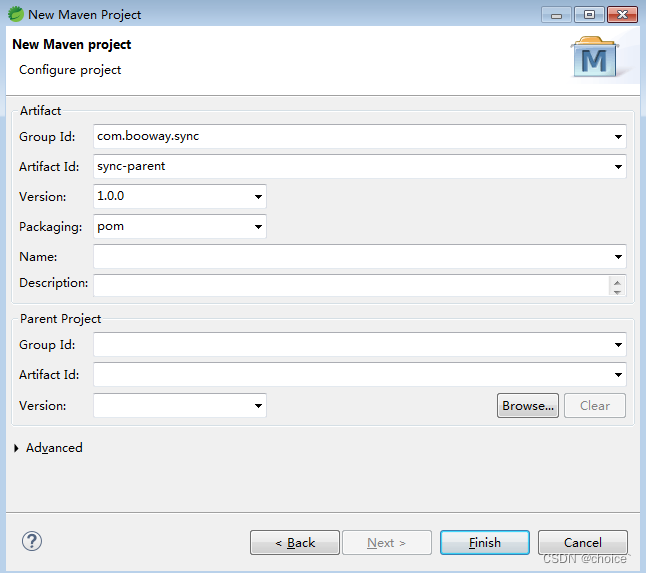
1、建立一个Maven的parent项目
删除掉parent项目的src文件夹

最后生成的父项目如下图:

2、配置parent项目pom文件,使其变成springboot项目,一些公共的依赖可以放在这个项目里面。
   <parent>
        <groupId>org.springframework.boot</groupId>
        <artifactId>spring-boot-starter-parent</artifactId>
        <version>2.5.4</version>
        <relativePath/> <!-- lookup parent from repository -->
    </parent>
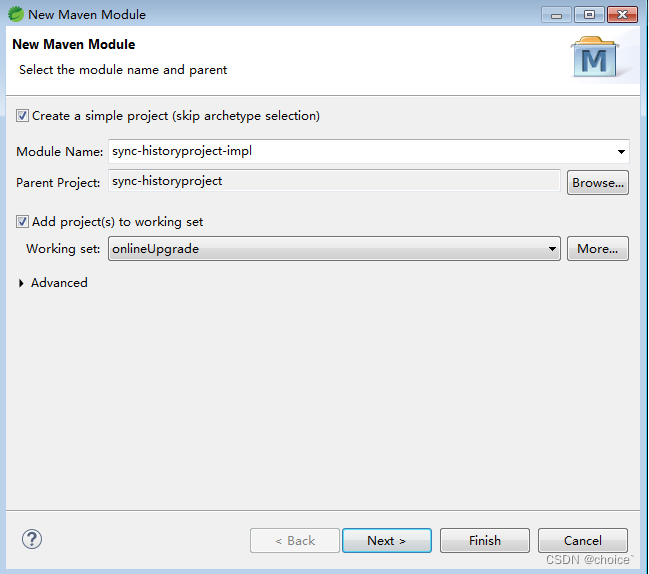
3、新建module子项目,比如为sync项目新建一个web、一个api、一个impl、一个common
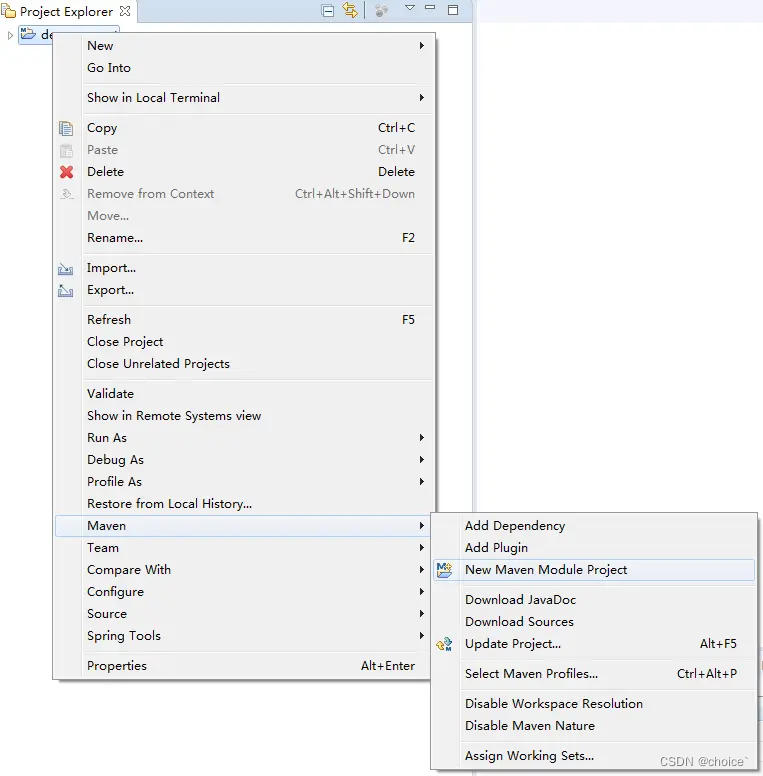
新建web项目,点击next

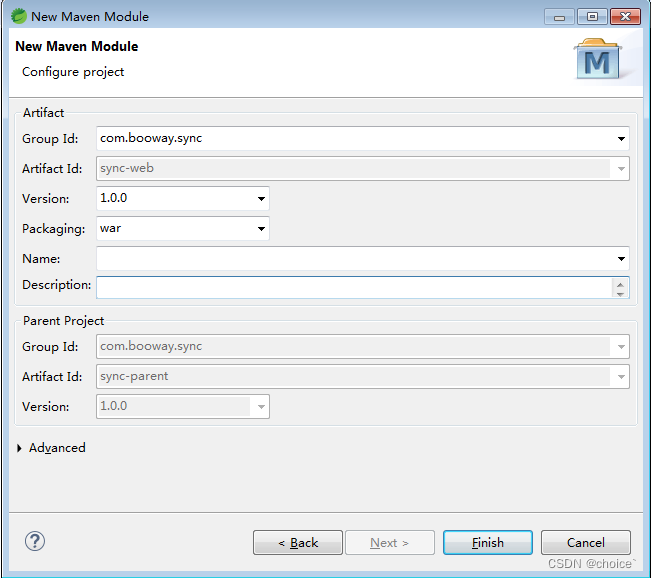
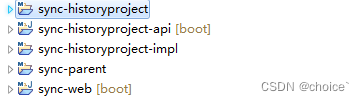
点击finish后,生成如下图结构:

然后在sync-web的pom.xml中添加打包配置
<build>
		<!-- 加载资源文件 -->
		<resources>
			<resource>
				<directory>src/main/java</directory>
				<includes>
					<include>**/*.yml</include>
					<include>**/*.properties</include>
					<include>**/*.xml</include>
				</includes>
				<filtering>false</filtering>
			</resource>
			<resource>
				<directory>src/main/resources</directory>
				<includes>
					<include>**/*.yml</include>
					<include>**/*.properties</include>
					<include>**/*.xml</include>
					<include>**/*.xls</include>
					<include>static/**</include>
				</includes>
				<filtering>false</filtering>
			</resource>
		</resources>
		<finalName>sync</finalName>
		<plugins>
			<!-- jar发布时跳过此模块 -->
			<plugin>
				<groupId>org.apache.maven.plugins</groupId>
				<artifactId>maven-deploy-plugin</artifactId>
				<configuration>
					<skip>true</skip>
				</configuration>
			</plugin>
			<plugin>
				<groupId>org.springframework.boot</groupId>
				<artifactId>spring-boot-maven-plugin</artifactId>
			</plugin>
		</plugins>
	</build>
若sync-web报错则maven-update一下,同时在sync-web的目下新建com.booway.sync的package,并新增下面的.java文件
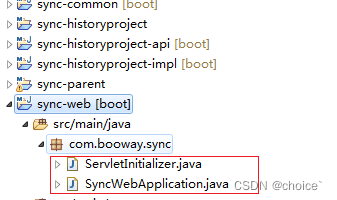
package com.booway.sync;

import org.springframework.boot.SpringApplication;
import org.springframework.boot.autoconfigure.SpringBootApplication;

@SpringBootApplication
public class SyncWebApplication
{

	public static void main(String[] args)
	{
		SpringApplication.run(SyncWebApplication.class, args);
	}
}
package com.booway.sync;

import org.springframework.boot.builder.SpringApplicationBuilder;
import org.springframework.boot.web.servlet.support.SpringBootServletInitializer;

public class ServletInitializer extends SpringBootServletInitializer {

	@Override
	protected SpringApplicationBuilder configure(SpringApplicationBuilder application) {
		return application.sources(SyncWebApplication.class);
	}

}
4、依照web层,接下来生成api层、impl层、common层
生成sync-historyproject的 api 和 impl 模块
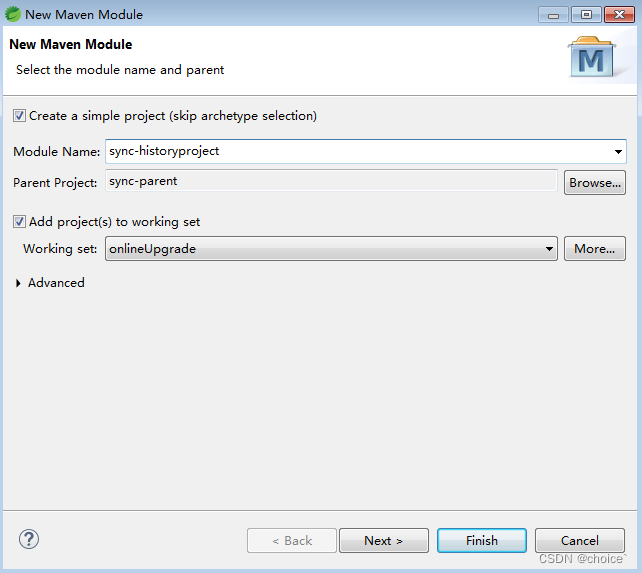
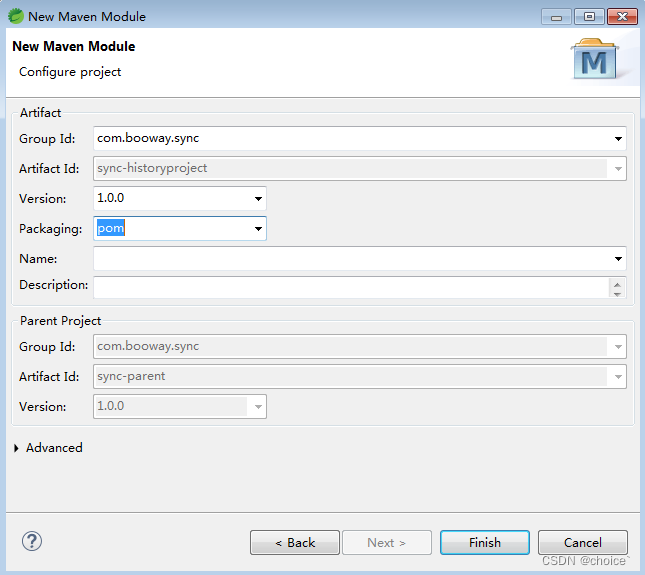

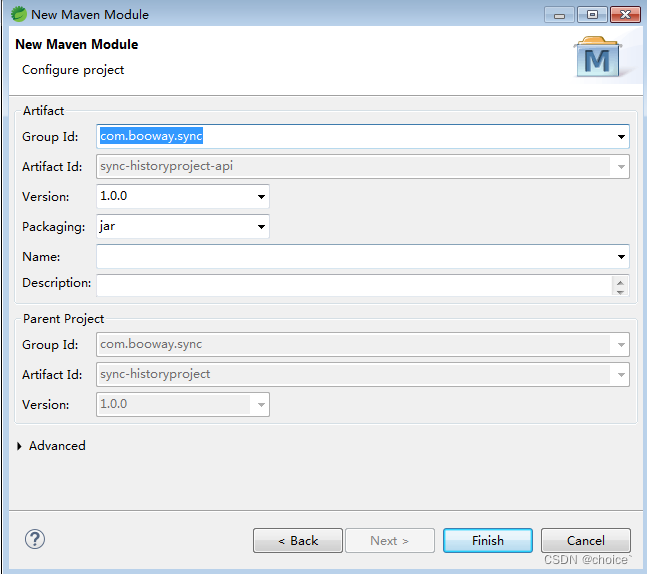
1、生成sync-historyproject-api模块
2、生成sync-historyproject-impl模块

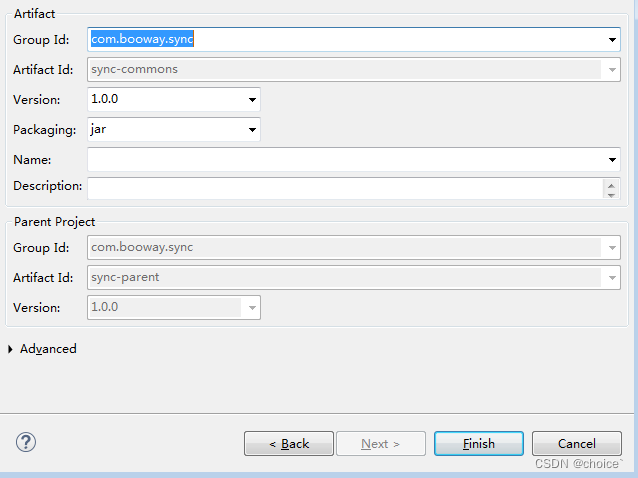
3、生成sync-common模块
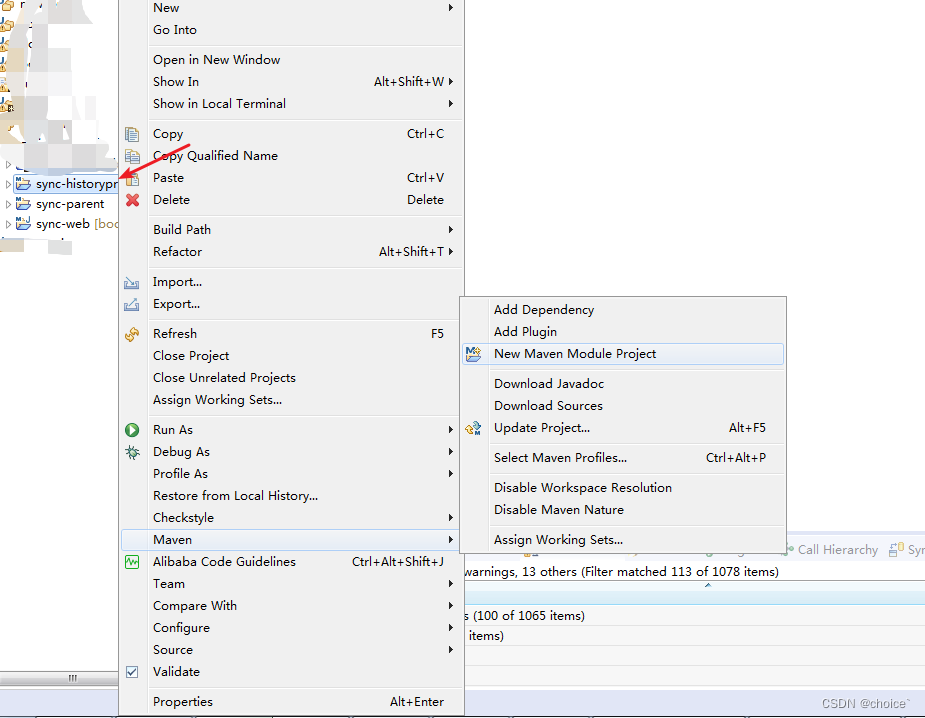
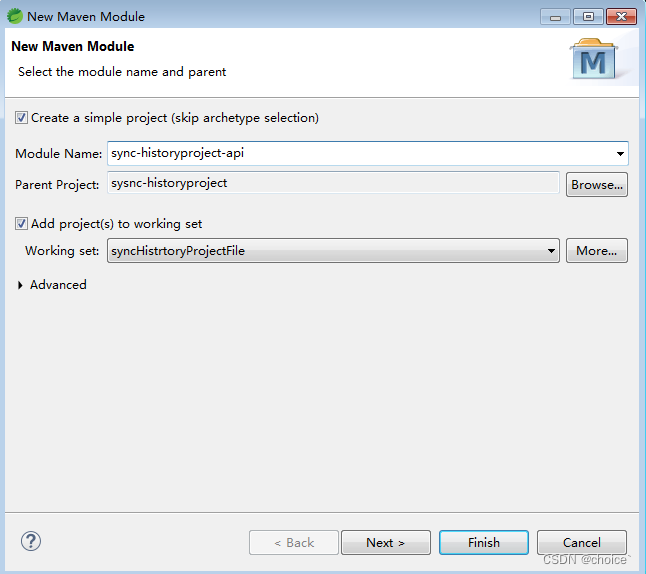
同生成sync-historyproject-api一致,对sync-parent右键Maven ->New Maven Module Project,选择Create a simple project (skip archetype selection),点击Next
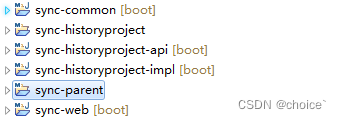
最后生成如下图,即完成一个springboot多模块项目


 596
596


 被折叠的 条评论
为什么被折叠?
被折叠的 条评论
为什么被折叠?
 到【灌水乐园】发言


