


1. 背景
在该实战中,我们将探讨如何使用Docker Compose协同部署Nginx、Java、Mysql和Redis服务,实现一个视频上传与展示的应用。具体需求如下:
- Java应用负责上传视频和图片资源到Nginx目录下,作为资源服务器。
- Nginx服务作为静态资源服务器,通过URL访问已上传的视频和图片资源。
- Java服务通过读取数据卷挂载的
/data/init.properties文件获取服务器的IP地址,用于拼接资源的访问URL。
2. 实现步骤
2.1 配置Java应用读取服务器IP
我们使用Spring的@Profile注解和InitConfig类,读取部署时挂载的/data/init.properties文件,获取服务器IP。
拓展:优化,可以在项目所部署的服务器上,写一个获取服务器IP的脚本(Centos系统Docker获取宿主机IP地址,MAC地址,磁盘序列号和CPU序列号的shell脚本),然后java通过运行该脚本获取服务器IP,如果买了域名,那更好了,直接省掉拼接服务器IP的步骤。
import lombok.Data;
import lombok.extern.slf4j.Slf4j;
import org.springframework.context.annotation.Bean;
import org.springframework.context.annotation.Profile;
import org.springframework.core.io.ClassPathResource;
import org.springframework.stereotype.Component;

import java.io.*;
import java.nio.charset.StandardCharsets;
import java.nio.file.Files;
import java.nio.file.Paths;
import java.util.HashMap;
import java.util.Map;
import java.util.Properties;
import java.util.Set;
@Profile({"pro", "docker"})
@Component
@Data
public class InitConfig {

    private String serverIp;

    @Bean
    public Map<String, String> loadLinuxConfig() {
        Properties prop = new Properties();
        try (InputStream in = new BufferedInputStream(Files.newInputStream(Paths.get("/data/init.properties")))) {
            prop.load(new InputStreamReader(in, StandardCharsets.UTF_8));
        } catch (IOException e) {
            log.error("Failed to load local configuration file InitConfig.properties", e);
        }

        Set<String> keySet = prop.stringPropertyNames();
        Map<String, String> configMap = new HashMap<>();
        for (String key : keySet) {
            String value = prop.getProperty(key);
            log.info("Configuration loaded: key={}, value={}", key, value);
            configMap.put(key, value);
        }

        serverIp = configMap.get("data.serverIp");

        return configMap;
    }
}
2.2编写init.properties文件
data.serverIp该key根据自己需求随意取名。
data.serverIp=192.168.xx.xx
2.3调整Java资源列表展示接口
返回列表给前端的时候,将获取到的服务器IP拼接到资源的Url中。
    @Autowired
    private VideoInfoMapper videoInfoMapper;
    @Autowired
    private InitConfig initConfig;
    /**
     * 获取资源视频列表
     *
     * @return {@link ResponseResult }
     * @param type    视频类型
     * @param search  搜索关键词
     * @author yangz
     */
    @Override
    public ResponseResult<List<VideoInfo>> getVideoList(String type, String search) {
        List<VideoInfo> videoList = videoInfoMapper.selectByTypeAndSearch(type, search);
        for (VideoInfo videoInfo : videoList) {
            // 构建相对路径
            String relativePath = videoInfo.getFileName();
            // 构建完整的 URL,拼接 Nginx 的部署路径
            videoInfo.setUrl( "http://"+initConfig.getServerIp()+":yourPort/static/" + relativePath);
            // 同样处理 imageUrl
            String relativeImagePath = videoInfo.getImageName();
            videoInfo.setImageUrl("http://"+initConfig.getServerIp()+":yourPort/static/" + relativeImagePath);
        }
        return new ResponseResult<>(videoList);
    }
2.4 编写Docker Compose 文件
这里volumes_from属性将Nginx容器的数据卷挂载到Java容器中,实现了两个容器之间数据卷的共享。
这是因为Nginx容器中的/usr/share/nginx/static目录包含了Java上传的静态资源,而volumes_from确保了Java容器可以访问这个目录。这样,Nginx就能够正确地服务Java上传的资源了。
version: '3'
services:
  # Nginx
  nginx:
    image: nginx:1.22.0
    container_name: nginx_education
    restart: always
    ports:
      - "yourPort:8868"
      - "83:80"
    volumes:
      - ./nginx/html:/usr/share/nginx/html
      - ./nginx/static:/usr/share/nginx/static
      - ./nginx/nginx.conf:/etc/nginx/nginx.conf
    privileged: true

  # MySQL
  mysql:
    image: mysql:5.7
    ports:
      - "yourPort:3306"
    container_name: mysql_education
    restart: always
    environment:
      MYSQL_ROOT_PASSWORD: yourPassword
    volumes:
      - ./mysql:/var/lib/mysql
      - ./init/:/docker-entrypoint-initdb.d/

  # Redis
  redis:
    image: redis:5.0.3
    container_name: redis_education
    command: "/usr/local/bin/redis-server /usr/local/etc/redis/redis.conf --appendonly yes"
    restart: always
    ports:
      - "yourPort:6379"
    volumes:
      - ./redis:/data
      - ./redis.conf:/usr/local/etc/redis/redis.conf
      - ./logs/redis:/logs

  # Java
  java:
    image: java:8
    container_name: education
    ports:
      - "yourPort:jarPort"
    environment:
      - TZ=Asia/Shanghai
      - LANG=en_US.UTF-8
    volumes:
      # 映射Java应用程序jar文件
      - ./xxx-education-xxx-0.0.1-SNAPSHOT.jar:/data/xxx-education-xxx-0.0.1-SNAPSHOT.jar
      # 映射Java应用程序的初始化配置文件
      - ./init/init.properties:/data/init.properties
      # 映射Java应用程序的日志目录
      - ./logs:/logs
    # 使用volumes_from属性,挂载Nginx容器的数据卷到Java容器
    volumes_from:
      - nginx
    # Java应用程序的入口命令
    entrypoint: nohup java -jar /data/xxx-education-xxx-0.0.1-SNAPSHOT.jar --spring.profiles.active=docker > nohup.out &
    depends_on:
      - redis
      - mysql
    restart: on-failure
networks:
  default:
    external:
      name: my-education
2.5 Nginx配置
在Nginx的配置中,我们配置了/static/路径的访问规则,通过rewrite ^/(.+)/$ /$1 permanent;将URI结尾的斜杠去掉,并使用alias指定静态资源的路径。
注意:172.17.0.1是Docker在部署docker-compose时创建的默认网关地址。在容器网络中,这个地址充当了容器之间直接通信的网关。通过配置Nginx时使用这个地址,使得即使服务器IP变化,也不需要修改Nginx的代理配置。这样一来,容器之间的通信可以通过网关地址和端口进行,实现了更加灵活和方便的部署方式。
server {
    listen yourPort;

    location / {
        root   /usr/share/nginx/html/dist;
        index  index.html index.htm;
        try_files  $uri $uri/ /index.html;
    }

    # 配置静态资源访问的路径
    location /static/ {
        rewrite ^/(.+)/$ /$1 permanent;
        alias /usr/share/nginx/static/;
    }

    location /prod-api/ {
        client_max_body_size 1000m;
        proxy_pass http://172.17.0.1:jarPort/;
        proxy_set_header  Host   $host;
        proxy_set_header  X-Real-IP   $remote_addr;
        proxy_set_header  X-Forwarded-For $remote_addr;
    }

    error_page   500 502 503 504  /50x.html;
    location = /50x.html {
        root   /usr/share/nginx/html;
    }
}
3. 部署与访问
-
使用
docker-compose up -d命令启动所有服务。 -
访问Java容器中的日志文件,查看Java应用启动时是否正确加载了服务器IP。
-
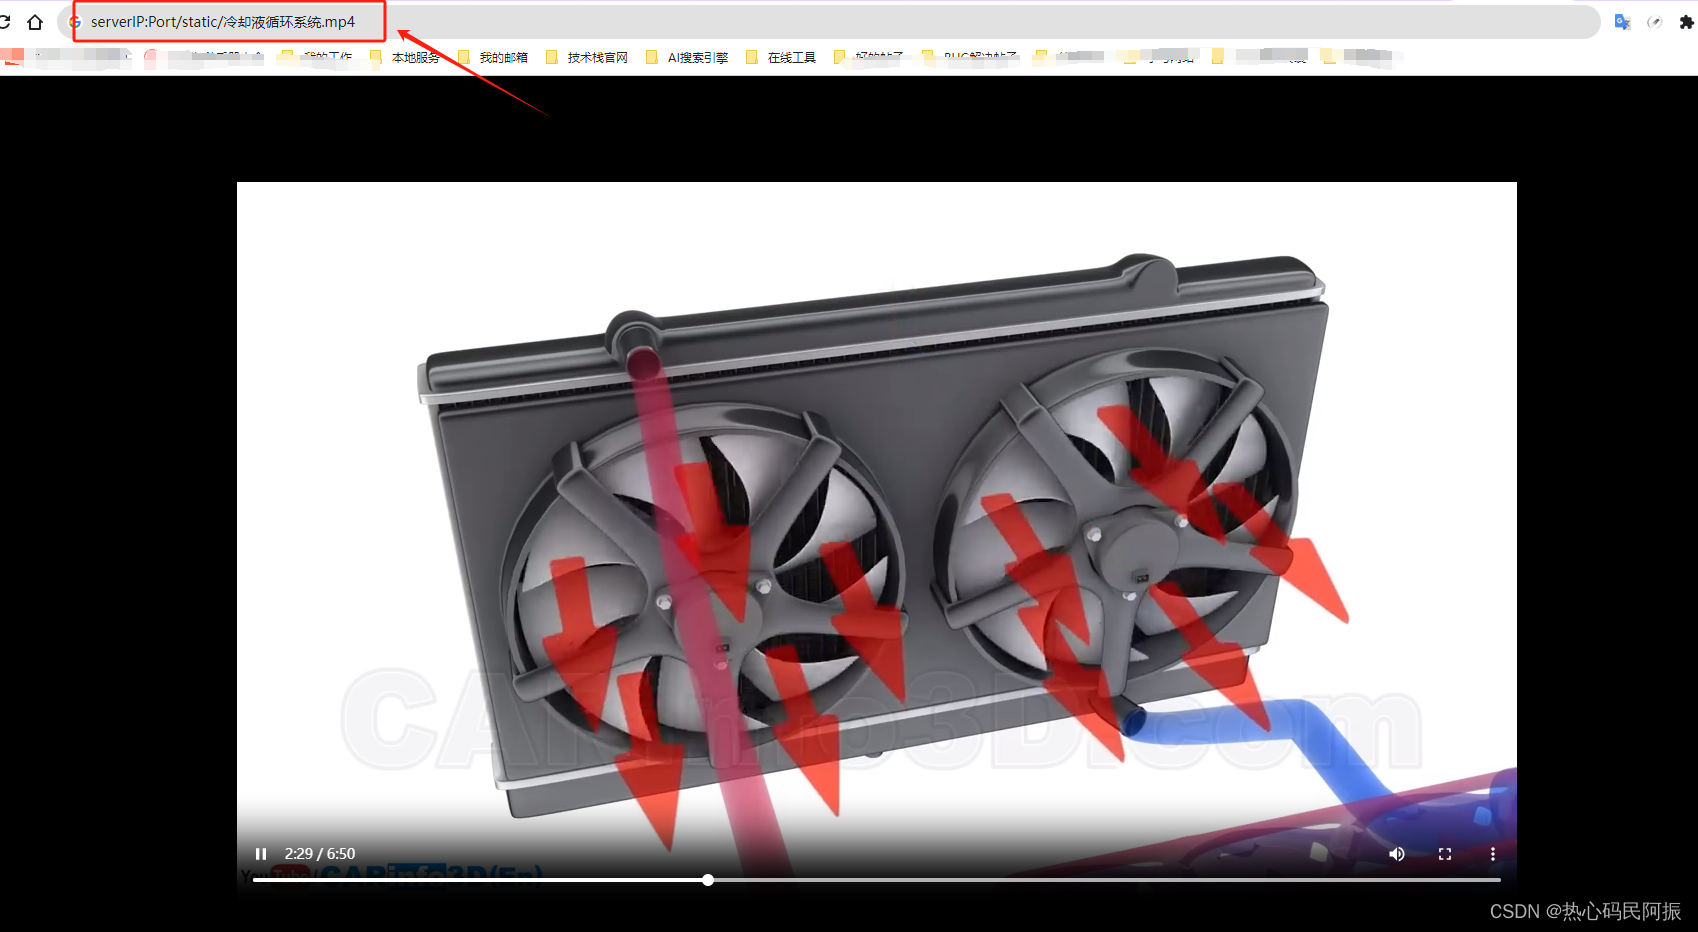
通过浏览器访问
http://serverIP:Port/static/,验证Nginx是否正确访问了Java上传的资源。
4. 结语
通过这个实战,我们成功搭建了一个多服务协同部署的环境,其中Nginx作为静态资源服务器,Java负责业务逻辑。利用Docker Compose,我们实现了服务的快速部署和环境一致性,为开发和测试提供了便利。


 7472
7472


 被折叠的 条评论
为什么被折叠?
被折叠的 条评论
为什么被折叠?
 到【灌水乐园】发言


