


koa2初步搭建及基础
由于最近在使用nodejs,所以对nodejs产生了浓厚的兴趣,感觉JavaScript才是未来。这篇主要记录一些koa2项目的初步搭建及基础知识,包括创建初始化项目,Context上下文对象, RESTClient工具使用,及Koa2中间件基础。
1. koa初始搭建
- 先创建项目目录,比如:koa2learn
- 用vscode打开koa2learn文件夹,在终端中键入初始化命令
命令分别是初始化node.js项目和本地安装koa2。
npm init
npm install koa -save
- 目录下新建 app.js,键入启动代码如下:
const koa = require('koa');
const app = new koa();
app.use(async (ctx, next) => {
await next();
ctx.response.type = 'text/html';
ctx.response.body = '<h1>Hello World!</h1>'
})
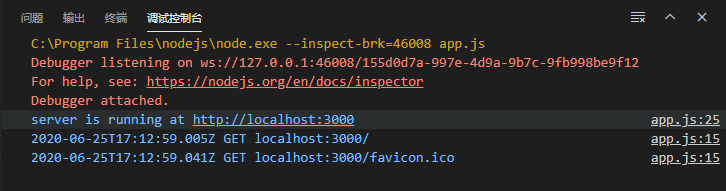
app.listen(3000,() => {
console.log('server is running at http://localhost:3000');
})
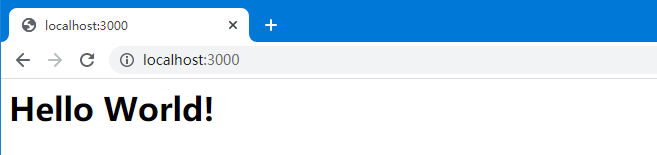
- 浏览器中输入url返回如下
2. Context对象
Context:上下文对象,请求Request对象和响应Response对象的封装。
2.1 ctx.request
ctx.request是Koa的请求对象,示例代码中分别举例说明了获取Get请求参数,获取Post请求参数,以及处理路由的基础方法。
 const koa = require('koa');
 const app = new koa();
 app.use(async (ctx, next) => {
     ctx.response.type = 'text/html';
     if(ctx.request.method === 'GET'){
     	// 路由处理
        if(ctx.request.path === '/html'){
            ctx.response.type = 'html';
            ctx.response.body = '<h1>Hello World!</h1>';
        }else{
            // Get请求参数获取方法
            ctx.response.body = {
                usrl: ctx.request.url,
                query: ctx.request.query,
                queryString: ctx.request.querystring
            }
        }
     } else if (ctx.request.method === 'POST'){
        // Post请求参数获取方法
        let postdata = '';
        ctx.req.on('data', (data) => {
            postdata += data;
        });
        ctx.req.on('end', () => {
            console.log(postdata);
        })
     }
     await next();
 })
app.listen(3000,() => {
    console.log('server is running at http://localhost:3000');
})
2.2 RESTClient测试
对以上代码进行http接口测试,这里我采用了RESTClient测试工具进行测试,因为我嫌Postman太麻烦,简单的测试用RESTClient就够了。这里列出下载地址:https://github.com/Wisdom-Projects/rest-client
- get请求测试

- post请求测试
在vscode调试控制台里的输出中可以看到

- 路由请求测试

2.3 ctx.response
ctx.response是Koa的响应返回对象,其中包含很多关于响应信息的api, 例如ctx.response.status用来设置请求状态码,ctx.response.body用来设置返回的响应主体,ctx.response.type用来设置响应的Content-Type等…
3. koa中间件
与Java中的Spring,Csharp中的asp.net一样,web服务端开发都有个叫中间件的概念,用来截获请求,用以加工判断请求流。
- 自定义打印日志的logger中间件
 const koa = require('koa');
 const app = new koa();
 // 自定义logger中间件
 const logger = async function(ctx, next){
    let stime = new Date().toISOString();
     console.log(stime,ctx.method,ctx.host+ctx.url);
     await next();
 }
 // 加载中间件
 app.use(logger);
 app.use(async function (ctx, next) {
    ctx.body = 'Hello World!';
 })
app.listen(3000,() => {
    console.log('server is running at http://localhost:3000');
})
- 执行打印日志


 996
996


 被折叠的 条评论
为什么被折叠?
被折叠的 条评论
为什么被折叠?
 到【灌水乐园】发言


