


Spring-Boot学习笔记一:Hello World
最近学习Spring-Boot,将学习的过程记录下来,做一个笔记,也希望能帮到其他学习Spring-Boot的程序员。
该系列学习笔记主要包涵以下几个内容:
- Spring-Boot 入门
- Spring-Boot 添加jsp页面
- Spring-Boot 集成 MyBatis 、通用Mapper(tk.mybatis)、PageHelper 和阿里巴巴数据库连接池druid
- Spring-Boot 集成Spring-Session 使用Redis 实现Session 共享
- Spring-Boot 集成Spring-Security 安全框架并实现数据库管理资源
以上功能已经全部完成,博文会陆续产出,后续计划加入以下功能
- Spring-Boot 日志收集
- Spring-Boot 邮件发送
- Spring-Boot 集成Solr 实现全文搜索
- Spring-Boot 集成Activiti 工作流引擎
- Spring-Boot 使用Spring-Data-Redis实现Redis缓存
后续还会加入Spring-Cloud+Docker的集成,还没学习Docker,这个可能得需要一段时间
Spring-Boot 简介
先上一段Spring-Boot的官方英文简介:
Spring Boot makes it easy to create stand-alone, production-grade Spring based Applications that you can “just run”. We take an opinionated view of the Spring platform and third-party libraries so you can get started with minimum fuss. Most Spring Boot applications need very little Spring configuration.
说了一大堆我没怎么看懂,大概意思是:Spring-Boot很容的就能让你创建一个Spring的项目,在这儿我就理解为可以让你很容易的创建一个SpringMVC的项目,而且不需要写一大堆模版配置文件,主要通过注解去实现一些配置。Spring-Boot内部集成了Tomcat,所以运行Spring-Boot不要你在外部配置Tomcat,大概就是这么多。
(PS:说的有点糙,如果需要更详细的解释请阅读Spring-Boot的官方文档,或者自行百度,或者科学上网上google)
Hello World实例
这里我用的开发工具是IntelliJ IDEA,如果用Eclipse就自己琢磨怎么新建吧,毕竟Eclipse用了这么多年了,应该都没问题
打开IDEA,点击Create New Project
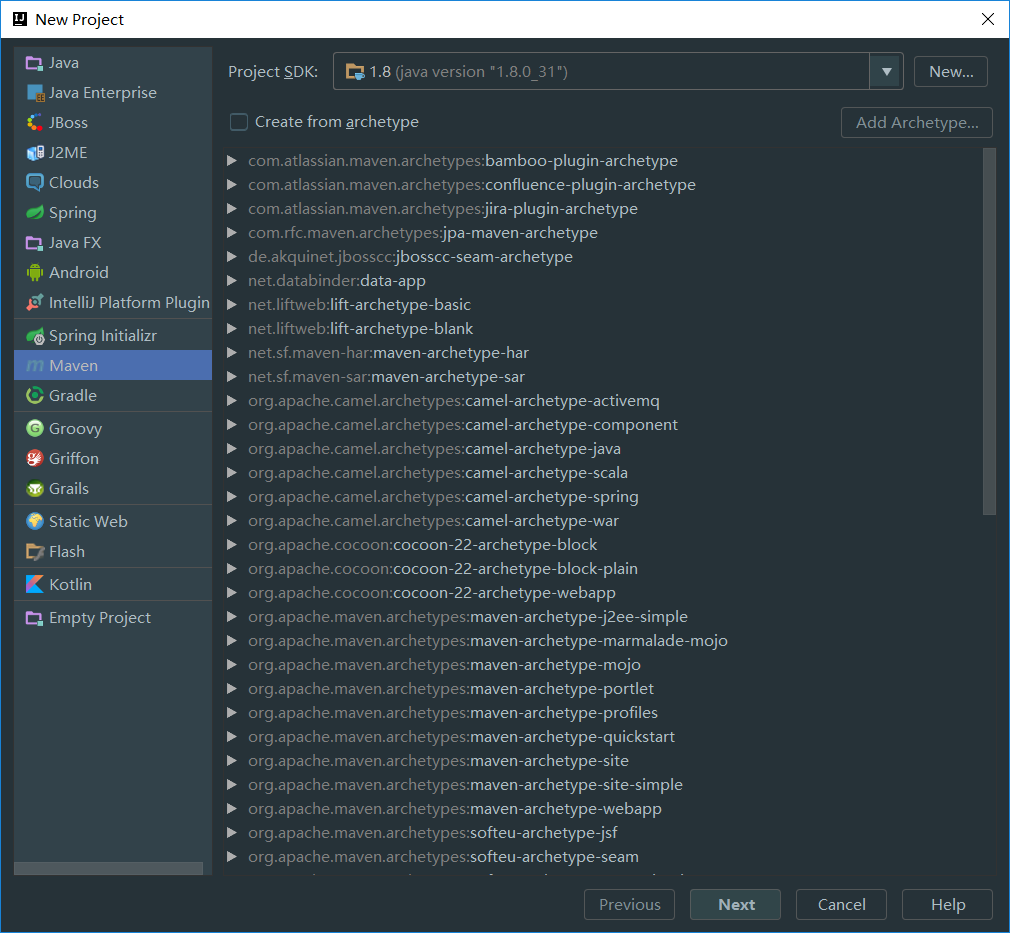
在这里选择左侧的Maven,创建一个Maven项目,本项目是基于Maven构建的,或者有人想玩儿高端用Gradle构建也没问题,但是一定要明白Gradle是怎么构建的,别到时候出各种问题,那时候再换Maven就不赶趟了。
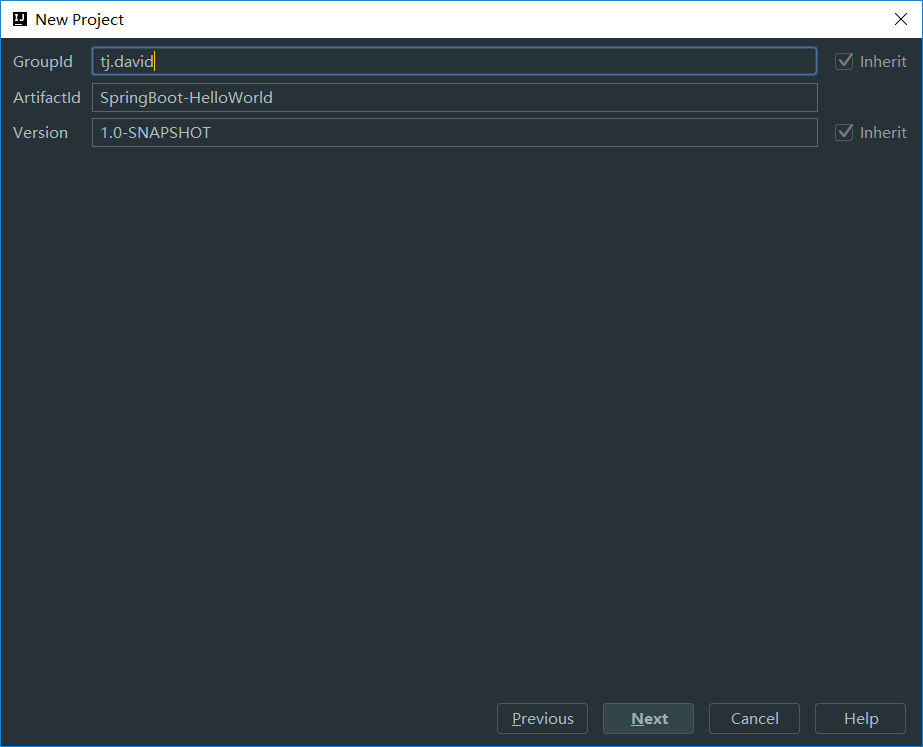
点击Next 填写GroupId 和 ArtifactId,Version大家根据需要自行修改就好了
GroupID是项目组织唯一的标识符,实际对应JAVA的包的结构,是main目录里java的目录结构。
ArtifactID就是项目的唯一的标识符,实际对应项目的名称,就是项目根目录的名称。
填写完之后,点击Next。在Project name处输入项目名称
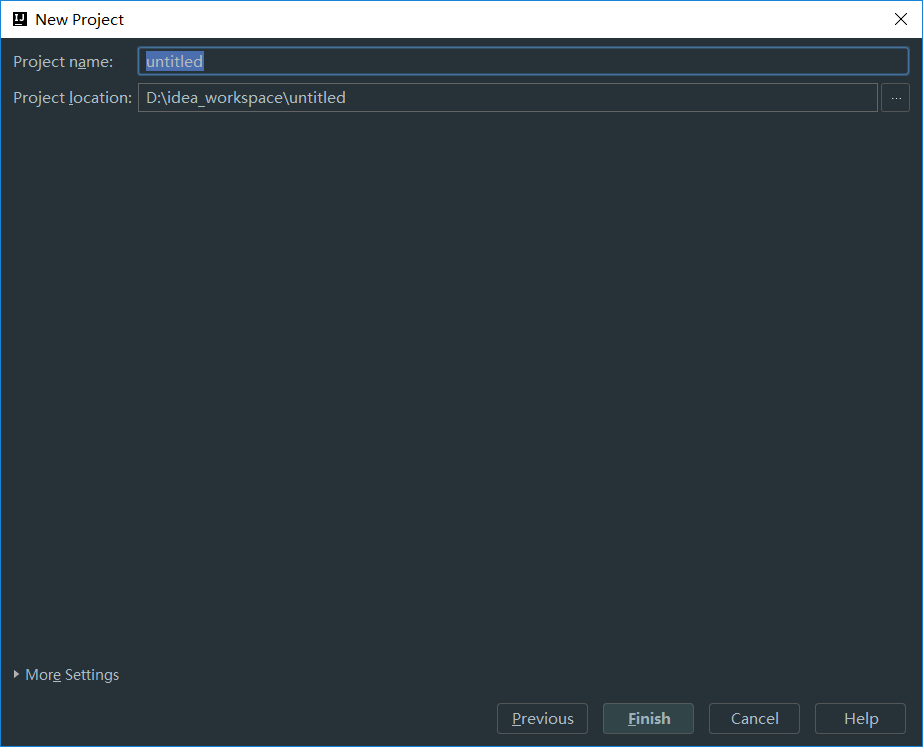
点击Finish完成项目创建。
现在看看创建完之后项目的结构:
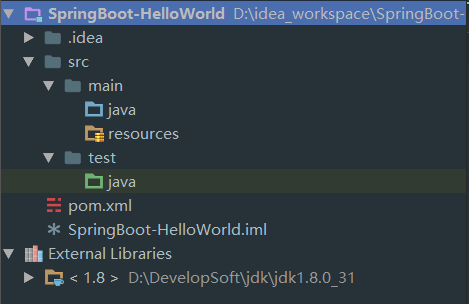
就是一个普通的Maven项目,接下来就开始Spring-Boot的入门搭建了。
第一步、在pom.xml文件中添加Spring-Boot的依赖
在pom.xml文件中添加以下代码
<properties>
    <project.build.sourceEncoding>UTF-8</project.build.sourceEncoding>
    <java.version>1.8</java.version>
</properties>
<parent>
    <groupId>org.springframework.boot</groupId>
    <artifactId>spring-boot-starter-parent</artifactId>
    <version>1.3.6.RELEASE</version>
</parent>
<dependencies>
    <dependency>
        <groupId>org.springframework.boot</groupId>
        <artifactId>spring-boot-starter-web</artifactId>
    </dependency>
    <dependency>
        <groupId>org.springframework.boot</groupId>
        <artifactId>spring-boot-starter-test</artifactId>
        <scope>test</scope>
    </dependency>
</dependencies>
<build>
    <plugins>
        <plugin>
            <groupId>org.springframework.boot</groupId>
            <artifactId>spring-boot-maven-plugin</artifactId>
        </plugin>
    </plugins>
</build>
properties 标签里的内容是设置编码和java的版本
parent 标签是设置Spring-Boot的依赖
dependencies 标签是Spring-Boot的web依赖和test依赖,这个可以不指定版本号,版本号和parent的保持一致
截止目前Srping-Boot的正式版本是1.4.0,这里使用的是1.3.6,我直接将版本号改为1.4.0程序启动失败,所以先用1.3.6
第二步、在 src/main/java 编写代码
Spring-Boot 是需要一个Application去启动程序,所以新建一个类里边写一个main方法启动就可以了
@SpringBootApplication
public class HelloApplication {

    public static void main(String[] args) {
        SpringApplication.run(HelloApplication.class, args);
    }
}
这个这个程序的入口,我就不多说了,注意这个注解一定不能少,这个注解的意思就是告诉程序我这个类是一个SpringBoot的Application,启动程序就得启动我。
这样Spring-Boot的搭建就完成了,那么接下来测试一下吧!
新建一个Controller(这里就是SpringMVC的Controller,不会SpringMVC的就自行google百度吧)
@RestController
public class TestController {

    @RequestMapping("/hello")
    public String hello() {
        return "hello world";
    }
}
这样的写法和大家之前见过的基本一样,唯独那个@RestController 注解可能有点陌生,看看源码
@Target({ElementType.TYPE})
@Retention(RetentionPolicy.RUNTIME)
@Documented
@Controller
@ResponseBody
public @interface RestController {
    String value() default "";
}
就是把@Controller 和 @ResponseBody 给集合在一起了,这两个注解我也不多说了,用过SpringMVC的都知道,不知道的请先学习SpringMVC再来看这个。
至此代码部分就都写完了,现在就测试吧,在HelloApplication 中右键Run就可以了,然后在浏览器中访问http://localhost:8080/hello 就可以TestController 里hello方法return的”hello world”了。
这个HelloWorld的代码我就放到github了,有需要的来取!
https://github.com/david1025/SpringBoot-HelloWorld
好了第一篇就写到这儿了,有什么不懂的可以联系我
邮箱 : 990860210@qq.com
下一篇讲解怎么使用jsp


 852
852

 被折叠的 条评论
为什么被折叠?
被折叠的 条评论
为什么被折叠?
 到【灌水乐园】发言


