


Linux进行Wazuh单机部署
1. Wazuh索引器安装
1.1 证书创建
生成SSL证书
下载wazuh-certs-tool.sh脚本和config.yml配置文件。这将创建证书,对Wazuh中心组件之间的通信进行加密。
curl -sO https://packages.wazuh.com/4.5/wazuh-certs-tool.sh
curl -sO https://packages.wazuh.com/4.5/config.yml
1.2 编辑配置文件
编辑/config.yml,并将节点名称和IP值替换为相应的名称和IP地址。
注意:需要将下方代码块中[127.0.0.1]替换为自己服务器IP地址。
nodes:
  # Wazuh indexer nodes
  indexer:
    - name: node-1
      ip: 127.0.0.1
    #- name: node-2
    #  ip: <indexer-node-ip>
    #- name: node-3
    #  ip: <indexer-node-ip>

  # Wazuh server nodes
  # If there is more than one Wazuh server
  # node, each one must have a node_type
  server:
    - name: wazuh-1
      ip: 127.0.0.1
    #  node_type: master
    #- name: wazuh-2
    #  ip: <wazuh-manager-ip>
    #  node_type: worker
    #- name: wazuh-3
    #  ip: <wazuh-manager-ip>
    #  node_type: worker

  # Wazuh dashboard nodes
  dashboard:
    - name: dashboard
      ip: 127.0.0.1
1.3 执行命令创建证书
bash ./wazuh-certs-tool.sh -A
1.4 压缩文件
tar -cvf ./wazuh-certificates.tar -C ./wazuh-certificates/ .
rm -rf ./wazuh-certificates
1.5 安装程序依赖包
选择适合自己服务器的命令进行安装,Centos使用Yum命令,Ubuntu使用Apt命令。 如何判断Linux系统是Centos还是Ubuntu,执行下方命令查看。
root@sq:/usr/local/wazuh# lsb_release -a
No LSB modules are available.
Distributor ID: Ubuntu
Description:    Ubuntu 22.04.3 LTS
Release:        22.04
Codename:       jammy
因博主服务器系统为Ubuntu,这里选择使用apt命令安装依赖。
yum install coreutils
apt-get install debconf adduser procps
1.6 添加Wazuh存储库
#Yum
rpm --import https://packages.wazuh.com/key/GPG-KEY-WAZUH
echo -e '[wazuh]\ngpgcheck=1\ngpgkey=https://packages.wazuh.com/key/GPG-KEY-WAZUH\nenabled=1\nname=EL-$releasever - Wazuh\nbaseurl=https://packages.wazuh.com/4.x/yum/\nprotect=1' | tee /etc/yum.repos.d/wazuh.repo
#Apt
apt-get install gnupg apt-transport-https
curl -s https://packages.wazuh.com/key/GPG-KEY-WAZUH | gpg --no-default-keyring --keyring gnupg-ring:/usr/share/keyrings/wazuh.gpg --import && chmod 644 /usr/share/keyrings/wazuh.gpg
echo "deb [signed-by=/usr/share/keyrings/wazuh.gpg] https://packages.wazuh.com/4.x/apt/ stable main" | tee -a /etc/apt/sources.list.d/wazuh.list
apt-get update
1.7 安装Wazuh索引器
#yum
yum -y install wazuh-indexer
#Apt
apt-get -y install wazuh-indexer
1.7 配置Wazuh索引器
进入/etc/wazuh-indexer/opensearch.yml配置文件并修改以下值:
修改network.host为当前服务器ip
node.name需要与config.yml文件中定义的Wazuh索引器节点名称保持一致
network.host: "127.0.0.1"
node.name: "node-1"
cluster.initial_master_nodes:
- "node-1"
#- "node-2"
#- "node-3"
cluster.name: "wazuh-cluster"
#discovery.seed_hosts:
#  - "node-1-ip"
#  - "node-2-ip"
#  - "node-3-ip"
node.max_local_storage_nodes: "3"
path.data: /var/lib/wazuh-indexer
path.logs: /var/log/wazuh-indexer

plugins.security.ssl.http.pemcert_filepath: /etc/wazuh-indexer/certs/indexer.pem
plugins.security.ssl.http.pemkey_filepath: /etc/wazuh-indexer/certs/indexer-key.pem
plugins.security.ssl.http.pemtrustedcas_filepath: /etc/wazuh-indexer/certs/root-ca.pem
plugins.security.ssl.transport.pemcert_filepath: /etc/wazuh-indexer/certs/indexer.pem
plugins.security.ssl.transport.pemkey_filepath: /etc/wazuh-indexer/certs/indexer-key.pem
plugins.security.ssl.transport.pemtrustedcas_filepath: /etc/wazuh-indexer/certs/root-ca.pem
plugins.security.ssl.http.enabled: true
plugins.security.ssl.transport.enforce_hostname_verification: false
plugins.security.ssl.transport.resolve_hostname: false

plugins.security.authcz.admin_dn:
- "CN=admin,OU=Wazuh,O=Wazuh,L=California,C=US"
plugins.security.check_snapshot_restore_write_privileges: true
plugins.security.enable_snapshot_restore_privilege: true
plugins.security.nodes_dn:
- "CN=node-1,OU=Wazuh,O=Wazuh,L=California,C=US"
#- "CN=node-2,OU=Wazuh,O=Wazuh,L=California,C=US"
#- "CN=node-3,OU=Wazuh,O=Wazuh,L=California,C=US"
plugins.security.restapi.roles_enabled:
- "all_access"
- "security_rest_api_access"

plugins.security.system_indices.enabled: true
plugins.security.system_indices.indices: [".plugins-ml-model", ".plugins-ml-task", ".opendistro-alerting-config", ".opendistro-alerting-alert*", ".opendistro-anomaly-results*", ".opendistro-anomaly-detector*", ".opendistro-anomaly-checkpoints", ".opendistro-anomaly-detection-state", ".opendistro-reports-*", ".opensearch-notifications-*", ".opensearch-notebooks", ".opensearch-observability", ".opendistro-asynchronous-search-response*", ".replication-metadata-store"]

### Option to allow Filebeat-oss 7.10.2 to work ###
compatibility.override_main_response_version: true
1.8 部署证书
运行以下命令,将<indexer node name>替换为您在config.yml中配置的Wazuh索引器节点的名称。例如,node-1。部署SSL证书来加密Wazuh中心组件之间的通信。
NODE_NAME=<indexer-node-name>
mkdir /etc/wazuh-indexer/certs
tar -xf ./wazuh-certificates.tar -C /etc/wazuh-indexer/certs/ ./$NODE_NAME.pem ./$NODE_NAME-key.pem ./admin.pem ./admin-key.pem ./root-ca.pem
mv -n /etc/wazuh-indexer/certs/$NODE_NAME.pem /etc/wazuh-indexer/certs/indexer.pem
mv -n /etc/wazuh-indexer/certs/$NODE_NAME-key.pem /etc/wazuh-indexer/certs/indexer-key.pem
chmod 500 /etc/wazuh-indexer/certs
chmod 400 /etc/wazuh-indexer/certs/*
chown -R wazuh-indexer:wazuh-indexer /etc/wazuh-indexer/certs
1.8 启动服务
systemctl daemon-reload	#加载系统systemd配置
systemctl enable wazuh-indexer	#启动Wazuh索引器自动启动
systemctl start wazuh-indexer	#启动Wazuh索引器
1.9 集群初始化
在任何Wazuh索引器节点上运行Wazuh indexer indexer-security-init.sh脚本,以加载新的证书信息并启动单节点或多节点集群。
/usr/share/wazuh-indexer/bin/indexer-security-init.sh
1.10 测试安装
替换<WAZUH_INDEXER_IP>并运行以下命令以确认安装成功。
curl -k -u admin:admin https://<WAZUH_INDEXER_IP>:9200
{
  "name" : "node-1",
  "cluster_name" : "wazuh-cluster",
  "cluster_uuid" : "uH7_rHioR_CQ07o3mqYNXg",
  "version" : {
    "number" : "7.10.2",
    "build_type" : "rpm",
    "build_hash" : "7203a5af21a8a009aece1474446b437a3c674db6",
    "build_date" : "2023-02-24T18:57:04.388618985Z",
    "build_snapshot" : false,
    "lucene_version" : "9.5.0",
    "minimum_wire_compatibility_version" : "7.10.0",
    "minimum_index_compatibility_version" : "7.0.0"
  },
  "tagline" : "The OpenSearch Project: https://opensearch.org/"
}
2. Wazuh服务器安装
2.1 安装Wazuh管理器
#Yum
yum -y install wazuh-manager
#Apt
apt-get -y install wazuh-manager
2.2 启动Wazuh管理器服务
systemctl daemon-reload	#加载systemd配置
systemctl enable wazuh-manager	#启用Wazuh管理器服务自动启动
systemctl start wazuh-manager	#启动Wazuh服务
2.3 查看Wazuh状态
systemctl status wazuh-manager
2.4 安装Filebeat
#Yum
yum -y install filebeat
#Apt
apt-get -y install filebeat
2.5 配置Filebeat
- 下载预配置的Filebeat配置文件。
curl -so /etc/filebeat/filebeat.yml https://packages.wazuh.com/4.5/tpl/wazuh/filebeat/filebeat.yml
-
编辑/etc/filebeat/filebeat.yml配置文件并替换hosts:
将hosts[127.0.0.1]替换为当前服务器ip
# Wazuh - Filebeat configuration file
output.elasticsearch:
  hosts: ["127.0.0.1:9200"]
  protocol: https
  username: ${username}
  password: ${password}
  ssl.certificate_authorities:
    - /etc/filebeat/certs/root-ca.pem
  ssl.certificate: "/etc/filebeat/certs/filebeat.pem"
  ssl.key: "/etc/filebeat/certs/filebeat-key.pem"
setup.template.json.enabled: true
setup.template.json.path: '/etc/filebeat/wazuh-template.json'
setup.template.json.name: 'wazuh'
setup.ilm.overwrite: true
setup.ilm.enabled: false

filebeat.modules:
  - module: wazuh
    alerts:
      enabled: true
    archives:
      enabled: false

logging.level: info
logging.to_files: true
logging.files:
  path: /var/log/filebeat
  name: filebeat
  keepfiles: 7
  permissions: 0644

logging.metrics.enabled: false

seccomp:
  default_action: allow
  syscalls:
  - action: allow
    names:
    - rseq
- 创建一个Filebeat密钥库。
filebeat keystore create
- 将默认用户名和密码admin:admin添加到secrets密钥库中。
echo admin | filebeat keystore add username --stdin --force
echo admin | filebeat keystore add password --stdin --force
- 下载Wazuh索引器的警报模板。
curl -so /etc/filebeat/wazuh-template.json https://raw.githubusercontent.com/wazuh/wazuh/4.5/extensions/elasticsearch/7.x/wazuh-template.json
chmod go+r /etc/filebeat/wazuh-template.json
- 为Filebeat安装Wazuh模块。
curl -s https://packages.wazuh.com/4.x/filebeat/wazuh-filebeat-0.2.tar.gz | tar -xvz -C /usr/share/filebeat/module
2.6 部署证书
将<server node name>替换为您的Wazuh服务器节点证书名称,该名称与创建证书时config.yml中使用的名称相同。然后,将证书移动到相应的位置。
NODE_NAME=<server-node-name>
mkdir /etc/filebeat/certs
tar -xf ./wazuh-certificates.tar -C /etc/filebeat/certs/ ./$NODE_NAME.pem ./$NODE_NAME-key.pem ./root-ca.pem
mv -n /etc/filebeat/certs/$NODE_NAME.pem /etc/filebeat/certs/filebeat.pem
mv -n /etc/filebeat/certs/$NODE_NAME-key.pem /etc/filebeat/certs/filebeat-key.pem
chmod 500 /etc/filebeat/certs
chmod 400 /etc/filebeat/certs/*
chown -R root:root /etc/filebeat/certs
2.7 启动Filebeat服务
- 启用并启动Filebeat服务。
systemctl daemon-reload	#加载系统systemd配置
systemctl enable filebeat	#设置Filebeat服务自动启动
systemctl start filebeat	#启动Filebeat服务
- 运行以下命令以验证Filebeat是否已成功安装。
filebeat test output
预期响应如下
elasticsearch: https://127.0.0.1:9200...
  parse url... OK
  connection...
    parse host... OK
    dns lookup... OK
    addresses: 127.0.0.1
    dial up... OK
  TLS...
    security: server's certificate chain verification is enabled
    handshake... OK
    TLS version: TLSv1.3
    dial up... OK
  talk to server... OK
  version: 7.10.2
3. Wazuh仪表盘安装
3.1 安装程序包依赖项
#Yum
yum install libcap
#Apt
apt-get install debhelper tar curl libcap2-bin #debhelper version 9 or later
3.2 安装Wazuh仪表板
#Yum
yum -y install wazuh-dashboard
#Apt
apt-get -y install wazuh-dashboard
3.3 配置Wazuh面板
编辑/etc/wazuh dashboard/opensearch_dashboards.yml文件,
将opensearch.hosts[127.0.0.1]替换为当前服务器ip。
server.host: 0.0.0.0
server.port: 443
opensearch.hosts: https://127.0.0.1:9200
opensearch.ssl.verificationMode: certificate
#opensearch.username:
#opensearch.password:
opensearch.requestHeadersAllowlist: ["securitytenant","Authorization"]
opensearch_security.multitenancy.enabled: false
opensearch_security.readonly_mode.roles: ["kibana_read_only"]
server.ssl.enabled: true
server.ssl.key: "/etc/wazuh-dashboard/certs/dashboard-key.pem"
server.ssl.certificate: "/etc/wazuh-dashboard/certs/dashboard.pem"
opensearch.ssl.certificateAuthorities: ["/etc/wazuh-dashboard/certs/root-ca.pem"]
uiSettings.overrides.defaultRoute: /app/wazuh
server.host:此设置指定Wazuh仪表板服务器的主机。若要允许远程用户进行连接,请将该值设置为Wazuh仪表板服务器的IP地址或DNS名称。值0.0.0.0将接受主机的所有可用IP地址。
opensearch.hosts:Wazuh索引器实例的URL,用于所有查询。Wazuh仪表板可以配置为连接到同一集群中的多个Wazuh索引器节点。节点的地址可以用逗号分隔。
3.4 部署证书
将替换为您的Wazuh dashboard节点名称,该名称与config.yml中用于创建证书的名称相同,并将证书移动到相应的位置。
NODE_NAME=<dashboard-node-name>
mkdir /etc/wazuh-dashboard/certs
tar -xf ./wazuh-certificates.tar -C /etc/wazuh-dashboard/certs/ ./$NODE_NAME.pem ./$NODE_NAME-key.pem ./root-ca.pem
mv -n /etc/wazuh-dashboard/certs/$NODE_NAME.pem /etc/wazuh-dashboard/certs/dashboard.pem
mv -n /etc/wazuh-dashboard/certs/$NODE_NAME-key.pem /etc/wazuh-dashboard/certs/dashboard-key.pem
chmod 500 /etc/wazuh-dashboard/certs
chmod 400 /etc/wazuh-dashboard/certs/*
chown -R wazuh-dashboard:wazuh-dashboard /etc/wazuh-dashboard/certs
3.5 启动Wazuh仪表板服务
systemctl daemon-reload	#加载systemd配置
systemctl enable wazuh-dashboard	#启用Wazuh仪表盘自动启动
systemctl start wazuh-dashboard		#启动Wazuh仪表盘服务
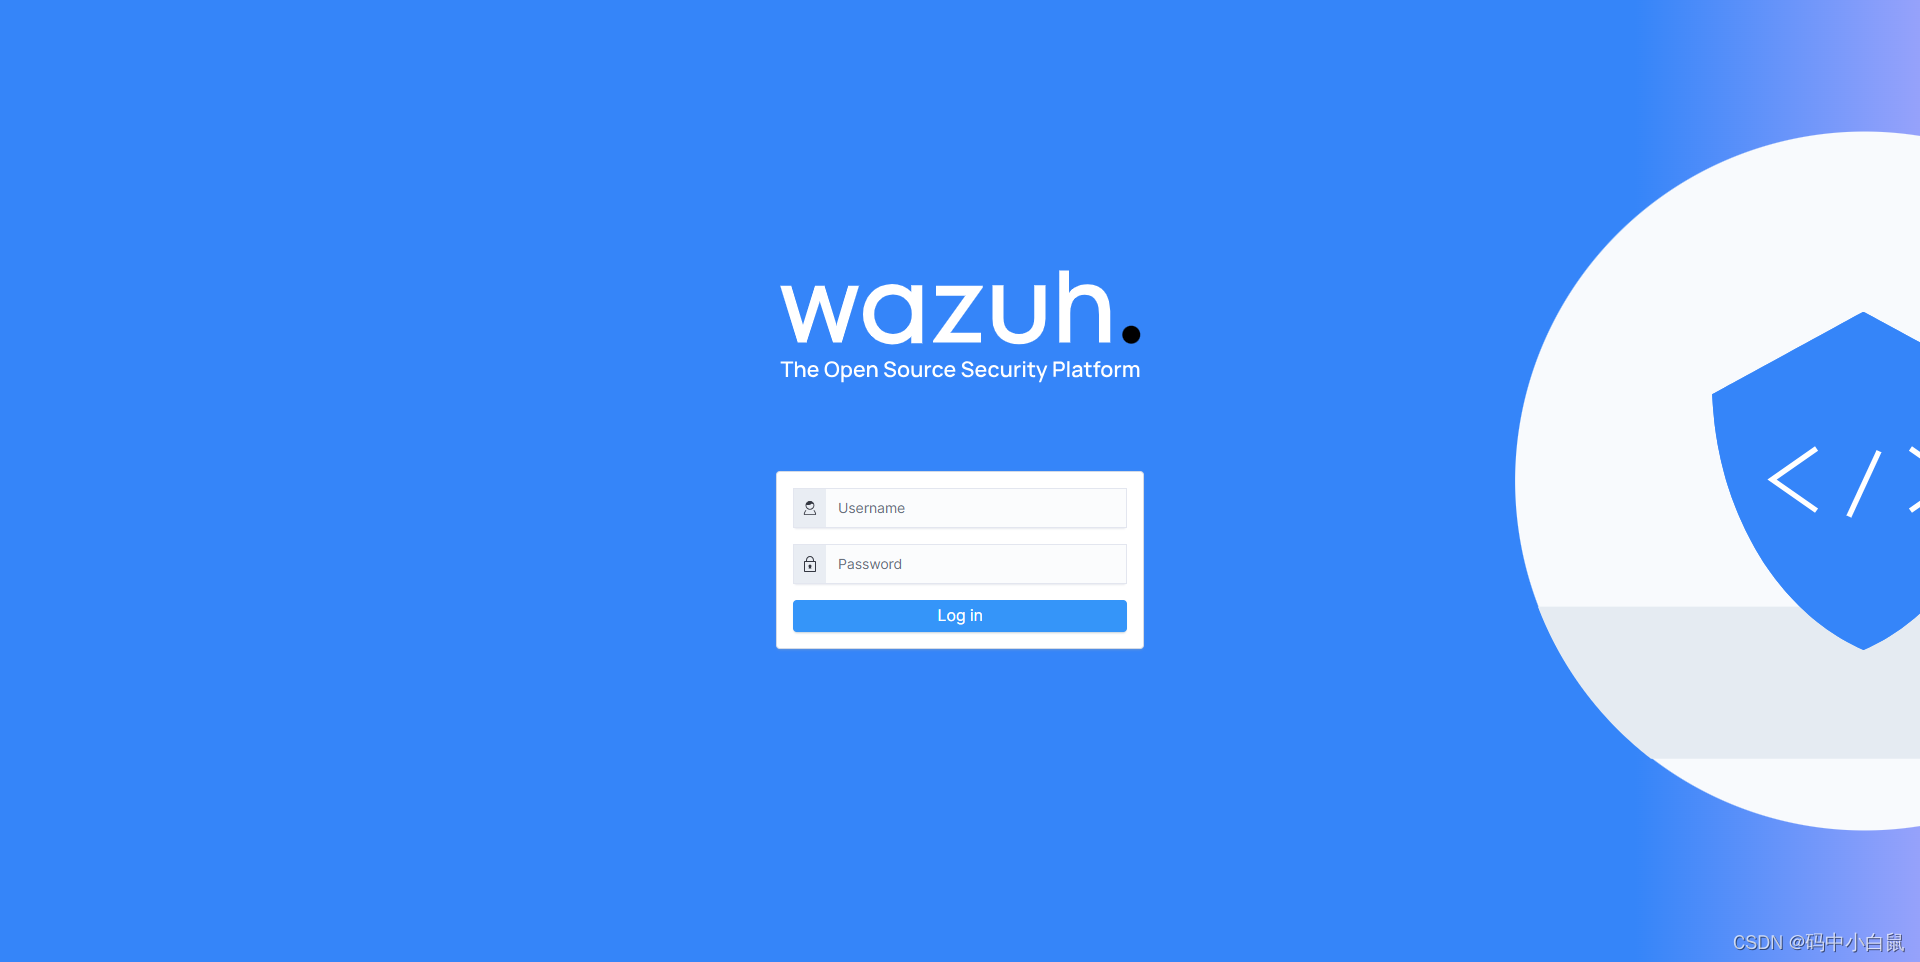
3.6 访问仪表盘
URL: https://<wazuh-dashboard-ip>

Username: admin

Password: admin
4. 踩坑记录
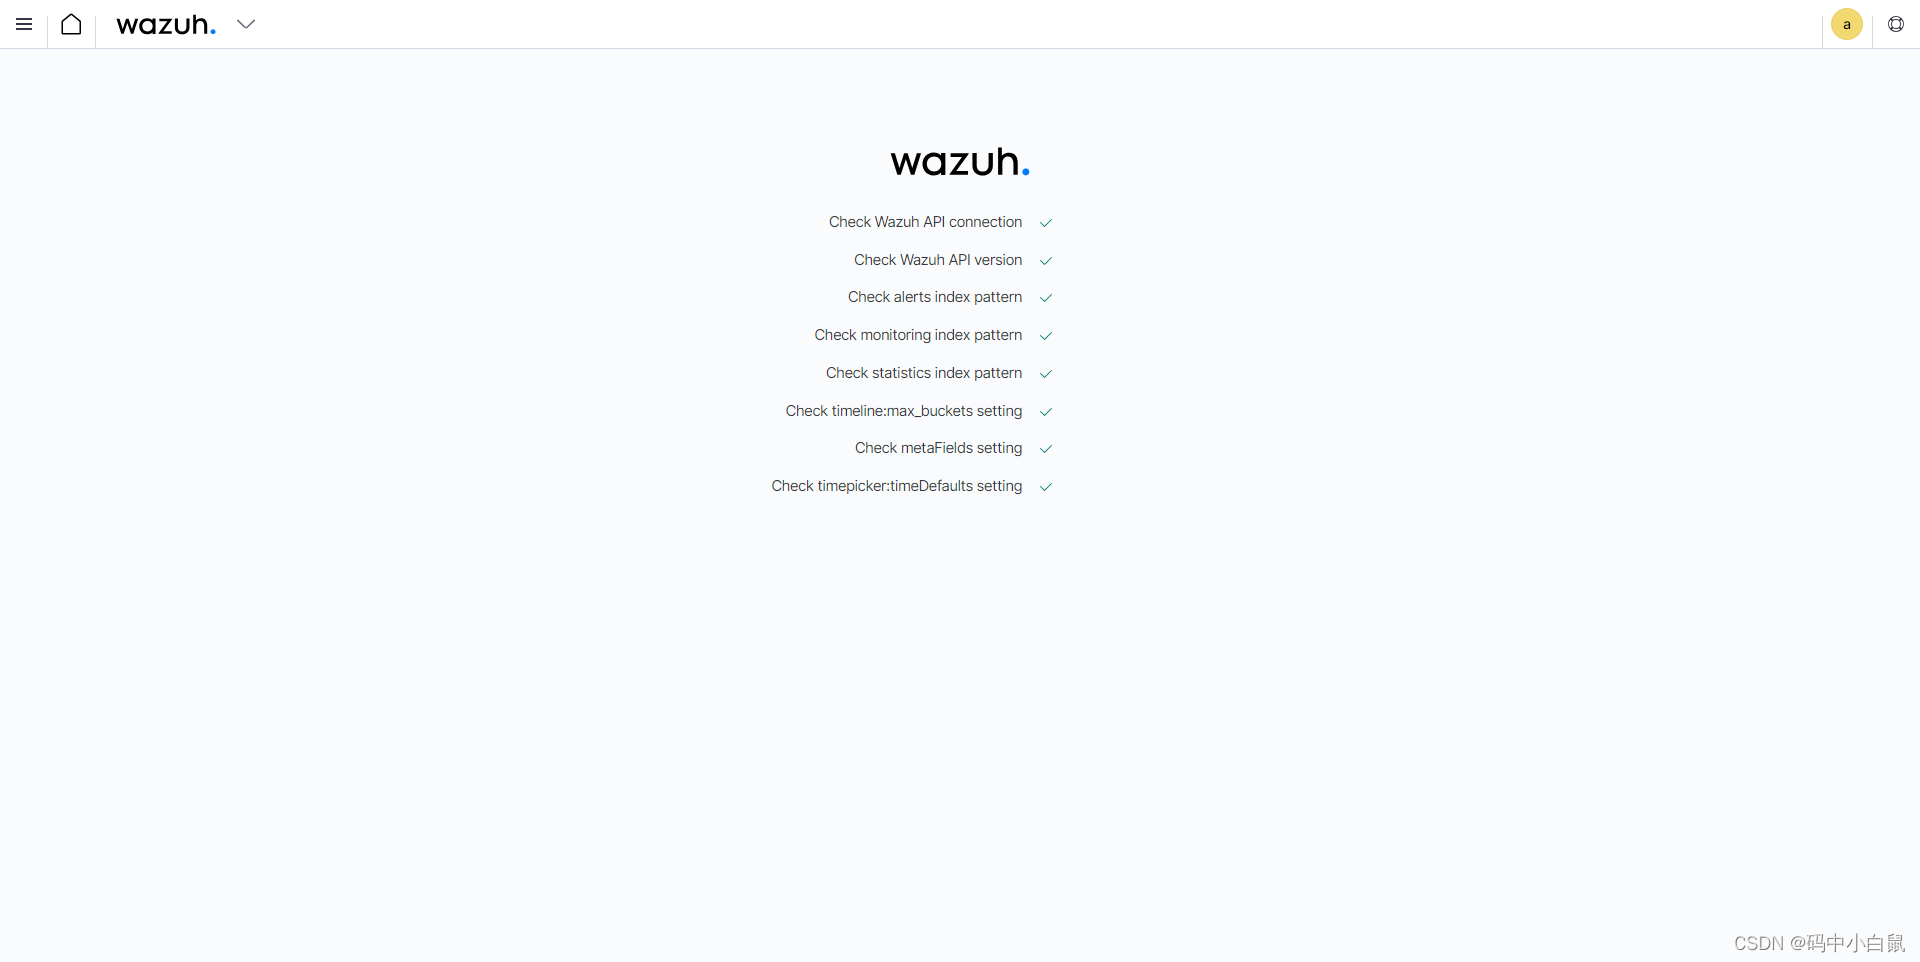
1.访问页面时出现"Wazuh dashboard server is not ready yet"错误
解决方法1:将/etc/wazuh dashboard/opensearch_dashboards.yml文件中[opensearch.hosts]设置为当前服务器IP地址
解决方法2:执行#systemctl-edit-wazuh-indexer并添加以下行:
【Service】
超时起始秒=180
保存文件并执行
#systemctl后台进程重载
#systemctl重新启动wazuh索引器
#systemctl重新启动wazuh面板
2.登录检查出现此错误ERROR: No template found for the selected index-pattern title [wazuh-alerts-*]
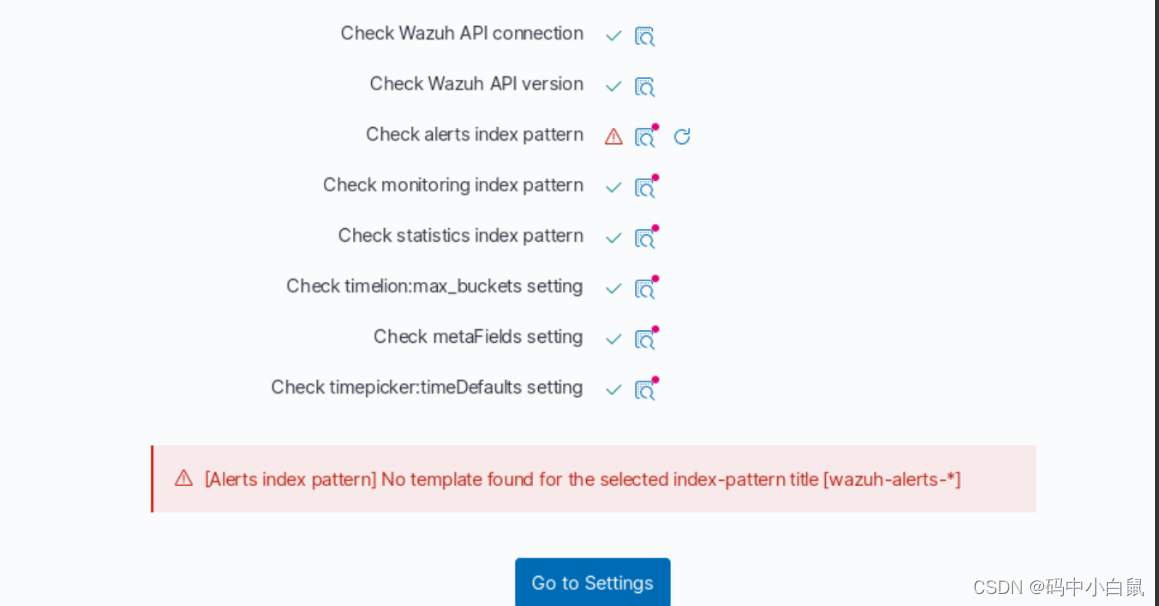
解决方法:卸载重装
卸载方法:官网卸载步骤
3.raw.githubusercontent.com无法下载文件
解决方法:编辑/etc/hosts文件增加以下内容
182.43.124.6    raw.githubusercontent.com
185.199.111.133 raw.githubusercontent.com
新增后退出即可


 1089
1089


 被折叠的 条评论
为什么被折叠?
被折叠的 条评论
为什么被折叠?
 到【灌水乐园】发言


