


先给大家介绍个我自己总结的第一次如何上传代码到github点击打开链接,简单介绍了初次使用的一些操作步骤,公司用的是SVN,但是多学点知识总是好的,万一以后遇到了呢。和SVN一样,和其他人合作开发项目的时候,就是操作拉取仓库的数据,管理仓库,分享工作进度,下面简单介绍下基础操作。
1.查看当前的远程仓库
要查看当前配置有哪些远程仓库,可以用git remote指令,他会列出每个远程仓库的名字。当clone完一个项目之后
至少能看到一个默认的origin的远程仓库,这个是Git默认的仓库
MKJINGdeMac-mini:~ mkjing$ cd ~/Desktop

MKJINGdeMac-mini:Desktop mkjing$ git clone https://github.com/DeftMKJ/BlogTestDemo

Cloning into 'BlogTestDemo'...

remote: Counting objects: 3, done.

remote: Total 3 (delta 0), reused 3 (delta 0), pack-reused 0

Unpacking objects: 100% (3/3), done.

Checking connectivity... done.

MKJINGdeMac-mini:Desktop mkjing$ cd BlogTestDemo/

MKJINGdeMac-mini:BlogTestDemo mkjing$ git remote

origin(仓库名称默认的)
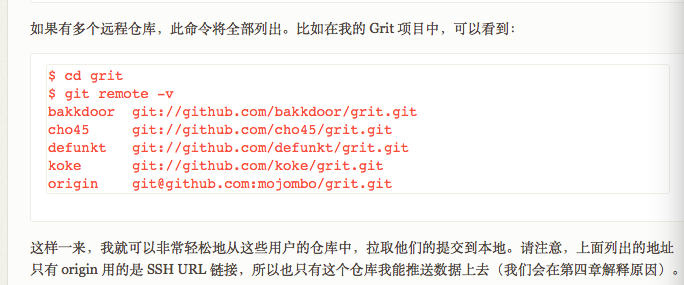
可以在加-v(verbose) 能列出详细信息
MKJINGdeMac-mini:BlogTestDemo mkjing$ git remote -v

originhttps://github.com/DeftMKJ/BlogTestDemo (fetch)

originhttps://github.com/DeftMKJ/BlogTestDemo (push)
截个网上的别人项目的图片
2.添加远程仓库
运行 git remote add [shortname] [url]

MKJINGdeMac-mini:BlogTestDemo mkjing$ git remote add mikejing https://github.com/DeftMKJ/BlogTestDemo

MKJINGdeMac-mini:BlogTestDemo mkjing$ git remote -v

mikejinghttps://github.com/DeftMKJ/BlogTestDemo (fetch)

mikejinghttps://github.com/DeftMKJ/BlogTestDemo (push)

origin https://github.com/DeftMKJ/BlogTestDemo (fetch)

origin https://github.com/DeftMKJ/BlogTestDemo (push)
3.抓取远程仓库 数据
运行git fetch [仓库名字]
此命令会到远程仓库中拉取所有本地仓库中还没有的数据。运行完成之后,你就可以访问远程仓库中所有分支,或者将某个分支合并到本地。
如果是clone了一个仓库,该命令默认会把远程仓库归于origin名下,因此git fetch origin 会抓取距离上次抓取别人更新的所有内容。注意的是,fetch只是将远程仓库中的所有数据拉倒本地仓库,但是不会自动合并,如果需要的话需要手动合并。在日常工作中,我们只需要操作git pull,讲更新的数据拉下来,然后自动合并到本地代码就可以了
4.推送数据到远程仓库
git push origin master
项目进行到一个阶段,要同别人分享目前的成果,可以将本地仓库中的数据推送到远程仓库。实现这个任务的命令很简单:git push [remote-name] [branch-name]。如果要把本地的 master 分支推送到origin 服务器上(再次说明下,克隆操作会自动使用默认的 master 和 origin 名字注意:你push的前提是一定要有写的权限,还有就是同一时刻,没有人更新push代码,如果有人已经这么做了,那么,你就需要先pull下来,再进行push(这点类似SVN的update和commit)
5.查看远程仓库信息
git remote show [name]
MKJINGdeMac-mini:BlogTestDemo mkjing$ git remote show origin

* remote origin

  Fetch URL: https://github.com/DeftMKJ/BlogTestDemo

  Push  URL: https://github.com/DeftMKJ/BlogTestDemo

  HEAD branch: master

  Remote branch:

    master tracked

  Local branch configured for 'git pull':

    master merges with remote master

  Local ref configured for 'git push':

    master pushes to master (up to date)
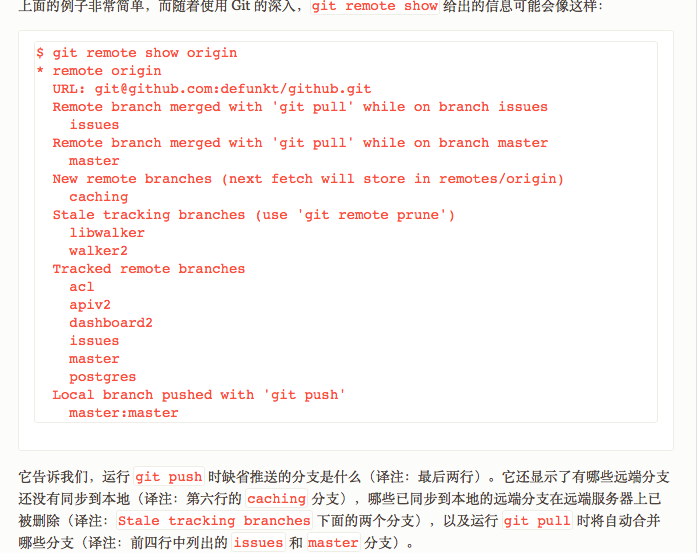
上面还给出了信息,如果你在master分支,你可以直接使用git pull来抓取数据更新本地
看下网上复杂的例子
6.远程仓库的重命名
在新版 Git 中可以用git remote rename 命令修改某个远程仓库在本地的简称
MKJINGdeMac-mini:BlogTestDemo mkjing$ git remote rename origin chengjingjiao

MKJINGdeMac-mini:BlogTestDemo mkjing$ git remote show

chengjingjiao

mikejing
7.远程仓库的删除
如果碰到远程仓库服务器迁移或者原来的镜像不在了,又或者那个分支不在贡献代码了
执行 git remote rm [shortname]来移除仓库
举个例子
如果我们把刚才创建的github仓库给删除了,那么再进行push的时候会提示错误
因此,本地的仓库也就不能再进行push了,如果需要push到另一个仓库去,那么首先要把仓库给remove掉,不然一直会报错,然后再进行git init git add等一系列操作
MKJINGdeMac-mini:BlogTestDemo mkjing$ git push -u mikejing master

remote: Repository not found.

fatal: repository 'https://github.com/DeftMKJ/BlogTestDemo/' not found
再执行git remote -v就什么都没有了
8.如何给github上的ReadMe文件上添加gif图片
首先我们clone已有的工程到本地,然后把我们的gif图片添加进工程后
1.git add .

2.git commit -m “注释”

3.git push -u origin master
然后打开刚才我们push进去的图片
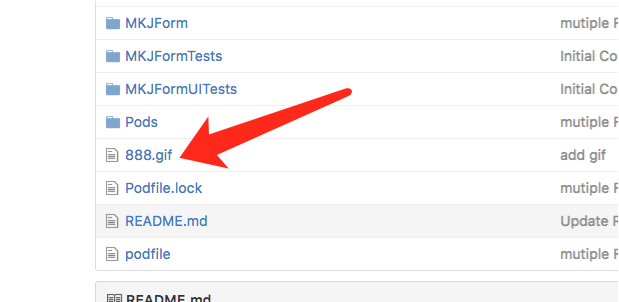
把里面链接复制出来,再进入ReadMe编辑(markDown编辑器)
复制下面这段话到编辑器
把括号里面的地址替换成我们需要的访问的地址就行了,这里也可以是网络地址,我们直接拿的是工程里面文件的地址这样的话我们就不会存在加载不出来的问题了。
还可以添加表情符号
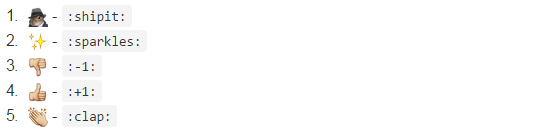
大家可以自己试试
参考链接:点击打开链接
附上一个git和github的学习文档


 5654
5654

 被折叠的 条评论
为什么被折叠?
被折叠的 条评论
为什么被折叠?
 到【灌水乐园】发言


