


进入官网: http://nginx.org/en/
下载
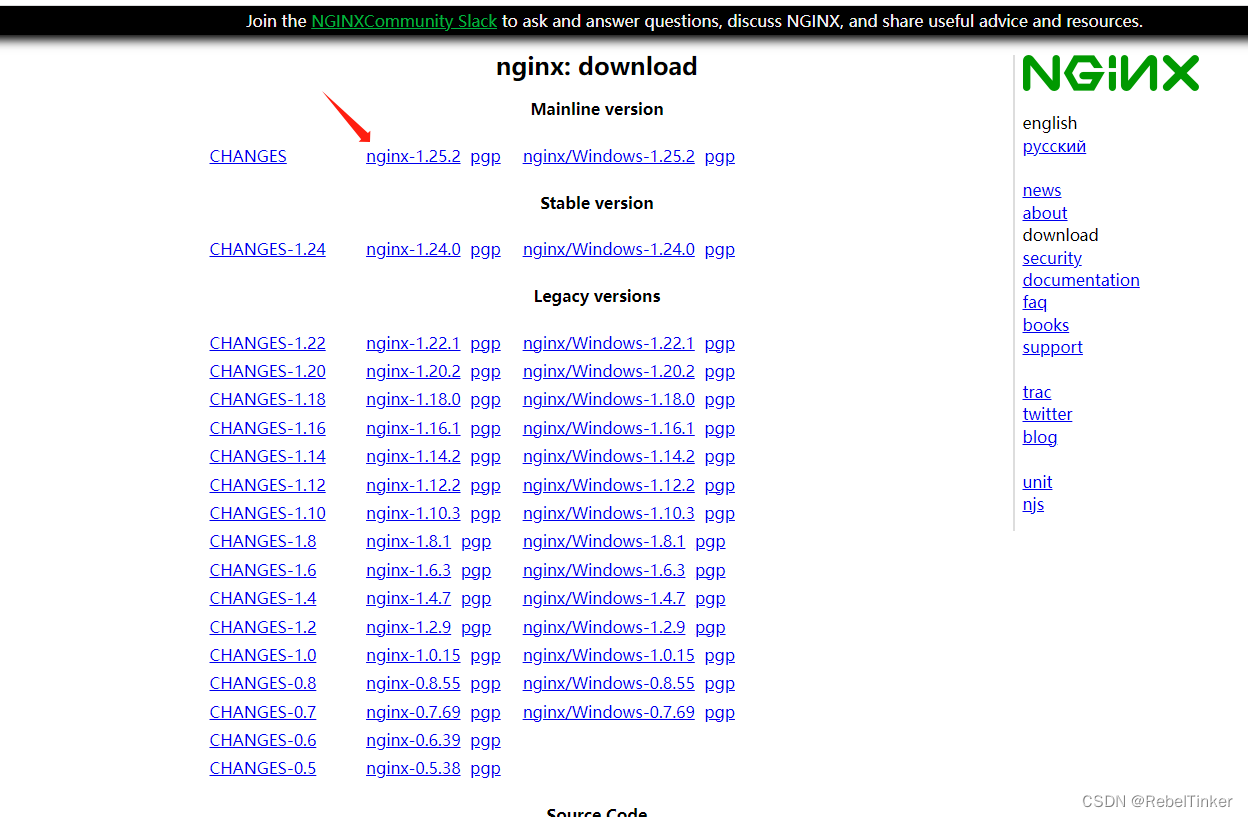
下载后上传服务器(任意目录) 这里就上传到/home/目录下
cd 进入/home 目录
tar -zxvf 上传的压缩包 解压之后 cd 进入nginx-1.25.2目录
安装openssl、zlib、gcc依赖
yum -y install make zlib zlib-devel gcc-c++ libtool openssl openssl-devel
安装
模块说明: 善用GPT,根据自己需要选择模块
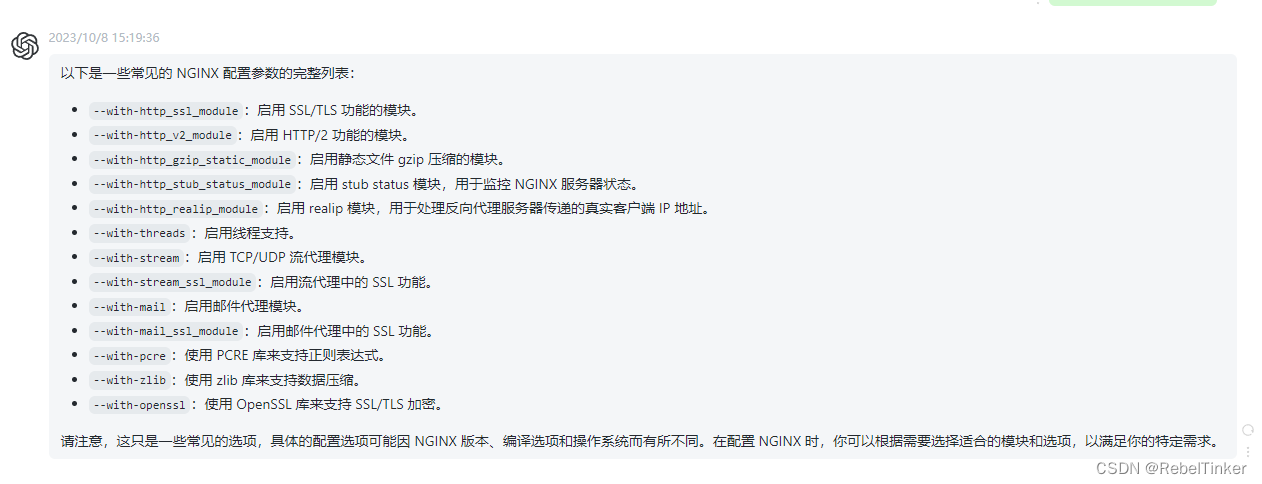
--with-http_ssl_module:启用 SSL/TLS 功能的模块。
--with-http_v2_module:启用 HTTP/2 功能的模块。
--with-http_gzip_static_module:启用静态文件 gzip 压缩的模块。
--with-http_stub_status_module:启用 stub status 模块,用于监控 NGINX 服务器状态。
--with-http_realip_module:启用 realip 模块,用于处理反向代理服务器传递的真实客户端 IP 地址。
--with-threads:启用线程支持。
--with-stream:启用 TCP/UDP 流代理模块。
--with-stream_ssl_module:启用流代理中的 SSL 功能。
--with-mail:启用邮件代理模块。
--with-mail_ssl_module:启用邮件代理中的 SSL 功能。
--with-pcre:使用 PCRE 库来支持正则表达式。
--with-zlib:使用 zlib 库来支持数据压缩。
--with-openssl:使用 OpenSSL 库来支持 SSL/TLS 加密。
注意:–prefix为指定安装目录,如果不指定默认安装位置为/usr/local/nginx
执行命令 2种任选其一
#./configure --prefix=/home/nginx --with-http_stub_status_module  --with-http_ssl_module --with-pcre
./configure  --with-http_stub_status_module  --with-http_ssl_module --with-pcre
make && make install
安装完成
cd /usr/local/nginx/sbin
启动nginx
./nginx
如果嫌每次进入/usr/local/nginx/sbin 操作nginx麻烦 ,则可以配置环境变量
vim /etc/profile
在最末尾添加上下面2行 这样就可以在任何目录使用nginx命令了
export NGINX_HOME=/usr/local/nginx
export PATH=$PATH:$NGINX_HOME/sbin
添加完成后:wq 保存
刷新配置 完事
source /etc/profile
开始部署项目
cd /usr/local/nginx/conf
http配置
关注server模块即可
#user  nobody;
worker_processes 1;

#error_log  logs/error.log;
#error_log  logs/error.log  notice;
#error_log  logs/error.log  info;

#pid        logs/nginx.pid;
events {
    worker_connections 1024;
}


http {
    include mime.types;
    default_type application/octet-stream;
    sendfile on;
    keepalive_timeout 60s;
    # 限制body大小
    client_max_body_size 100m;
    log_format main '$remote_addr - $remote_user [$time_local] "$request" '
    '$status $body_bytes_sent "$http_referer" '
    '"$http_user_agent" "$http_x_forwarded_for"';
    access_log /usr/local/nginx/logs/access.log main;

	upstream SERVERAPI{
		#可以设置分配权重
		#参考博客:https://blog.csdn.net/weixin_46575363/article/details/125746263
		#也可以问问GPT
        server 192.168.1.2:8080;
        server 192.168.1.3:8080;;
    }
	 server {
	        listen 10000;
	        server_name 192.168.1.11;
	        error_page 497 http://$host:10000$uri;

	        location / {
	            #指定文件根目录,前端项目地址
	            root /usr/local/nginx/html/auth-admin;
	            #默认页面
	            index index.html;
	            # 配置使用路由
	            try_files $uri $uri/ /index.html;
	        }
	        #后端代理地址,nginx的反向代理
	        location /test-api/ {
	        	#如果有多个后端集群的话,就使用upstream
	        	#proxy_pass http://SERVERAPI/;
	            proxy_pass http://192.168.78.201:9900/;
	        }
	    }
    }
https配置
   server {
   		#一般https为443端口,有些特殊情况,如没有443端口的的情况下,使用其他端口也行
   		#如使用10000端口,那么在浏览器访问时就需要使用https://baidu.com:10000访问即可
        listen 443 ssl;
        #这里写域名,这里以百度为例
        server_name www.baidu.com;
		#/usr/local/nginx/conf/ssl/阿里云,腾讯云.pem;下面这2个文件,如果是云服务器,可以去官网获取对应的文件
		#获取到文件后下载,上传服务器到指定位置,这里的位置为/usr/local/nginx/conf/ssl/下
        ssl_certificate /usr/local/nginx/conf/ssl/www.baidu.com.pem;
        ssl_certificate_key /usr/local/nginx/conf/ssl/www.baidu.com.key;
        ssl_session_timeout 5m;
        ssl_ciphers ECDHE-RSA-AES128-GCM-SHA256:ECDHE:ECDH:AES:HIGH:!NULL:!aNULL:!MD5:!ADH:!RC4;
        #表示使用的加密套件的类型。
        ssl_protocols TLSv1.1 TLSv1.2 TLSv1.3; #表示使用的TLS协议的类型,您需要自行评估是否配置TLSv1.1协议。
        ssl_prefer_server_ciphers on;

        error_page 497 https://www.baidu.com;

        location / {
            #指定文件根目录,前端页面地址如vue打包后的dist文件
            root /usr/local/nginx/html/auth-admin;
            #默认页面
            index index.html;
            # 配置使用路由
            try_files $uri $uri/ /index.html;
        }
        #方向代理,代理到后端接口地址
        #如果有多个后端集群的话,就使用upstream,同上
        location /test-api/ {
            proxy_pass http://192.168.78.201:9900/;
        }
    }
修改完成配置后,检查是否存在错误,如有问题按照提示内容找到问题修改即可
nginx -t
如没问题则重载配置即可
nginx -s reload


 167
167


 被折叠的 条评论
为什么被折叠?
被折叠的 条评论
为什么被折叠?
 到【灌水乐园】发言


