


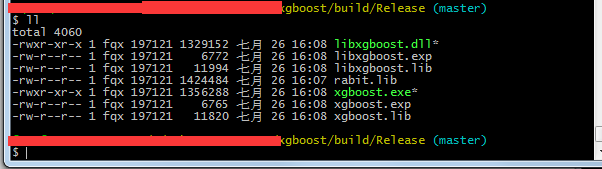
1: 首先使用windows中vs20013编译 -> build。成功后会在Release和Debug文件生成对应文件。
2:按照官方文档中的描述
To build with Visual Studio 2013 use cmake. Make sure you have a recent version of cmake added to your path and then from the xgboost directory:
2.1 这一步可以单独在vs中编译的
mkdir build
cd build
cmake .. -G”Visual Studio 12 2013 Win64”
2.2 编译成功后 libxgboost.dll (上图中)这个文件要拷贝到 python-package\xgboost目录下。
This specifies an out of source build using the MSVC 12 64 bit generator. Open the .sln file in the build directory and build with Visual Studio.
To use the Python module you can copy libxgboost.dll into python-package\xgboost.
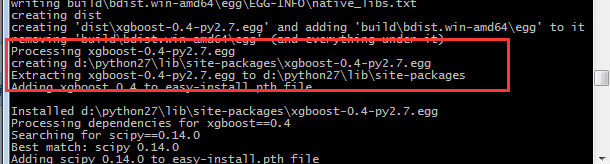
3 python 包安装
3.1 setup.py 安装

3.2 安装成功
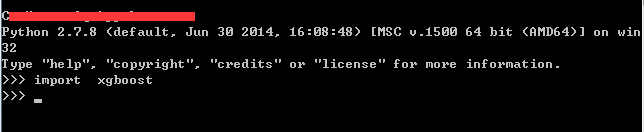
3.3 使用xgboost


 1533
1533

 被折叠的 条评论
为什么被折叠?
被折叠的 条评论
为什么被折叠?
 到【灌水乐园】发言


