


此为原创文章,转载请注明出处https://blog.csdn.net/FRYAN28/article/details/97009675
就是一个简单的demo,通过动态更改RelativeLayout的属性来实现控件切换
这里我的demo当中RelativeLayout里面放的是ImageView控件,如果需要运用到视频流上,可以把控件进行替换
布局代码
<?xml version="1.0" encoding="utf-8"?>
<RelativeLayout xmlns:android="http://schemas.android.com/apk/res/android"
xmlns:app="http://schemas.android.com/apk/res-auto"
xmlns:tools="http://schemas.android.com/tools"
android:layout_width="match_parent"
android:layout_height="match_parent"
tools:context=".MainActivity">
<RelativeLayout
android:id="@+id/big"
android:layout_width="match_parent"
android:layout_height="match_parent">
<ImageView
android:id="@+id/iv_big"
android:layout_width="match_parent"
android:layout_height="match_parent"
app:srcCompat="@android:color/holo_purple" />
</RelativeLayout>
<RelativeLayout
android:id="@+id/small"
android:layout_width="wrap_content"
android:layout_height="wrap_content"
android:layout_alignParentRight="true">
<ImageView
android:id="@+id/iv_small"
android:layout_width="match_parent"
android:layout_height="match_parent"
app:srcCompat="@android:color/holo_blue_bright" />
</RelativeLayout>
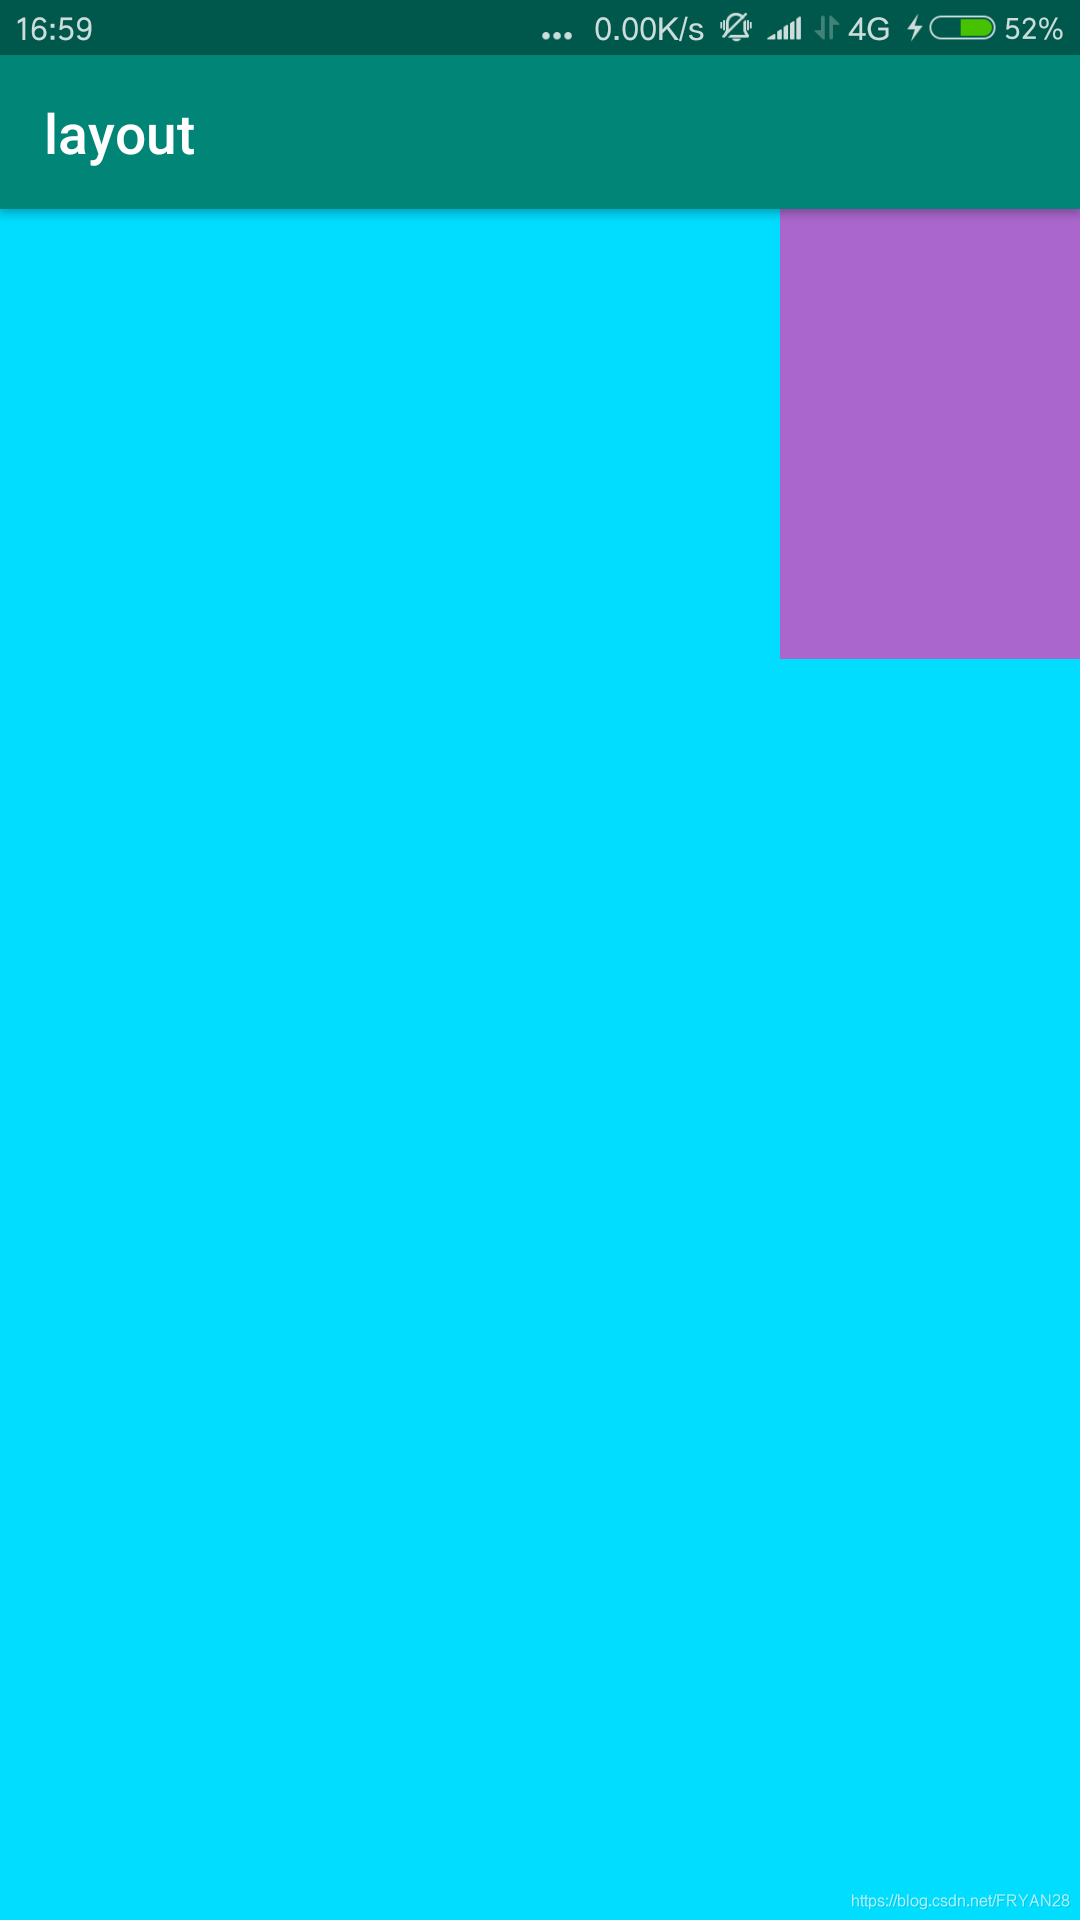
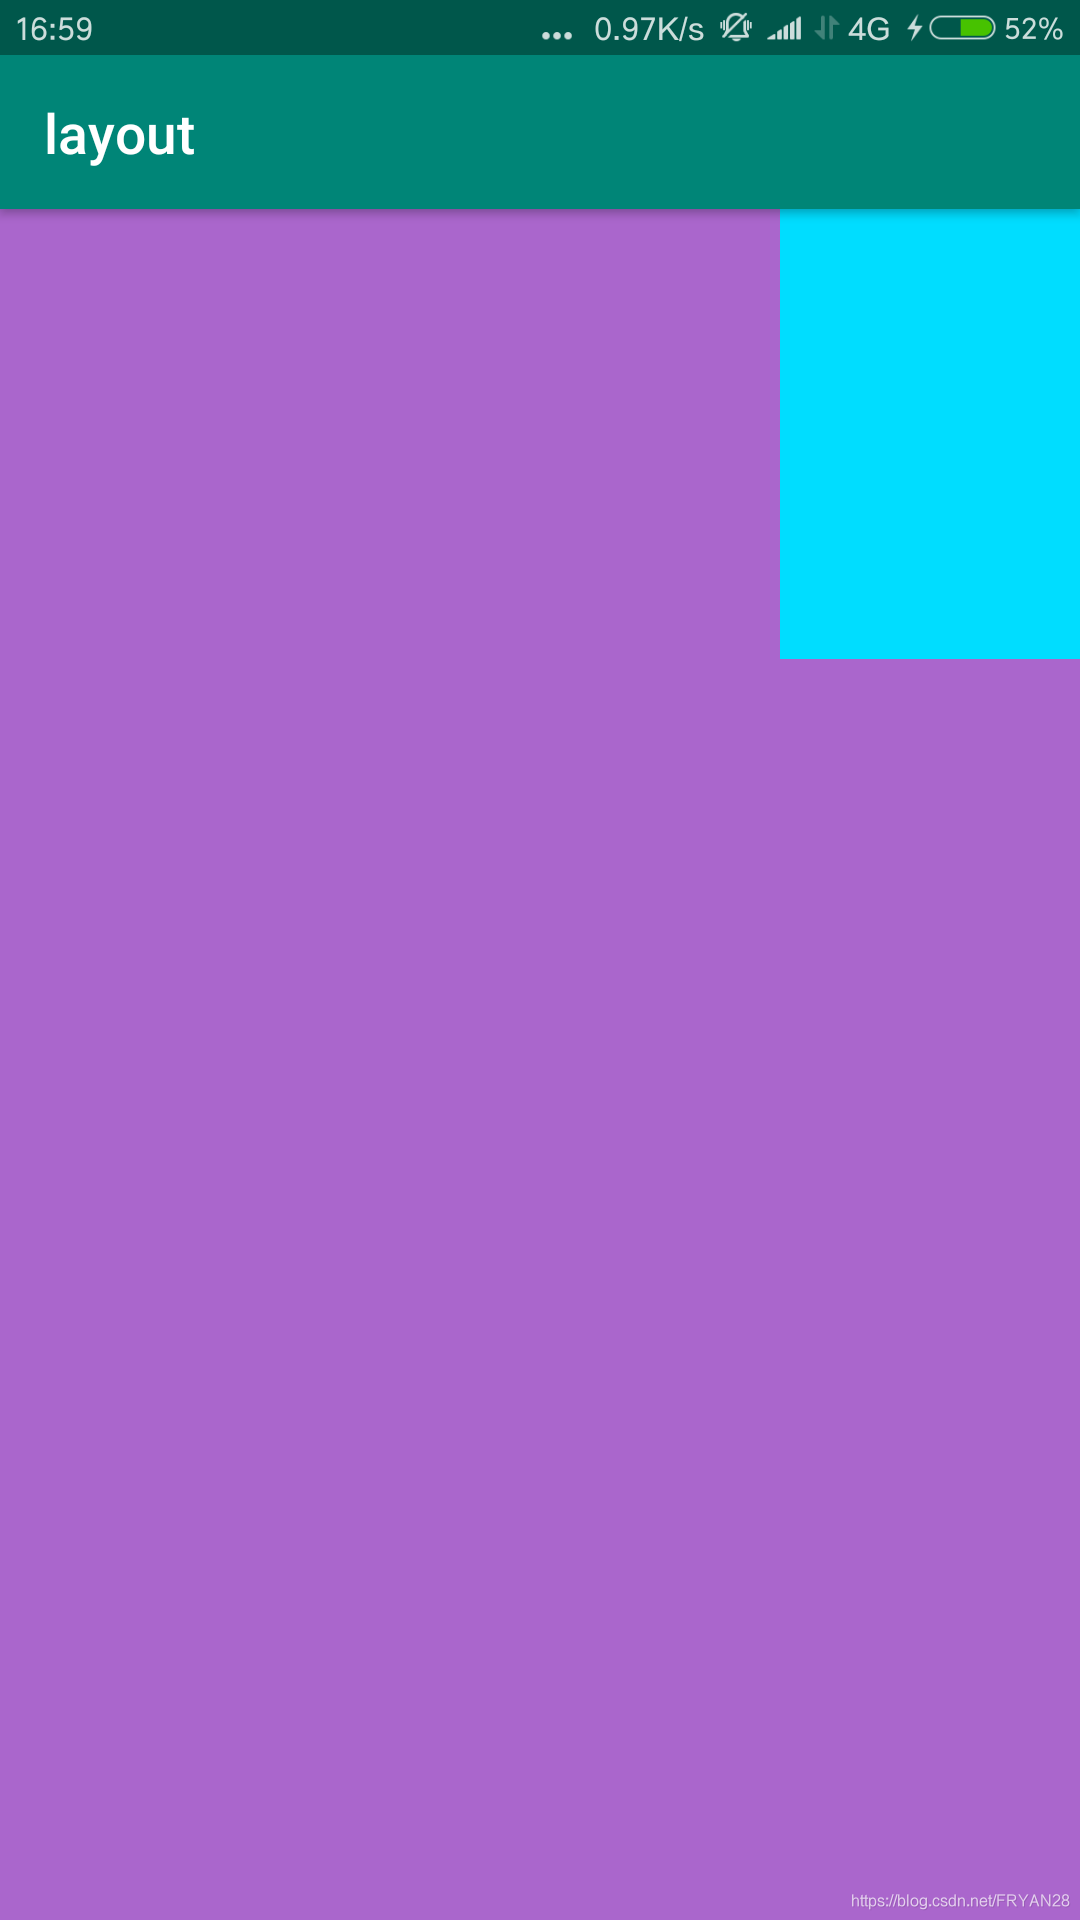
</RelativeLayout>其中,big是大布局,就是背景布局,然后small是右上角的小布局
这两个布局当中的控件的长宽都需要设置为"match_parent"
这样可以实现动态的修改,如果在前端文件写死了后面会出现问题。
通过java代码实现动态变化布局
MainActivity.class 代码如下package swl.com.layout;
import android.support.v7.app.AppCompatActivity;
import android.os.Bundle;
import android.view.View;
import android.view.ViewGroup;
import android.widget.RelativeLayout;
public class MainActivity extends AppCompatActivity implements View.OnClickListener {
private RelativeLayout big,small;
@Override
protected void onCreate(Bundle savedInstanceState) {
super.onCreate(savedInstanceState);
setContentView(R.layout.activity_main);
big = findViewById(R.id.big);
big.setOnClickListener(this);
//设置默认状态
big.setTag(false);
small = findViewById(R.id.small);
small.setOnClickListener(this);
//设置默认状态
small.setTag(true);
RelativeLayout.LayoutParams params = (RelativeLayout.LayoutParams) small.getLayoutParams();
params.addRule(RelativeLayout.ALIGN_PARENT_RIGHT);
//设置默认布局
params.width = 300;
params.height = 450;
small.setLayoutParams(params);
small.bringToFront();
}
@Override
public void onClick(View v) {
switch (v.getId()) {
case R.id.small:
switchSize((Boolean) small.getTag(), small, big);
break;
case R.id.big :
switchSize((Boolean) big.getTag(), big, small);
break;
default:
break;
}
}
/**
* @param flag 所点击控件的状态
* @param before 在前的视图
* @param after 在后的视图
*/
public void switchSize(Boolean flag , RelativeLayout before , RelativeLayout after){
if(flag == true){
//在后面的视图变小,并且提前一层
RelativeLayout.LayoutParams params = (RelativeLayout.LayoutParams) after.getLayoutParams();
params.addRule(RelativeLayout.ALIGN_PARENT_RIGHT);
params.width = 300;
params.height = 450;
after.setLayoutParams(params);
after.bringToFront();
//在前面的视图变为填充模式
before.setLayoutParams(new RelativeLayout.LayoutParams(
ViewGroup.LayoutParams.FILL_PARENT,ViewGroup.LayoutParams.FILL_PARENT));
before.setTag(false);
after.setTag(true);
} else {
}
}
}
这里我通过为大布局,和小布局设置一个Tag 来辨别它当前的状态,以此动态修改布局
这个Tag通过setTag(),getTag(),方法去设置与获取
效果,点击右上角的小图后,会进行切换,点击大图不会进行切换
需要源码的可以点击下载


 376
376

 被折叠的 条评论
为什么被折叠?
被折叠的 条评论
为什么被折叠?
 到【灌水乐园】发言


