


How to install the latest Eclipse in Ubuntu 14+
![]()
This is a rewrite about how to install the latest Eclipse IDE in Ubuntu, since the old tutorial does no longer work after the Eclipse Installer was rolled out. Works on all Ubuntu releases.
1. Install Java.
Don’t have Java installed? Search for and install OpenJDK Java 7 or 8 via Software Center. Or install oracle java by followingthis post.
2. Download Eclipse from its website.
Check out your OS Type, 32-bit or 64-bit, by going to System Settings -> Details -> Overview, then select download Linux 32-bit or 64-bit of Eclipse Installer.
3. Run the installer wizard.
Decompress the downloaded archive in your file browser and navigate to the result “eclipse-installer” folder, right-click on fileeclipse-inst and select Run.
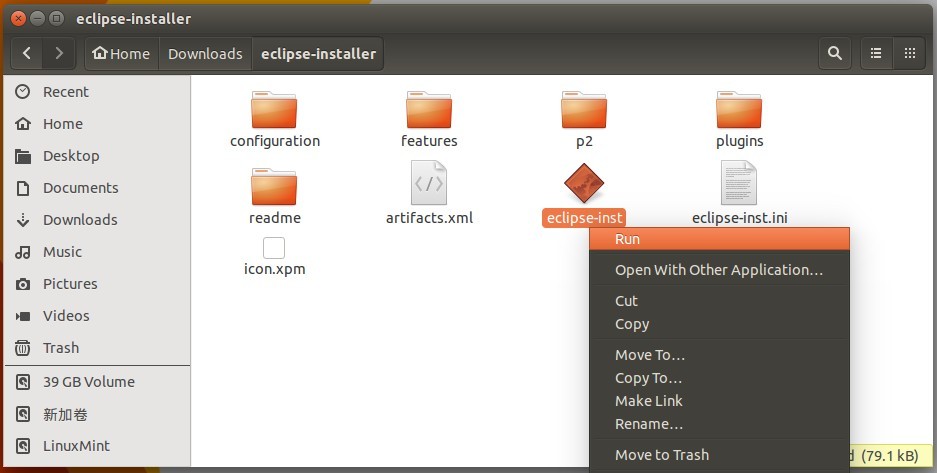
Don’t see the “Run” option? Go to file browser’s Menu Edit -> Preferences -> Behavior -> check “Run executable text files when they are opened”, and finally log out and back in (or runnautilus -q command in terminal).
When the wizard launches, select install item, then installation folder, and finally click INSTALL button.
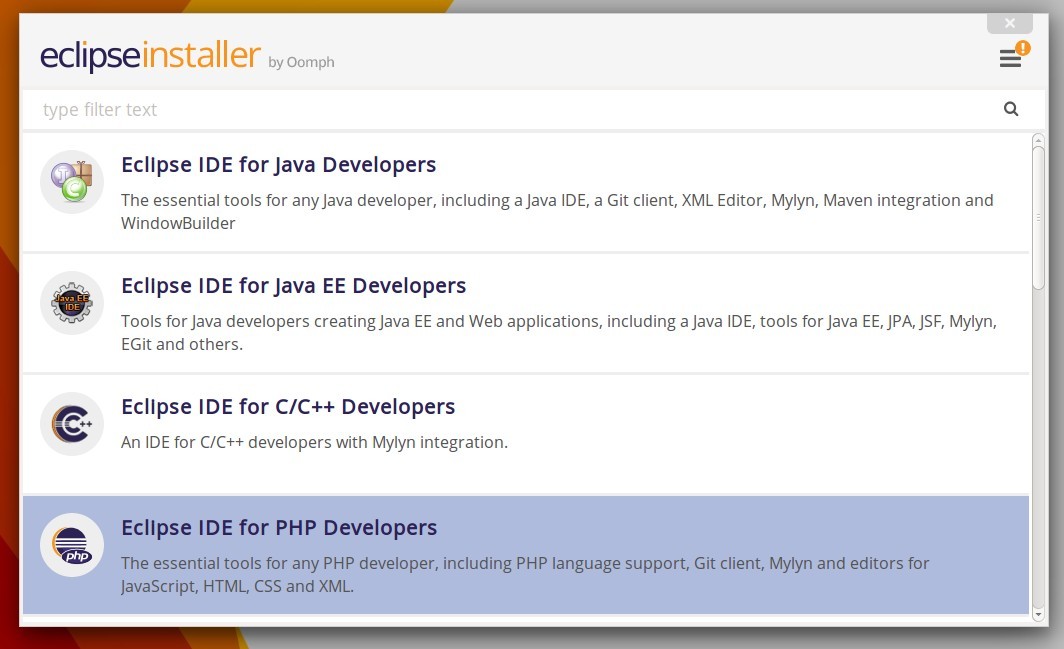
You may select Advanced Mode from top-right menu to get more options, network proxy settings, etc.
4. Create a launcher shortcut.
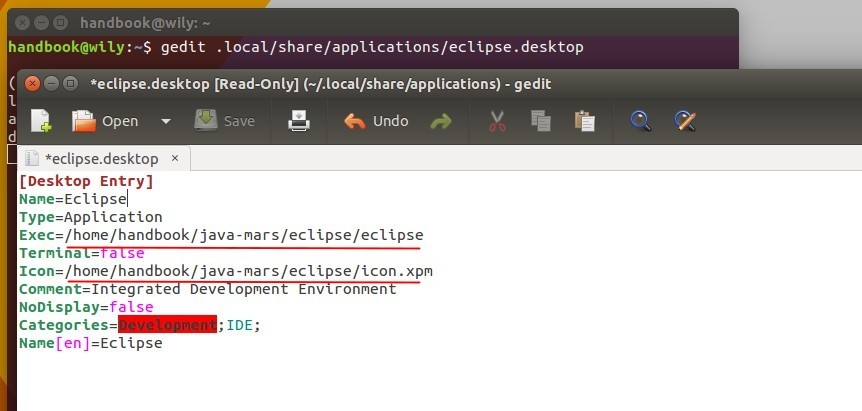
Open terminal from Unity Dash, Application Launcher, or via Ctrl+Alt+T shortcut key. When it opens, paste below command and run:
gedit .local/share/applications/eclipse.desktop
The command creates and opens a launcher file, for current user, with gedit text editor. When it opens, paste below content:
[Desktop Entry]
Name=Eclipse
Type=Application
Exec=/home/USERNAME/java-mars/eclipse/eclipse
Terminal=false
Icon=/home/USERNAME/java-mars/eclipse/icon.xpm
Comment=Integrated Development Environment
NoDisplay=false
Categories=Development;IDE;
Name[en]=Eclipse
Depends on your installation folder, check out in file browser, change the value in red.


 375
375


 被折叠的 条评论
为什么被折叠?
被折叠的 条评论
为什么被折叠?
 到【灌水乐园】发言


