


快速开始
2.1创建webApps项目
启动 MyEclipse,新建立一个 WebApps( File->New->Project->Web Project) ,给 Project Name 为 SayHello ,其他保持不改变。
2.2创建WSDL文件
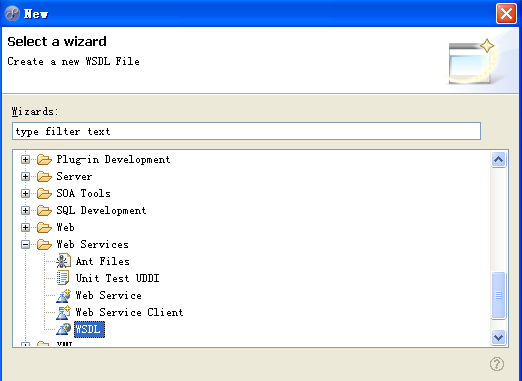
A.选择File->New-Other菜单,进入后找到 MyEclipse->Web Services并选择 WSDL.如下图:
B.点击下一步按钮,显示如下图:
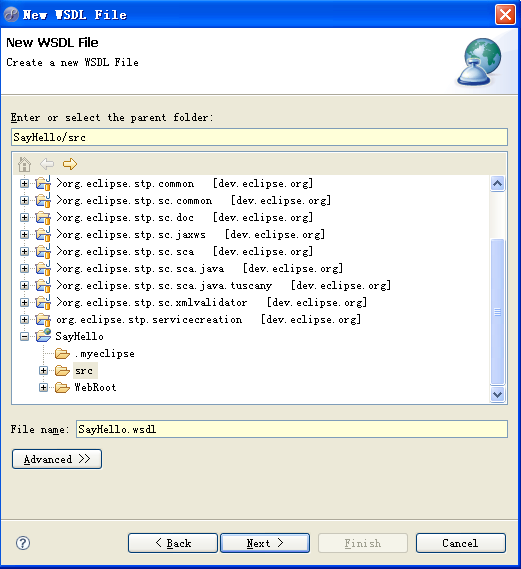
C.选择“ src”目录作为“ Enter or select the parent folder”的值,“ File name”值给定为 SayHello.wsdl。
D.下一步》所有界面内容取默认值,Finish!
E.显示 WSDL设计器的界面如下:
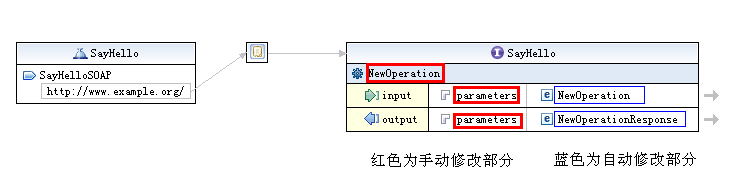
F.修改图中标红色的部分:
修改图中的NewOperation为SayHello;
修改input中parameters为SayHelloRequest;
修改output中parameters为SayHelloResponse;
修改完后如下图:
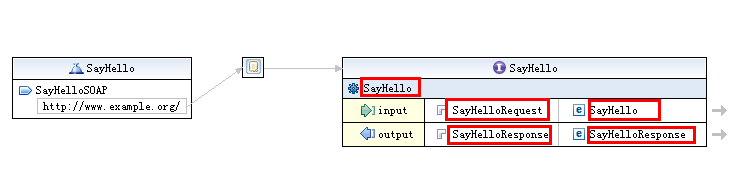
红色框内为变化的内容,WSDL文件修改完毕。
2.3从 WSDL生成 Java代码
A.选择菜单“ File->New->Other”,从对话框中选取“ Axis2 Wizards”下面的“ Axis2 Code Generator”.点击“ Next”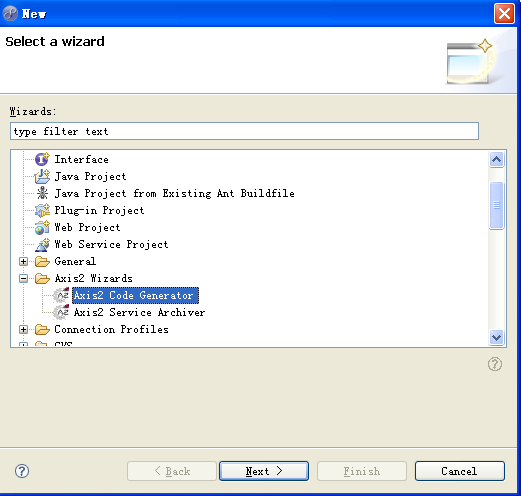
B.进入下一个页面,保持“ Generate java source code from WSDL file”被选中,点击“ Next”进入下一步。
C.点击“ Browse”来选取存放在 src目录下的 SayHello.wsdl文件,“ Next” 进入下一步。
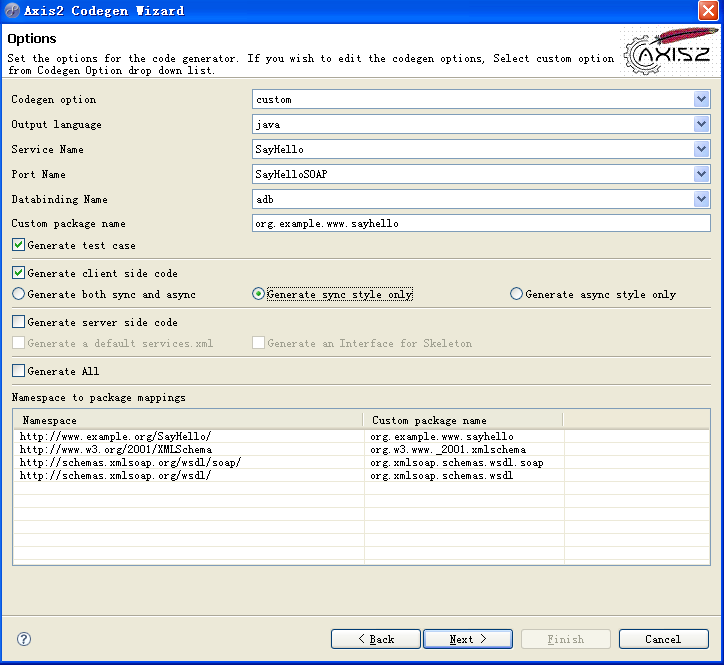
D.首先生成客户端代码和测试代码,设置如下:
E.下一步后,选择SayHellosrc目录,如下图:
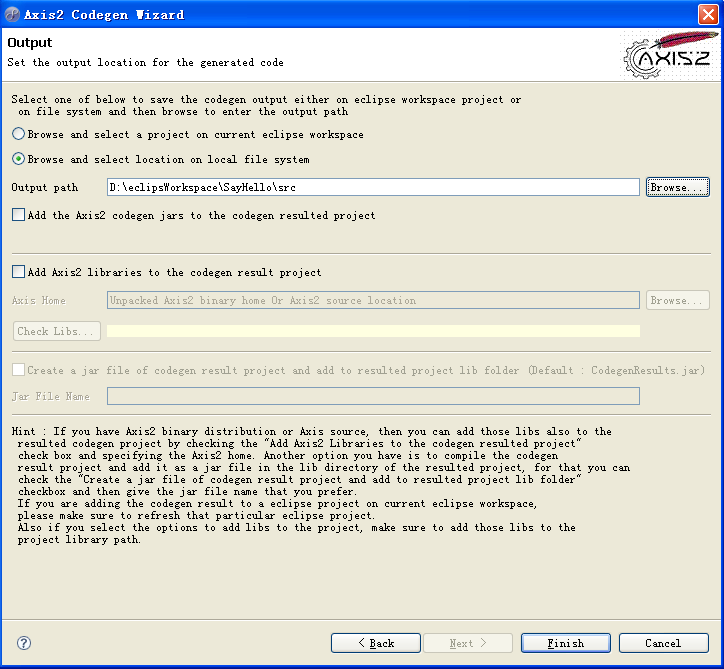
Finish !
F.重复从A到C的步骤,然后生成服务端代码,设置如下:
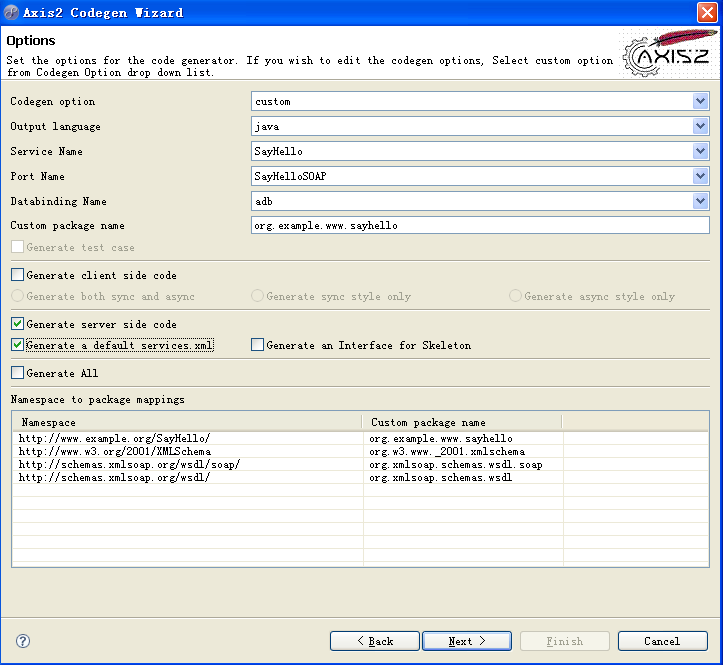
后面同E。
G.结束后,刷新项目,如图:
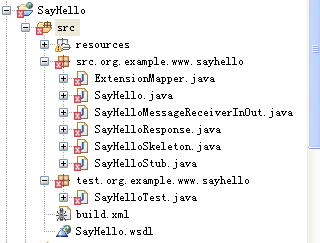
这是由于没有将Axis2的 jar包放入 class path 中以及源代码的 package不为 org.example.www.sayhello引起的。
H.修改包名为org.example.www.sayhello并从tomcat中的 axis2 web应用 WEB-INF/lib目录中加载所有 jar包到项目的classpath中。
I.在SayHelloTest.java 中引入 junit包。
2.4 编写业务代码
打开 SayHelloSKeleton.java文件其中的方法如下:
{
// Todo fill this with the necessary business logic
throw new java.lang.UnsupportedOperationException();
}
修改为:
{
try {
}
2.5打包
A.选择菜单“ File->New->Other”,从对话框中选取“ Axis2 Wizards”下面的“ Axis2 Services Archive”.点击“ Next”进入下一个页面 。
B.选择编译好的 class文件所在目录(本项目应该是 WebRoot下面 WEB-INF/classes),“ Next”进入下一步。
C.选择 WSDL文件所在目录,此处为 src目录下的 SayHello.wsdl文件。“ Next”,再“ Next”。选择 services.xm文件。
D.点击“ Next”,将记入最后一个页面,此处有两个选项,一个是输出目录一个是处处文件名称。这里的输出文件名称给的是 SayHello。点击“ Finish”完成。
2.6部署
A.将打包好的文件 SayHello.jar拷贝到 Tomcat中已经部署的 Axis2应用的 WEB-INF/services目录下面。
B.重新启动 Tomcat。
C.打开浏览器,输入 http://127.0.0.1:8080/axis2 ,并点击其中的“ services”链接可以看到 SayHello已经被部署。点击 SayHello提供的连接可以看到与之对应的 WSDL。
2.7 调用测试
A.修改 SayHelloTest.java文件中的方法 testSayHello 的内容为:
org.example.www.sayhello.SayHelloStub stub = new org.example.www.sayhello.SayHelloStub(url);
org.example.www.sayhello.SayHelloStub.SayHello request = (org.example.www.sayhello.SayHelloStub.SayHello) getTestObject(org.example.www.sayhello.SayHelloStub.SayHello.class);
request.setIn("Teamlet");
System.out.println(stub.SayHello(request).getOut());
assertNotNull(stub.SayHello(request));
}
从菜单中选择“ Run- >Run as->JUnit Test 完成测试!
<EOF>
--------------------------------
NOTE:
Latest version(1.4.1 in my case) of axis2 eclipse plug-in "Axis2_Codegen_Wizard_1.3.0"
will throw exception:
"An error occurred while completing process
-java.lang.reflect.InvocationTargetException"
while u trying to perform WSDL2Java operation.
This happens due to missing two .jar files.
My solution (eclipse3.3+jdk6+win32) :
1.Copy " geronimo-stax-api_1.0_spec-1.0.1.jar " and
" backport-util-concurrent-3.1.jar " from % axis2_home%/lib folder to eclipse/plugins
/Axis2_Codegen_Wizard_1.3.0/lib folder.
2.Modify plugins.xml in the same folder, add some code as following:
<runtime>
...
<library name="lib/geronimo-stax-api_1.0_spec-1.0.1.jar">
<export name="*"/>
</library>
<library name="lib/backport-util-concurrent-3.1.jar">
<export name="*"/>
</library>
...
</runtime>
For someone(eclipse 3.4 users?) this is enough to make the annoying
exception disappeared. But if the generator still complains the same
problem, u might need to do several steps more :
delete Axis2_Codegen_Wizard_1.3.0 from eclipse -> restart eclipse
-> reinstall Axis2_Codegen_Wizard_1.3.0
-> restart eclipse again.
One thing i've experienced with eclipse is that it caches some of the
classes, plugin configurations. So eventhough u update the plugin or
overwrite the existing one it uses this cached information for some
reason.. stupid enough -r-


 1521
1521

 被折叠的 条评论
为什么被折叠?
被折叠的 条评论
为什么被折叠?
 到【灌水乐园】发言


