一、简述
前段时间用了QGraphicsView做了一些工作,然而如何实现QGraphicsView的放大缩小的效果也很简单,直接重写QGraphicsView的wheelEvent事件即可,上一篇文章中也提到了,但是仅仅通过以下代码实现放大缩小的效果并不是很完美。
虽然达到了放大缩小的效果,但是并没有像百度地图一样能够按照鼠标某一点进行缩放,仅靠以下代码对view进行缩放会导致view上的item在放大缩小的过程中跑偏了。
void CustomView::wheelEvent(QWheelEvent *event)
{
	// 当前放缩倍数;
	qreal scaleFactor = this->matrix().m11();
	int wheelDeltaValue = event->delta();
	// 向上滚动,放大;
	if (wheelDeltaValue > 0)
	{
		this->scale(1.2, 1.2);
	}
	// 向下滚动,缩小;
	else
	{
		this->scale(1.0 / 1.2, 1.0 / 1.2);
	}
}
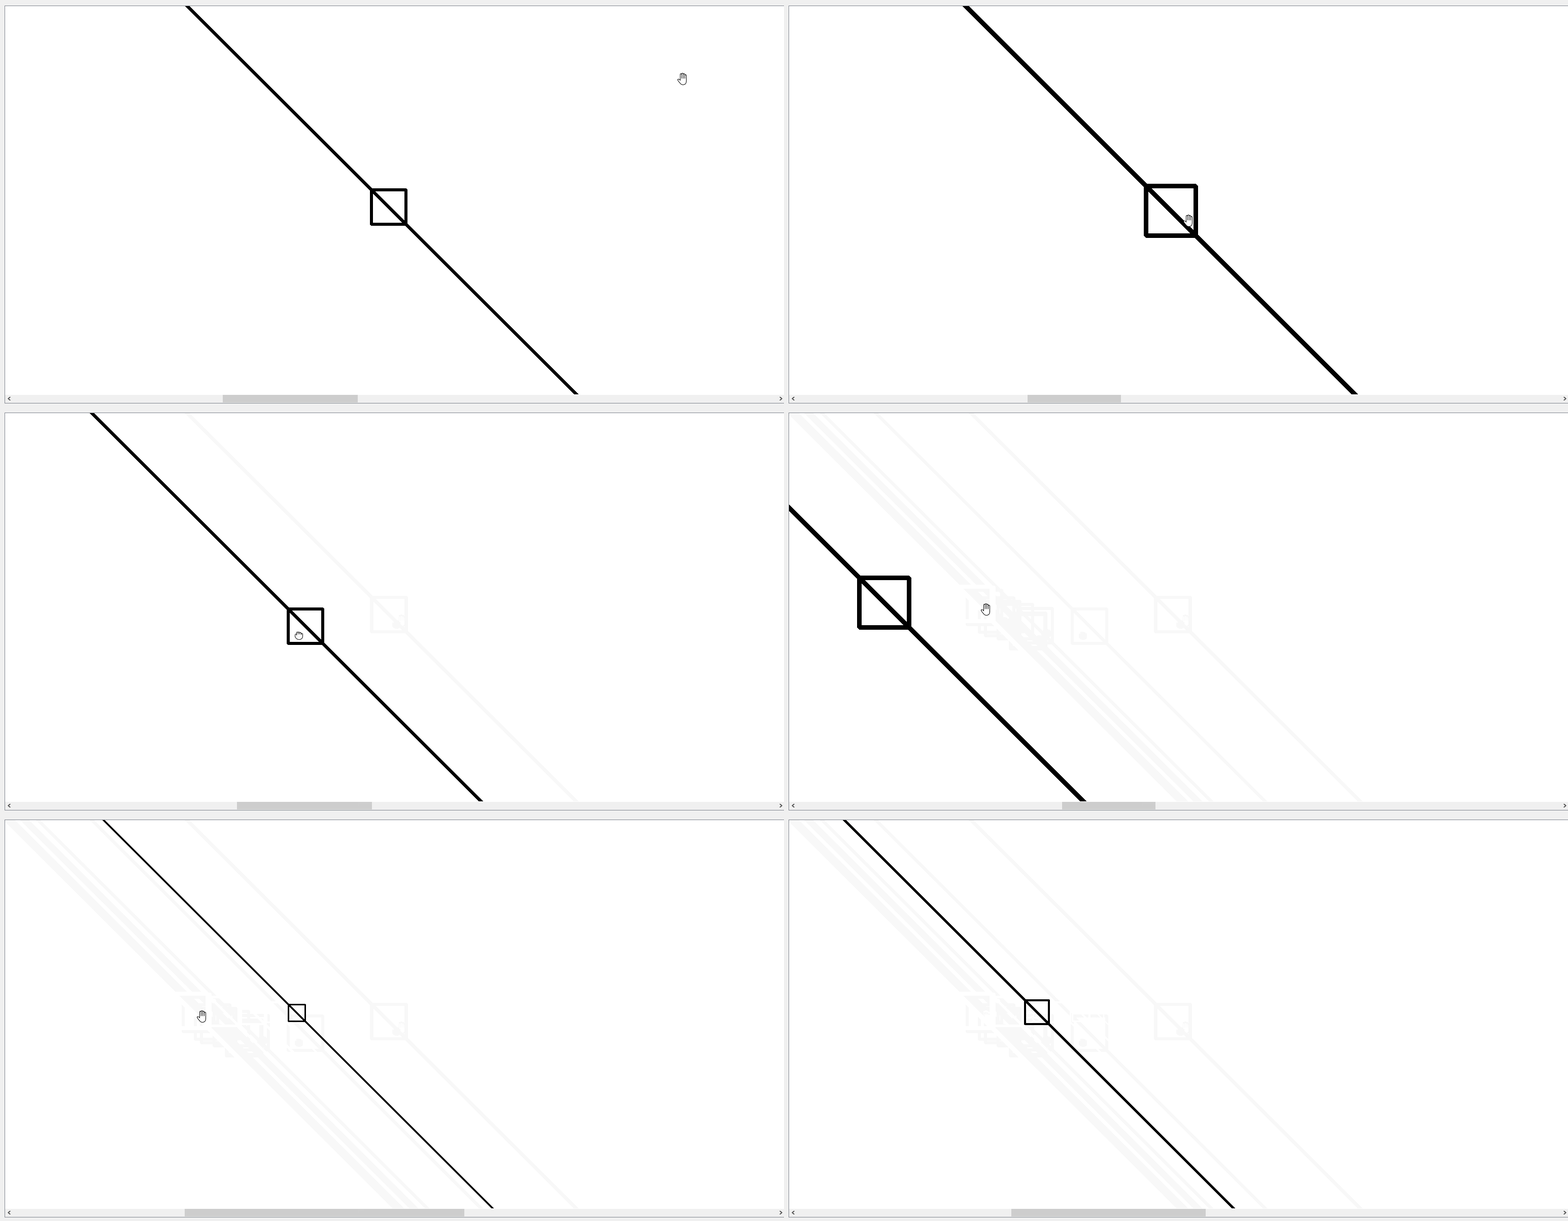
我们看一下仅靠以上代码实现的放大缩小的效果。
从下图中我们看到把图中小矩形放到屏幕中央进行放大缩小时,效果还是可以的,但是当我们吧小矩形拖到屏幕靠左位置时(或者靠右,只要不是中央位置),我们发现放大所需时小矩形位置偏移较为严重,为了就解决这个问题,闭关修炼了三天,终于解决了。期间各种百度,看助手文档,后来有位小伙伴推荐了一篇文章用MFC实现了图片按照鼠标点进行放大缩小效果,虽然达到了类似的效果,但是和QGraphicsView的原理不一样。那篇文章中通过放大后重新计算图片的位置,然后在对应位置进行重绘。
最后的最后,在QGraphicsView的源码中找到了方法的思路。

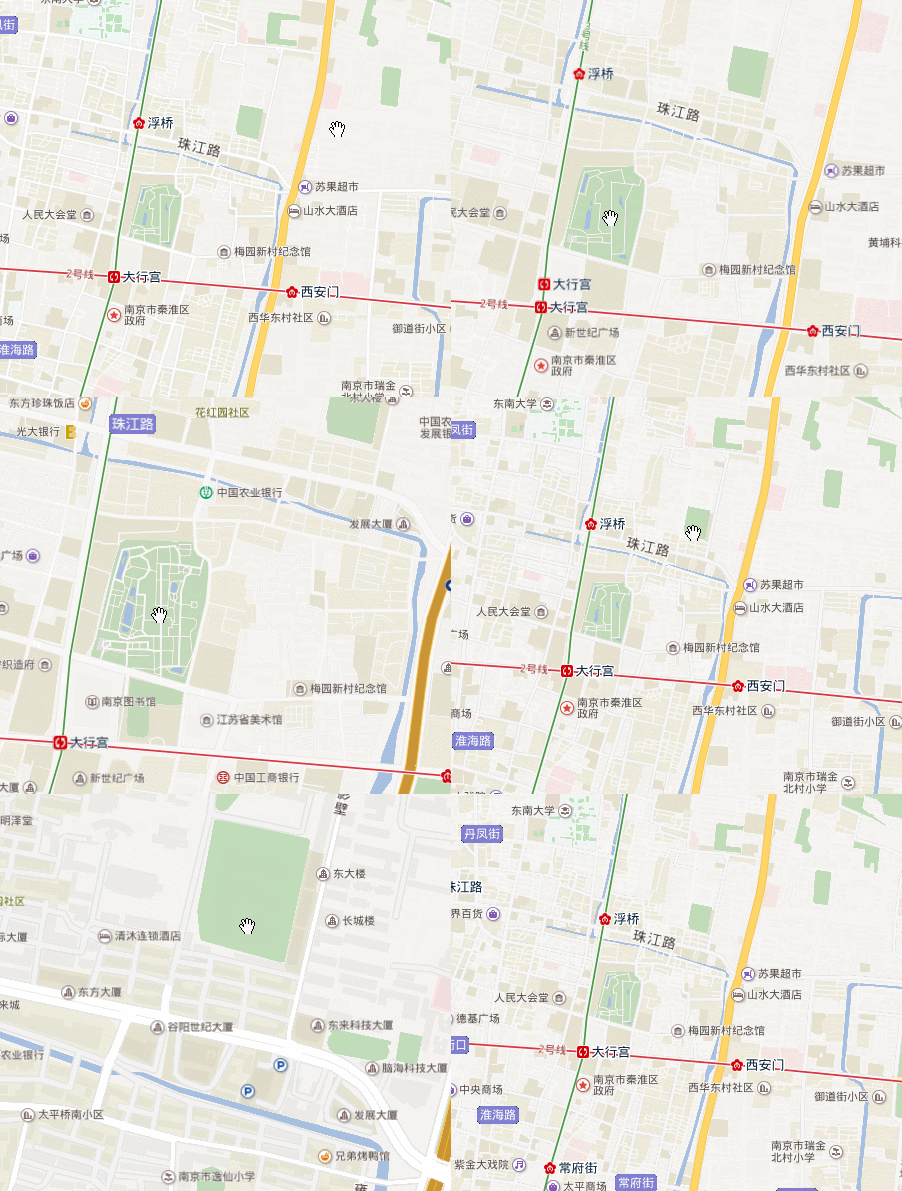
我们再看一下百度地图放大缩小的效果(因为受到了图片大小的限制,就截了一小块)。
大家可以看到鼠标分别放到两个绿色矩形区域进行放大缩小的效果,可以看到都是按照鼠标点进行缩放的。

二、代码之路
好了,上面说明了问题,下面就开始针对这个问题进行解决。话不多说,直接上代码。
void CustomView::wheelEvent(QWheelEvent *event)
{
	// 获取当前鼠标相对于view的位置;
	QPointF cursorPoint = event->pos();
	// 获取当前鼠标相对于scene的位置;
	QPointF scenePos = this->mapToScene(QPoint(cursorPoint.x(), cursorPoint.y()));

	// 获取view的宽高;
	qreal viewWidth = this->viewport()->width();
	qreal viewHeight = this->viewport()->height();

	// 获取当前鼠标位置相当于view大小的横纵比例;
	qreal hScale = cursorPoint.x() / viewWidth;
	qreal vScale = cursorPoint.y() / viewHeight;

	// 当前放缩倍数;
	qreal scaleFactor = this->matrix().m11();
	int wheelDeltaValue = event->delta();
	// 向上滚动,放大;
	if (wheelDeltaValue > 0)
	{
		this->scale(1.2, 1.2);
	}
	// 向下滚动,缩小;
	else
	{
		this->scale(1.0 / 1.2, 1.0 / 1.2);
	}

	// 将scene坐标转换为放大缩小后的坐标;
	QPointF viewPoint = this->matrix().map(scenePos);
	// 通过滚动条控制view放大缩小后的展示scene的位置;
	horizontalScrollBar()->setValue(int(viewPoint.x() - viewWidth * hScale));
	verticalScrollBar()->setValue(int(viewPoint.y() - viewHeight * vScale));
}
通过上面的代码即可实现QGraphicsView按照鼠标点进行放大缩小的效果。
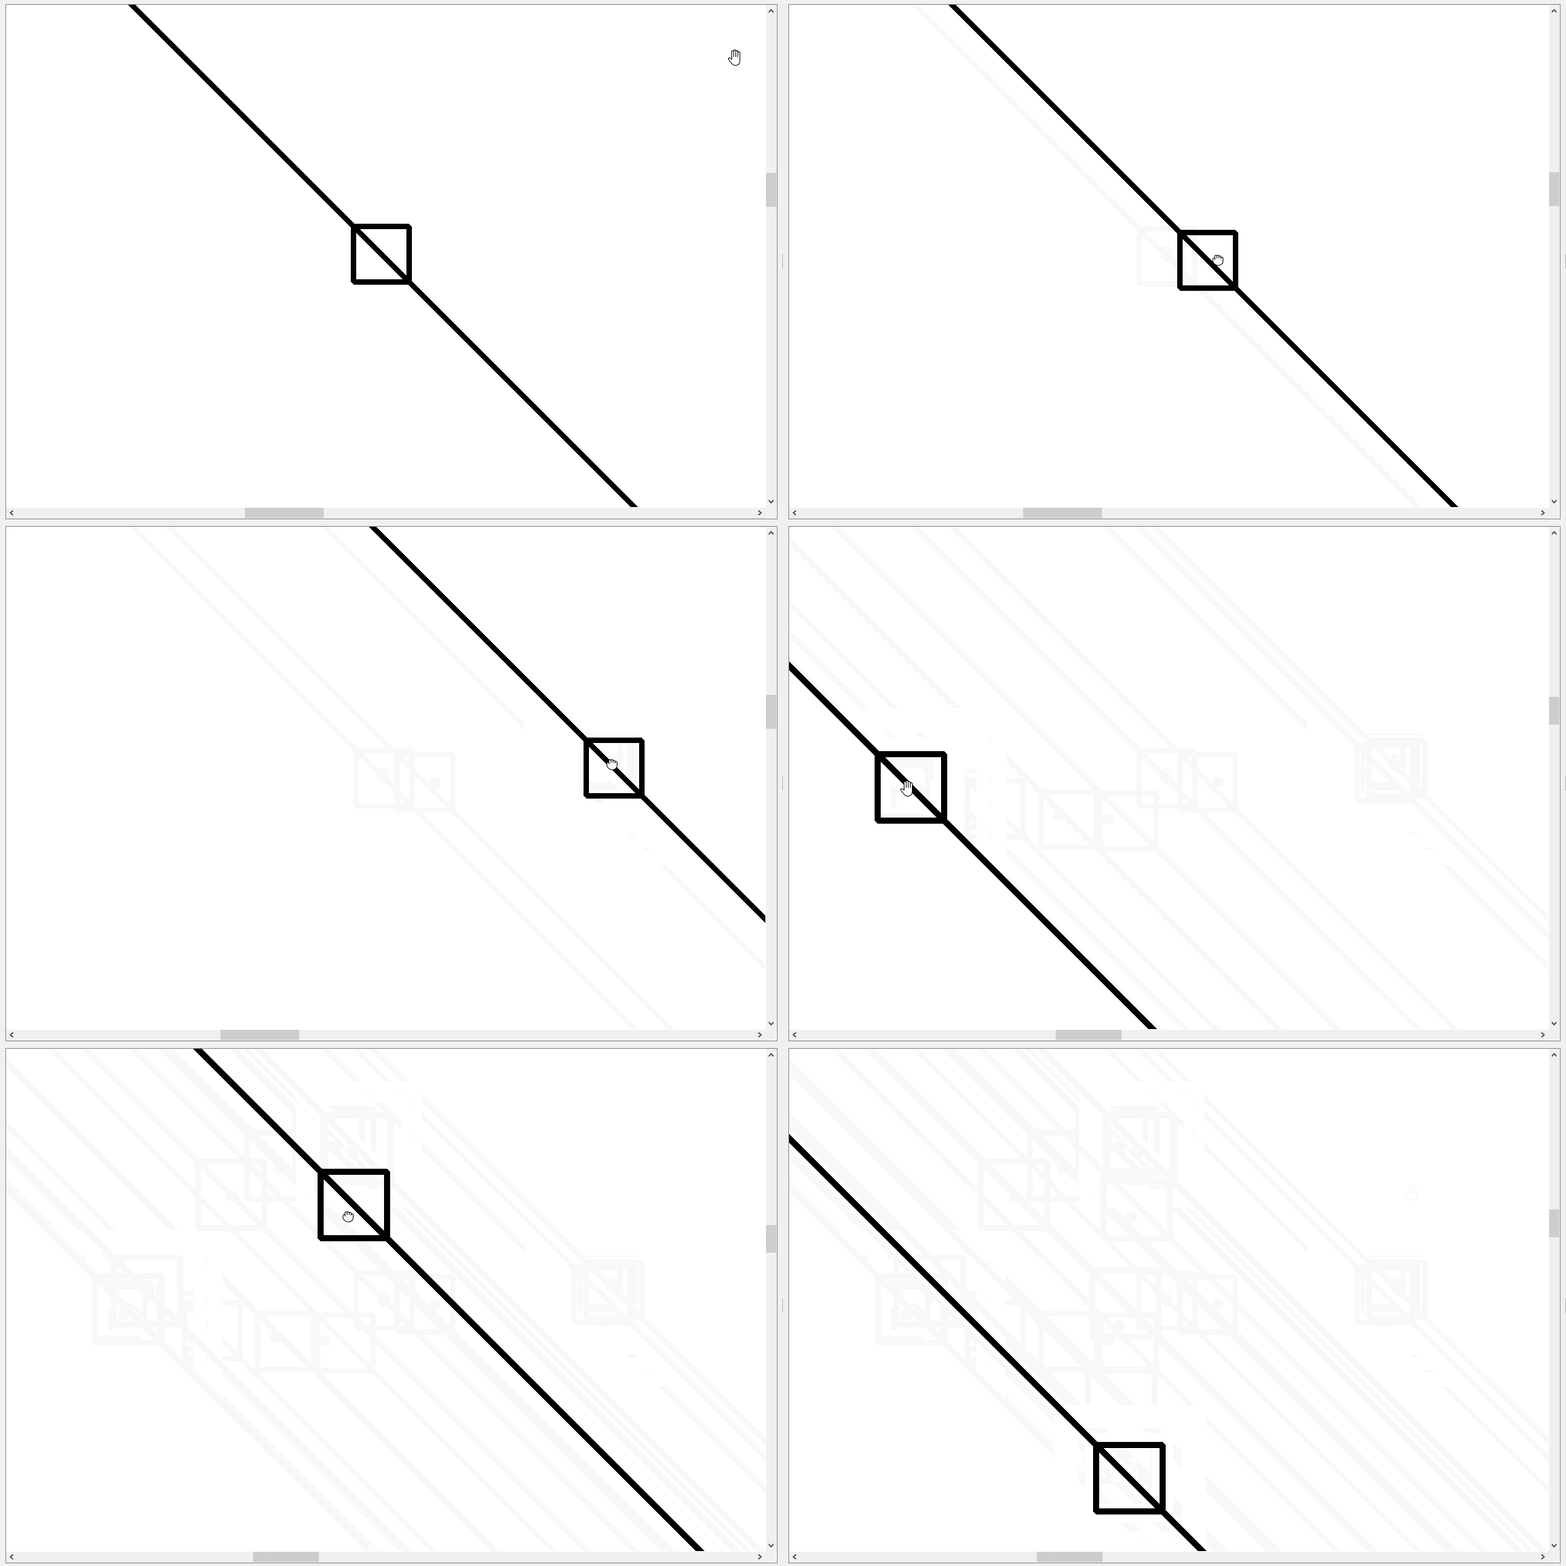
我们看一下效果,图一中我分别将将小矩形拖到屏幕的上、下、左、右四个方位,我们发现都是按照鼠标点进行了放缩(gif图录制软件在拖到小矩形时生成的图片有点阴影,大家可以忽略)。
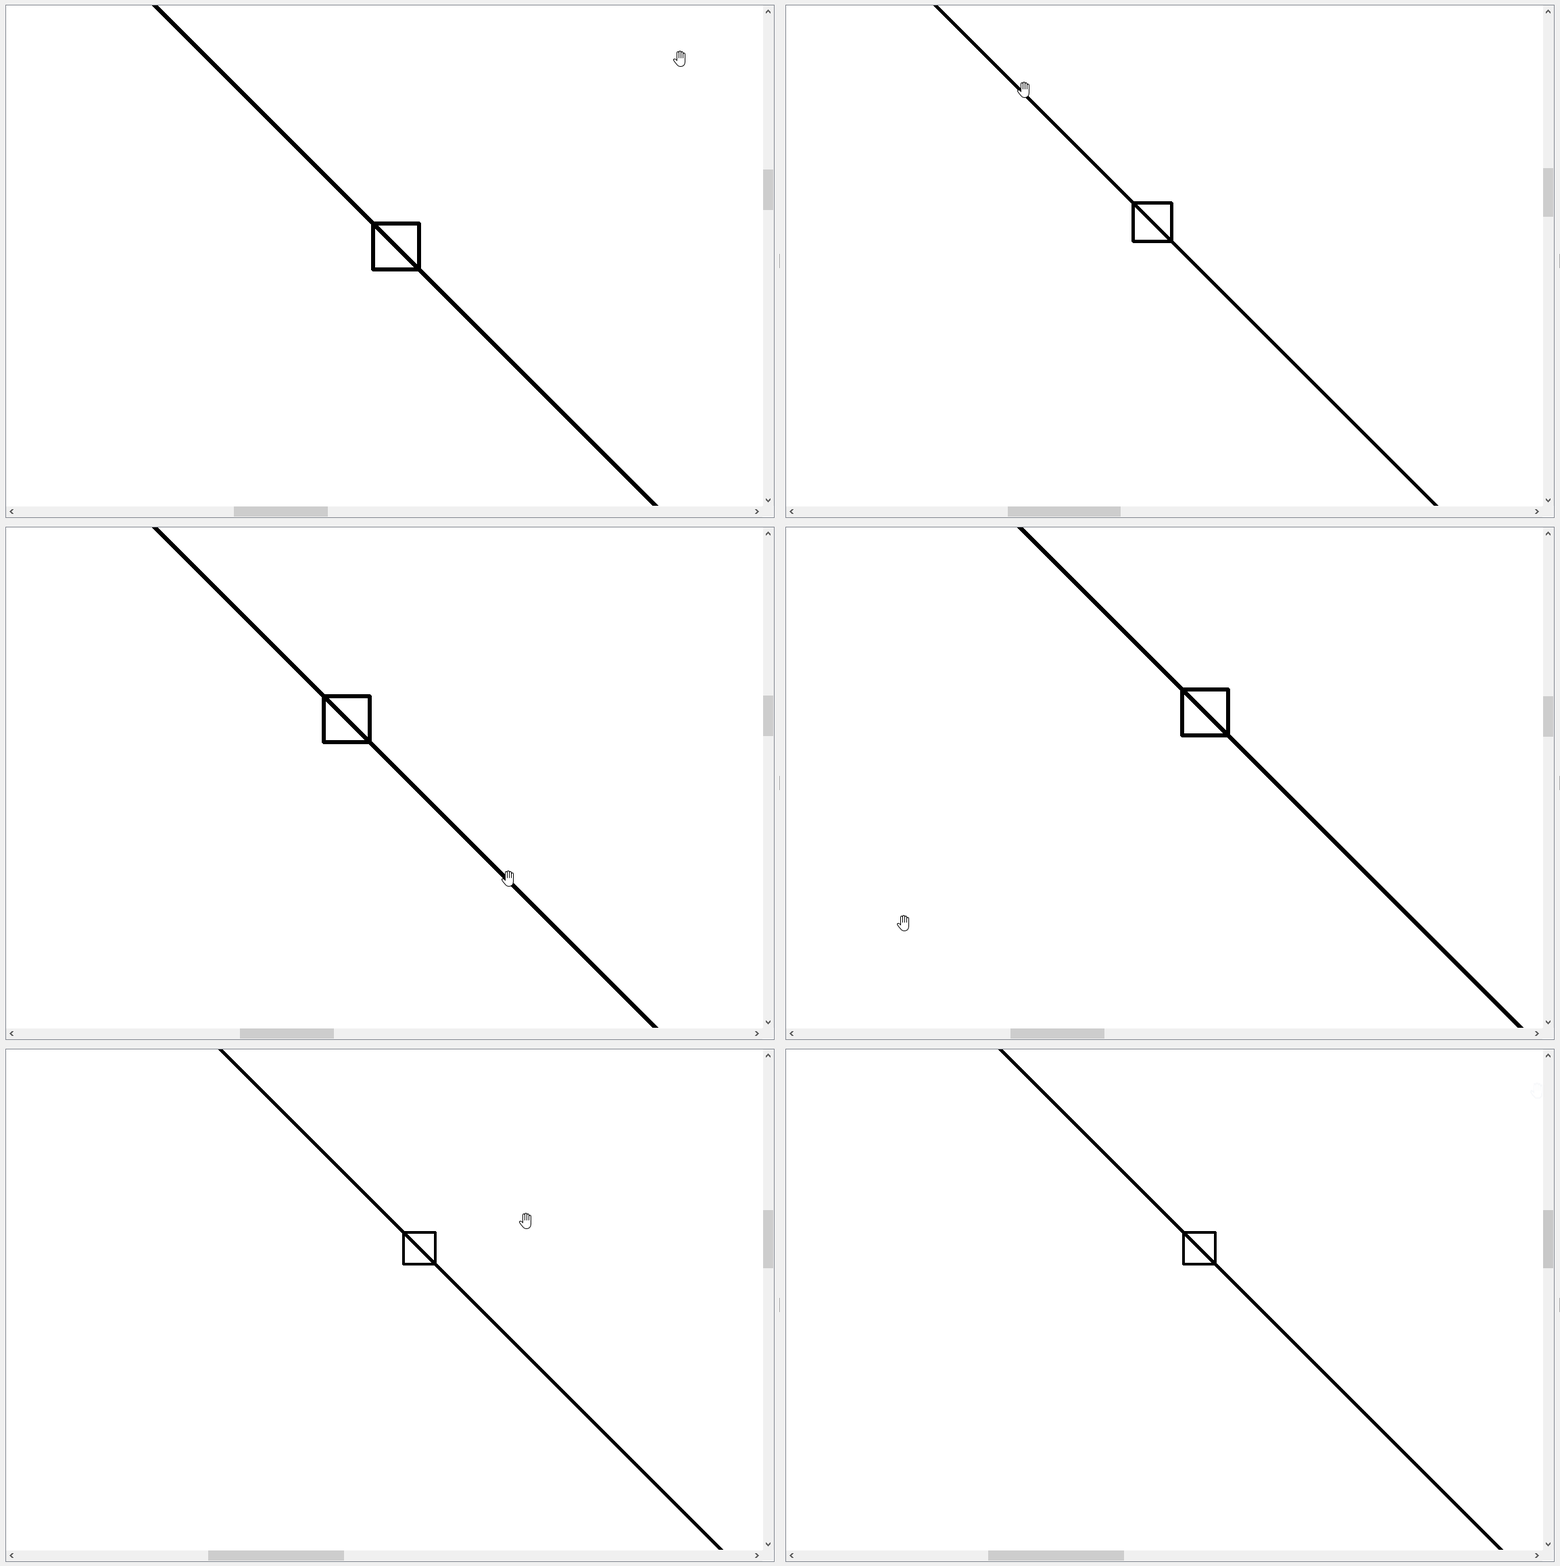
图二中,分别将鼠标放置在屏幕的四角,我们可以看到很明确的效果。
图一

图二

附上一张效果图(可能需要放大网页看,相对清楚一点)

下面是QGraphicsView::centerOn(const QPointF &pos)方法的源码。以上代码也是参考了这个方法后得到的结果。这个方法也就是通过滑动滚动条的方法将所给的点(该点是相对于scene的)放置在view 的中央位置。而我们想要实现按照鼠标点进行放大缩小效果,只需要计算当前鼠标位置相对于view大小的比例,centerOn方法中是 1/2 ,我们只要替换为相对应的比例即可。

/*!
    Scrolls the contents of the viewport to ensure that the scene
    coordinate \a pos, is centered in the view.

    Because \a pos is a floating point coordinate, and the scroll bars operate
    on integer coordinates, the centering is only an approximation.

    \note If the item is close to or outside the border, it will be visible
    in the view, but not centered.

    \sa ensureVisible()
*/
void QGraphicsView::centerOn(const QPointF &pos)
{
    Q_D(QGraphicsView);
    qreal width = viewport()->width();
    qreal height = viewport()->height();
    QPointF viewPoint = d->matrix.map(pos);
    QPointF oldCenterPoint = pos;

    if (!d->leftIndent) {
        if (isRightToLeft()) {
            qint64 horizontal = 0;
            horizontal += horizontalScrollBar()->minimum();
            horizontal += horizontalScrollBar()->maximum();
            horizontal -= int(viewPoint.x() - width / 2.0);
            horizontalScrollBar()->setValue(horizontal);
        } else {
            horizontalScrollBar()->setValue(int(viewPoint.x() - width / 2.0));
        }
    }
    if (!d->topIndent)
        verticalScrollBar()->setValue(int(viewPoint.y() - height / 2.0));
    d->lastCenterPoint = oldCenterPoint;
}


 835
835


 被折叠的 条评论
为什么被折叠?


