block使用一般分为3步
1.声明 可以使用typedef
2.调用 可以定义一个property 属性
3.实现 在要实现效果的类中实现 传递过来数值
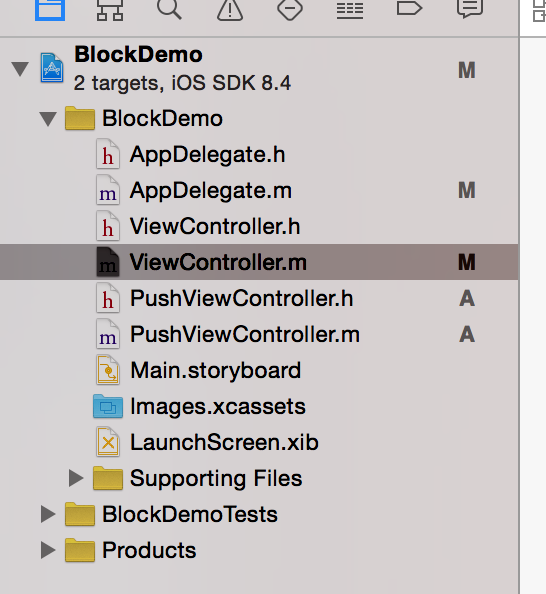
下面通过一个小demo来表现出来
**demo 由viewctrl push 到PushCtrl中
PushCtrl 中有一个pickerView 通过选择数值来改变 viewCtrl中的label的值**
#import "ViewController.h"
#import "PushViewController.h"
@interface ViewController (){
    UILabel *label;
}

@end

@implementation ViewController

- (void)viewDidLoad {
    [super viewDidLoad];


    //load push button
    UIButton *button = [UIButton buttonWithType:UIButtonTypeCustom];
    button.frame = CGRectMake(100, 100, 100, 100);
    button.backgroundColor = [UIColor redColor];
    [button setTitle:@"push" forState:UIControlStateNormal];
    [button addTarget:self action:@selector(buttonAction:) forControlEvents:UIControlEventTouchUpInside];
    [self.view addSubview:button];


    //load label
    label = [[UILabel alloc]initWithFrame:CGRectMake(100, 300, 100, 100)];
    label.backgroundColor = [UIColor whiteColor];


    [self.view addSubview:label];

}

- (void)buttonAction:(UIButton *)button{
    PushViewController *pushCtrl = [[PushViewController alloc]init];
    pushCtrl.block = ^(NSString *result){
        label.text = result;
    };
    [self.navigationController pushViewController:pushCtrl animated:YES];
    pushCtrl.title = NSLocalizedString(@"Push的界面", nil);
}
PushCtrl中的代码
#import "PushViewController.h"
#define kScreenWidth      [UIScreen mainScreen].bounds.size.width
#define kScreenHeight      [UIScreen mainScreen].bounds.size.height
@interface PushViewController ()

@end

@implementation PushViewController
{
    //定义一个全局的数据源
    NSArray *_dataList;
    UIPickerView *_pickView;
    NSString *_pickerStr;
}

- (void)viewDidLoad {
    [super viewDidLoad];
    self.view.backgroundColor = [UIColor blackColor];

    _pickView = [[UIPickerView alloc]initWithFrame:CGRectMake(0, 100, kScreenWidth, 400)];
    _pickView.delegate = self;
    _pickView.dataSource = self;


    [self.view addSubview:_pickView];

    _dataList = @[@"1",@"2",@"3",@"4",@"5",@"6",@"7",@"8",@"9",@"10"];


}


#pragma  mark - UIPickerViewDelegate and UIPickerViewDataSource
//返回几列滚轮
- (NSInteger)numberOfComponentsInPickerView:(UIPickerView *)pickerView{
    return 1;
}

// returns the # of rows in each component..
//没个滚轮返回多少个选择的字段
- (NSInteger)pickerView:(UIPickerView *)pickerView numberOfRowsInComponent:(NSInteger)component{
    return _dataList.count;
}

//返回每个字段的标题
- (NSString *)pickerView:(UIPickerView *)pickerView titleForRow:(NSInteger)row forComponent:(NSInteger)component{
    return _dataList[row];
}
//选择字段时调用的代理方法
- (void)pickerView:(UIPickerView *)pickerView didSelectRow:(NSInteger)row inComponent:(NSInteger)component{
    NSLog(@"%@",_dataList[row]);
    _pickerStr = _dataList[row];

}

//在试图将要消失的时候调用BLOCK
- (void)viewWillDisappear:(BOOL)animated{
    if (self.block != nil) {
        self.block(_pickerStr);
    }
}


#pragma mark - 让pickview 字体颜色变白色
- (NSAttributedString *)pickerView:(UIPickerView *)pickerView attributedTitleForRow:(NSInteger)row forComponent:(NSInteger)component
{

    NSAttributedString *attString = [[NSAttributedString alloc] initWithString:_dataList[row] attributes:@{NSForegroundColorAttributeName:[UIColor whiteColor]}];

    return attString;

}
使用代码块能够简单的回调
代理太麻烦
通知还要移除 满天飞 都不知道是哪里发出的
单例还要重新定义一个class
其他的就不说了
希望能帮到大家


 2627
2627


 被折叠的 条评论
为什么被折叠?


