


SpringBoot整合Actuator 和 Admin
首先分为两个端 一个是 Service端,和多个 Client端。
手册:
Spring Boot Actuator :Actuator 手册
Spring Boot Admin:Admin手册
1、Service 端
1、pom文件
<!--  SpringBootAdminServer -->
<dependency>
    <groupId>de.codecentric</groupId>
    <artifactId>spring-boot-admin-starter-server</artifactId>
    <version>2.6.7</version>
</dependency>
需要注意版本需要和SpringBoot版本一致。
2、yml文件:
#端口
server:
  port: 6067
spring:
  application:
    name: detection
  profiles:
    active: dev #默认为开发环境
# springbootAdmin
  boot:
    admin:
      monitor:
        default-timeout: 50000
management:
  endpoint:
    health:
      show-details: always
  info:
    env:
      enabled: true
3、启动类加上@EnableAdminServer:
@EnableAdminServer
@SpringBootApplication
public class DetectionApplication {

    public static void main(String[] args) {
        SpringApplication.run(DetectionApplication.class, args);
    }
}
2、Client 端
1、pom文件
<dependency>
    <groupId>org.springframework.boot</groupId>
    <artifactId>spring-boot-starter-actuator</artifactId>
</dependency>
<!--SpringBoot-AdminClient-->
<dependency>
    <groupId>de.codecentric</groupId>
    <artifactId>spring-boot-admin-starter-client</artifactId>
    <version>2.7.0</version>
</dependency>
2、yml文件:
# springbootAdmin
spring:
 boot:
    admin:
      client:
        url: http://127.0.0.1:6067
# springbootAdmin
management:
  endpoints:
    web:
      exposure:
        include: '*'
        exclude: configprops
        # 排除对配置信息的监控,每次浏览这个节点的时候,
        # 数据库的链接就一直释放不掉, 最后导致超时,因为配置信息的监控也不重要,
    #enabled-by-default: true
  info:
    env:
      enabled: true
  endpoint:
    health:
      show-details: always
3、访问http://localhost:6067/wallboard
3、整合SpringSecurity
1、Service 端引入依赖
<dependency>
    <groupId>org.springframework.boot</groupId>
    <artifactId>spring-boot-starter-security</artifactId>
</dependency>
2、service端配置文件修改为:
#端口
server:
  port: 6067

spring:
  application:
    name: detection
  profiles:
    active: dev #默认为开发环境
  security:
    user:
      password: admin
      name: admin
# springbootAdmin
  boot:
    admin:
      monitor:
        default-timeout: 50000
management:
  endpoint:
    health:
      show-details: always
  info:
    env:
      enabled: true
3、修改client端yml文件:
# springbootAdmin
spring:
 boot:
    admin:
      client:
        url: http://127.0.0.1:6067
        username: admin
        password: admin
# springbootAdmin
management:
  endpoints:
    web:
      exposure:
        include: '*'
        exclude: configprops
        # 排除对配置信息的监控,每次浏览这个节点的时候,
        # 数据库的链接就一直释放不掉, 最后导致超时,因为配置信息的监控也不重要,
    #enabled-by-default: true
  info:
    env:
      enabled: true
  endpoint:
    health:
      show-details: always
访问:http://localhost:6067/login
4、SpringBootAdmin整合钉钉
需求:服务宕机时钉钉机器人发送消息至群。
1、yml文件:
# 钉钉发送群消息
dingding:
  robotName: wallet-服务助手
  testUrl: xxxx
  testSecret: xxxxx
2、Service端添加类:
@Component
public class DingDingNotifier extends AbstractStatusChangeNotifier {

    @Value("${dingding.robotName}")
    private String robotName;

    public DingDingNotifier(InstanceRepository repository) {
        super(repository);
    }

    @Override
    protected Mono<Void> doNotify(InstanceEvent event, Instance instance) {
        String serviceName = instance.getRegistration().getName();
        String serviceUrl = instance.getRegistration().getServiceUrl();
        String status = instance.getStatusInfo().getStatus();
        StringBuilder str = new StringBuilder();
        str.append("服务宕机 : 【" + serviceName + "】");
        str.append("【服务地址】" + serviceUrl);
        str.append("【状态】" + status);
        return Mono.fromRunnable(() -> {
            // 状态不是UP的时候通知钉钉群
            if(!status.equals("UP")) {
                if (DateUtils.isWorkTime()) {
                    // 是 9:00~18:00时间段,@所有人
                    RobotUtils.sendTextMsg(robotName, str.toString(), null);
                } else {
                    // 不是 9:00~18:00时间段,只发消息不@所有人
                    RobotUtils.sendTextMsg(robotName, str.toString());
                }
            }
        });
    }
}
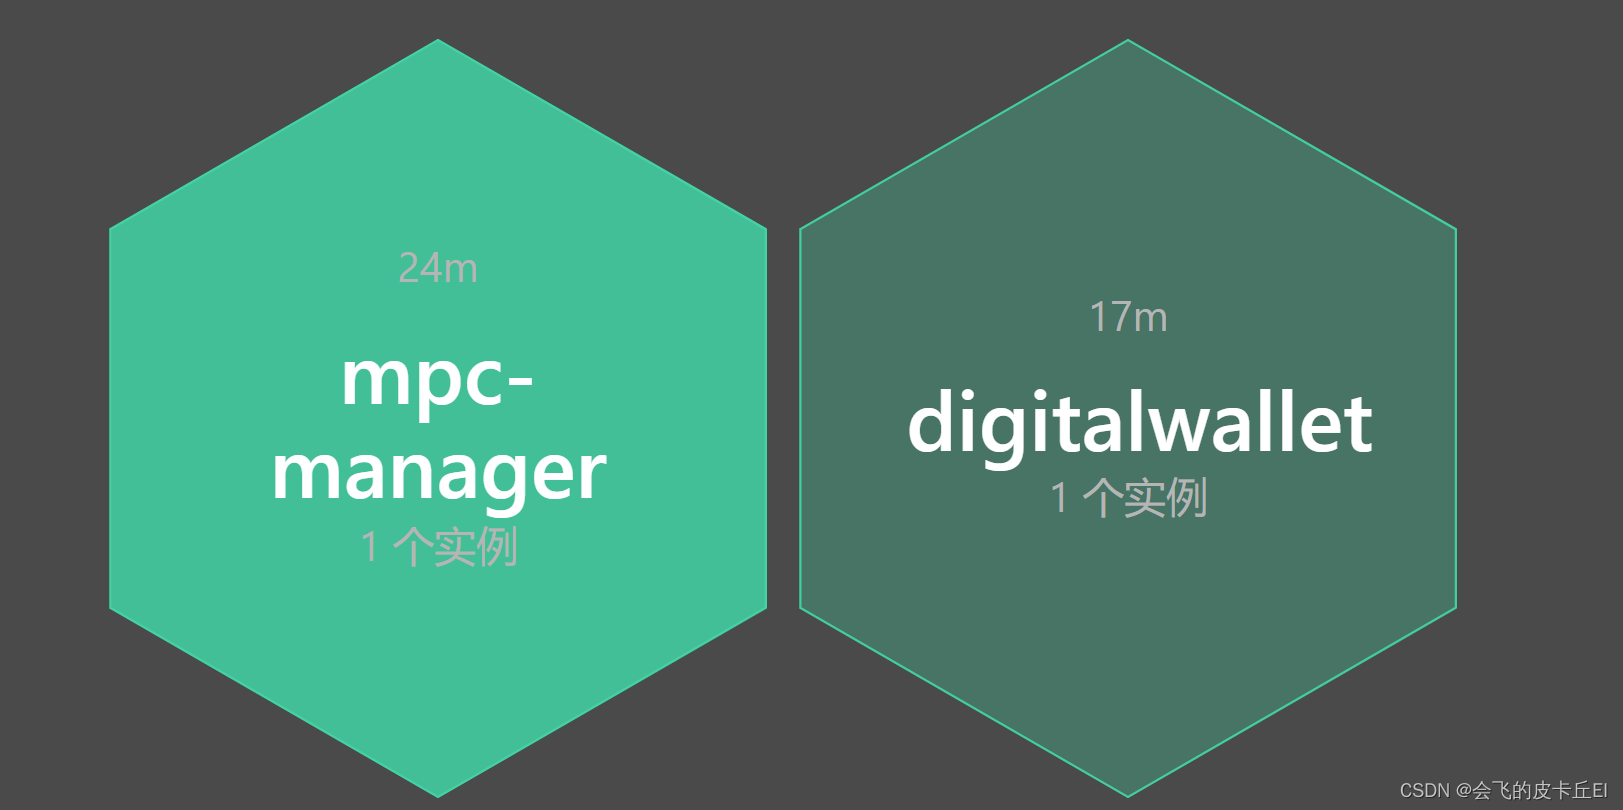
5、监控client端的http请求
发现整合后没有:Web模块,即下图:
![[外链图片转存失败,源站可能有防盗链机制,建议将图片保存下来直接上传(img-SZb2gx4B-1675671541465)(C:\Users\86183\AppData\Roaming\Typora\typora-user-images\image-20230206155529840.png)]](https://img-blog.csdnimg.cn/aa76607164cf4f19bb77e125a84d2dc7.png)
这个是因为 spring-boot 2.2以上版本默认不启用 HttpTraceRepository,需要使用者在工程中显示声明才可以正常使用。
官方解释: 链接
由于Spring Boot Actuator使用HttpTrace消耗资源并不支持集群,在Spring Boot 2.2 Release Notes开始已经默认禁用了,要启用HTTP跟踪,实现HttpTraceRepository或AuditEventRepository重新打开这些功能。
解决办法:Client端添加如下类即可:
Client端添加类:
@Configuration
public class ActuatorConfig {
    @Bean
    public HttpTraceRepository buildHttpTraceRepository() {
        return new InMemoryHttpTraceRepository();
    }
}
观察页面:
![[外链图片转存失败,源站可能有防盗链机制,建议将图片保存下来直接上传(img-xGuO2QpC-1675671541465)(C:\Users\86183\AppData\Roaming\Typora\typora-user-images\image-20230206160014997.png)]](https://img-blog.csdnimg.cn/ecdf9f89ce3847ce93aa460f13e50b66.png)
系统调用接口了才会在HTTP跟踪显示出来 请求路径、状态等信息。
看到上图的页面,然后在性能菜单里面可以添加每条请求指标。
![[外链图片转存失败,源站可能有防盗链机制,建议将图片保存下来直接上传(img-77rLSHbs-1675671541465)(C:\Users\86183\AppData\Roaming\Typora\typora-user-images\image-20230206160301204.png)]](https://img-blog.csdnimg.cn/d174028586a747b6822f3efdfc4c22f6.png)


 1548
1548


 被折叠的 条评论
为什么被折叠?
被折叠的 条评论
为什么被折叠?
 到【灌水乐园】发言


