


一、SpringBoot2.x使用单元测试
1、基于SpringBoot2.7版本,引入单元测试组件
        <dependency>
            <groupId>org.springframework.boot</groupId>
            <artifactId>spring-boot-starter-test</artifactId>
            <scope>test</scope>
        </dependency>
组件查看:
详细组件介绍
- JUnit:JUnit 是一款非常流行的基于 Java 语言的单元测试框架,主要使用该框架作为基础的测试框架。
- JSON Path:类似于 XPath 在 XML 文档中的定位,JSON Path 表达式通常用来检索路径或设置 JSON 文件中的数据。
- AssertJ:AssertJ 是一款强大的流式断言工具,它需要遵守 3A 核心原则,即 Arrange(初始化测试对象或准备测试数据)——> Actor(调用被测方法)——>Assert(执行断言)。
- Mockito:Mockito 是 Java 世界中一款流行的 Mock 测试框架,它主要使用简洁的 API 实现模拟操作。在实施集成测试时,我们将大量使用到这个框架。
- Hamcrest:Hamcrest 提供了一套匹配器(Matcher),其中每个匹配器的设计用于执行特定的比较操作。
- JSONassert:JSONassert 是一款专门针对 JSON 提供的断言框架。
- Spring Test & Spring Boot Test:为 Spring 和 Spring Boot 框架提供的测试工具。
Junit4和Junit5的区别
Junit 5 = Junit Platform + Junit Jupiter + Junit Vintage
Junit Platform: Junit Platform是在JVM上启动测试框架的基础,不仅支持Junit自制的测试引擎,其他测试引擎也都可以接入。
Junit Jupiter: Junit Jupiter提供了JUnit5的新的编程模型,是JUnit5新特性的核心。内部 包含了一个测试引擎,用于在Junit Platform上运行。
Junit Vintage: 由于JUnit已经发展多年,为了照顾老的项目,JUnit Vintage提供了兼容JUnit4.x,Junit3.x的测试引擎。
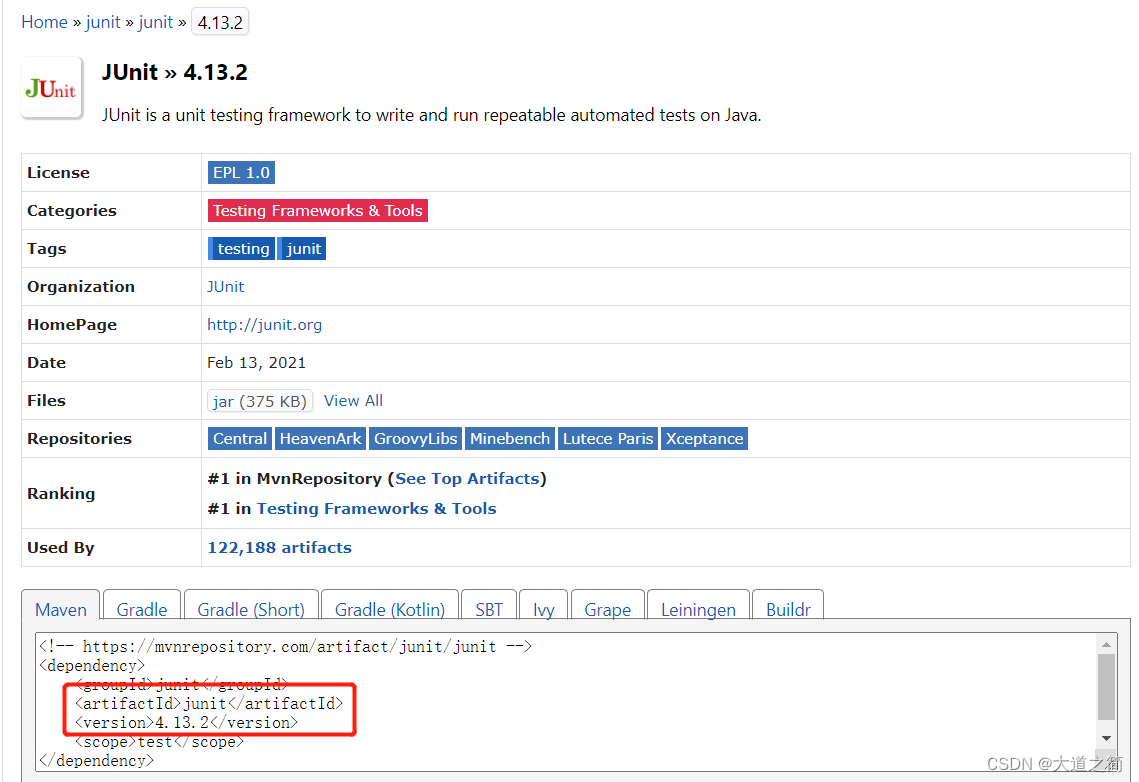
Junit4的依赖
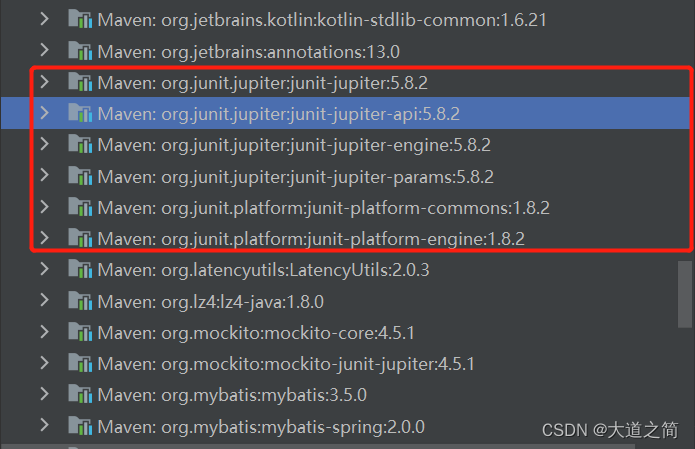
Junit5
JUnit Jupiter Engine
<dependency>
    <groupId>org.junit.jupiter</groupId>
    <artifactId>junit-jupiter-engine</artifactId>
    <version>5.9.2</version>
    <scope>test</scope>
</dependency>JUnit Jupiter (Aggregator)
<dependency>
    <groupId>org.junit.jupiter</groupId>
    <artifactId>junit-jupiter</artifactId>
    <version>5.9.2</version>
    <scope>test</scope>
</dependency>
SpringBoot框架引入

二、Junit4和Junit5
1、注解对比
| junit4 | junit5 | 特点 |
|---|---|---|
| @Test | @Test | 声明一个测试方法 |
| @BeforeClass | @BeforeAll | 在当前类的所有测试方法之前执行。注解在【静态方法】上 |
| @AfterClass | @AfterAll | 在当前类中的所有测试方法之后执行。注解在【静态方法】上 |
| @Before | @BeforeEach | 在每个测试方法之前执行。注解在【非静态方法】上 |
| @After | @AfterEach | 在每个测试方法之后执行。注解在【非静态方法】 |
Junit4的注解列表
- @RunWith:标识为JUnit的运行环境;
- @SpringBootTest:获取启动类、加载配置,确定装载Spring Boot;
- @Test:声明需要测试的方法;
- @BeforeClass:针对所有测试,只执行一次,且必须为static void;
- @AfterClass:针对所有测试,只执行一次,且必须为static void;
- @Before:每个测试方法前都会执行的方法;
- @After:每个测试方法前都会执行的方法;
- @Ignore:忽略方法;
Junit5注解列表
@Test :表示方法是测试方法。但是与JUnit4的@Test不同,他的职责非常单一不能声明任何属性,拓展的测试将会由Jupiter提供额外测试
@ParameterizedTest :表示方法是参数化测试,下方会有详细介绍
@RepeatedTest :表示方法可重复执行,下方会有详细介绍
@DisplayName :为测试类或者测试方法设置展示名称
@BeforeEach :表示在每个单元测试之前执行
@AfterEach :表示在每个单元测试之后执行
@BeforeAll :表示在所有单元测试之前执行
@AfterAll :表示在所有单元测试之后执行
@Tag :表示单元测试类别,类似于JUnit4中的@Categories
@Disabled :表示测试类或测试方法不执行,类似于JUnit4中的@Ignore
@Timeout :表示测试方法运行如果超过了指定时间将会返回错误
@ExtendWith :为测试类或测试方法提供扩展类引用
2、导入包区别
junit5
import org.junit.jupiter.api.Test;
junit4
import org.junit.Test;
3、常用断言
断言测试也就是期望值测试,是单元测试的核心也就是决定测试结果的表达式,Assert对象中的断言方法:
- Assert.assertEquals 对比两个值相等
- Assert.assertNotEquals 对比两个值不相等
- Assert.assertSame 对比两个对象的引用相等
- Assert.assertArrayEquals 对比两个数组相等
- Assert.assertTrue 验证返回是否为真
- Assert.assertFlase 验证返回是否为假
- Assert.assertNull 验证null
- Assert.assertNotNull 验证非null
4、SpringBoot使用基本的Junit单元测试
使用Junit4的一个样例
package com.boot.skywalk;
import lombok.extern.slf4j.Slf4j;
import org.junit.AfterClass;
import org.junit.Assert;
import org.junit.BeforeClass;
import org.junit.Test;
import org.junit.runner.RunWith;
import org.springframework.boot.test.context.SpringBootTest;
import org.springframework.test.context.junit4.SpringRunner;
@Slf4j
@RunWith(SpringRunner.class)
@SpringBootTest
public class CommonUnitJunit4Test {
@BeforeClass
public static void beforeClass(){
log.info("start execute unit testing");
}
@AfterClass
public static void afterClass(){
log.info("end execute unit testing");
}
@Test
public void doAssertEqualsTest() {
int num = new Integer(1);
Assert.assertEquals(num, 1);
}
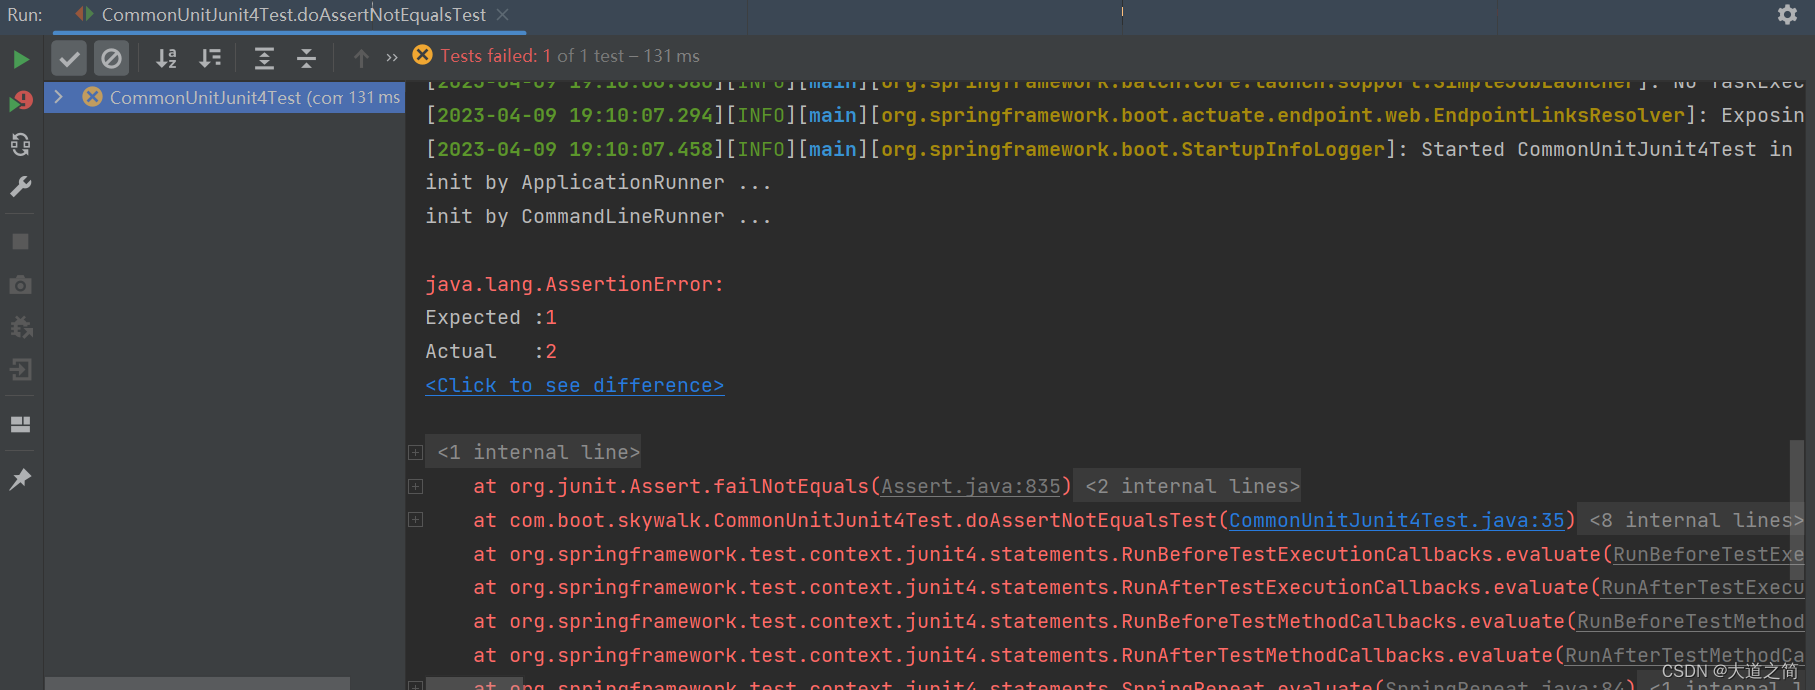
@Test
public void doAssertNotEqualsTest(){
int num = new Integer(1);
Assert.assertEquals(num, 2);
}
@Test
public void doTest() {
String[] string1 = {"1", "2"};
String[] string2 = string1;
String[] string3 = {"1", "2"};
Assert.assertArrayEquals(string1, string2);
Assert.assertArrayEquals(string2, string3);
Assert.assertSame(string1, string2);
Assert.assertSame(string2, string3);
}
}
使用Junit5的样例
package com.boot.skywalk;
import lombok.extern.slf4j.Slf4j;
import org.junit.jupiter.api.AfterEach;
import org.junit.jupiter.api.Assertions;
import org.junit.jupiter.api.BeforeEach;
import org.junit.jupiter.api.Test;
import org.junit.jupiter.api.extension.ExtendWith;
import org.springframework.boot.test.context.SpringBootTest;
import org.springframework.test.context.junit.jupiter.SpringExtension;
@Slf4j
@ExtendWith(SpringExtension.class)
@SpringBootTest
public class CommonUnitJunit5Test {
@BeforeEach
public static void beforeClass(){
log.info("start execute unit testing");
}
@AfterEach
public static void afterClass(){
log.info("end execute unit testing");
}
@Test
public void doAssertEqualsTest() {
int num = new Integer(1);
Assertions.assertEquals(num, 1);
}
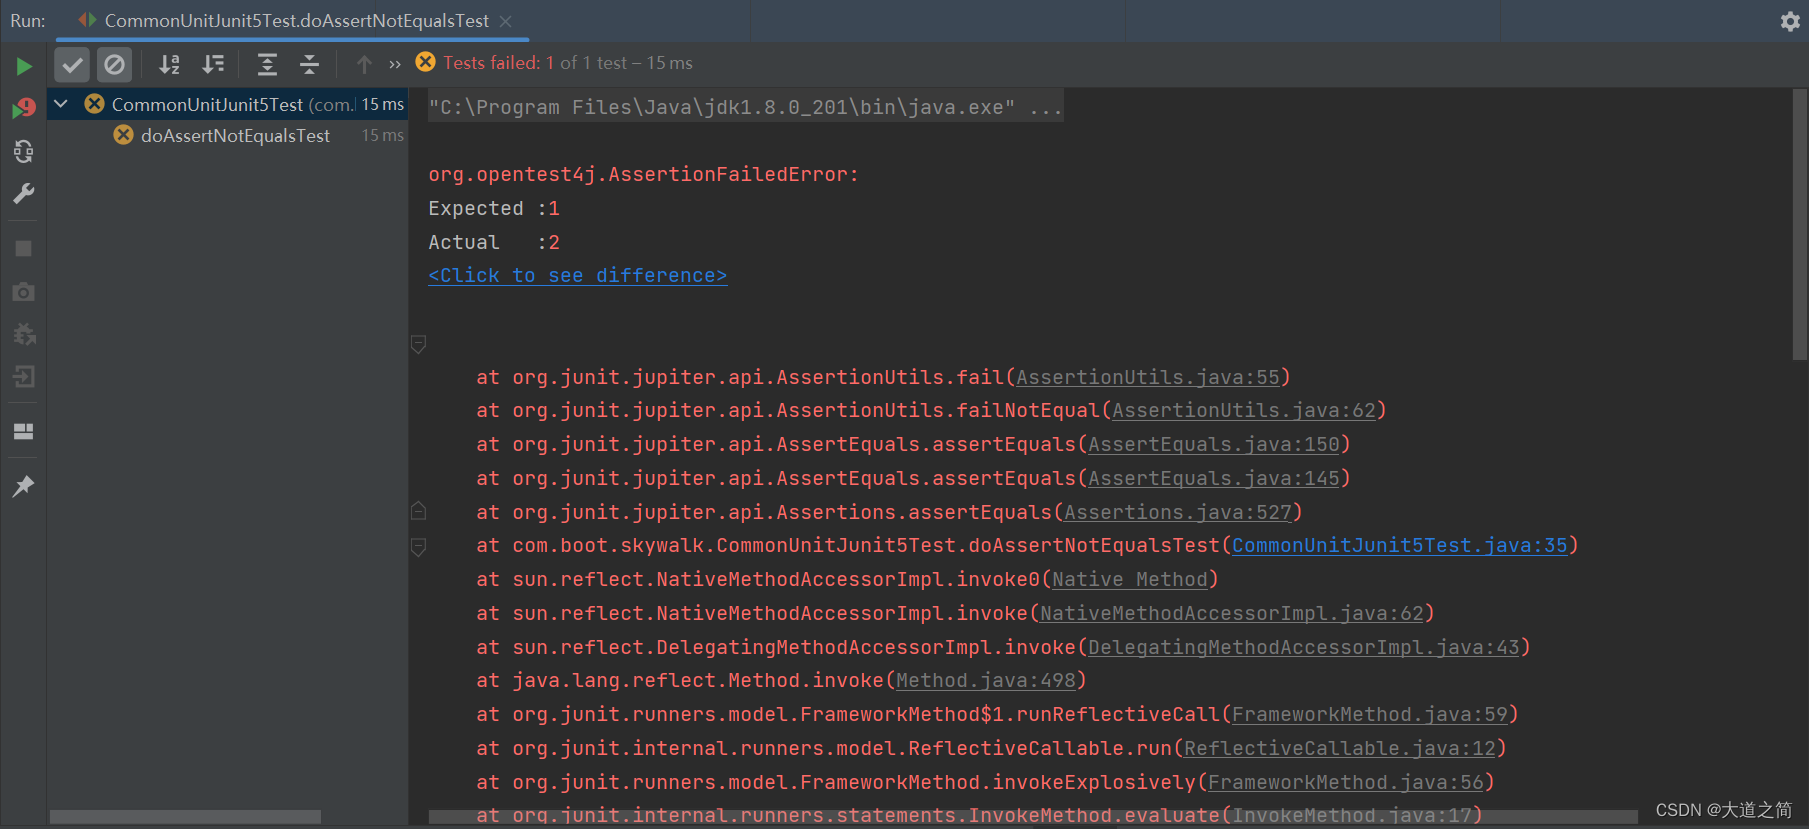
@Test
public void doAssertNotEqualsTest(){
int num = new Integer(1);
Assertions.assertEquals(num, 2);
}
@Test
public void doTest() {
String[] string1 = {"1", "2"};
String[] string2 = string1;
String[] string3 = {"1", "2"};
Assertions.assertArrayEquals(string1, string2);
Assertions.assertArrayEquals(string2, string3);
Assertions.assertSame(string1, string2);
Assertions.assertSame(string2, string3);
}
}
三、使用Mockito完成单元测试
在单元测试中,模拟对象可以模拟复杂的、真实的对象的行为, 如果真实的对象无法放入单元测试中,使用模拟对象就很有帮助。
在下面的情形,可能需要使用模拟对象来代替真实对象:
- 真实对象的行为是不确定的(例如,当前的时间或当前的温度);
- 真实对象很难搭建起来;
- 真实对象的行为很难触发(例如,网络错误);
- 真实对象速度很慢(例如,一个完整的数据库,在测试之前可能需要初始化);
- 真实的对象是用户界面,或包括用户界面在内;
- 真实的对象使用了回调机制;
- 真实对象可能还不存在(例如,其他程序员还为完成工作);
- 真实对象可能包含不能用作测试的信息(高度保密信息等)和方法。

1、使用依赖
SpringBoot的单元测试组件引入
        <dependency>
            <groupId>org.springframework.boot</groupId>
            <artifactId>spring-boot-starter-test</artifactId>
            <scope>test</scope>
        </dependency>
包含组件如下:
    <dependency>
      <groupId>org.mockito</groupId>
      <artifactId>mockito-core</artifactId>
      <version>4.5.1</version>
      <scope>compile</scope>
    </dependency>
    <dependency>
      <groupId>org.mockito</groupId>
      <artifactId>mockito-junit-jupiter</artifactId>
      <version>4.5.1</version>
      <scope>compile</scope>
    </dependency>
2、具体使用
Mockito.when( 对象.方法名() ).thenReturn( 自定义结果 )
thenThrow 系列方法

mockito在spring boot中的使用_springboot使用mockito_hymei0的博客-CSDN博客


 294
294

 被折叠的 条评论
为什么被折叠?
被折叠的 条评论
为什么被折叠?
 到【灌水乐园】发言


