


1、创建 ConfigMap YAML 配置文件
cat <<EOF >./example-redis-config.yaml
apiVersion: v1
kind: ConfigMap
metadata:
  name: example-redis-config
data:
  redis-config: ""
EOF
2、创建 ConfigMap 资源
kubectl apply -f example-redis-config.yaml
创建完成后查看是否成功创建。

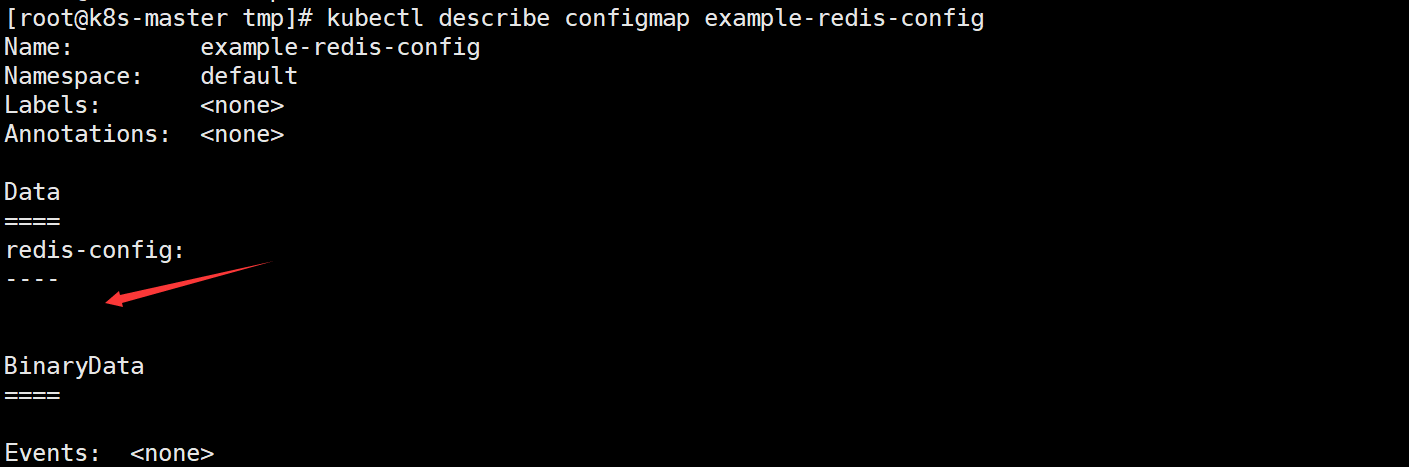
这是创建了一个空的 ConfigMap 资源,看其详情:
3、创建 Redis 的 Pod 资源
vim redis.yml
apiVersion: v1

kind: Pod
metadata:
  name: redis

spec:
  containers:
  - name: redis
    image: redis:5.0.4
    command:
      - redis-server
      - "/redis-master/redis.conf"
    env:
    - name: MASTER
      value: "true"
    ports:
    - containerPort: 6379
    resources:
      limits:
        cpu: "0.1"
    volumeMounts:
    - mountPath: /redis-master-data
      name: data
    - mountPath: /redis-master
      name: config
  volumes:
    - name: data
      emptyDir: {}
    - name: config
      configMap:
        name: example-redis-config
        items:
        - key: redis-config
          path: redis.conf
上面的参数应该就不陌生了,相信大家都明白,如果还不太清楚的,可以去看看
Secret、ConfigMap相关的知识。
kubectl apply -f redis.yml
kubectl get pod

4、进入 redis Pod 并查看 redis 资源
kubectl exec -it redis -- redis-cli
config get maxmemory
config get maxmemory-policy

可看到值都是返回默认值-不符合我们的需求,现在往配置文件中添加数据,然后再次进行验证。
5、添加配置
cat <<EOF >./example-redis-config.yaml
apiVersion: v1
kind: ConfigMap
metadata:
  name: example-redis-config
data:
  redis-config:
    maxmemory 2mb
    maxmemory-policy allkeys-lru
EOF
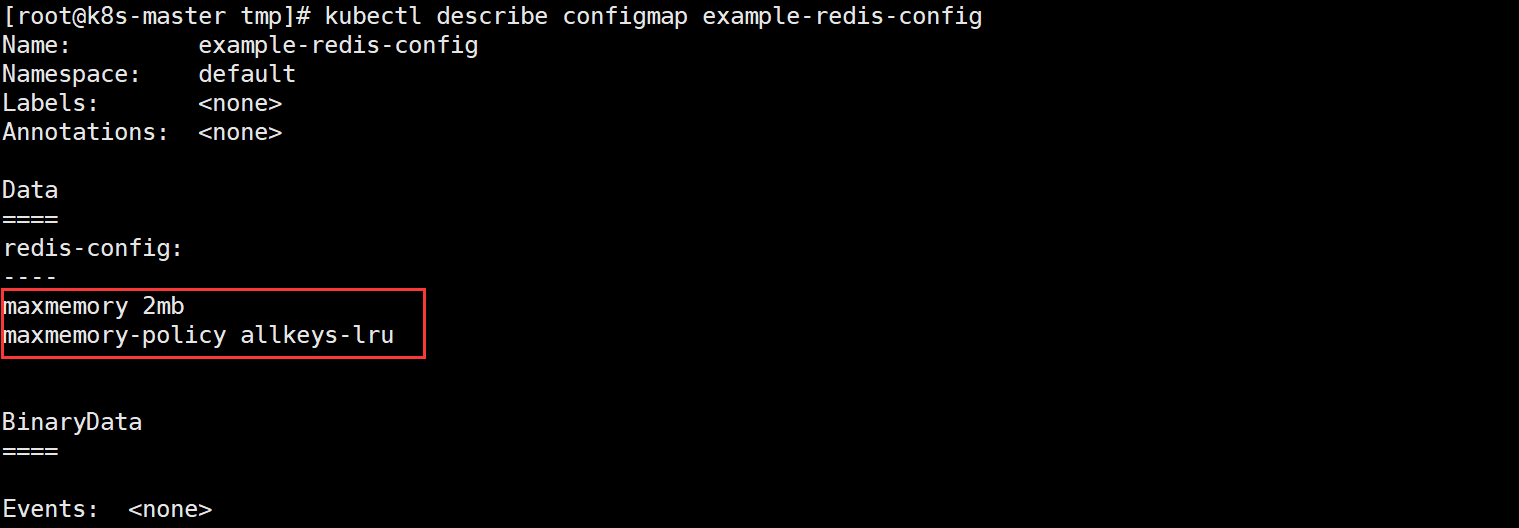
更新完成后再次更新 ConfigMap 资源。
kubectl apply -f example-redis-config.yaml
kubectl describe configmap example-redis-config
6、通过 kubectl exec 使用 redis-cli 再次检查 Redis Pod,查看是否已应用配置
-
先重启 Redis Pod 才能生效
# 删除Pod
kubectl delete pod redis

# 创建Pod
kubectl apply -f redis.yml
-
再次验证
kubectl exec -it redis -- redis-cliconfig get maxmemory config get maxmemory-policy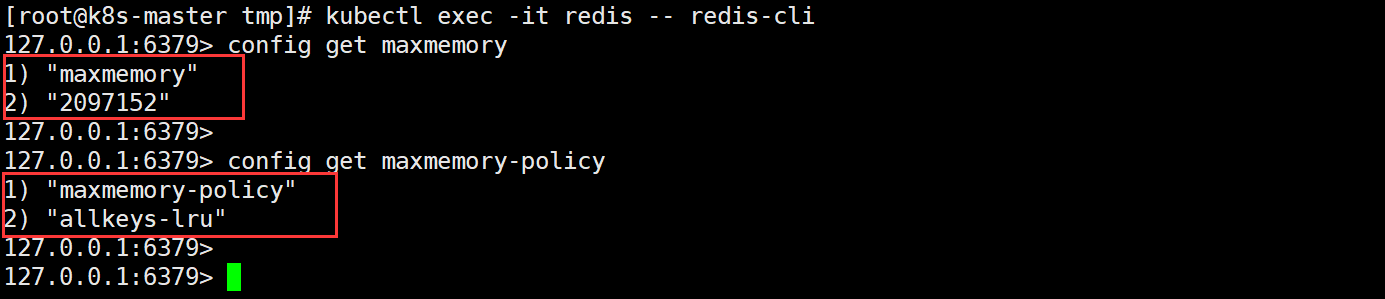
7、实验完成,删除资源
kubectl delete pod/redis configmap/example-redis-config

小结:看这篇文章的前提是你已经基本掌握 ConfigMap 的概念及在实际测试/生产中的应用,重点还是搞清概念,其他的都很简单。


 144
144


 被折叠的 条评论
为什么被折叠?
被折叠的 条评论
为什么被折叠?
 到【灌水乐园】发言


