


$ sudo apt-get update
 $ sudo apt-get upgrade
# 1下载并安装Nginx
下载并安装Nginx的最简单的方法就是使用apt-get命令。这里是命令:
$ sudo apt-get install nginx
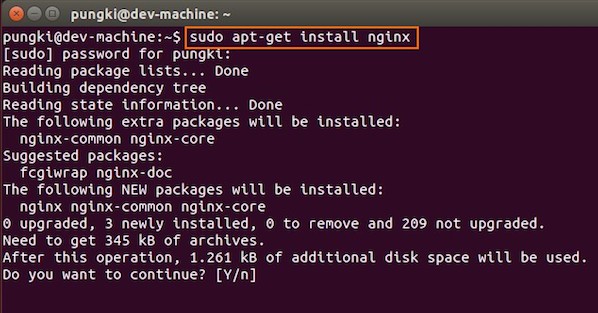
Fig.01: Download and Install Nginx on Ubuntu Linux
等待安装完成。
# 2测试nginx
一旦完成,你可以打开你的浏览器输入URL http:// localhost或http:// 你的IP地址,进行测试。如果一切正常,你会看到nginx的欢迎页面:
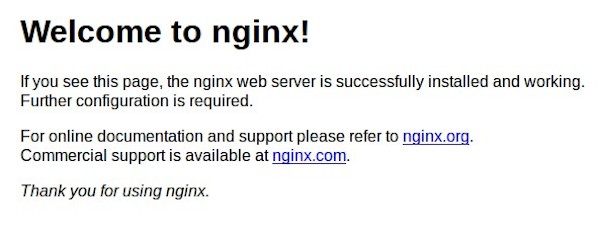
Fig.02: Welcome nginx page on Ubuntu Linux
Ubuntu安装MySQL
MySQL在Linux世界中最强大的数据库管理系统。接下来,我们要安装PHP支持。
# 1安装MySQL和PHP支持
键入以下命令:
$ sudo apt-get install mysql-server php5-mysql
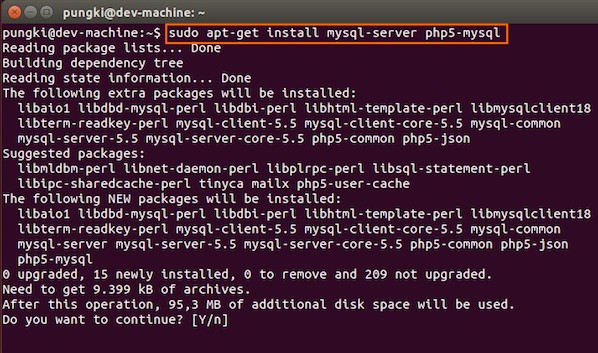
如图:Ubuntu Linux安装MySQL和PHP网站管理数据
During the installation, MySQL will ask you to enter MySQL root password, other wise the installation will not continue. Type the password you want, then press OK to continue the installation.
# 2测试MySQL
MySQL安装一次完成,我们可以测试它。打开您的控制台和类型下面的命令:
$ mysql -u root -p
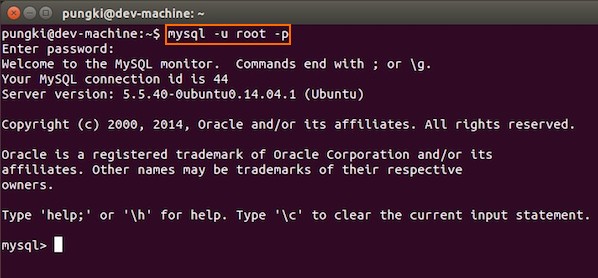
Fig.04: Ubuntu test Mysql installation
如果你输入你的密码正确,你将看到MySQL提示。
PHP的安装服务器端脚本
由于PHP是流行,许多网站都是用PHP语言建立。截至一月2013时,PHP安装在超过240百万的网站。现在我们要在Ubuntu 14.04安装PHP
# 1下载并安装PHP
像往常一样,我们可以下载和安装PHP使用apt-get命令。只需键入以下你的Ubuntu在SSH控制台或基于会话的命令:
$ sudo apt-get install php5-fpm
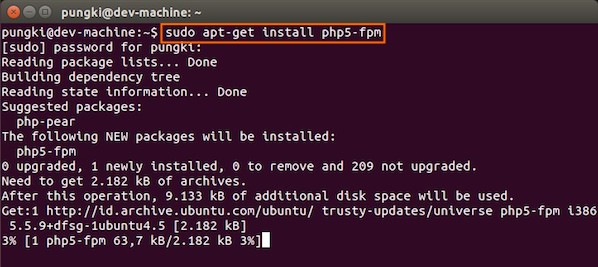
图:安装PHP的服务器端
并等待安装完成。
配置Nginx与Ubuntu PHP和MySQL服务器的工作
现在我们已经安装了所有组件。下一步我们需要配置Nginx与PHP和MySQL。让我们开始配置它们。
#配置FPM PHP5 - 1
PHP5的配置文件- FPM是位于 /etc/php5/fpm/php.ini。你的文本编辑器打开它。
$ sudo vi /etc/php5/fpm/php.ini
改变这个参数:
cgi.fix_pathinfo=1为:
cgi.fix_pathinfo=0
保存并关闭该文件,然后重新启动PHP5 FPM服务。
$ sudo service php5-fpm restart
# 2配置nginx
Nginx的配置文件位于/etc / Nginx / nginx.conf。但基本上,我们不需要去触摸它。Nginx的网站配置坐落在/ etc / Nginx /可用/默认文件位置。
打开它,定位到并把#去掉:
 location ~ \.php$ {
         fastcgi_split_path_info ^(.+\.php)(/.+)$;
 #       # NOTE: You should have "cgi.fix_pathinfo = 0;" in php.ini
 #
 #       # With php5-cgi alone:
 #        fastcgi_pass 127.0.0.1:9000;
 #       # With php5-fpm:
         fastcgi_pass unix:/var/run/php5-fpm.sock;
         fastcgi_index index.php;
         include fastcgi_params;
 }
然后重新启动服务。
$ sudo service nginx restart
Please make sure, on Ubuntu 14.04, we cannot use fastcgi_pass 127.0.0.1:9000. So make sure that the line is commented. Otherwise, on my machine, I got this error :
$ tail /var/log/nginx/error.log
 2014/11/04 16:57:04 [emerg] 3216#0: "fastcgi_pass" directive is not allowed here in /etc/nginx/sites-enabled/default:59
 2014/11/04 16:58:21 [emerg] 3256#0: "fastcgi_pass" directive is not allowed here in /etc/nginx/sites-enabled/default:59
On Ubuntu 14.04, I use the following line:
fastcgi_pass unix:/var/run/php5-fpm.sock
When I restart the Nginx and I still got the following error message:
 2014/11/04 17:02:05 [emerg] 3295#0: "fastcgi_pass" directive is not allowed here in /etc/nginx/sites-enabled/default:61
 2014/11/04 17:04:58 [emerg] 3410#0: "fastcgi_pass" directive is not allowed here in /etc/nginx/sites-enabled/default:61
Please make sure that you already uncomment this line:
location ~ \.php$ {
# 3配置MySQL
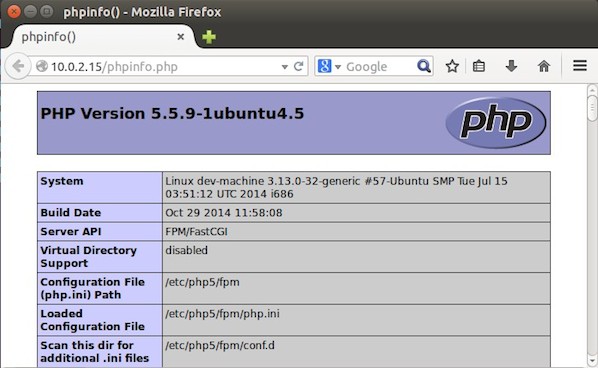
在 /usr/share/nginx/html 创建 的 文件 称 为 /usr/share/nginx/html/phpinfo.php :
- <?php
- phpinfo();
- ?>


 2219
2219

 被折叠的 条评论
为什么被折叠?
被折叠的 条评论
为什么被折叠?
 到【灌水乐园】发言


