


自述
技术菜鸟第一篇博文,目的是自我总结,自省。一直有写博客的打算,一直未跨出这步,就此作为闭眼摸出的第一步。
到目前为止,我所参加的App项目都是基于UITabbarController上的多层页面展示。之前都是在别人搭建好的框架上实现部分功能,或用系统自带的UITabbarController做简单的应用。这次有幸从0开始,经过摸索做出完整的app,需要总结的地方颇多。
自定义Tabbar的基本实现过程
- 首先需要隐藏系统自带的tabbar;
- 然后创建一个自定义的tabbar(一个UIView ,给它命名为MyTabbar) 并添加到系统tabbar这个view上;
- 接着只需要在MyTabbar上添加按钮来实现自定义Tabbar的绘制。
- 最后完成按钮点击来响应子Controller之间的跳转。
在Xcode上详细完成过程及详解
首先打开Xcode 并创建一个新的Single View Application。创建一个BaseTabbarController类,继承UITabBarController 作为程序启动后的rootViewController。
Xcode创建项目时默认运行Main.storyboard及载入与之相关联的ViewController类(可以在Supporting Files文件夹下info.plist中删除Main storyboard file base name 这项,便不会自动加载了,然后将Main.storyboard文件删掉)。
接下来将BaseTabbarController设置为app的rootViewController. 在AppDelegate.m文件中加入下列代码:
 - (BOOL)application:(UIApplication *)application didFinishLaunchingWithOptions:(NSDictionary *)launchOptions {
    self.window = [[UIWindow alloc] initWithFrame:[[UIScreen mainScreen] bounds]];
    self.window.backgroundColor = [UIColor whiteColor];
    BaseTabbarViewController *tab = [[BaseTabbarViewController alloc]init];
    self.window.rootViewController = tab;
    [self.window makeKeyAndVisible];

    return YES;
}
Tabbar上假设有四个选项。还需创建三个类(ViewController2,ViewController3,ViewController4)继承UIViewController。分别将四个ViewController的背景颜色设置不同。
如:把ViewController 背景设为蓝色,在ViewController.m中加入代码
- (void)viewDidLoad
{
    [super viewDidLoad];
    self.view.backgroundColor = [UIColor blueColor];
}
先看看系统自带Tabbar的效果:
在BaseTabbarViewController.m中先创建 initSystemTabbar()方法,然后再viewDidLoad()方法中 调用。
创建此方法代码为(此处为系统默认图标和title):
- (void)initSystemTabbar
{
    ViewController *vc1 = [[ViewController alloc]init];
    vc1.tabBarItem = [[UITabBarItem alloc]initWithTabBarSystemItem:UITabBarSystemItemBookmarks tag:1];

    ViewController2 *vc2 = [[ViewController2 alloc]init];
    vc2.tabBarItem = [[UITabBarItem alloc]initWithTabBarSystemItem:UITabBarSystemItemFavorites tag:1];

    ViewController3 *vc3 = [[ViewController3 alloc]init];
    vc3.tabBarItem = [[UITabBarItem alloc]initWithTabBarSystemItem:UITabBarSystemItemDownloads tag:1];

    ViewController4 *vc4 = [[ViewController4 alloc]init];
    vc4.tabBarItem = [[UITabBarItem alloc]initWithTabBarSystemItem:UITabBarSystemItemHistory tag:1];
    //在tabbar上面显示数组内的根view。
    [self setViewControllers:@[vc1,vc2,vc3,vc4]];
}
然后运行就能看到最简单的tabbar效果了。
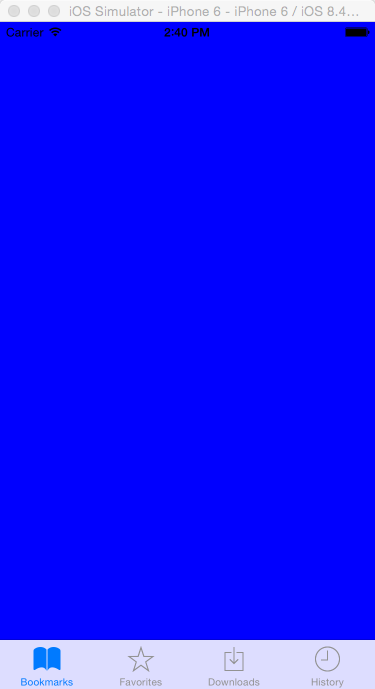
当然,大多数app都是用的自己的图标和title。
先随便找四个图标png图标放入项目中Images.xcassets文件夹。然后把上面initSystemTabbar方法稍作改变。就能生成自己想要的标题和图案了,方法如下:
    ViewController *vc1 = [[ViewController alloc]init];
    //设置tabbar item的标题 图片 和 选中图片。
    vc1.tabBarItem = [[UITabBarItem alloc]initWithTitle:@"主页" image:[UIImage imageNamed:@"TabbarAssortment"] selectedImage:[UIImage imageNamed:@"TabbarAssortment"]];

    ViewController2 *vc2 = [[ViewController2 alloc]init];
    vc2.tabBarItem = [[UITabBarItem alloc]initWithTitle:@"消息" image:[UIImage imageNamed:@"TabbarActivities"] selectedImage:[UIImage imageNamed:@"TabbarActivities"]];

    ViewController3 *vc3 = [[ViewController3 alloc]init];
    vc3.tabBarItem = [[UITabBarItem alloc]initWithTitle:@"发现" image:[UIImage imageNamed:@"Tabbarcar"] selectedImage:[UIImage imageNamed:@"Tabbarcar"]];

    ViewController4 *vc4 = [[ViewController4 alloc]init];
    vc4.tabBarItem = [[UITabBarItem alloc]initWithTitle:@"我" image:[UIImage imageNamed:@"TabbarHome"] selectedImage:[UIImage imageNamed:@"TabbarHome"]];

    [self setViewControllers:@[vc1,vc2,vc3,vc4]];//在tabbar上面显示数组内的根view
运行后可看到效果:
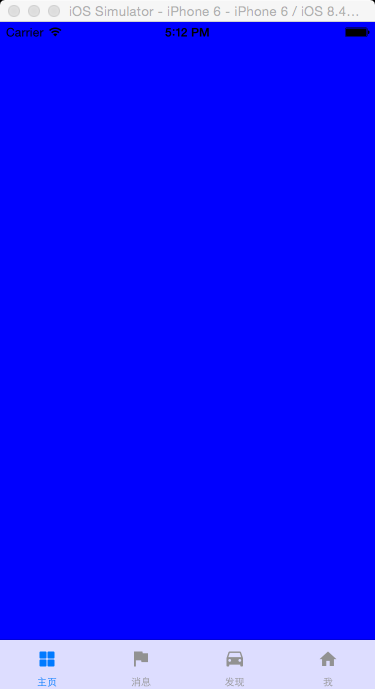
自定义tabbar的效果
系统tabbar的限制在于 高度不能自己设置,图片是灰色的,最多显示5个,多的则会出现more,等。。。
首先要做的事隐藏System的TabbarItem,先看系统Tabbar上的子视图是属于什么类型的。
加入隐藏Tabbar的方法:
- (void)hideSystemTabbar
{
    for (UIView *child in self.tabBar.subviews) {
        NSLog(@"%@",[child superclass]);
    }
}
运行,可以看到 console区输出四个UIControl,由此可以判定Tabbar上的四个按钮是UIControl的子类,所以可以通过自省把他们移除。
改变代码如下:
- (void)hideSystemTabbar
{
    for (UIView *child in self.tabBar.subviews) {
        NSLog(@"%@",[child superclass]);
         if ([child isKindOfClass:[UIControl class]]) {
            [child removeFromSuperview];
        }
    }
}
在 viewWillAppear中调用此方法。
运行,并能看到屏幕下方只剩下空白的Tabbar了。
完成了第一部分,接下来创建一个自己的Tabbar(命名为customTabbar) 来实现原tabbar的功能。
新建一个CustomTabbar类继承UIView。
在BaseTabbarViewController.m中加入私有的属性:
@interface BaseTabbarViewController()

@property (nonatomic,strong)CustomTabbar *customTabbar;

@end
将之前的initSystemTabbar的调用注释掉。加入initCustomTabbar方法。
- (void)initCustomTabbar
{
    self.customTabbar = [[CustomTabbar alloc]initWithFrame:self.tabBar.bounds];
    self.customTabbar.backgroundColor = [UIColor greenColor];
    [self.tabBar addSubview:self.customTabbar];
}
此时再运行便可以得到一个绿色背景的Tabbar了(bounds属性的意思是UIView在自身坐标系下的frame,更通俗点就是(0,0,自己的宽,自己的高)。此时所定义的customTabbar跟原先系统的frame一样。接下来需要做的便是Draw CustomTabbar。
作为一个Tabbar一般的需求是显示 标题、未选中时的图标、选中时的图标,而且可以点击响应,很容易的想到用UIButton来能胜任此工作。此时CustomTabbar上的item数量应该是BaseTabbarController里能动态控制的,所以提供一个公共方法供Controller调用。在CustomTabbar.h中提供方法- (void)addTabBarButtonWithItem:(UITabBarItem *)item(因为UITabBarItem自带上述三个需要显示的属性,所以来作为传递介质比较方便)。在CustomTabbar.m中实现如下:
- (void)addTabBarButtonWithItem:(UITabBarItem *)item
{
    UIButton *btn = [[UIButton alloc]init];
    [btn setTitle:item.title forState:UIControlStateNormal];
    [btn setImage:item.image forState:UIControlStateNormal];
    [btn setImage:item.selectedImage forState:UIControlStateSelected];

    [self addSubview:btn];
}考虑到每在tabbar上添加一个Button便要改变所有Button的frame,故可以重写UIView的layoutSubviews方法(layoutSubviews方法不能直接调用,只能重写 然后会在下列时候被调用1、init初始化不会触发layoutSubviews;2、addSubview会触发layoutSubviews;3、设置view的Frame会触发layoutSubviews;当然前提是frame的值设置前后发生了变化;4、滚动一个UIScrollView会触发layoutSubviews;5、旋转Screen会触发父UIView上的layoutSubviews事件;6、改变一个UIView大小的时候也会触发父UIView上的layoutSubviews事件):
- (void)layoutSubviews
{
    //设置tabbar上Button的宽高
    CGFloat btnWidth = self.frame.size.width/self.subviews.count;
    CGFloat btnHight = self.frame.size.height;

    for (int i = 0; i < self.subviews.count; i ++) {
        UIButton *btn = self.subviews[i];
        btn.frame = CGRectMake(i * btnWidth, 0, btnWidth, btnHight);
        btn.tag = i;
    }
}
CustomTabbar.h 中声明此方法并添加一个selectedButton属性记录当前选中Button:
@interface CustomTabbar : UIView

@property (nonatomic ,strong) UIButton *selectedButton;

- (void)addTabBarButtonWithItem:(UITabBarItem *)item;
@end
然后回到BaseTabbarController,利用CustomTabbar控件提供的接口根据需求自定义Tabbar。传递所用的参数是UITabBarItem类型。可用BaseTabbarController的根viewcontroller的tabbbarItem作为传递参数。
- (void)initChildViewController
{
    ViewController *vc1 = [[ViewController alloc]init];
    [self setUpChildController:vc1 title:@"主页" imageName:@"TabbarAssortment" selectedImageName:@"TabbarAssortment"];

    ViewController2 *vc2 = [[ViewController2 alloc]init];
    [self setUpChildController:vc2 title:@"消息" imageName:@"TabbarActivities" selectedImageName:@"TabbarActivities"];

    ViewController3 *vc3 = [[ViewController3 alloc]init];
    [self setUpChildController:vc3 title:@"发现" imageName:@"Tabbarcar" selectedImageName:@"Tabbarcar"];

    ViewController4 *vc4 = [[ViewController4 alloc]init];
    [self setUpChildController:vc4 title:@"我" imageName:@"TabbarHome" selectedImageName:@"TabbarHome"];
}
此时再运行就能看到自己定义的绿色背景的CustomTabbar了。
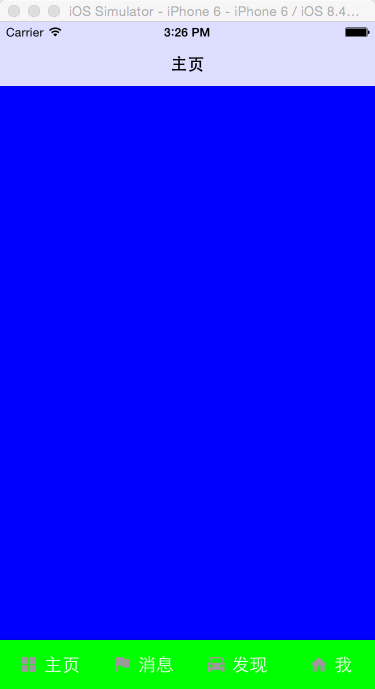
大体外形出来了,现在还有两点需要完善,1.CustomBar上button的图标和标题是左右排列的需要改成上下。2.button点击时背景的改变和点击时页面的跳转。都与Button相关,将Button提取出来单独写。
新建类CustomTabbarButton 继承UIButton。需要做的是重新设置button上imageView和TitleLabel的frame,通过button的frame来计算两个subview的frame。图片占整个高度的60%,标题占40%。在CustomTabbarButton.m中构建:
#define imagePercent 0.6
- (CGRect)imageRectForContentRect:(CGRect)contentRect{
    return CGRectMake(0, 0, contentRect.size.width, contentRect.size.height * imagePercent);
}
- (CGRect)titleRectForContentRect:(CGRect)contentRect{
    CGFloat titleY = contentRect.size.height * imagePercent;
    return CGRectMake(0, titleY, contentRect.size.width, contentRect.size.height - titleY);
}
然后在CustomTabbarButton的init方法中为subview布局:
- (instanceType)initWithFrame:(CGRect)frame
{
    self = [super initWithFrame:frame];
    if (self) {
        self.imageView.frame = [self imageRectForContentRect:frame];
        //imageview居中 防止拉伸
        self.imageView.contentMode = UIViewContentModeCenter;
        self.titleLabel.frame = [self titleRectForContentRect:frame];
        self.titleLabel.textAlignment = NSTextAlignmentCenter;
        self.titleLabel.font = [UIFont systemFontOfSize:15];
    }
    return self;
}
把CustomTabbar.m中的UIButton全部置换成CustomTabbarButton,再运行并能看到上下结构的图标及标题了。
最后需要完成的是点击按钮时的页面转换及状态按钮状态变化。按钮状态变化部分由控件自己控制,而页面跳转问题需要BaseTabbarController来控制跳转。考虑到Tabbar的点击按钮事件需要通知到TabbarController所以当前能想到两种比较合适的方式来实现,block和代理。 这边我选择用代理来完成。
在CustomTabbar.h中声明代理:
@class CustomTabbar;

@protocol CustomTabBarDelegate <NSObject>

- (void)tabBar:(CustomTabbar *)tabBar didSelectedButtonFrom:(NSInteger)from to:(NSInteger)to;

@end
并在.h中添加属性:
@property (nonatomic, weak) id<CustomTabBarDelegate> delegate;然后在.m中通知代理。先给之前tabbar上的button添加点击事件(在addTabBarButtonWithItem:(UITabBarItem )item* 方法中):
[btn addTarget:self action:@selector(onClickButton:) forControlEvents:UIControlEventTouchUpInside];然后添加onClickButton方法:
- (void)onClickButton:(CustomTabBarButton *)button {
    // 通知代理
    if ([self.delegate respondsToSelector:@selector(tabBar:didSelectedButtonFrom:to:)]) {
        [self.delegate tabBar:self didSelectedButtonFrom:self.selectedButton.tag to:button.tag];
    }

    self.selectedButton.selected = NO;
    self.selectedButton.backgroundColor = [UIColor grayColor];

    button.selected = YES;
    self.selectedButton = button;
    self.selectedButton.backgroundColor = [UIColor whiteColor];
}
最后在BaseTabbarController中响应代理。首先在
- (void)onClickButton:(CustomTabBarButton *)button {
    // 通知代理
    if ([self.delegate respondsToSelector:@selector(tabBar:didSelectedButtonFrom:to:)]) {
        [self.delegate tabBar:self didSelectedButtonFrom:self.selectedButton.tag to:button.tag];
    }

    self.selectedButton.selected = NO;
    self.selectedButton.backgroundColor = [UIColor grayColor];

    button.selected = YES;
    self.selectedButton = button;
    self.selectedButton.backgroundColor = [UIColor whiteColor];
}
最后在BaseTabbarController中响应代理CustomTabBarDelegate。然后将:
self.customTabbar.delegate = self;最后实现代理方法:
- (void)tabBar:(CustomTabbar *)tabBar didSelectedButtonFrom:(NSInteger)from to:(NSInteger)to
{
    self.selectedIndex = to;
}
再运行并能看到自定义的效果了。 大体流程就是这样。
废话较多,over。


 5247
5247

 被折叠的 条评论
为什么被折叠?
被折叠的 条评论
为什么被折叠?
 到【灌水乐园】发言


