


首先,还是需要新创建一个虚拟机,就像之前一样,然后启动虚拟机,设置主机名和网络,网关,DNS等。
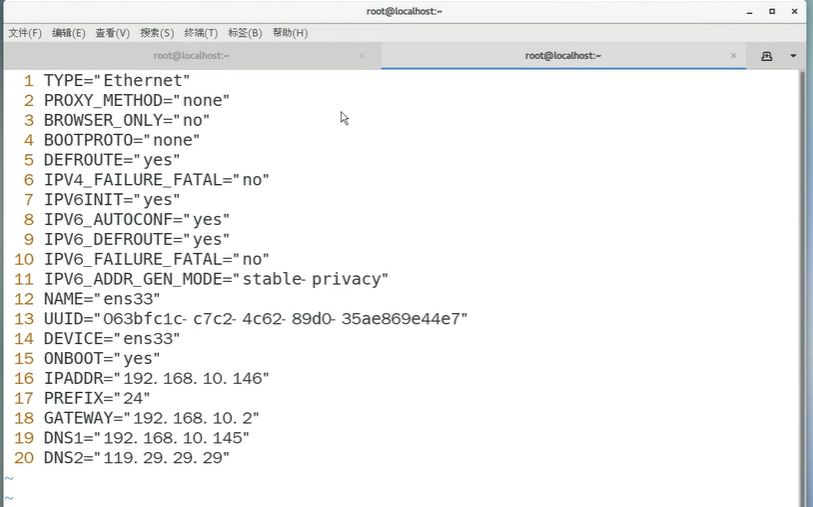
接下来检查防火墙,selinux是否关闭,以及是否做了时钟同步。
一、 docker-ce安装
1.1 获取YUM源
使用阿里云开源软件镜像站。
1.2 安装并设置启动及开机自启动
二、 docker compose安装
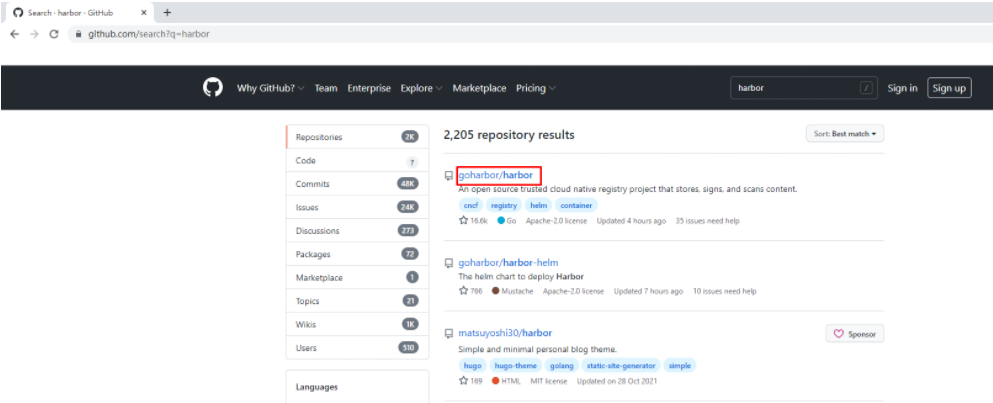
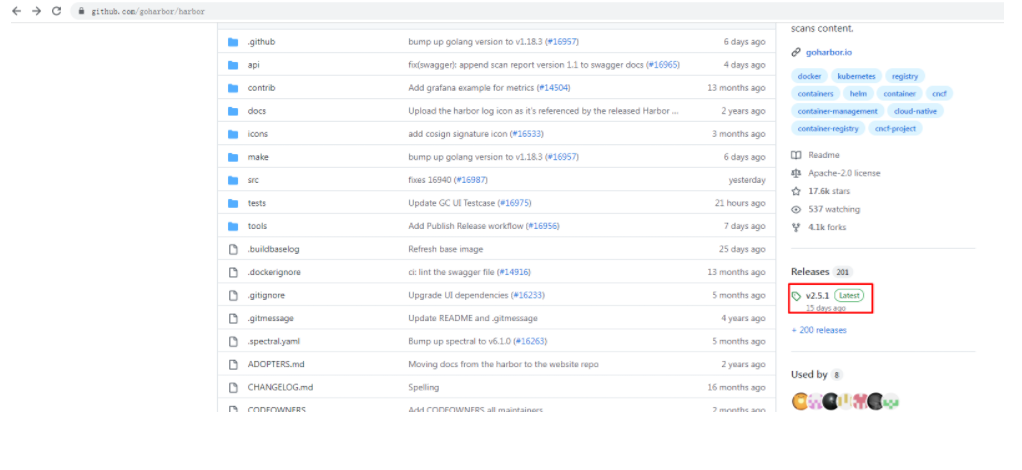
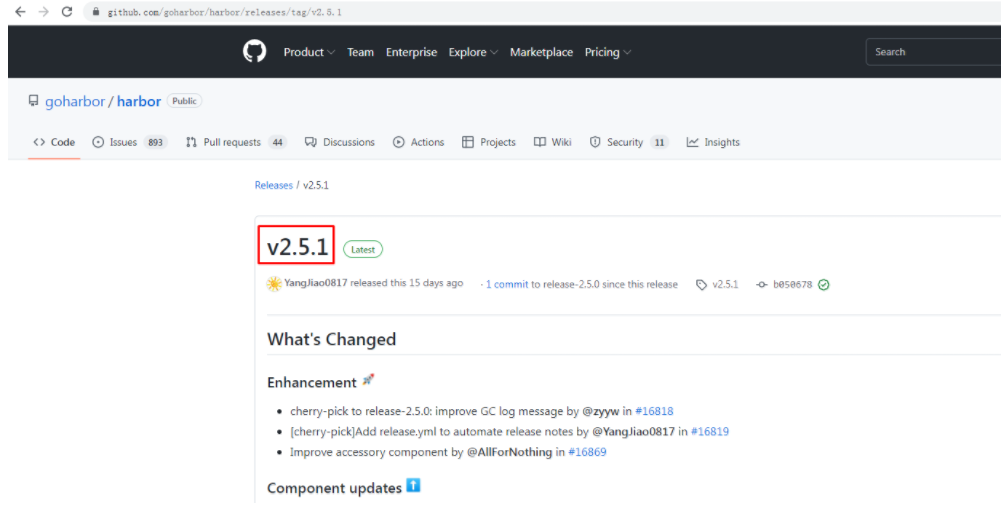
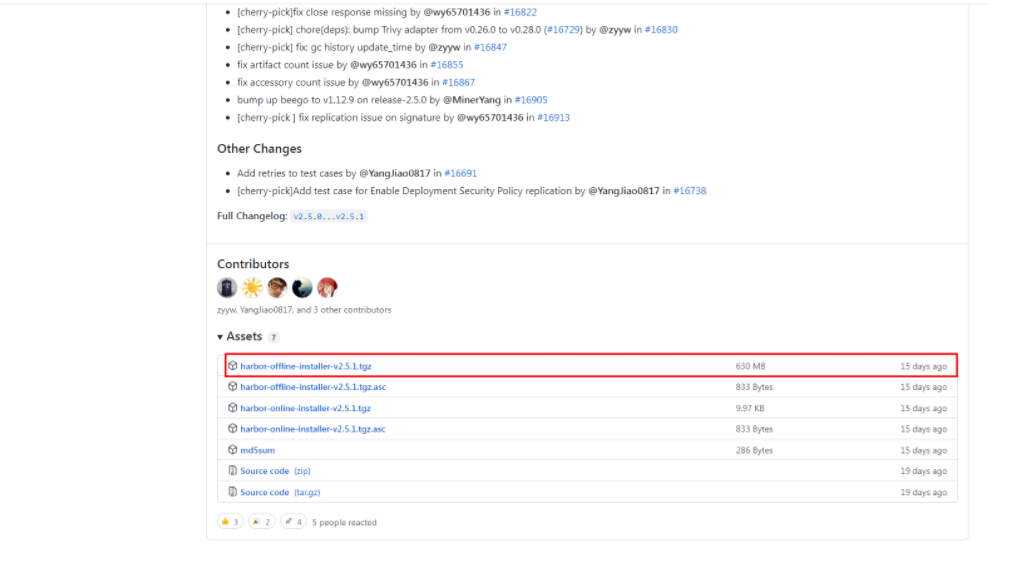
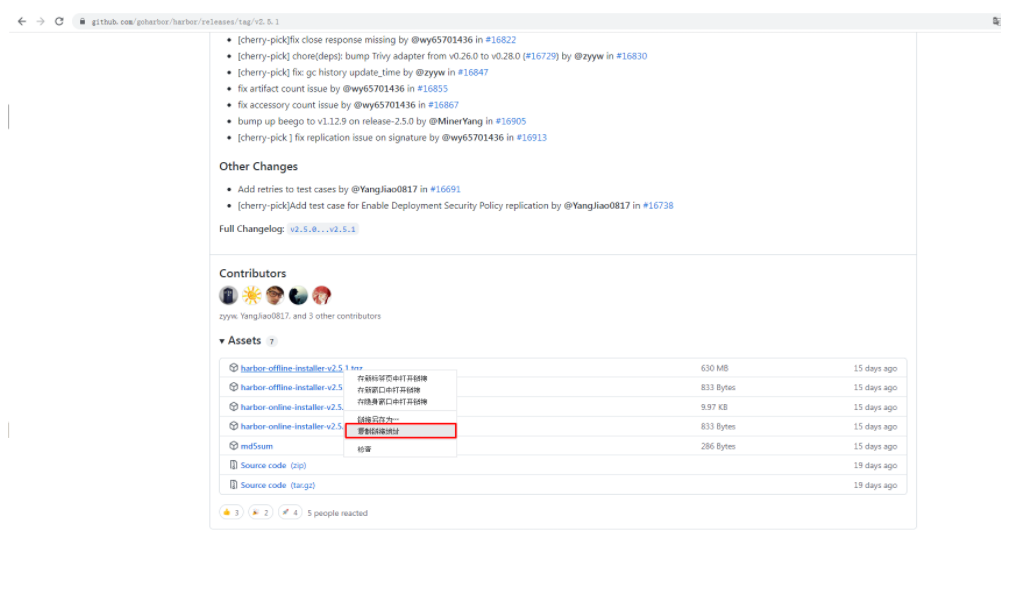
三、 获取harbor安装文件
3.1 harbor下载

3.2 修改配置文件
修改配置文件内容

# vim harbor.yml

# Configuration file of Harbor

# The IP address or hostname to access admin UI and registry service.
# DO NOT use localhost or 127.0.0.1, because Harbor needs to be accessed by external clients.
hostname: harbor.msb.com

# http related config
http:
  # port for http, default is 80. If https enabled, this port will redirect to https port
  port: 80

# https related config
# https:
  # https port for harbor, default is 443
#  port: 443
  # The path of cert and key files for nginx
#  certificate: /root/harbor/6864844_kubemsb.com.pem
#  private_key: /root/harbor/6864844_kubemsb.com.key

# # Uncomment following will enable tls communication between all harbor components
# internal_tls:
#   # set enabled to true means internal tls is enabled
#   enabled: true
#   # put your cert and key files on dir
#   dir: /etc/harbor/tls/internal

# Uncomment external_url if you want to enable external proxy
# And when it enabled the hostname will no longer used
# external_url: https://reg.mydomain.com:8433

# The initial password of Harbor admin
# It only works in first time to install harbor
# Remember Change the admin password from UI after launching Harbor.
harbor_admin_password: 12345 访问密码
......- 1.
- 2.
- 3.
- 4.
- 5.
- 6.
- 7.
- 8.
- 9.
- 10.
- 11.
- 12.
- 13.
- 14.
- 15.
- 16.
- 17.
- 18.
- 19.
- 20.
- 21.
- 22.
- 23.
- 24.
- 25.
- 26.
- 27.
- 28.
- 29.
- 30.
- 31.
- 32.
- 33.
- 34.
- 35.
- 36.
- 37.
- 38.
- 39.
3.3 执行预备脚本
输出
prepare base dir is set to /root/harbor
Clearing the configuration file: /config/portal/nginx.conf
Clearing the configuration file: /config/log/logrotate.conf
Clearing the configuration file: /config/log/rsyslog_docker.conf
Generated configuration file: /config/portal/nginx.conf
Generated configuration file: /config/log/logrotate.conf
Generated configuration file: /config/log/rsyslog_docker.conf
Generated configuration file: /config/nginx/nginx.conf
Generated configuration file: /config/core/env
Generated configuration file: /config/core/app.conf
Generated configuration file: /config/registry/config.yml
Generated configuration file: /config/registryctl/env
Generated configuration file: /config/registryctl/config.yml
Generated configuration file: /config/db/env
Generated configuration file: /config/jobservice/env
Generated configuration file: /config/jobservice/config.yml
Generated and saved secret to file: /data/secret/keys/secretkey
Successfully called func: create_root_cert
Generated configuration file: /compose_location/docker-compose.yml
Clean up the input dir- 1.
- 2.
- 3.
- 4.
- 5.
- 6.
- 7.
- 8.
- 9.
- 10.
- 11.
- 12.
- 13.
- 14.
- 15.
- 16.
- 17.
- 18.
- 19.
- 20.
- 21.
3.4 执行安装脚本
输出
[Step 0]: checking if docker is installed ...

Note: docker version: 20.10.12

[Step 1]: checking docker-compose is installed ...

Note: docker-compose version: 1.25.0

[Step 2]: loading Harbor images ...

[Step 3]: preparing environment ...

[Step 4]: preparing harbor configs ...
prepare base dir is set to /root/harbor

[Step 5]: starting Harbor ...
Creating network "harbor_harbor" with the default driver
Creating harbor-log ... done
Creating harbor-db     ... done
Creating registry      ... done
Creating registryctl   ... done
Creating redis         ... done
Creating harbor-portal ... done
Creating harbor-core   ... done
Creating harbor-jobservice ... done
Creating nginx             ... done
✔ ----Harbor has been installed and started successfully.----- 1.
- 2.
- 3.
- 4.
- 5.
- 6.
- 7.
- 8.
- 9.
- 10.
- 11.
- 12.
- 13.
- 14.
- 15.
- 16.
- 17.
- 18.
- 19.
- 20.
- 21.
- 22.
- 23.
- 24.
- 25.
- 26.
- 27.
- 28.
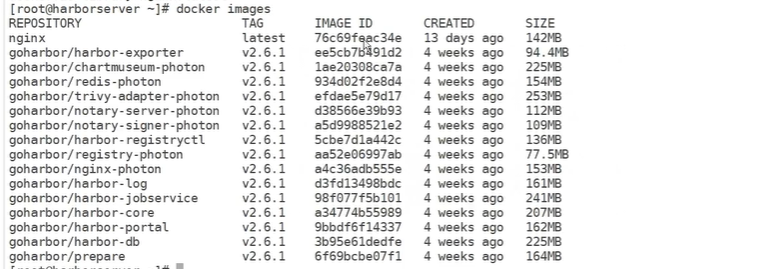
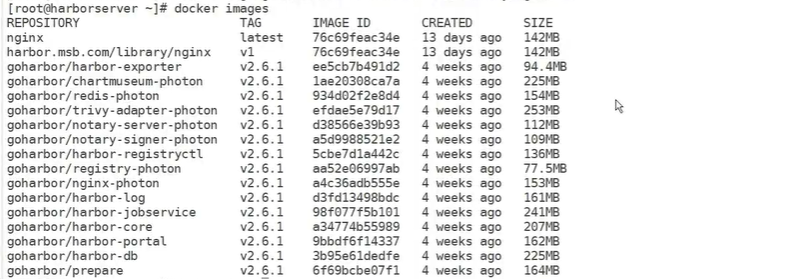
3.5 验证运行情况
# docker ps
CONTAINER ID   IMAGE                                COMMAND                  CREATED              STATUS                        PORTS                                                                            NAMES
71c0db683e4a   goharbor/nginx-photon:v2.5.1         "nginx -g 'daemon of…"   About a minute ago   Up About a minute (healthy)   0.0.0.0:80->8080/tcp, :::80->8080/tcp, 0.0.0.0:443->8443/tcp, :::443->8443/tcp   nginx
4e3b53a86f01   goharbor/harbor-jobservice:v2.5.1    "/harbor/entrypoint.…"   About a minute ago   Up About a minute (healthy)                                                                                    harbor-jobservice
df76e1eabbf7   goharbor/harbor-core:v2.5.1          "/harbor/entrypoint.…"   About a minute ago   Up About a minute (healthy)                                                                                    harbor-core
eeb4d224dfc4   goharbor/harbor-portal:v2.5.1        "nginx -g 'daemon of…"   About a minute ago   Up About a minute (healthy)                                                                                    harbor-portal
70e162c38b59   goharbor/redis-photon:v2.5.1         "redis-server /etc/r…"   About a minute ago   Up About a minute (healthy)                                                                                    redis
8bcc0e9b06ec   goharbor/harbor-registryctl:v2.5.1   "/home/harbor/start.…"   About a minute ago   Up About a minute (healthy)                                                                                    registryctl
d88196398df7   goharbor/registry-photon:v2.5.1      "/home/harbor/entryp…"   About a minute ago   Up About a minute (healthy)                                                                                    registry
ed5ba2ba9c82   goharbor/harbor-db:v2.5.1            "/docker-entrypoint.…"   About a minute ago   Up About a minute (healthy)                                                                                    harbor-db
dcb4b57c7542 goharbor/harbor-log:v2.5.1 "/bin/sh -c /usr/loc…" About a minute ago Up About a minute (healthy) 127.0.0.1:1514->10514/tcp harbor-log- 1.
- 2.
- 3.
- 4.
- 5.
- 6.
- 7.
- 8.
- 9.
- 10.
- 11.
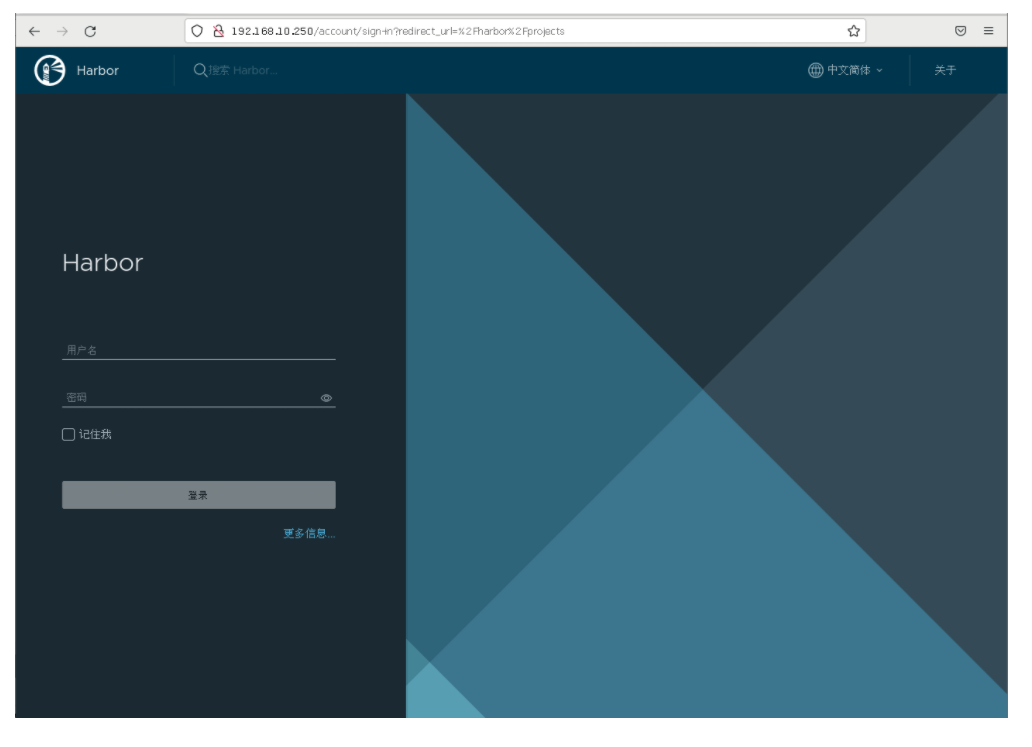
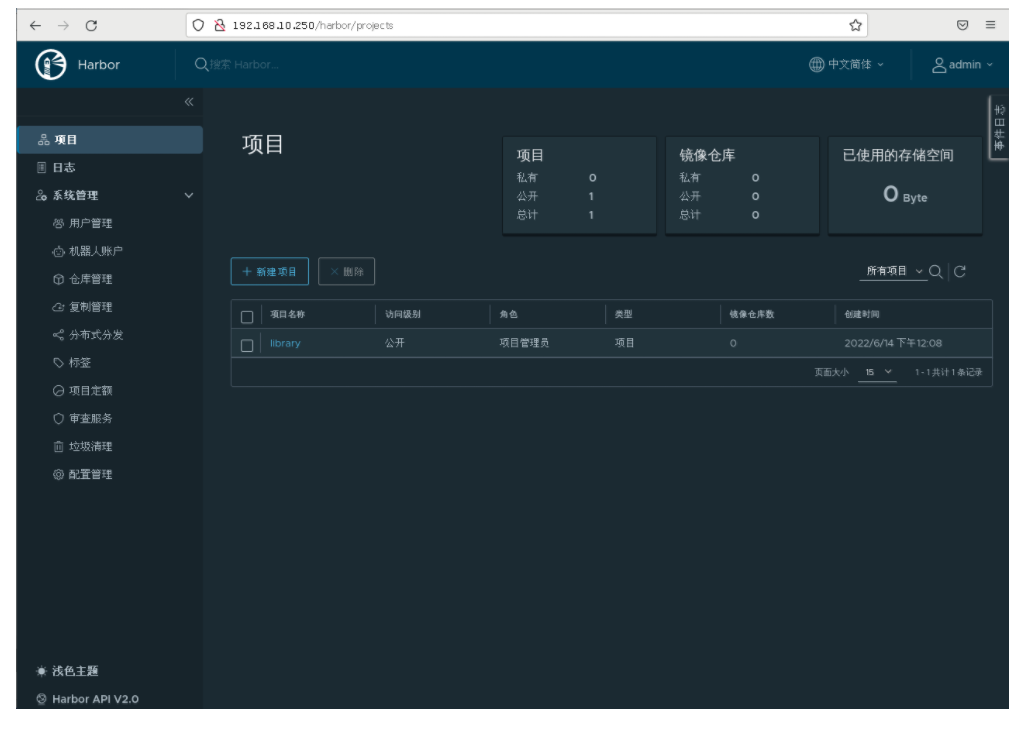
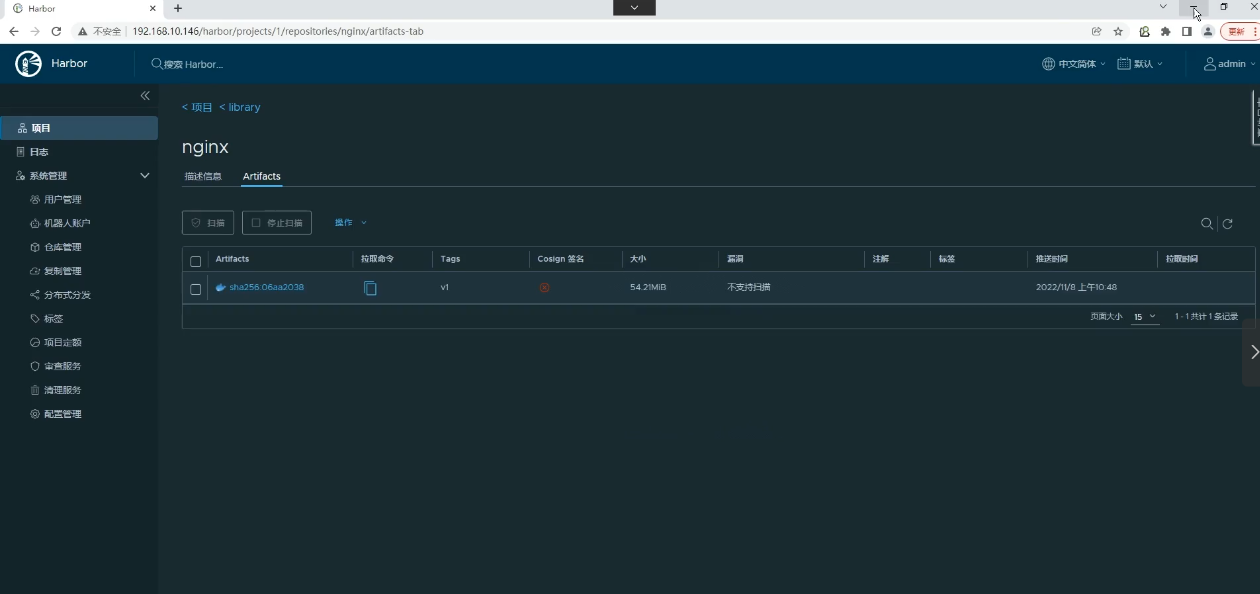
3.6 访问harbor UI界面
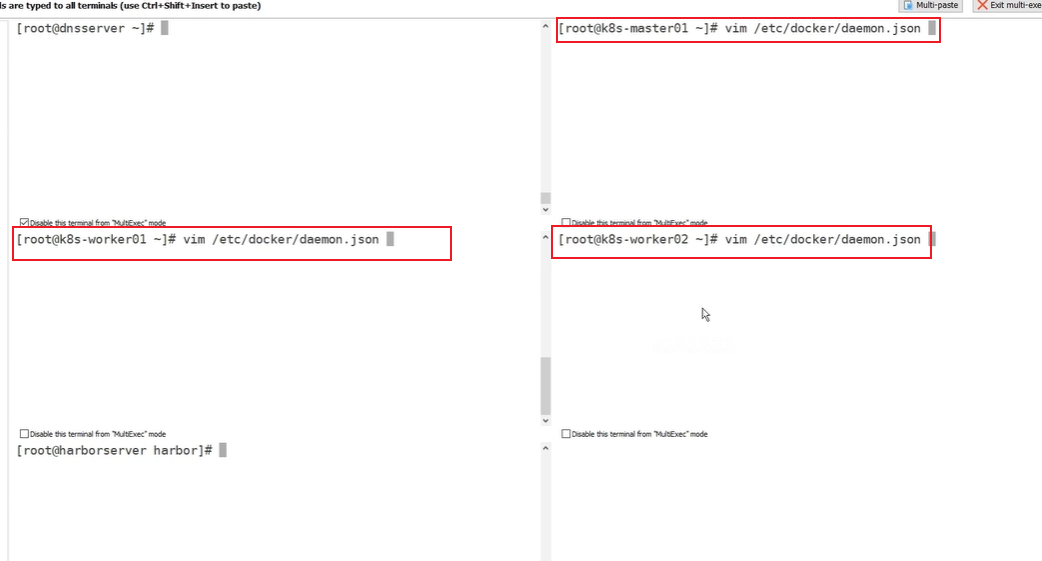
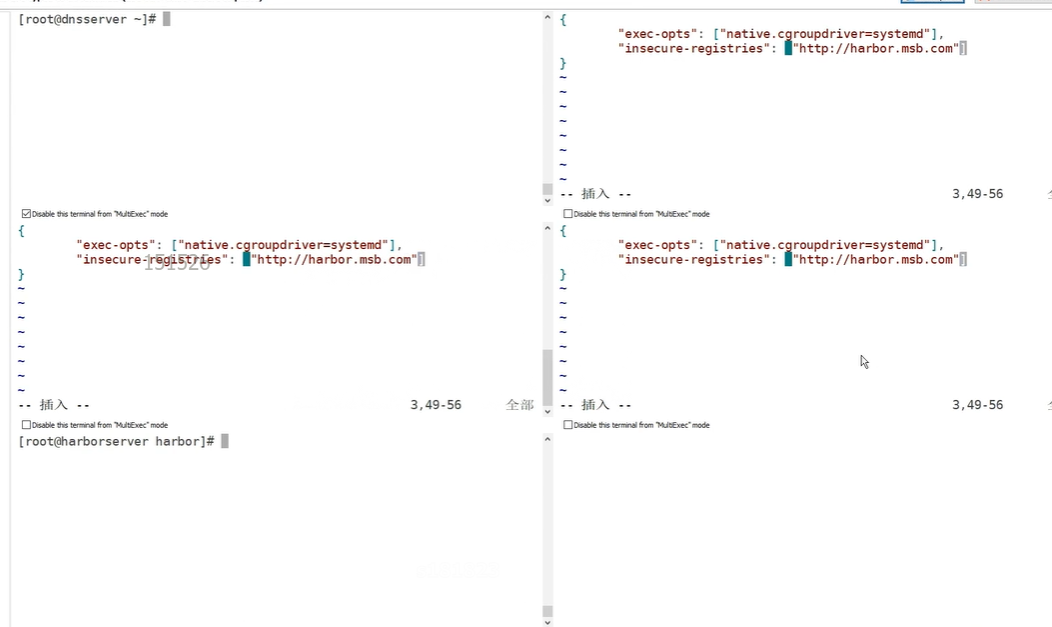
四、配置Docker使用Harbor
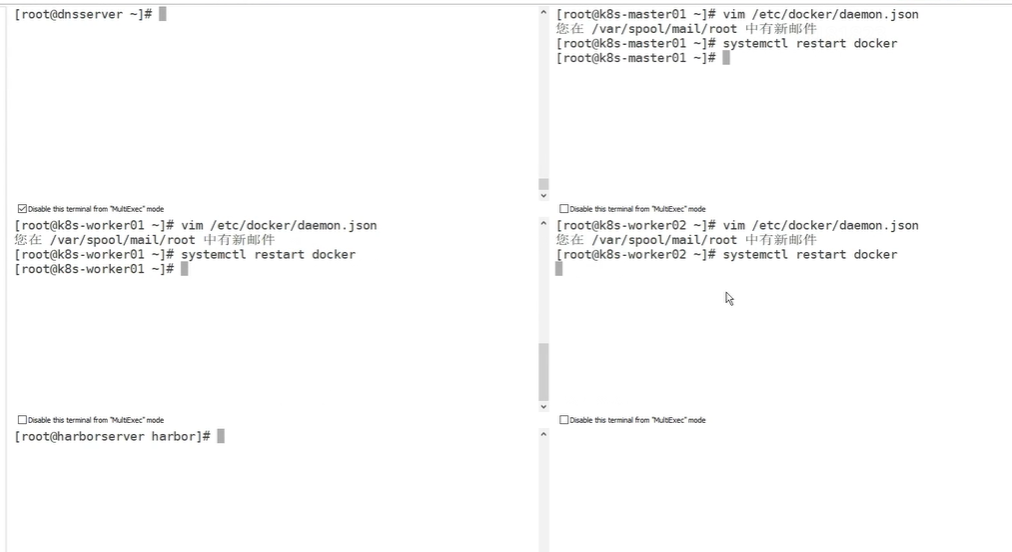
接下来修改主机和从机的daemon.json文件
然后重启docker
上传镜像到harbor
1.下载一个容器镜像
然后我们看一下
2.首先对镜像重新标记
3.接下来就可以上传了,上传之前我们一定要先登录


 1231
1231

 被折叠的 条评论
为什么被折叠?
被折叠的 条评论
为什么被折叠?
 到【灌水乐园】发言


