


一、CSS Sprite
CSS Sprite 即 CSS 精灵图,是一种 CSS 图像合成技术,将各种小的图片合并到一张图片上,然后利用 CSS 的背景定位来显示对应的图片部分。
使用 CSS 精灵图可以极大地减少网页的 HTTP 请求次数,加快响应速度,减轻后端的压力,并且能够减少图片的总大小,也少了一些图片命名的困扰,只需要给一张图片命名就可以了。
在实际开发中 CSS 精灵图由设计人员提供,并且也会提供图片上图标的位置。
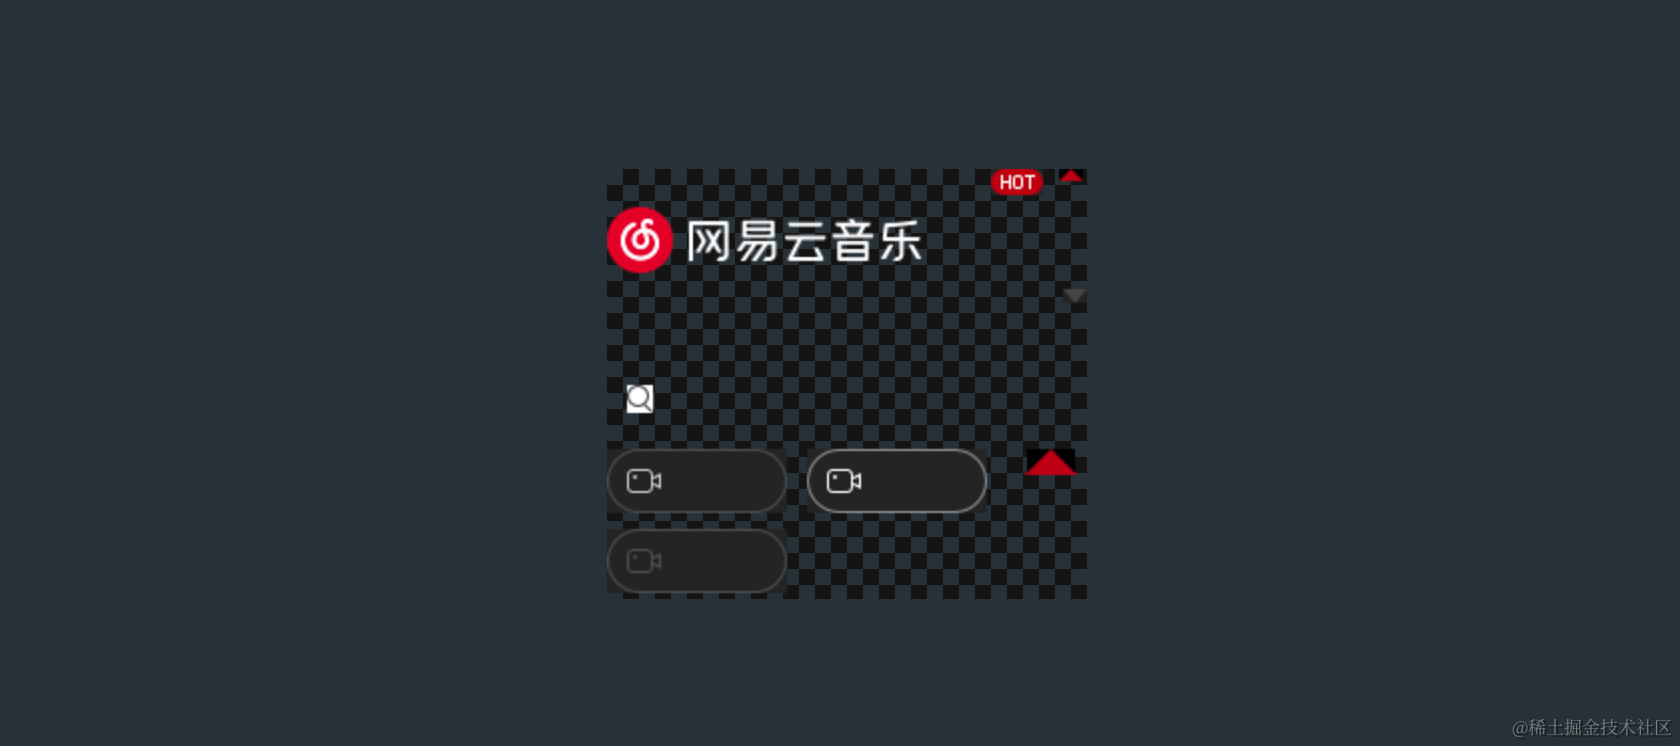
CSS 精灵图的使用非常广泛,比如网站的 logo 就是放在精灵图上的:

精灵图中所包含的图标:
二、CSS Sprite 的使用
精灵图的元素是通过只显示图片很小的一部分来实现的,通常会使用背景属性实现,需要做如下几个设置:
- 设置对应元素的宽度和高度
- 设置精灵图作为背景图片
- 调整背景图片的位置来展示
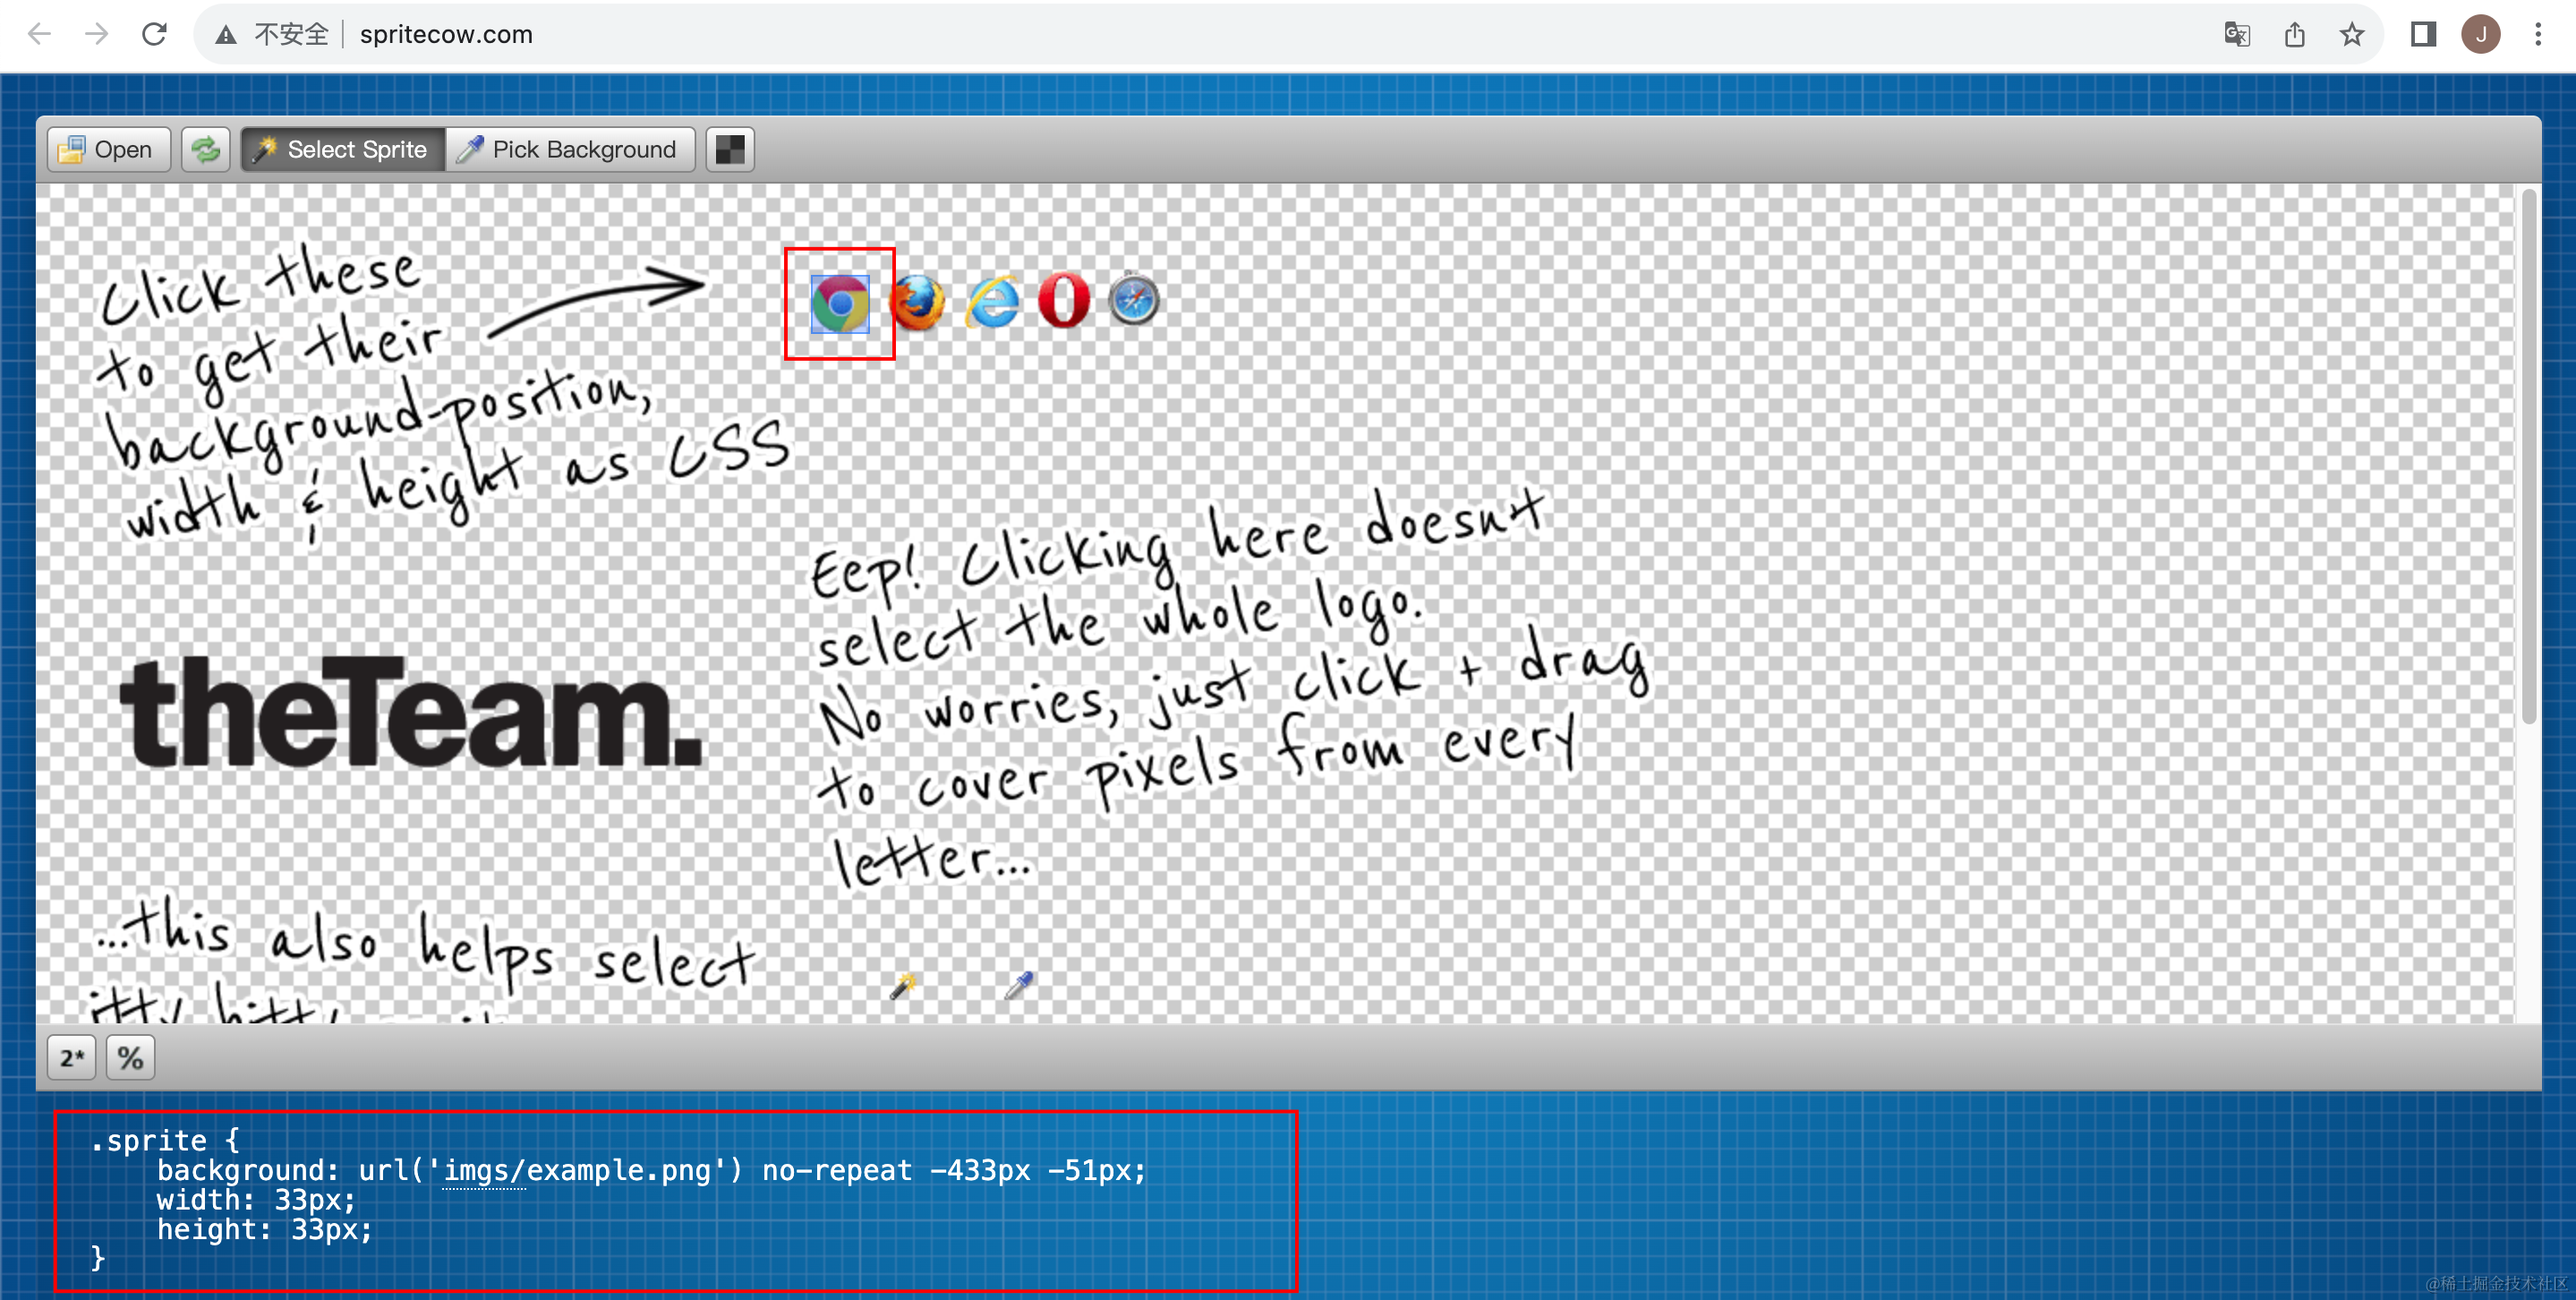
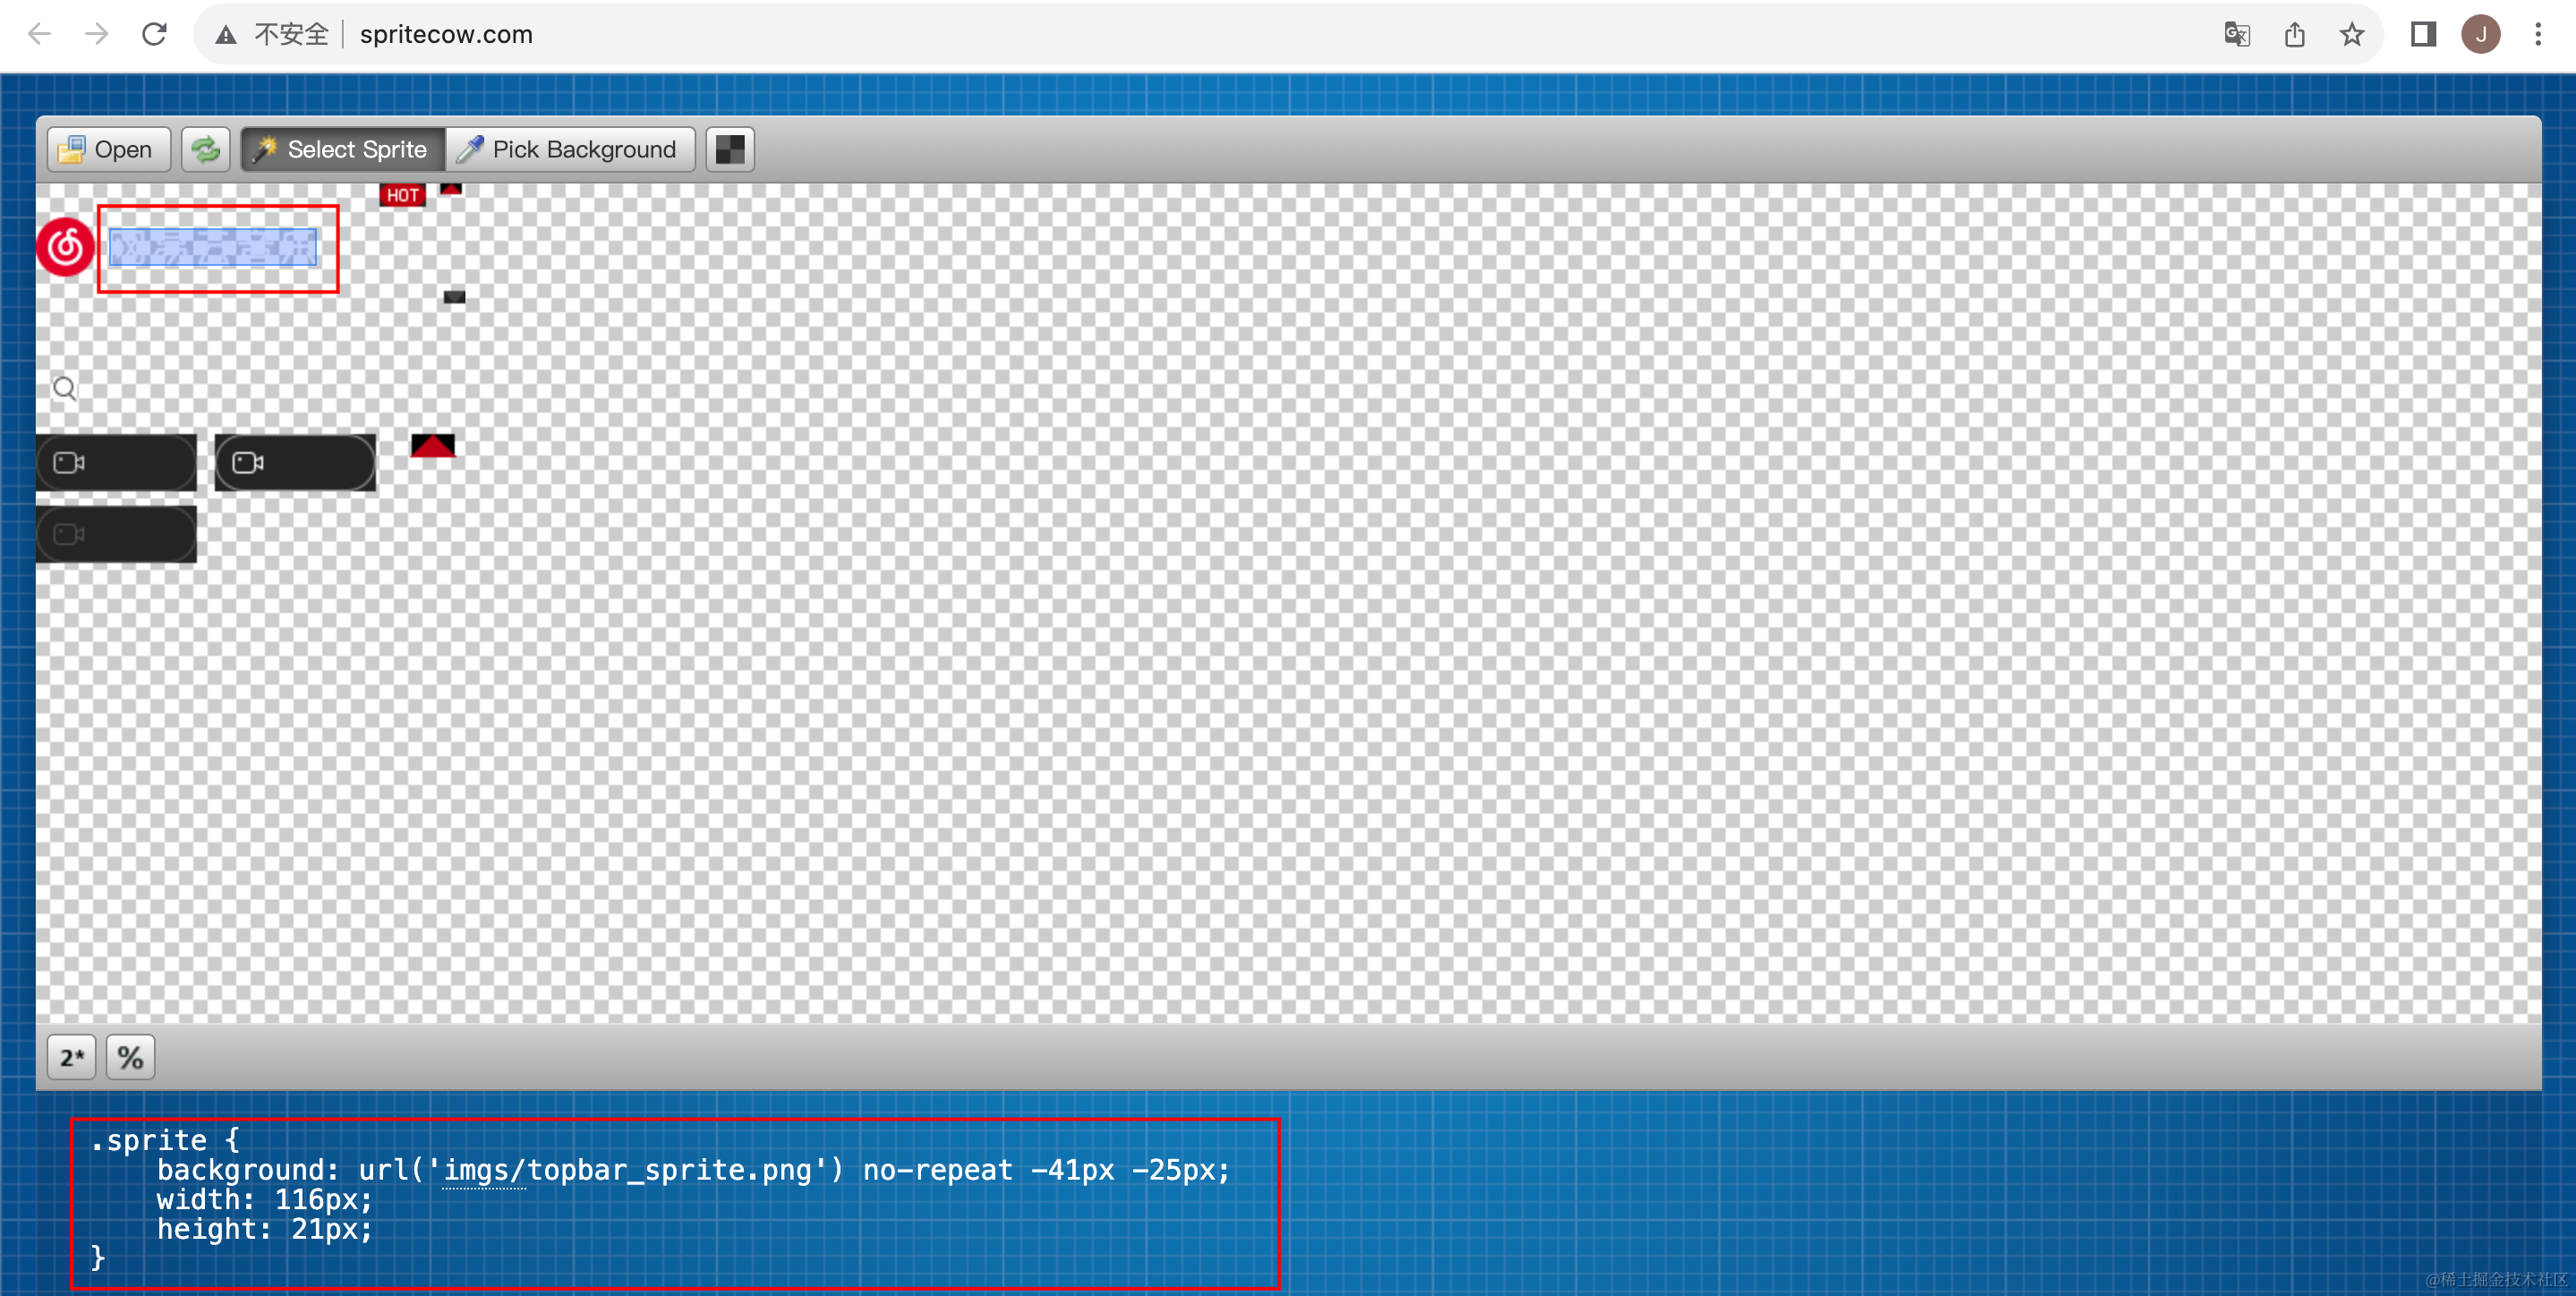
在实际开发中设置人员会告诉我们各个图标的位置,如果没有我们也可以通过这个网站来查询图标的位置,选中图标即可显示出对应的 CSS 代码:
创建一个 HTML 页面,具体代码如下:
<!DOCTYPE html>
<html lang="en">
<head>
  <meta charset="UTF-8">
  <meta name="viewport" content="width=device-width, initial-scale=1.0">
  <title>Document</title>
  <style>
    i.logo-icon {
      background-image: url(../images/topbar_sprite.png);
      background-repeat: no-repeat;
    }
  </style>
</head>
<body>
  <i class="logo-icon"></i>
</body>
</html>
接着还需要查看到要使用的图标的具体位置,比如:
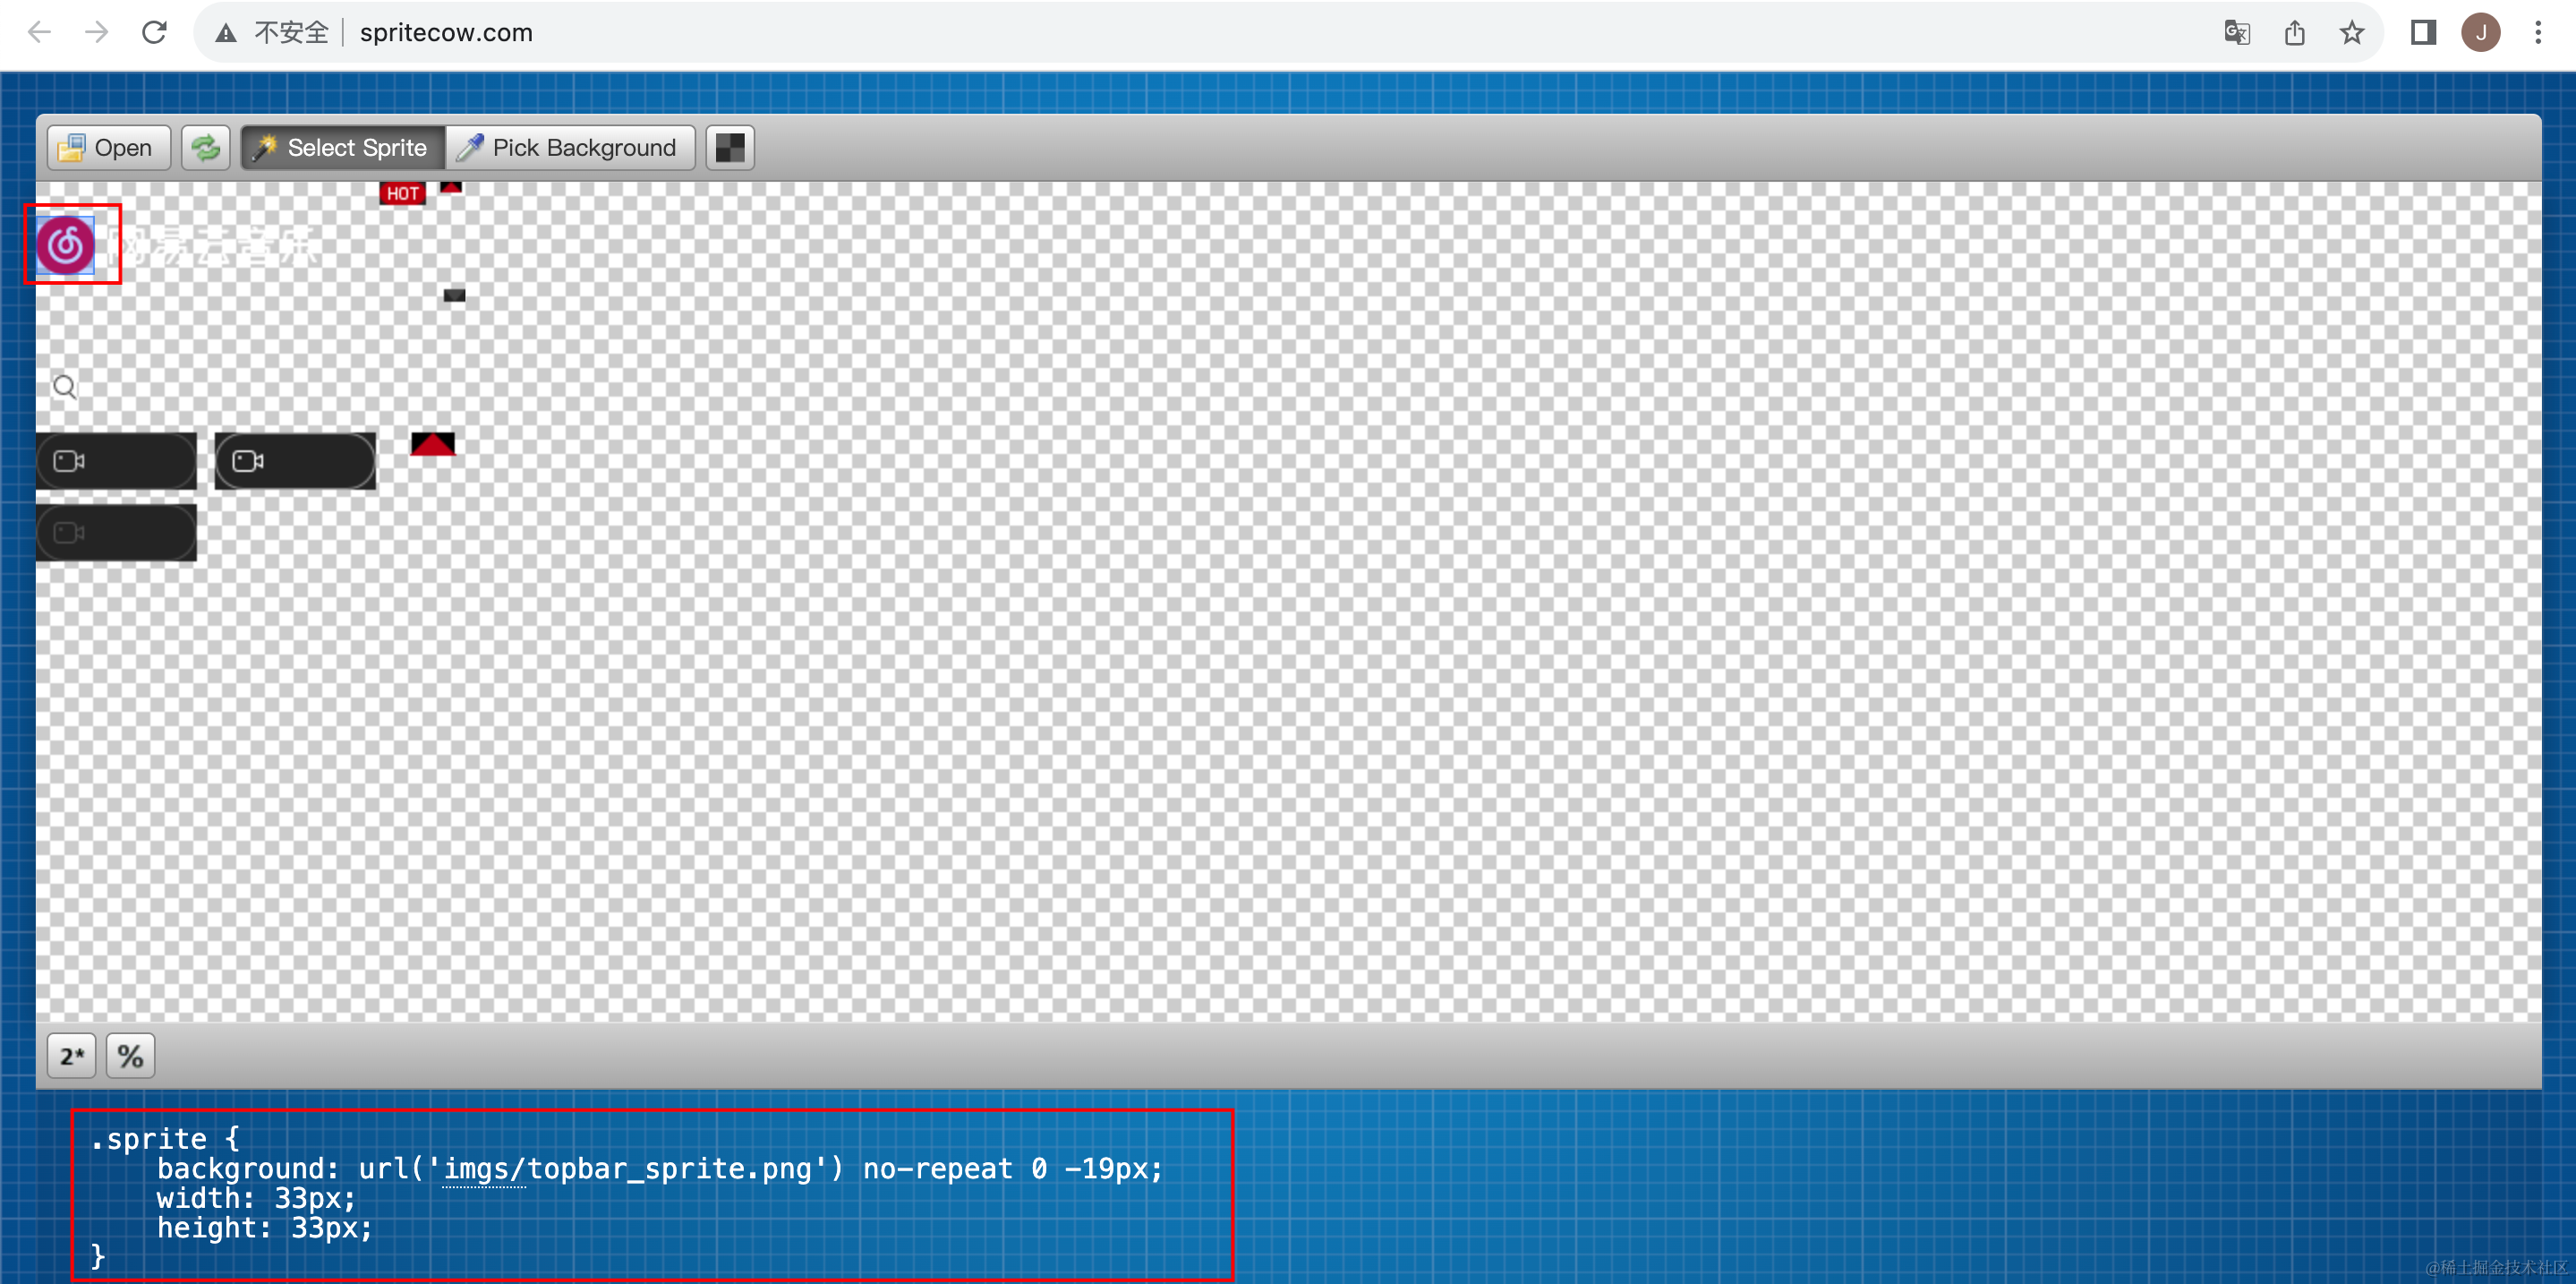
修改样式为如下形式:
i.logo-icon {
  background: url('../images/topbar_sprite.png') no-repeat 0 -19px;

  display: inline-block;
  width: 33px;
  height: 33px;
}
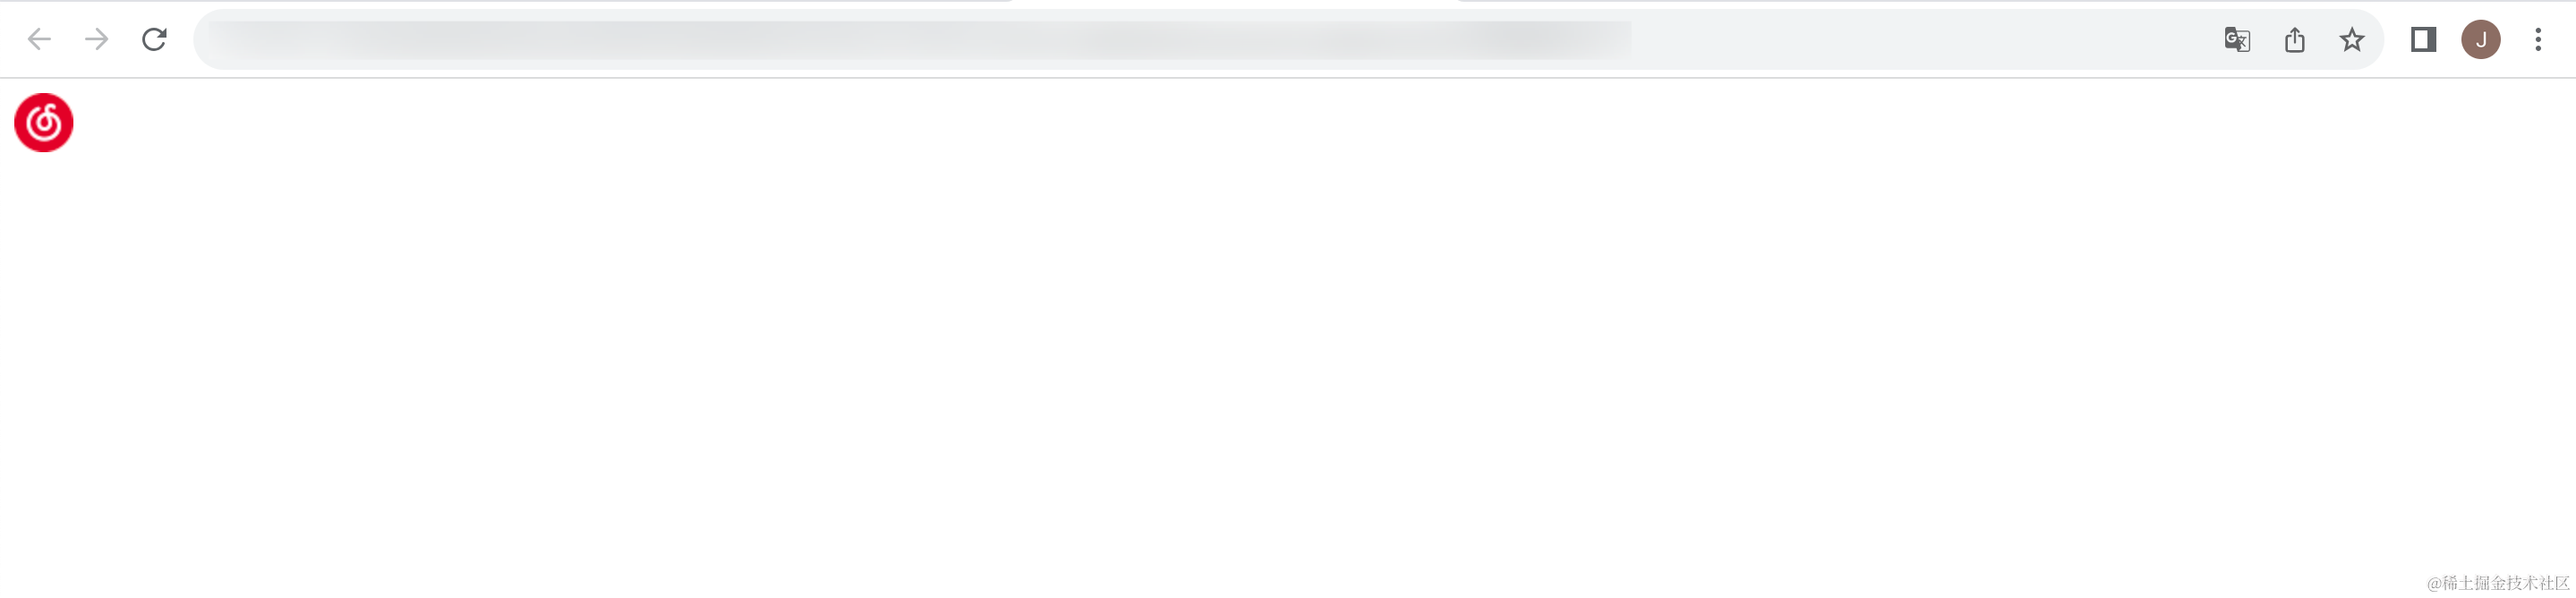
在浏览器中打开 HTML 页面,效果如下:
再来添加一个图标,获取图标的位置:
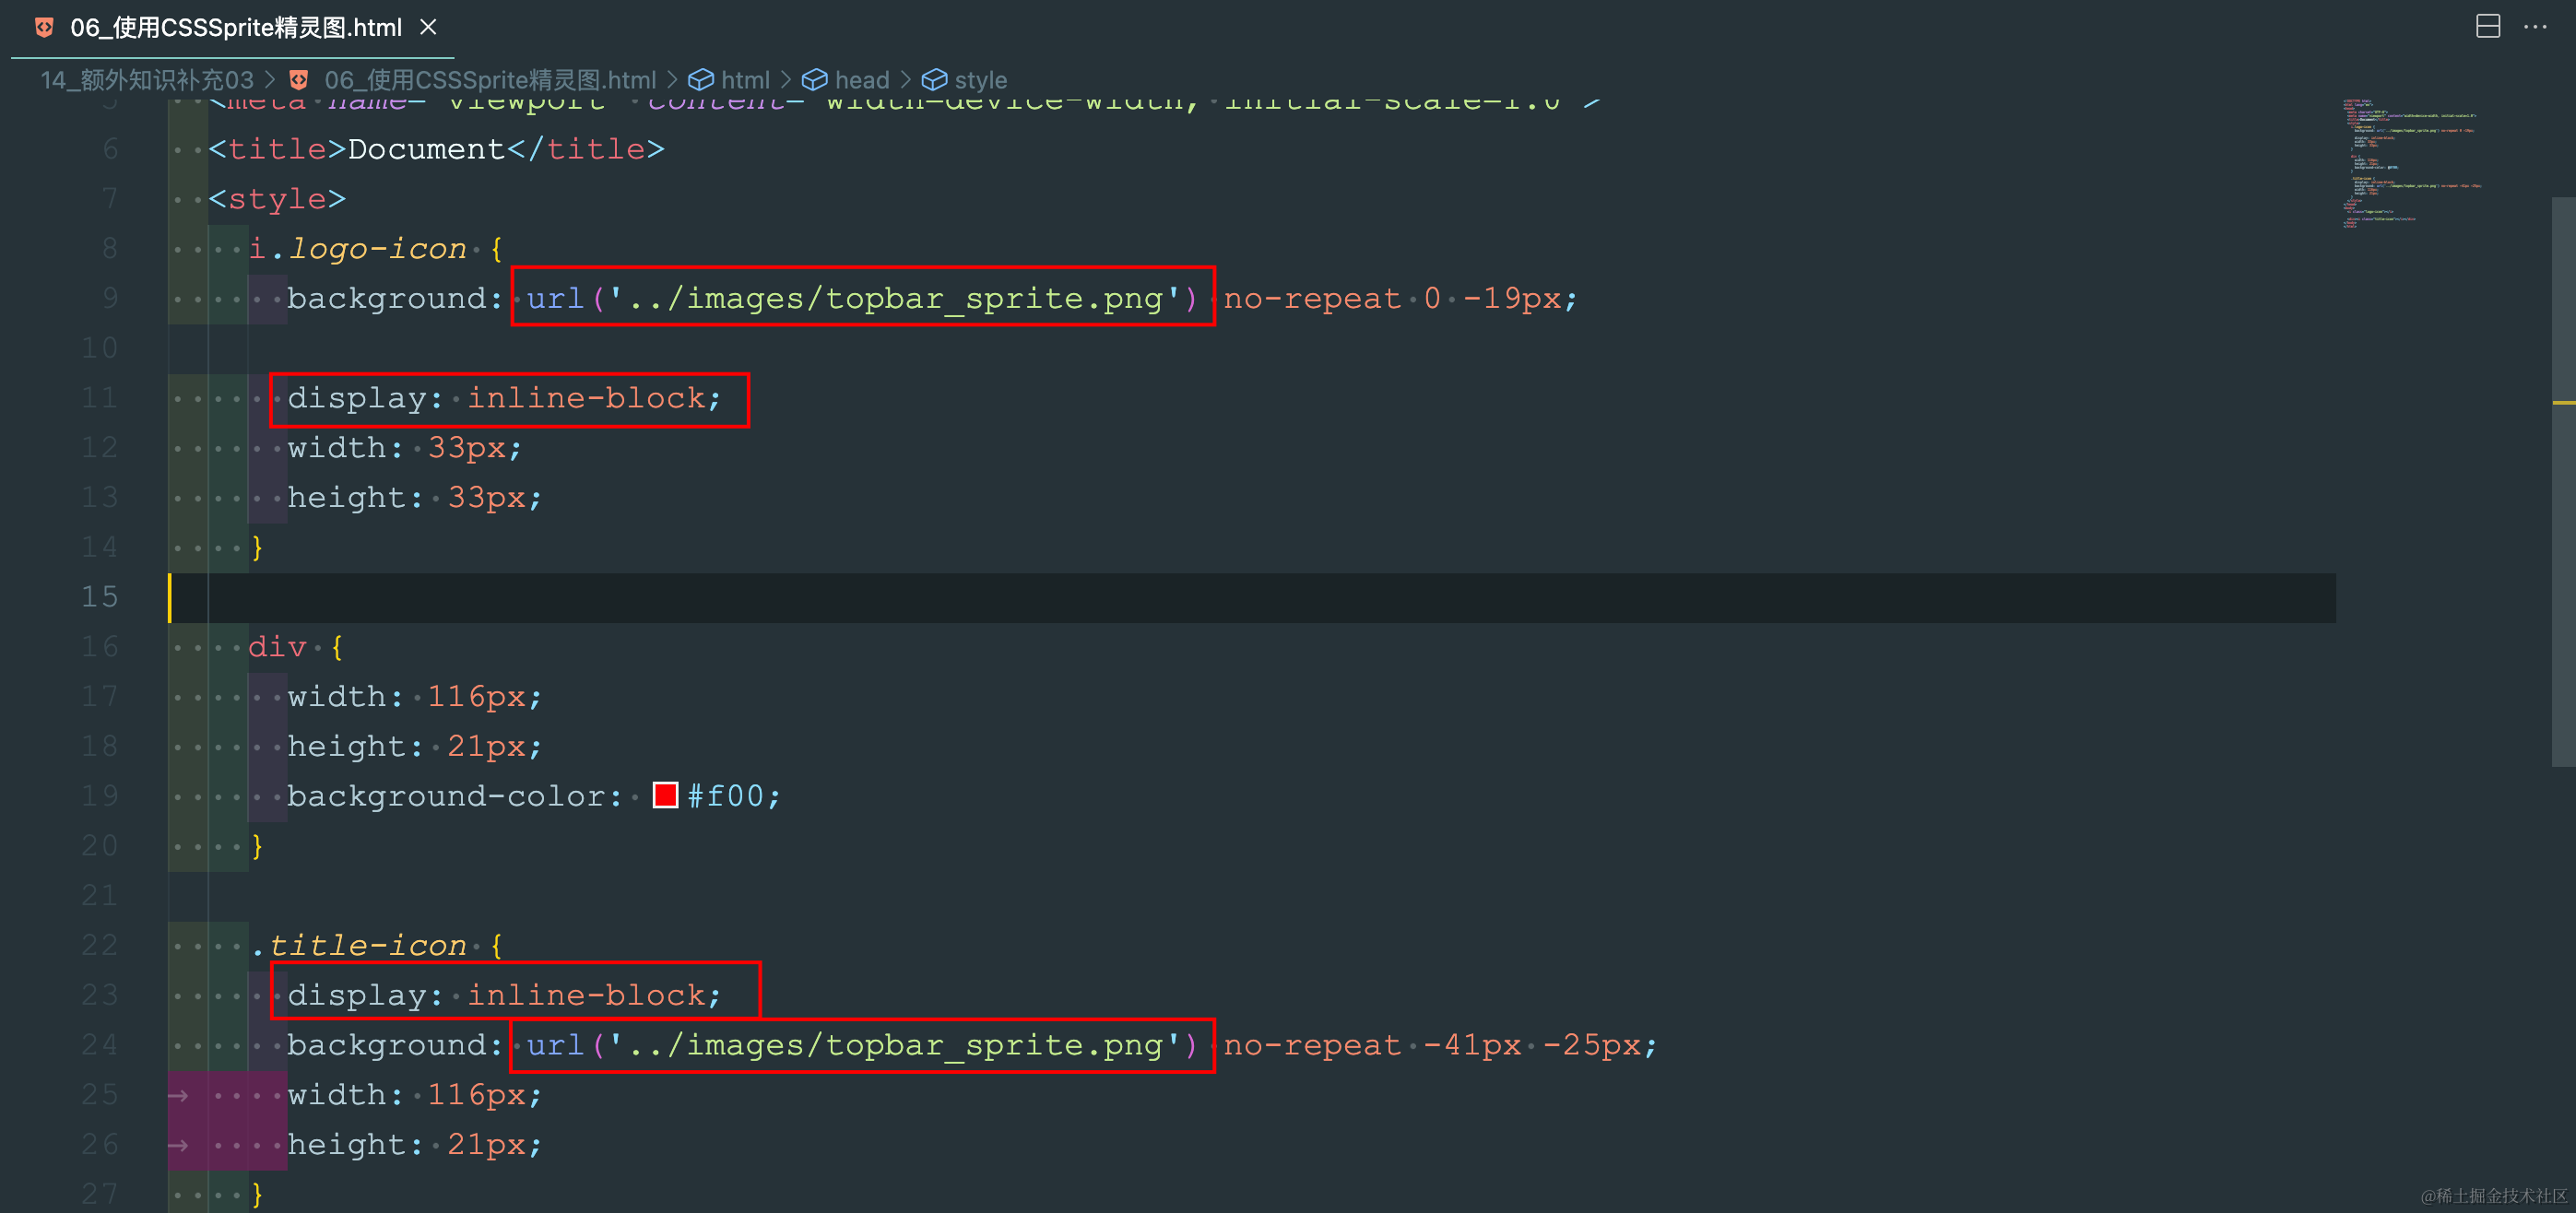
然后添加到 CSS 代码中:
<!DOCTYPE html>
<html lang="en">
<head>
  <meta charset="UTF-8">
  <meta name="viewport" content="width=device-width, initial-scale=1.0">
  <title>Document</title>
  <style>
    i.logo-icon {
      background: url('../images/topbar_sprite.png') no-repeat 0 -19px;

      display: inline-block;
      width: 33px;
      height: 33px;
    }

    div {
      width: 116px;
      height: 21px;
      background-color: #f00;
    }

    .title-icon {
      display: inline-block;
      background: url('../images/topbar_sprite.png') no-repeat -41px -25px;
	    width: 116px;
	    height: 21px;
    }
  </style>
</head>
<body>
  <i class="logo-icon"></i>

  <div><i class="title-icon"></i></div>
</body>
</html>
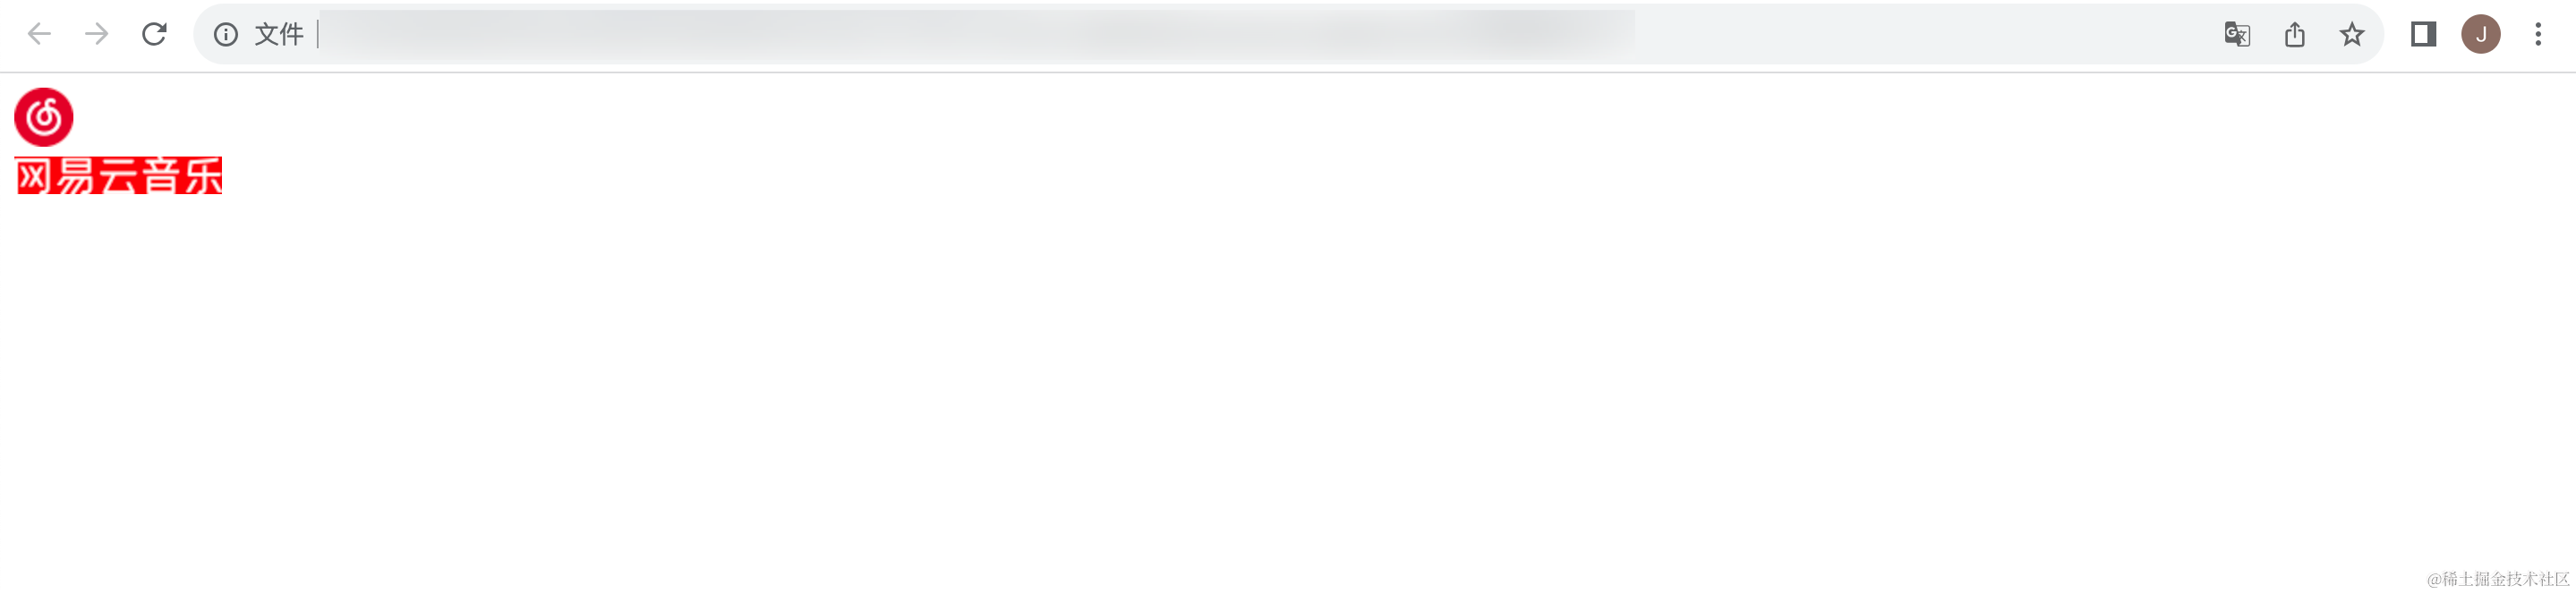
浏览器中打开页面,具体效果如下:

在当前的 CSS 代码中,我们引用了同一张图片,因此存在重复的 CSS 代码:
我们可以抽取重复的 CSS 代码到一个单独的选择器当中:
<!DOCTYPE html>
<html lang="en">
<head>
  <meta charset="UTF-8">
  <meta name="viewport" content="width=device-width, initial-scale=1.0">
  <title>Document</title>
  <style>
    /*抽取重复代码*/
    .topicon {
      display: inline-block;
      background-image: url('../images/topbar_sprite.png');
      background-repeat: no-repeat;
    }

    i.logo-icon {
      /* background: url('../images/topbar_sprite.png') no-repeat 0 -19px; */
      /* display: inline-block; */
      background-position: 0 -19px;
      width: 33px;
      height: 33px;
    }

    div {
      width: 116px;
      height: 21px;
      background-color: #f00;
    }

    .title-icon {
      /* display: inline-block; */
      /* background: url('../images/topbar_sprite.png') no-repeat -41px -25px; */
      background-position: -41px -25px;
	    width: 116px;
	    height: 21px;
    }
  </style>
</head>
<body>
  /*使用topicon*/
  <i class="logo-icon topicon"></i>
  /*使用topicon*/
  <div><i class="title-icon topicon"></i></div>
</body>
</html>
刷新浏览器,效果如下:
二、光标显示-cursor
cursor 可以设置鼠标指针在元素上时显示的样式,cursor 常见的值有:
- auto:浏览器根据上下文决定指针的显示样式,比如根据文本和非文本切换指针样式
- default:由操作系统决定,一般就是一个小箭头
- pointer:一只小手,鼠标指针挪动到链接上面默认就是这个样式
- text:一条竖线,鼠标指针挪动到文本输入框上面默认就是这个样式
- none:没有任何指针显示在元素上面
创建 HTML 页面,设置 cursor,具体代码如下:
<!DOCTYPE html>
<html lang="en">
<head>
  <meta charset="UTF-8">
  <meta name="viewport" content="width=device-width, initial-scale=1.0">
  <title>Document</title>
  <style>
    div {
      cursor: pointer;
    }
  </style>
</head>
<body>
  <div>我是div</div>
  <a href="">必应一下</a>
</body>
</html>
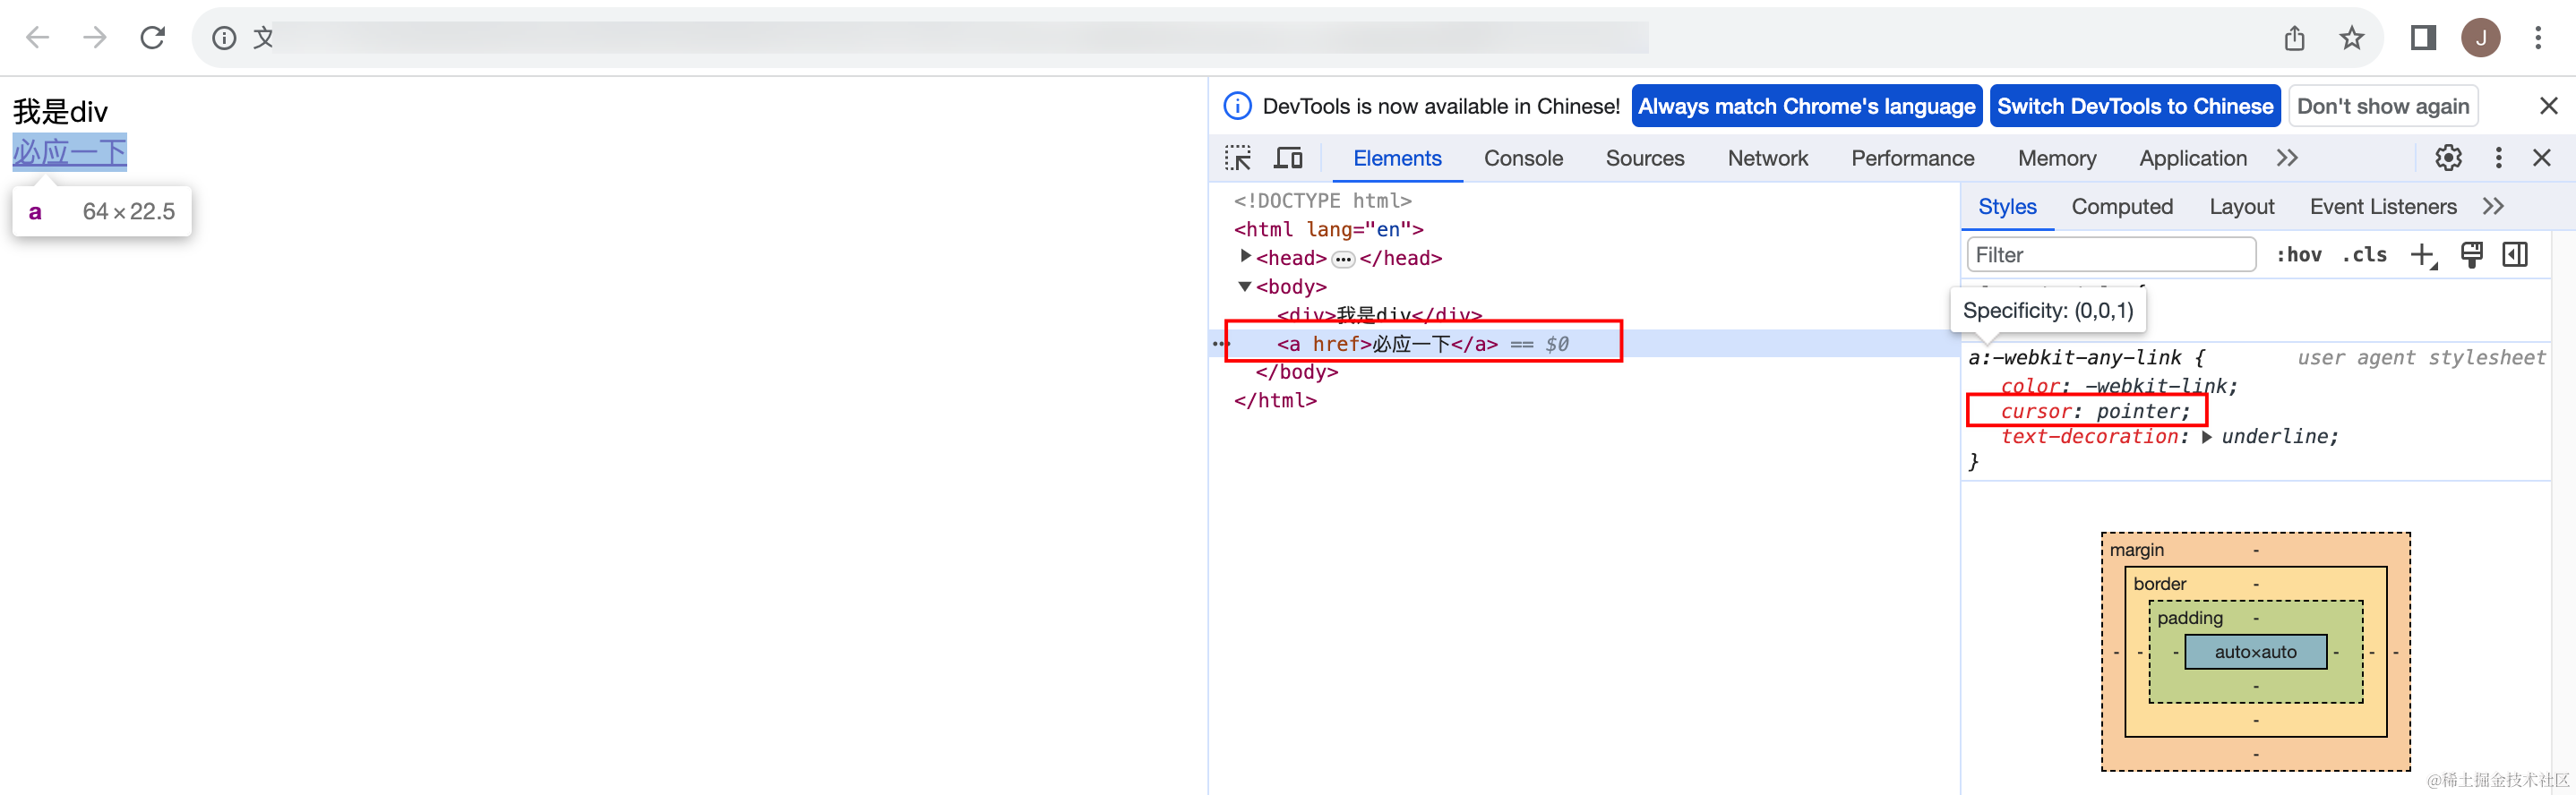
当鼠标悬浮在 div 上时,也会变成一个 pointer 的状态,在浏览器中打开 HTML 页面,效果如下:
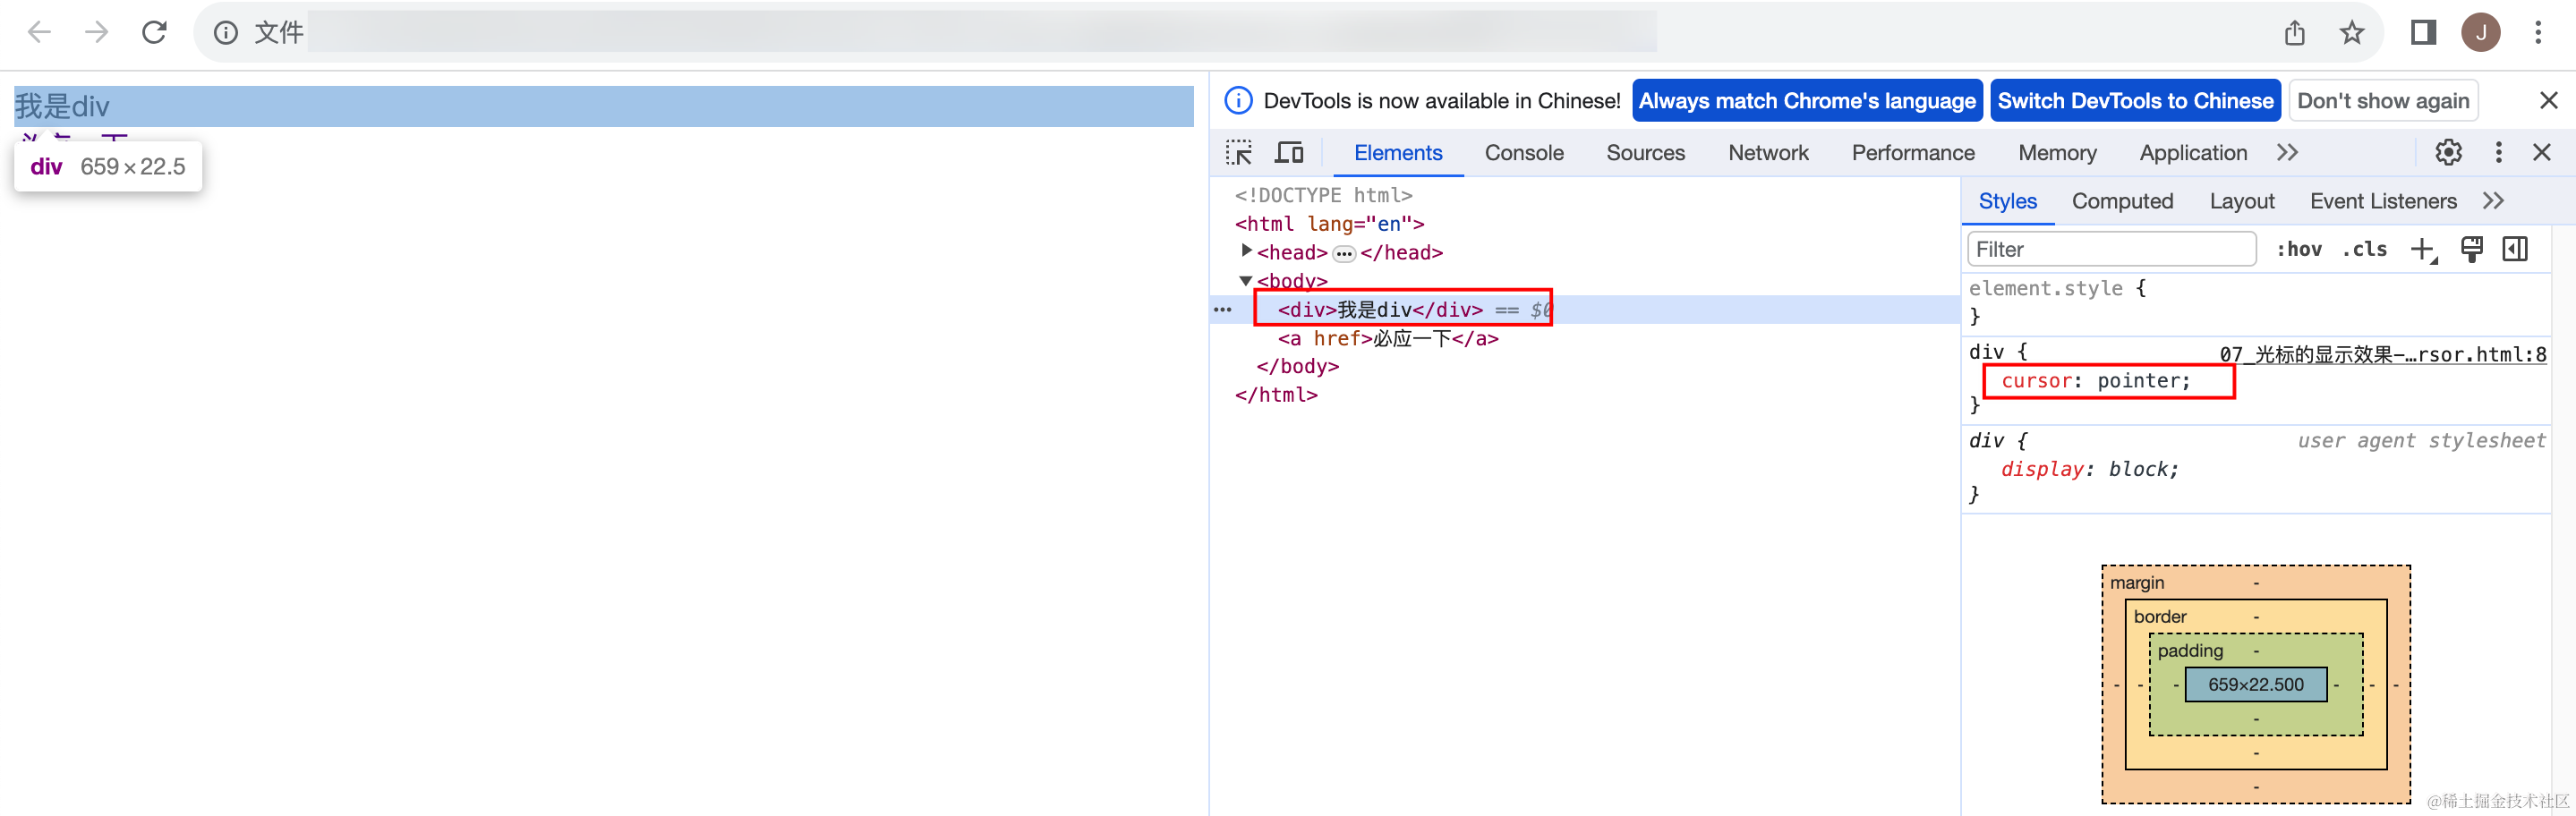
可以看到 div 元素的 cursor 与 a 元素的 cursor 的值是一致的,当鼠标悬浮在 div 元素上时会变成一只小手。


 3299
3299


 被折叠的 条评论
为什么被折叠?
被折叠的 条评论
为什么被折叠?
 到【灌水乐园】发言


