思路:KendoUITabStrip控件是通过ul-li以及div标签来生成对应的tab选项卡(li标签为tab选项卡的标题,div为tab选项卡的内容),每一个li标签对应一个div(div与ul标签同级)(参考官网),因此可以通过使用html模板来动态的生成tab选项卡
1.Vue中不能渲染字符串中的组件标签,所以KendoUI组件库的组件标签不能被渲染,所以此时需要使用Vue.extend方法来使字符串中的组件标签能够被渲染,同时在PanelBar的item项目中需要使用路由来跳转页面,所以要使用<router-view></router-view>标签当做路由跳转的内容渲染出口(这个研究不深,待学习)
<template>
  <div>
    <MyKendoTabStrip :html="html"></MyKendoTabStrip>
  </div>
</template>

<script>
import { TabStrip } from "@progress/kendo-layout-vue-wrapper";
import FormSM01 from "../Form/FormSM01";
import KendoUIInputs from "../KendoUIInputs";
import $ from "jquery";
import Vue from 'vue'
// import KendoUIButton from '../KendoUIButton';
Vue.component('FormSM01', FormSM01);//注册组件
Vue.component('kendo-tabstrip', TabStrip);//注册组件

export default {
  // 传入参数
  props: {
        html1111: String
      },
  components: {
     MyKendoTabStrip: {
      props: {
        html: String
      },
      render(h) {
        const com = Vue.extend({
          template: this.html//组件模板
        });
        return h(com, {});
      }
    }
  },
  data: function (param) {
    return {
       html: '<kendo-tabstrip '+
     ' id="tabstrip" '+
    '> '+

       '<ul> <li class="k-state-active"> 首页 </li> '+
            '<li> 测试页1 </li>'+
            '<li> 测试页2 </li>'+
          '</ul>'+
          '<div>'+
         '<h1>首页</h1>'+
         ' </div> '+
         ' <div style="text-align:left"><router-view></router-view></div>'+
         ' <div style="text-align:left"><router-view></router-view></div>'+
         '</kendo-tabstrip>',
    };
  },
  created: function (param) {

  },
  mounted: function (param) {

  },
};
</script>

<style>
</style>
2.在index.js文件中配置路由
import Vue from 'vue'
import Router from 'vue-router'
// import HelloWorld from '@/components/HelloWorld'
import Home from '../components/Home.vue'
import FormSM01 from '../components/Form/FormSM01.vue'
Vue.use(Router)

export default new Router({
  mode: 'history',//去掉#号
  routes: [
    {
      path: '/',
      name: 'Home',
      component: Home,
      children:[//Home路由下的子路由
        {
          path: '/FormSM01',//路径
          name: 'FormSM01',
          component: FormSM01//路由跳转渲染的组件(内容)
        },
      ]
    },

  ]
})
<template>
  <div>
    <!-- :select="onSelect" -->
    <kendo-panelbar id="kendo-panelbar"
    :data-source="pxMenuItems"
    :data-url-field='"LinksTo"'//数据源中当做路由的字段
    >
    </kendo-panelbar>
  </div>
</template>
module_menu_sons.push({ LinksTo:'/FormSM01',text: row.MODULE_DESCRIPTION_S,imageUrl: 'http://localhost:2681//Resources//form2-16.png'});
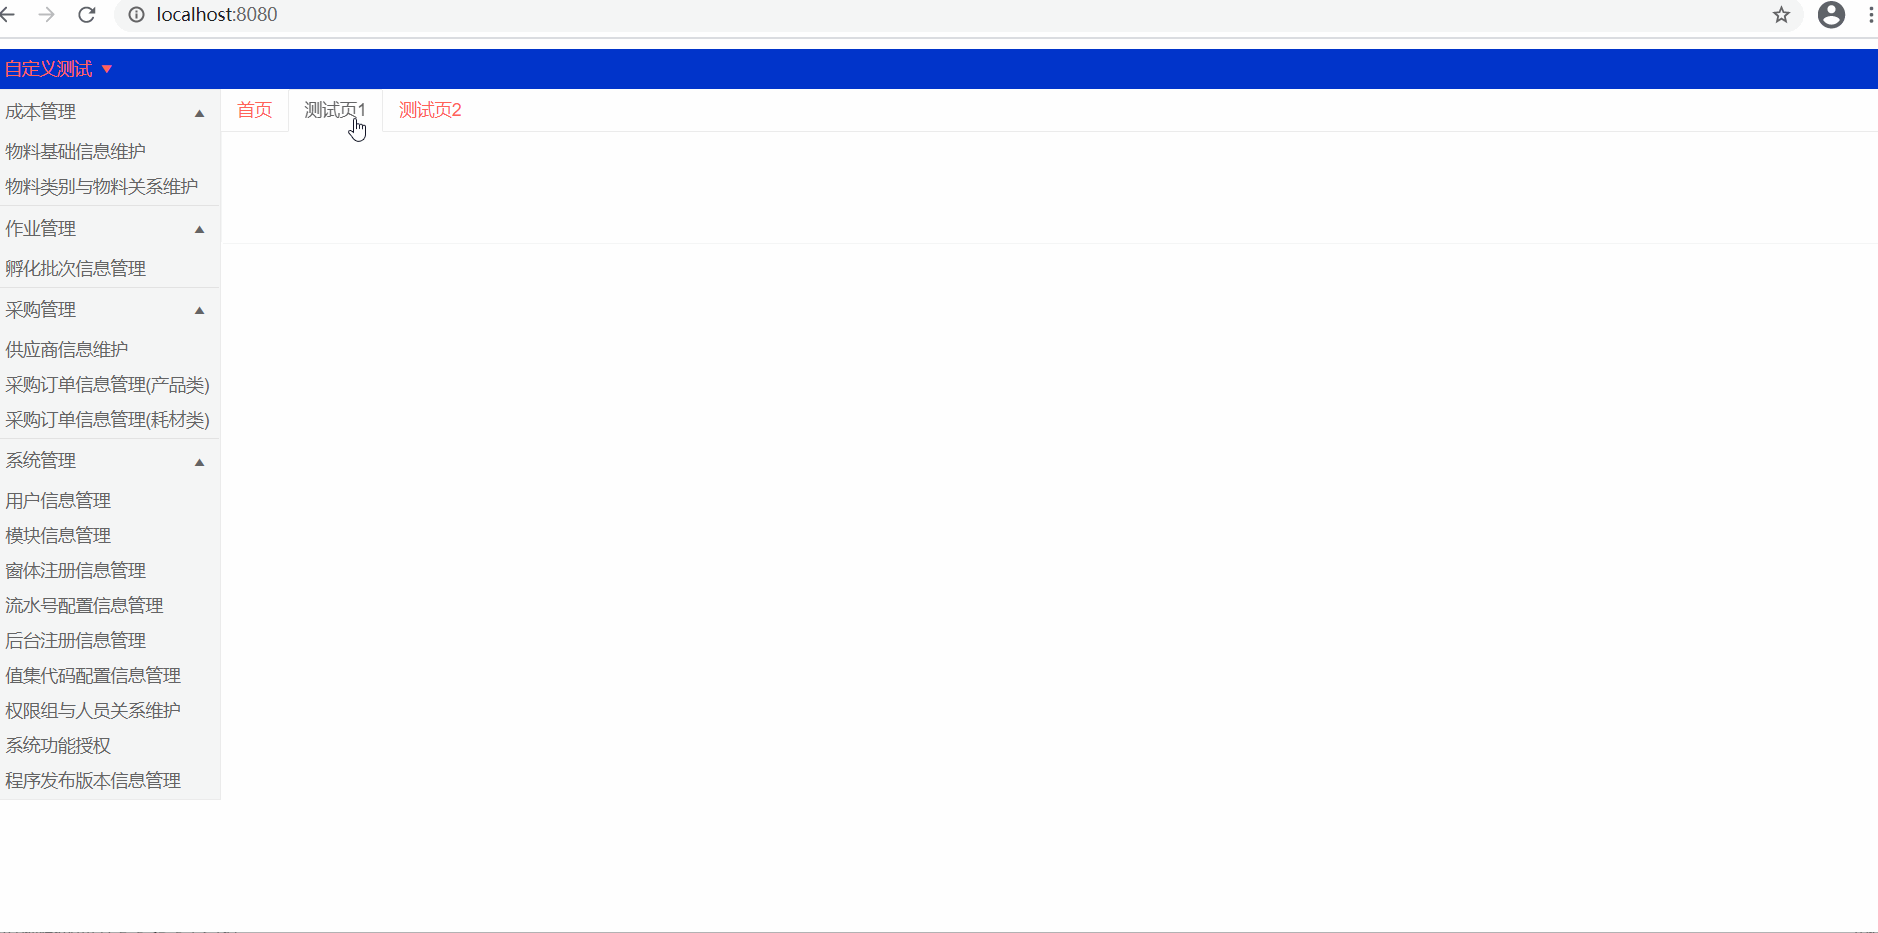
4.效果


 2924
2924


 被折叠的 条评论
为什么被折叠?
被折叠的 条评论
为什么被折叠?
 到【灌水乐园】发言


